Pages

Wednesday, 31 July 2019

Roses, Roses everywhere part 2 by Zoe

Good morning and welcome to my final post this month using these beautiful rose themed stamps.

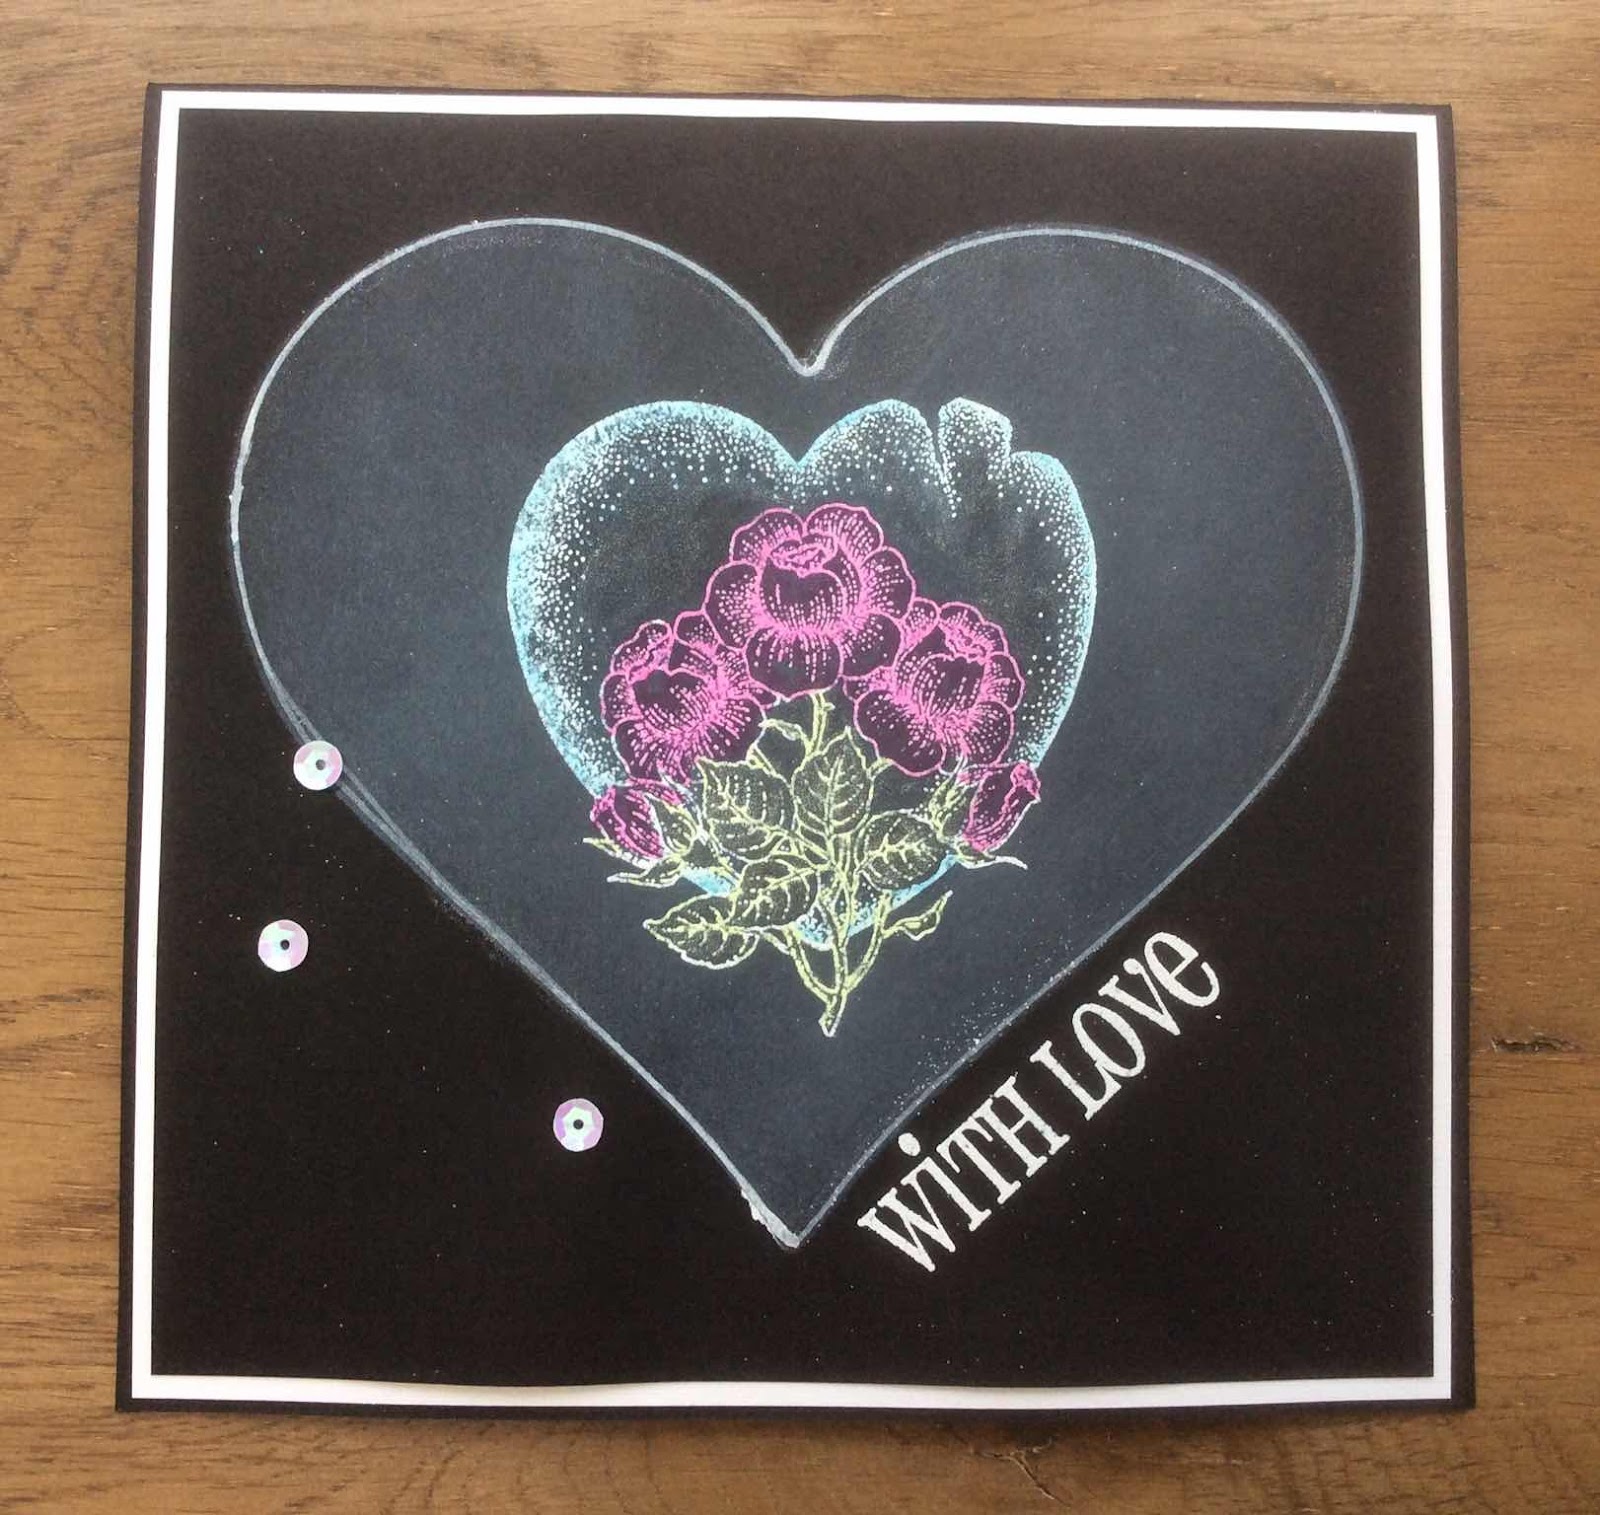
I used a stencil and white pigment ink applied with a brush and drew round the inside to get a sharper edge, I heat embossed in white the beautiful heart and used Sparkle Brush pens and a waterbrush to apply some colour.

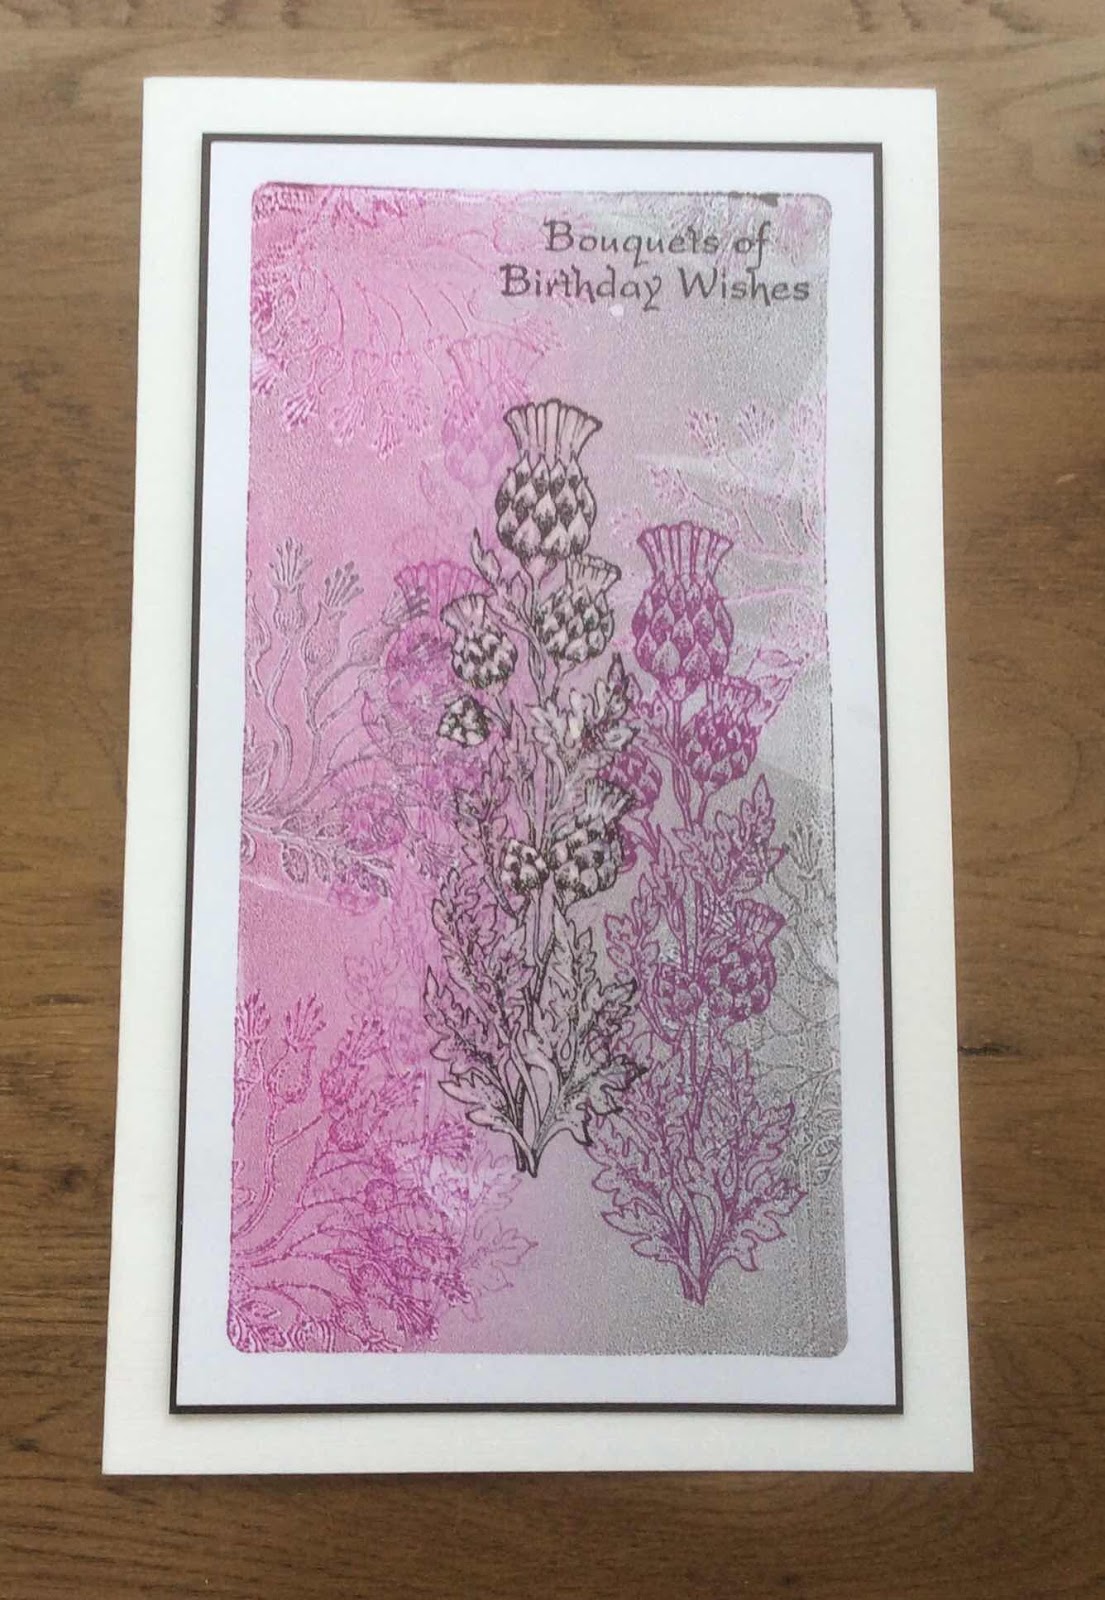
I used my Gel Plate and inks for the background which was applied with a brayer and I stamped directly onto the plate using Versafine Claire inks and pulled the print, I then stamped the thistle first and second generation, topping off with black which I highlighted areas with a white gel pen.

Thank you so much for visiting, hope to see you next month? Happy crafting everyone.
Zoe xx 


Tuesday, 30 July 2019

The sweet scent of a Rose by Brenda


Hello Peeps, it's Brenda here today and when you read this post all going to plan I will be away taking in some Italian and French sunshine.

It's more Roses and these beautiful new sets launched by Lesley on Hochanda last month were a delight to work with. I stamped the above from the Rose and Thistle set with Versafine Clair and heat embossed with detail clear EP then coloured in with Koh-i-noor paints and added a sentiment from Words to Dazzle and Sparkle.


Those of you who saw my post earlier this month will know I am a big fan of using Distress Markers and a water direct to stamp and this was another using that technique after adding masking tape to the edges of the piece of card. After stamping the focal from the Rose Set I used DI's to add shading and some stencilling.


A fairly simple one here, the image had been stamped onto white cardstock using Versafine Clair and then heat embossed with detail clear EP, cut out and matted onto white and then an embossed back panel using a Rose folder onto which I added black DI before running through the e.bosser.


Using another of the small worker stamps I repeat stamped using different colours of DI, spritzed with water which gave a nice faded vintage feel.


My final one using this beautiful focal image along with the small Rose repeat stamped on the background, all stamped with Versafine Clair which gives a lovely crisp image to these detailed stamps.

Many thanks for your visit today.

Monday, 29 July 2019

Two Floral Projects (by Sandra)

Hello everyone, I am sharing two pieces for my second blog post with you today.


My first is a card made with the Pretty Poppies stamp set.
I started with a 6" x 6" piece of cream card and stamped the gorgeous poppies twice with Archival Ink, varying the height a little. I then coloured them with pencils and added a blending solution to soften the edges. I blended Tea Dye Distress Ink around the edges of the card and used the same colour with the crackle stamp from Echoes of Italy stamp set to give an aged feel to the card. I added the sentiment and mat and layered with blue and black card onto an 8" x 8" cream card.

My second is a mixed media piece.
I started with an 8" x 8" canvas board and brayered blue, green and beige acrylic paints randomly onto it. I then stamped the tall cog flowers from Punky Flowers onto the canvas and embossed with copper embossing powder. I stamped the flower heads from the same set with Memento Ink onto some smooth card and coloured with alcohol pens. I fussy cut these out and then added more embossing powders to give a verdigris look. I added two little birds, the birdhouse and sentiment from Steampunk Birds stamp set. I finished with a few metal cogs. I think this one will be decorating my craft room!

Thanks for looking,

Sandra.

Saturday, 27 July 2019

Summer Roses (by Julie)

Hello, today I have two cards created with the lovely Rose Set.

My first card was started with the background. I inked up the small circular, rose trio with red Versafine ink and stamped in horizontal rows, across the card, then went over the stamped images with Distress inks.
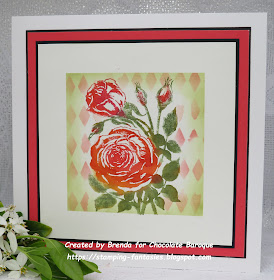
I inked up the large rose design with a dark green versafine ink and stamped onto spare card. I then coloured with a mixture of Polychromus pencils and Distress inks before cutting out with a circle die. Once cut out you need to mount onto a slightly larger circular die that has been cut from black card stock.
Attach your circular rose design to the centre of your background, add a sentiment from Words to Dazzle and then mount onto black card stock, before attaching to your card blank.


As you can see, my second card is in a similar style to the first, but does not use circles.
To start with I inked up the small rose design with a pale blue dye ink and stamped in a column along either side of the card. Grey Distress ink was then sponged over the entire background.
I inked up the large rose design with grey dye ink and stamped onto spare stamping card. I then coloured with pencils and Distress inks before cutting to size and mounting onto black card-stock. The stamped panel was then adhered to the centre of my stamped background and then the whole design was mounted onto black card-stock before attaching to the card blank.
The sentiments are from Words to Dazzle


Thank you for stopping by. Please call back soon for more Design Team inspiration.

Julie xx

Friday, 26 July 2019

More roses....by Rachel.

Hello there! Here are my second set of samples from June's shows using some of the beautiful Rose sets.

This first one used the rose set stamp that I cut down having stamped multiple times.

This one used flake and glue and the rose and thistle stamp set and the rose set. 


This one using the rose set was done using the gelli plate...I inked up the plate then stamped directly into the gelli plate with no ink on. I then pulled this print!

Finally I made this one using the rose and thistle stamp set and the rose set. I stamped the small stamp from the rose set in the background and coloured up the image to go on top!

I hope you have enjoyed todays inspiration!
Hugs
Rachel x

Wednesday, 24 July 2019

Pearly Grunge (by Doreen)

Hello everyone, Guest Design Team member Doreen is back for her final post this month. She has created a lovely pastel card for your inspiration. Doreen writes:


This is my first play with Pearlescent Alcohol Inks and I have to say I am really impressed with them.

Products used in this project:

A selection of Pearlescent Alcohol Inks
Black Stazon
Silk Card pieces cut at 6" x 4"
Black Cartridge paper
Floral Grunge stamp
Amazing Mackintosh Words for sentiment
Blending Solution

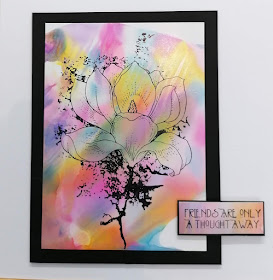
To make this card it really could not be any simpler, add your inks randomly over one piece of your silk card, and then using the blending solution to help the inks to blend, drip this over your inks in the centre of your spots of ink. Whilst the ink is still wet, using your second piece of card silk side face down, place this on top of the wet ink pressing down firmly and without taking too long over the process, peel the two apart. You then have two pieces of inked card, choose which one you prefer for your stamped image and keep the other one to cut a small piece for your sentiment.

Stamp your main image onto your pearlised silk card. Then stamp your sentiment and mat both of these onto black card and mount onto a card of choice.

I love the way the texture is added to the image simply in the way you pull your card apart after sandwiching the two together....so very effective and perfect for a quick last minute make.

Thank you for looking

Love Doreen

Monday, 22 July 2019

A Trio of Cards (by Debbie)

Hi everyone it's my turn on the Chocolate Baroque Design Team blog today. I love all the great background stamps from Chocolate Baroque and my first design is just concentrating on using Damask Panel.
I started out by embossing three times on white card using a black inkpad and clear embossing powder. That done I got out my Distress Inks and sponged Seedless Preserves and Salty Ocean softly over the entire area. I then cut around two pieces leaving a narrow border and then mounted onto black card. The card blank is a white DL used sideways and as you can see I've attached one piece at the bottom right of the card and then turned the other piece up the other way and mounted it slightly over the bottom piece and standing up over the top of the fold of the card. I used 3D foam tape for this piece to give some dimension. From the 3D piece I die cut the tag and layered it onto some white card. The sentiment which has been stamped onto a punched circle, comes from Words to Dazzle and Sparkle, and I've edged the circle with a black pen. To finish I've punched three smaller circles, edged them also with black, and attached to the bottom left.

For my next design I've used one of my favourites, the very useful Mosaic Flower. I'm a great fan of monochromatic designs using just one colour but this technique using a spot of colour works well too for quite a dramatic effect.
I've stamped twice and coloured one piece with simply red and grey pens. I've then punched four circles from the image and again edged them with black pen. I've then simply overlaid them onto the other image matching up the design carefully. The 5" x 7" white card blank has been randomly stamped with On The Tiles using a grey inkpad and the image mounted onto red card before attaching to the card blank. The sentiment once again comes from Words to Dazzle and Sparkle.


My third design is a December birthday greeting using Hark the Christmas Rose stamped onto White Silk Board with black ink and embossed with clear embossing powder. I've watercoloured with the gorgeous Koh-I-Noor Brilliant Water Colour Palette and mounted onto brown card before attaching to a 6" x 6" ivory card blank. To finish I've wrapped some baker's twine around the fold of the card. The cute birthday greeting comes from the newly launched Christmas stamps, Christmas Circles.


Thanks for stopping by,

Debbie.
 

Sunday, 21 July 2019

Roses in July part 2 (by Magda)

Hi and welcome back.
Are you ready for my second Post? This time I decided for a blurred background of this Love Journaling page.

Step 1:
As you can notice all the first stamping and coloring has been covered with a light coat of white gesso.

Step 2:
On the dry surface I stenciled several layers of colour using randomly different stencils

Step 3:
I stamped directly on the pages and colored the roses I have chosen

Step 4:
I cut some decoupage-roses and sentiments and glued on the journaling pages, I attached Washi-tape too.


For this page I used the following products :
Rose and Thistle
Rose Set
Harlequin Rose
Loving Sentiments
White Gesso
Distress Ink Pad
Watercolour Pencils


Heartfelt Thanks card :   the only difficulty in this card is to stamp in a reflex way the stamp you will find in Rose and Thistle using Archival Jet Black.  Both backgrounds are dabbed gently with Distress Ink Pad,  the flowers are coloured with Watercolour Pencils and the sentiment Words to Dazzle and Sparkle is stamped with Archival Jet Black


Thank you for passing by, hugs
Magda


Saturday, 20 July 2019

Stand out from the Crowd and A Partridge in a Peartree by Penny

Goodly morning everyone, I hope you are all well and enjoying some beautiful weather.  I have a couple of cards to share with you all today, the first is one of my samples from the April shows and the second is a Christmas design from last year.


Stand Out from The Crowd.

I have used stamps from the Heath Robinson House and Tagtastic sets; Koh-I-Noor paints, copper soft relief paste, Distress Inks, alcohol pens, copper EP, Versamark ink, gilding waxes,die cuts and a stencil from my stash.


I began by creating the tag, I stamped it with Versamark onto white card and embossed it with copper EP.  I then stamped the house and embossed it and cut the tag out.   I coloured the house with my pens then painted the background before mounting it onto black card.


I created the background by spritzing paints onto white card through a stencil.  When dry I used some copper paste through a small cogs stencil in each of the corners.  I blended black DI around the edges and mounted it onto black card.  I attached the panel to a white base card, added some die cut cogs that I had coloured with gilding waxes then attached the tag with 3D gel. 


I stamped and embossed a sentiment onto a spare piece of card coloured to match the background and matted it onto black card before attaching it to the card.


 A Partridge in a Peartree.


For this card I have used stamps from the Christmas Song set; alcohol pens, black Versafine ink, clear EP, Distress Ink, an embossing folder and some glitter from my stash.


I stamped the Peartree image in black ink onto smooth white card, and embossed it with clear EP.  I coloured it with pens and added glitter to highlight.  I used a couple of nesting dies from my stash to cut out the focal panel and a piece of black card.  I blended some DI around the edges of the focal panel then matted it onto the black card. 


I took a piece of Kraft card and embossed it in a Christmas folder from my stash.   I then die cut it and added DI to the edges. I added some ribbon to the bottom of the focal panel then  I attached both panels to a white base card overlapping them slightly.  I stamped and embossed a sentiment onto white card and cut it into a banner, added DI around the edges before attaching it to the card. 


This is a slight variation of the design.


Thank you very much for popping in today, I hope that you've enjoyed this post.  I'll be back next month with a few more crafty projects, in the meantime my team mates will be bringing you lots of crafty inspiration!  


Take care peeps until next time,


                             xx  Penny  xx

Thursday, 18 July 2019

candle gift (by Veronica)

 For my second post this  month i am back to playing with another favourite, a decorated candle.

I used the small rose from the rose set  - you don't necessarily have to use the larger images to create an impressive effect.....

I stamped the rose three times onto white tissue paper and coloured on the reverse with marker pens. Paint with a wet paint brush round the edges of the design and tear out carefully.  Lay the images one at a time onto the candle, wrap a sheet of copy paper firmly round to hold in place and heat with a heat gun on a low setting to set the image into the candle (I use a very old hairdryer type gun that has a fairly low setting anyway). Repeat placing the other images equally around the candle - the eagle eyed will have spotted that I reversed one image, purely accidental as I dropped it and didn't notice the mistake until too late!

The box was made using an envelope board, with the rose stamped onto the sides before assembling it, and again onto matching card to make a closure using velcro dots.

I added a set of notelet cards using 4" square card blanks using a yellow mat to pick up the cololur of the rose. The back flap of the envelope was also stmaped with the same image, using second generation stamping for a fainter image.


Wednesday, 17 July 2019

Sunset Shadows (by Doreen)

Hello everyone, our Guest Design Team member Doreen is here again today with a beautiful scenic card that she has created. Doreen writes:

This card is a simple blending of inks on an acrylic block which I find very effective as it can conjour many different scenes in the mind.

For this project I have used the following products:

Distress Ink pads: Picked Raspberry, Squeezed Lemonade, Peacock Feathers, and Black Soot to add depth and a feeling of darkness to the finished image.
Teeny Weeny Meadow stamps
A sentiment from Punky Expressions
Black Versafine Inkpad
Drawing Cartridge paper

To begin the project apply the Picked Raspberry, Peacock Feathers and Squeezed Lemonade to a clean acrylic block, spritz with water and drag across the Drawing Catridge and leave to dry. If you do not have time for this or are like myself a bit impatient this process can be sped up a little with a heat gun.

I saw in my image some sloping hills and a lighter area that looked like a pathway, so using the edge of one of the tree stamps made small hedgerows.
Then with some of the other stamps from this set I added some trees and some meadow like grasses around the surrounding areas.

Cut the topper to the size desired then using the black soot and a blending tool add the ink to the outside of your topper, this adds the impression of evening time and depth to the topper. Mat and layer with black and white offcuts from your stash. Mount onto a card.

Using some of the offcuts from your project, stamp a sentiment and mat and layer in the same way as your topper and apply where you wish.


Thank you for looking,

Love Doreen.


Tuesday, 16 July 2019

A Bit of Romance (by Judith)

Hello everyone, I have a couple of projects to share with you today, both with a slightly romantic feel, showcasing stamps used from last month's shows on Hochanda.

My first project features a beautiful image from the Harlequin Rose stamp set. I love this image, and it has proved so useful for Weddings and Anniversaries. It can be used on its own, or linked with another one, as I have done on this card.

I chose a piece of patterned paper designed by Lesley, and stamped and embossed the image twice, using white embossing powder. I fussy cut the images, and cut one of the hearts where I needed to join them together. I simply slipped the 'broken' heart through the gap in the other heart. I used a piece of the same paper as a background, and cut a slightly smaller piece of kraft card as the forground. (If you are trying to stretch your papers as far as possible, you can use what would be hidden underneath for the hearts). I embossed the sentiment using white embossing powder once more, and added faux stitching using a white gel pen.

The addition of the kraft card makes this a great Anniversary or Valentine's card for a man.

To create my second card, I coloured some Drawing Cartridge using Distress Ink on a craft mat, spritzing it with water, and patting the Drawing Cartridge into the ink. I dried the paper with a heat gun, and then blotted up some of the remaining ink before drying the background once more. I stamped the Tagtastic stamp at one end of the background and cut this out, the remainder of the background was sufficient to create a background for the card.

I used words from the Amazing Mackintosh Words stamp set to create a random background on the tag, stamping them in black ink. I stamped some horizontally and some vertically, making sure that they were straight, whichever direction I was stamping. I stamped a rose from the Rose and Thistle stamp set onto a spare piece of Drawing Cartridge, coloured it in and fussy cut it out. I attached this to the tag, and added some bright red ribbon to the tag. I attached the tag to the larger background, added a Birthday sentiment, and used some black card as a matting layer. You could add some of the tiny rosebuds from the Rose and Thistle set to the background if you feel that the background is too plain, but I did not mind it like this. I had added some red spatters to the tag as a contrast anyway.

I hope that you will try some of my ideas out for yourselves, thanks for stopping by,

Judith xx
Sunday, 14 July 2019

Roses, Roses everywhere by Zoe

Good morning Lovelies and welcome to my first post for this month using the delectable Rose themed stamps, they are just so beautiful and versatile. Unfortunately due to certain circumstances I wasn’t able to make as many as I like, so here’s a couple.

My first card was created on a Gel Plate print background I had in my stash, I simply stamped onto Linen texture card using different colour inks, cut out and stuck on, I had some Greyboard hearts in my stash so coloured it with ink, stamped and edged with gilding wax.

My second card I used my Gel plate with inkpads which I brayered onto, I then inked up the beautiful stamp using a Versafine Claire inkpad and stamped directly onto the Gel Plate and pulled the print, added some faux stitching with a fine tip marker pen, added the sentiment and lots of layering.


Thank you so much for visiting, pleased pop back each day and look at what the rest of the talented DT have created.
Have a wonderful day xx Zoe xx 

Saturday, 13 July 2019

Smell the Roses by Brenda


Good morning, Brenda here with some of my samples using the new Rose and Thistle and Rose stamps that Lesley launched on Hochanda TV last month, such perfect images for making Summer cards........and confetti, I have been dehydrating rose petals on a daily basis to fill little boxes to hand out to guest as they arrive at Church for our eldest Granddaughters wedding.

The panel of the top card was masked before stamping the Rose from Rose Set using Distress Markers direct to stamp and spritzed with water to bleed the colours before stamping. With the masking tape still in place I used DI's to create the frame and a brick stencil to add some background interest, finally stamping a sentiment from Birthday Words.


Next a card with matching envelope, I masked the bottom of the card both front and back and repeat stamped the Rose and Thistle from the set of the same name using Distress Markers direct to stamp along with a spritz of water before stamping. Next I added some shading with DI, then 'splodged'......a very technical term......more of the same DI onto my glass craft mat, a little water and inked up a fan brush and flicked it over the stamping to give the effect of grass.  I masked the envelope with a post it note, stamped the flowers and again some shading with the same DI. The sentiment is from Words to Dazzle and Sparkle.


For this one I stamped the image with Versafine onto black card and embossed with detail gold EP. I ripped the edges, inked and added more gold EP and the same with the sentiment panel.


I love purple and teal together so those two colours of Distress Ink were the inspiration for this one. Using my stamping platform I repeat stamped this pretty bloom by inking the image with Distress Markers and water.........and yes, this is a favourite technique of mine as you might have guessed from this post. It doesn't work with all stamps but where there is a lot of detail and rubber it works brilliantly.

My final share and yes you guessed right, the stamp platform and Distress Markers again and here I have tried to show how east it is to get a totally different look from the stamp as using this method to add ink you can focus on just the focal blooms and leaves and leave out the other areas of the stamp. I then added some stencilling to the background.

My thanks as always for your visit today, myself and the Design Team always appreciate your words of encouragement.

Friday, 12 July 2019

Introducing Sandra our New Design Team Member

Hello everyone, today we are introducing our second new Design Team member, Sandra South. We asked Sandra to tell us a little bit about herself so that you can get to know her a little better:

Hi, my name is Sandra. Originally from Worcester, I have lived in Abergavenny, South Wales since I married in 1982. I have two sons 26 and 30, who have flown the nest, enabling me to have a lovely craft space!
I like a lot of crafts, but stamping is my favourite. I'll have a go at most styles when it comes to stamping, Clean and simple right through to grungy and Steampunk. Depends on my mood that day! my first set of stamps from Chocolate Baroque was Christmas Flourish and it still features in my Christmas cards each year.


For my first post as a Design Team member I am sharing a vintage themed card made with Rose Stem Script.


I made a background using Distress Inks Antique Linen and Tea Dye. I then stamped the image with an Archival Ink. I used a stamping platform and this enabled me to re-stamp with Versamark, but just in a few areas which I then embossed with copper embossing powder.


Using Distress Inks Tea Dye and Vintage Photo and a water brush I coloured the image in. I used Vintage Photo to add some splahes and blend around the edges. I stamped the sentiment onto a piece of card that had the same background and cut the words out. I mat and layered the card and added the photo corners.
Thanks for looking,

Sandra.

Wednesday, 10 July 2019

Steampunk Fun (by Doreen)

Hello everyone, today sees the first of three posts this month from our Guest Design Team member Doreen. She has created a delightful Steampunk themed project for your inspiration. Doreen writes:

This post is a little bit of self indulgence if I am honest, personally I love steampunk, to me it is a bit of quirky fun.

For this card I have used the following products:

Steampunk Sea World
Punky Expressions for the sentiment
Drawing Cartridge, black and white
Gelli Plate and brayer
Acrylic paints
Koh-I-Noor Polycolor pencils
Silver and White gel pens (for highlighting)
Jet Black Stazon inkpad

Firstly using the gelli plate for the background I used acrylic paints a little pale and dark blue for the area of the sea, then dotted some pink and yellow into the mix for the sky area. Mix the colours by brayering dots of paint to blend them. If you feel the blue is moving too far down then clean your brayer onto a piece of scrap paper and continue with the blendng of the sky area.

Use your white drawing cartridge paper and whilst the paper is wet lay the paper over and smooth firmly over the paper, you can then pull your print.
Whilst this should be dry wait a few moments and then go ahead with your stamping. I advise the use of Stazon as other inks take a little longer to dry on the acrylic in my experience.

Once stamped you can highlight wherever you feel it needs lifting a little using the polycolour pencils, and the white pen is perfect for the sails of the boat. I used the silver gel pen for the fish and to enhance areas of the boat that I felt should have a metallic look about them.

Add your sentiment of choice and with a fineliner pen draw a few birds in.

Mount onto a piece of black card slightly larger than your topper and mount onto a card or even into a frame if you want to make a gift of your artwork.

Thank you for looking,

love Doreen