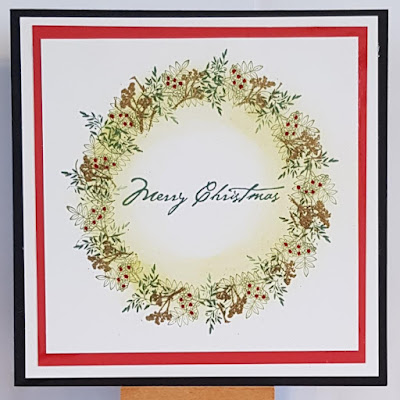
Today's sample features The Christmas Garden Rubber Stamps by Chocolate Baroque; this project is perfect for beginners. While Christmas may seem oh so far away, I like to do a few backup projects before putting away my Christmas stash.
This time, rather than using the main image, we are going to focus on the smaller worker images to create our design.
Start with a card panel a little smaller than your chosen card base. Use a large circle or semi-circle die/stencil/template to mark a guide line that features a half circle curve just shorter than the height of your panel. Mark this in an erasable pen or lightly in pencil as you will need to remove this guide later in the process.
Starting with the garland stamp, use a pigment or hybrid ink pad to get a good solid stamped image. You are going to stamp in black ink if you want to replicate the sample, but you could use green as an alternative. Rotate each impression so the design flows around the guide line.
Next, you want to stamp your sentiment onto your card panel. By stamping this next focal element first, you can clearly see the space that needs to be "filled".
Use the snowflake and poinsettia stamps to infill the wreath design, positioning your images to emphasise the flow of the wreath.
Then, I added colour to the garland and poinsettia images using alcohol markers. Trim the panel slightly and adhere it to a red card layer to add a fine border around the panel. Adhere this to the card and then add sequins, gems or even dots of gel pen to add a touch of Christmas shimmer.


