Thanks for your visit and I like to read your comments or questions if you have them.
Till next month,
Till next month,
For my last post this month I have a set of very simple DL cards using the main images from each of the blueprint sets featured in last month's tv show. All the base cards are of a dark silver card, and the images stamped on white card with black versafine ink.
Hello everyone, I hope that you are keeping well. I have a couple of projects to share with you today showcasing the stamps from last month's shows on The Craft Store.
For my first card, I decided to stamp the main image from the Chrysanthemum Blueprint stamp set onto a piece of die cut grey card. I coloured the image with pencils, choosing a palette of mostly orange and yellow to pop against the grey background. Even the green was a zingy yellowy green hue to stand out against the grey. I added lots of white highlights to lift the image.
I created a background using grey Distress Ink on Drawing Cartridge, which was not too fussy, and left lots of white areas. I felt that this worked well for the darker coloured topper in this instance. As with a lot of my cards, I did not add a sentiment, as I quite often add one when I send a card. This card would be useful for lots of different occasions.
Thanks for stopping by, take care,
Judith xx
Hello there! Rachel here today with some more floral architecture for you from the September shows. In this first sampe I used both the chrysanthemum and the allium sets along with flitterglu, foil and mica powders - all done on black card - I stamped the images in flitterglu then put the stamps straight into water before adding the flake and the mica powders to the glue.
Hello Blogging friends, I'm back today with my second post for this month with two more creations I created for September's show on The Craft Store.
I had a couple of pieces of grey card left over from previous cards, and decided to see how they worked with the koh-i-noor pencils and the blending solution.
For both versions I stamped the main image in black and clear embossed it before randomly stamping smaller images in grey ink round it to make a background.
For the lupin card just used the white and yellow pencils to colour the image, then added a touch of green to the flower centres and used the blending solution to spread the yellow over the light bulb. The sentiment was stamped onto spare white card.
Both were matted onto white and black card before adding to a card blank.
Hello, I am sharing some more of my cards from the September show on The Craft Store.
The stamps I am using are from Chrysanthemum Blueprints.
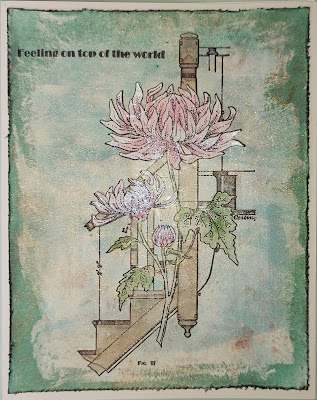
For my first card I used a piece of card which I put a rough coat of gesso over. Once this was dry I blended some Distress Ink over the top. I stamped this lovely main image of the staircase and chrysanthemum and coloured the staircase and leaves with Distress Markers. I stamped the image again onto some card, coloured the flowers and fussy cut them out and layered over the top. I distressed and blended some ink around the edges of the card.
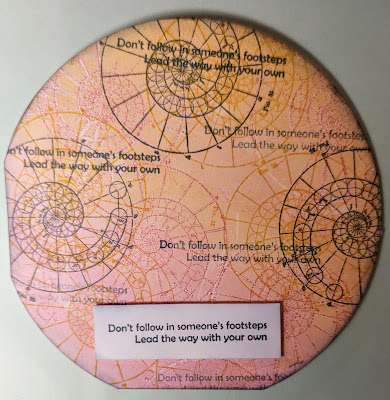
For my next card I used my cutting machine to make a circle card. I then used my 6” round Gelli plate to make a background with Distress Inks and stamping the Fibonacci circle onto the plate and taking the print. Once it was dry, I stamped over the background in black. I finished by adding the sentiment and blending around the edges.
Thanks for looking
Sandra x
Hello everyone, I hope that you are keeping well. I have a quick and easy project to share with you today in the form of a set of notelet cards that I created for last month's TV show on The Craft Store, using the Blueprint stamp sets.
I made four different cards, but the principle was the same for each card. I used a piece of textured card cut to size, slightly larger than a square acrylic block. I coloured the acrylic block with Distress Ink, and lightly spritzed it with water, before stamping the block onto the piece of textured card. I lifted the block away from the card, and left the background to dry. If it was very wet, I tipped the card to let some of the water droplets run, creating more texture on the background.
Once the background was dry, I used the same colour of Distress Ink as the background, to stamp words from one of the the Blueprint stamp plates over the background, and chose one of the little worker floral stamps to stamp in the bottom left hand corner, using Versafine Onyx Black Ink. I added the number on the stamp plate as well. Here we have the image from Allium Blueprint against a pretty Teal coloured background.
I chose Chrysanthemum Blueprint for my second card and a zingy green Distress Ink. I coloured the floral images with pencils, choosing colours on the opposite side of the colour wheel to the backgrounds for a pop of colour.
Lupin Blueprint was the choice for card number three with a soft orange background. The flowers are so pretty on this stamp set.
My last card was created using Echinacea Blueprint and a pale green background. To complete the cards, I drew around the edges using a fineliner pen, creating a border. Each one was slightly different, but you could draw them all the same, it is not important.
These cards were really fun to make, and would be useful for so many purposes. I hope you will try something similar. They would make a lovely gift, or be handy when you need a card in a hurry.
Thanks for stopping by, Take care,
Judith xx
Rainbow Chrysanthemums
Hello everyone and welcome to October .... a way in now I know but where the months are going since July I really don't know.
Today I would like to share some of my makes from the September shows, firstly the Chrysanthemum Blueprint. Using a tag from my stash I painted the tag with White Gesso and then once dry colour randomly with Distress Inkpads of choice using either blending sponges or brushes. Stamp using VersaMark and Black Embossing Powder.
Use a black marker around the edges of the tag and Clear Gems to decorate and finish with a piece of ribbon.
Good morning, I'm here now as a member of the Design Team and not a Guest, I was really chuffed to be promoted to the team and join all the other lovely members, this is my first official post.
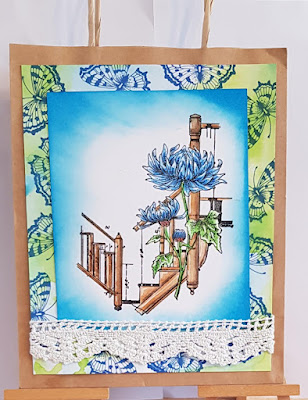
Here is two of my creations I made for the Septembers show, the one above is created using Chrysanthemum Blueprint , I decoupaged the image after colouring it with pencils and highlighting with a white gel pen. I did some yellow ink splatters on the white of the card. I then layered that on to another background I made by splodging ink on to acetate and then dipping my card into it. It took a fair bit of time to do the fussy cutting but so worth it.
For this tag I firstly made a faux wood effect background and then made a pocket, which to me was like adding a window box or planter. I again did some fussy cutting, I cut the Lupins from the Lupin Blueprint stamps out then coloured them, always cut first as they cut better then when they have been coloured. I coloured with pencils and highlighted again. I added a butterfly which is from Butterfly Mind set, and a sentiment from the Butterfly Perfumery set.
Thank you for stopping by
Happy crafting
Tracy x
Today I have two wreath cards to share, using some of the smaller blueprint stamps from the September shows.
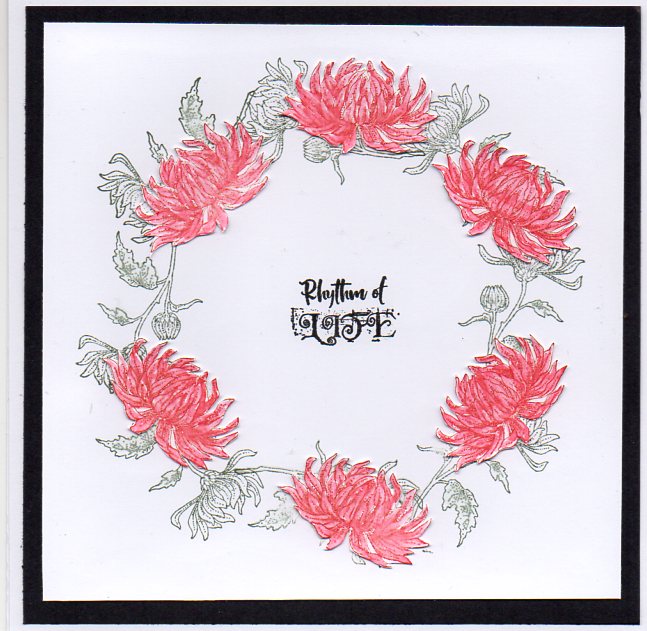
These may look complicated, but if you have a stamping platform they are very easy. The first one uses two flower stamps from the blueprint chrysanthemum set. The smaller stamps was inked in green ink and stamped 8 times to form the base of the wreath onto a square piece of white card. The larger stamp was stamped several times onto white card using a terracotta dye ink pad, and the colour dragged out with a waterbrush. I fussy cut these out, and decided to use 6 of them to add to the wreath shape - while we are always told to use odd numbers in flower arranging, I fwelt that 5 wasn't enough and 7 was too much, so 6 it was. The sentiment is from the echinacea blueprint set.
This was even simpler. I used a very ancient multicolour ink pad to stamp the lupin image 8 times onto a piece of square white card. The centre image is part of the main image on the set, cut out with a punch and glued in the centre. I inked a mat of white card with a matching alcohol marker .A chipboard tag covered with acrylic paint onto which I added some torn strips of printed tissue paper. Chrysanthemum Blueprint stamped with Versafine black, as is my usual the flower heads stamped again onto an inked offcut, cut out and paper pieced. The number stamped onto a piece of Aida and the remainder of the image coloured with Distress Markers.
Hello, I'm sharing a few more of my samples from the September show on Hochanda using the second set of blueprints stamps - Lupin Blueprint, Chrysanthemum Blueprint, Echinacea Blueprint and Allium Blueprint.
I made a set of little set of notelets using the small individual stamps that are in each stamp set.
To make my notelets I first cut some circles from cardstock to fit on my cards and blended some Distress Inks onto the background. I then used the same colour with a stencil before stamping the flower and sentiment. I finished by doodling around the edges
Hello everyone, I have more projects to share with you today using the beautiful blueprint floral stamps from last month's one day special on Hochanda. My first two projects were both made using the Chrysanthemum Blueprint stamp set, and although I have used lots of the same stamps, I have used very different surfaces to stamp on.
To create my first card, I coloured a piece of Drawing Cartridge with Distress Ink, and then stamped the images using Archival Ink. I took a whiteboard heart, and added some Distress Ink around the edges, before stamping the main image onto the heart. I coloured the image with Polycolour pencils. I added some green ribbon to finish.
To create my second project, I used a piece of Drawing Cartridge stained with tea for a vintage look. I stamped the images with brown ink, choosing lots of the smaller images from the stamp plate to create a collage feel. I then stamped the main image onto a piece of cotton fabric, and coloured it with pencils.
My next two projects were both created with the Allium Blueprint stamp set. I wanted to create a lovely vibrant background for the first card, and chose Distress Oxide Inks, which I applied to Drawing Cartridge. I stamped the image and coloured it with pencils. I chose to split the sentiment, and did this by covering the unwanted half with masking tape before inking the stamp each time. I used a spare piece of the background Drawing Cartridge, picking up some of the Distress Oxide Inks from my craft mat, but made it slightly paler for this purpose. I matted all of my card pieces with black card so that they stood out from one another.
My final card uses a softer colour palette of pale green and purple. I used second generation stamping on the background to allow the foreground image to be the focal point. I used purple Archival Ink to stamp the main image and sentiments, which made an unusual change. I edged all of the layers with the same purple ink.
Thanks for stopping by, I will be back later in the month with a couple more projects to share with you.
Take care and stay safe,
Judith xx
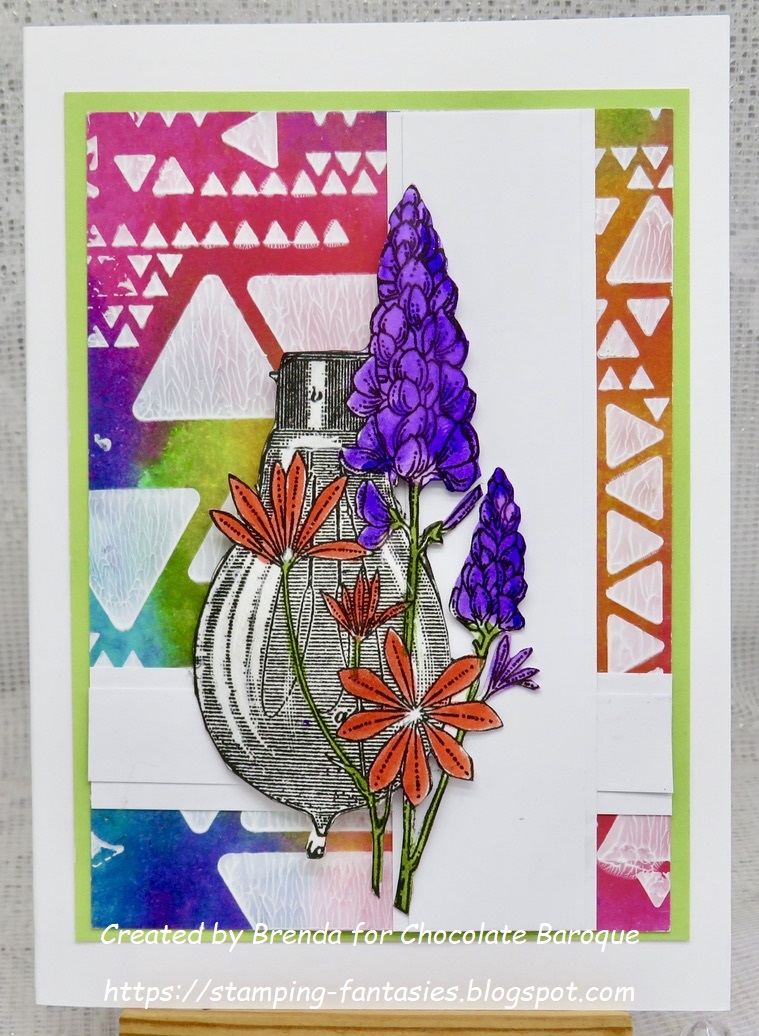
Morning Peeps, Brenda here to share a few more samples from Lesley's September Hochanda shows with the lovely new Blueprint stamps.
As is my usual route, inks and colours are the order of the day starting with Barn Door Distress Oxide brayered lightly onto the the background and then Chrysanthemum Blueprint stamped with Versafine black. I stamped the blooms a second time onto an offcut coloured with the same Oxide, cut out and paper pieced and the leaves coloured with Koh-i-Noor paint. Some texture paste stencilled to one side, a fee sequins, sentiment and some splats of white paint.