Pin It button on image hover
Showing posts with label Fluttering Hearts. Show all posts

Monday, 17 August 2020

Lovely Butterflies (by Miranda)


Hi there,

Miranda again with the promised butterflies.........This time I have used an 'old' Crealies create a card die which can display all these butterflies very well. (it is still available)

These are the stamp sets I have used:


And there are many more sets of Chocolate Baroque with butterflies, so there is more than enough to choose from..........also the new launched sets have beautiful butterflies!


I have used a die cut (Love) and did some watercoloring onto thick rough surfaced watercolor paper.
The large butterfly on the heart is from the Fluttering hearts set. I have used mica strips to attach the butterflies on.

 All the images are stamped using black Archival ink and colored with water-based markers and colored pencils.


Hope you did like my take on the butterflies........
Thanks for watching and till next time with more butterflies,


Sunday, 9 February 2020

Valentine's Day (by Magda)

Hello girls,
We can't miss the appointment with our Valentine's Day without making appropriate projects.
I have for you some ideas :

Layered Tag :  stencil, Distress Ink Pad, Archival Jet Black,  Fluttering Hearts, A Heart full of Love


            Aquarelle Pencils, embellishment


Journaling Page :  stencil, Distress Ink Pad, Archival Jet Black, Floral Heart, Nouveau Lovebirds, Amazing Mackintosh Words


Thank you for reading my post today and Happy Valentine's Day
Magda

Monday, 28 October 2019

Music For Halloween - by Magda

Hello girls,
in few days it will be Halloween and this time I have combined music with bats and spiders.

For the first Journaling page " Music for Halloween "   I used  
Stencils, Clear Gesso, Gelli Plate, Acrylic Paints, Archival Jet Black , Distress Ink Pad  and            the stamps of Chocolate Baroque
Music Fanfare, Twilight Zone and Put a Spell on You.


The second journaling page has nothing to do with Halloween, it is a "Doodling around Watercolor".
I used the Pareidolia Art Technique for discovering and outlining the figures in the watercolor stains.
The items for this project are  :  
Brusho, Stencils, Black Charcoal Pencil, Archival Jet Black, Distress Ink Pad, and two stamps plates


Have a nice Halloween Party and see you in November again, hugs
Magda


Saturday, 27 April 2019

Amber Butterfly by Brenda


Hello Peeps, Brenda here again with my last post for April and today I have another collection of Steampunkery hearts and flowers starting with a rich amber offering. My starting point was an Oxide base piece over which I randomly stamped the harlequin from Punky Hearts using Verafine Clair, followed by Punky Romance using Versafinre black and around the edges the little accent worker stamp from Punky Hearts. Finally I stamped, coloured and cut out the Butterfly from Fluttering Hearts and placed focally.


I used a sun ray stencil and several colours of Distress Inks to create the background, rotating the stencil from a central point until I achieved a full circle around the page, it takes a little while but worth the effort for the finishes effect. I the stamped the heart from  Punky Hearts in the middle and a sentiment from A Heart Full of Love.


Using a brayer and Distress Inks I created a random background onto which I stamped the floral image from a A Heart Full of Love, stamping some off the page too balance out the piece. I then coloured in with pencils, if you don't use too much colour on the background there is no need to bleach out the colour before colouring in the flowers.


This one was quite time consuming but fun, I stamped various hearts from Floral Heart, Fluttering Hearts and Hearts Full of Love with Versafine and embossed with various colours of EP, cut out and fixed at an angle and placed a small twine bow on each. The sentiment is from Punky Romance and embossed with one of the EP's.

As always many thanks for your visit and I hope you have a lovely weekend.

Sunday, 21 April 2019

Clock of Your Heart...(By Julie)

Hello, I am back with two more cards to show you all.


My first card is stamped with both Fluttering Hearts and Punky Hearts.
I started this card by spritzing white card-stock with pink dye ink and once dry, stamped over the top with the images from Fluttering Hearts. Make sure you leave enough room to stamp the trailing, string of hearts from the Punky Heart set as it adds a feel of movement to the card.
Colour with Polychromus pencils and finish the design by sponging gesso around the edges of the design. Once dry, cut to size, mount onto black card-stock before adhering to the front of your card blank.


My second card is stamped with Punky Romance.
Start by stamping the Love sentiment in the middle of your card. Follow this by repeatedly stamping the cluster of clocks around the edges.
Lightly ink the background with a light brown and blue dye inks, before going over the background again with the blue ink and a cloud stencil.
Add white paint pen high-lights, cut to size before mounting onto black card-stock and adhere to your card blank.

Thank you for taking a peek and please call back soon for more Design Team inspiration.

Julie xx 

Friday, 19 April 2019

Time Flies (by Magda)

As second post  for this month I am proposing for you a Male Card and 2 Bookmarks.

Step by Step:   Time flies card

1. Blend Distress Ink Pad old paper on a white cardstock
2. Let brown and green Brusho watercolor flow on it
3. Stamp the gear set and the flowers of Punky Romance, and randomly
    the sentiment of Steampunk Travel plate with Distress Ink Pad brushed corduroy
4. Highlight with a brown Aquarelle pencil  the shape of some stains.


Bookmarks :

1. Colour the bookmark with Distress Crayons of set 1 and set 2
2. Use baby wipe to blend the colours
3. Stamp with Versamark the set of  Fluttering Hearts and heat emboss  
I used the same technique for the second blue bookmark, but for this one I  just stamped in Jet Black  Archival  the little hearts of Fluttering Hearts and the sentiment of Floral Hearts 


I will be back next month with other ideas for you,  hugs
Magda


Saturday, 13 April 2019

A Little Bird Told Me by Penny

Good morning peeps, I hope you are all well and looking forward to the Easter break.  Here is my first post of this month to share with you today, one of my samples from last month's shows.  For this project I have used stamps from the Fluttering Hearts and Punky Hearts sets, CB Useful Leaves Mask/Stencil, two tone acrylic paints, Distress Inks, gold embossing powder, Versamark ink, white pen and gold pen.


I took a piece of white card and stamped the large floral heart image and the bird and butterfly images using Versafine ink and embossed them with gold EP.  I masked the images before blending inks over the card then sponged the acrylic paints all over.  When dry I stamped another heart image in 2nd generation ink randomly, then added some leaves with the stencil.  I removed the masks and coloured the images. 


On another piece of card I stamped and embossed another bird, coloured it and cut it out.  I used a white pen around the leaves and a gold pen around the edges of the panel.  I then matted the panel onto green card.  I took a cream base card and stamped the floral heart randomly, twisting the stamp, to create a border around the edges of the card.  I attached the focal panel to the base card then added the bird with 3D foam.   


I stamped and embossed a sentement onto a piece of white card, die cut it, added DI and gold pen before attaching it to the card with 3D foam. 

Thank you for popping by, I hope you like this project.  I shall be back later in the month with another creation to share, but my team mates will be here in the meantime with lots of lovely artwork.

Take care and Happy Easter,


                        xx  Penny  xx

Monday, 8 April 2019

Pretty in Pink by Brenda


Good morning everyone, Brenda here to share a few of my samples from Lesley's recent Hochanda shows featuring the romantic steampunk stamps.

My first share above uses one of the most beautiful floral images from the new A Heart Full of Love stamp sheet. I used a brayer and Distress Inks to create background, I wanted a fairly random finish so went in different direction with three different coloured inks. I then used Versaine black to stamp the images in each corner and also onto three chipboard circles which I had also covered with the same DI's. The flowers are all coloured in with pencils and paints, the circles raised on foam pads and some liquid pearl dots.


Using Versafine Clair black I stamped the broken hearts from A Heart Full of Love onto acetate and placed card over and rubber to transfer the image, I did this four time and then stamped again in Clair red and matched them up, one was actually going in the opposite direction but I decided I quite like the variation........artistic licence. Next I used sentiments from the various sets in the show to stamp between the hearts.  


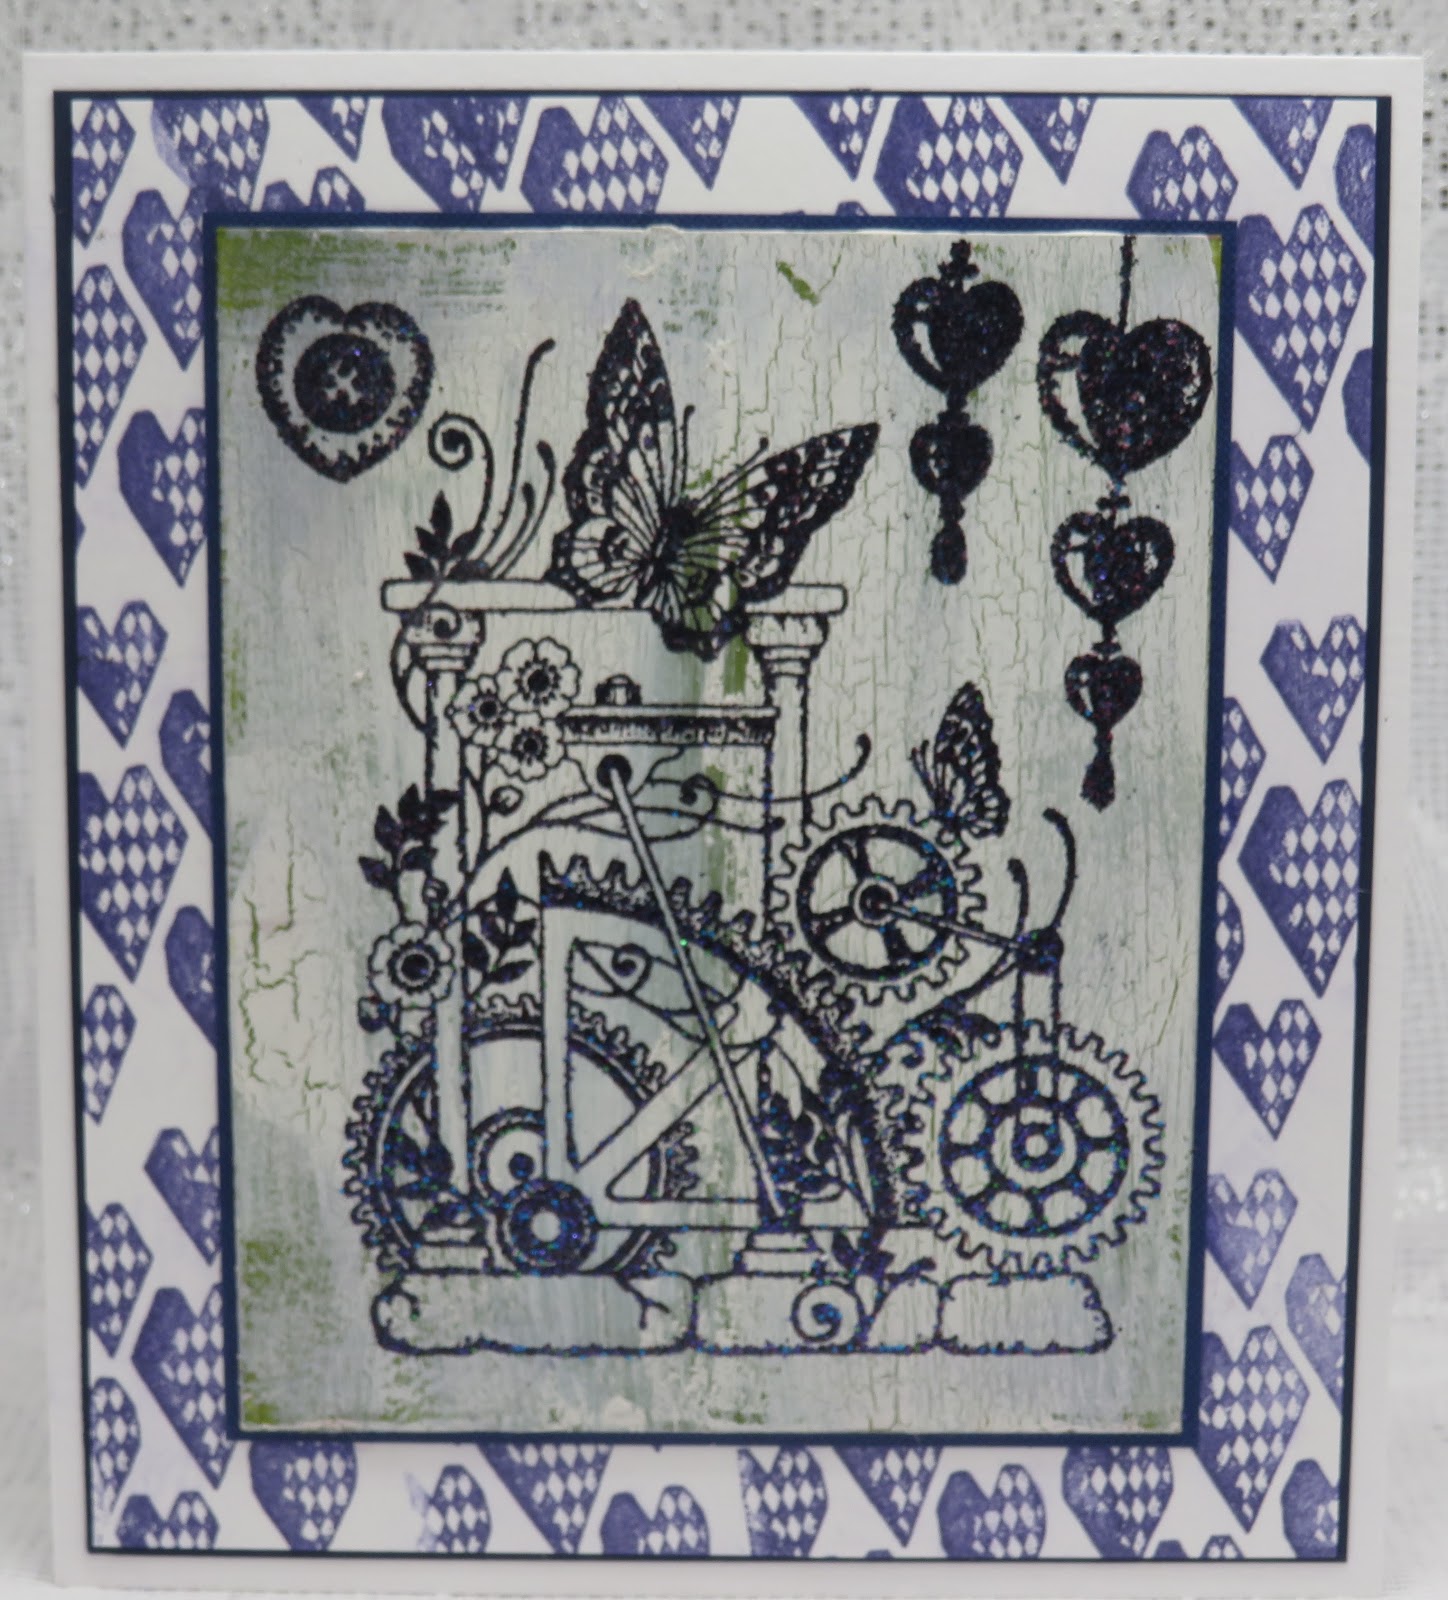
The background panel was created using the heart stamp from Punky Hearts and Versafine Clair ink. The base of the focal image is a 600gsm piece of cardstock painted with acrylic pain and covered with crackle glaze, sanded down and stamped with one of the stamps from Punky Romance using Versamark and heat embossed using cobalt blue sparkle EP. I also stamped some hearts from Punky Hearts across the top.


Lastly a small 7x7 canvas covered with black gesso, then stamped with the clocks from Punky Romance and heat embossed with detail copper EP twice to give more depth. Next I some interest to the corners with a stencils and texture paste and liberal coatings of copper gilding wax. The heart and bird are from Fluttering Hearts stamped and embossed with detail copper EP, fixed onto the canvas along with some Little Birdie flowers. sentiment and twine.

Have a good day and as always my thanks for popping into our blog today.


Sunday, 7 April 2019

Love is.... ( By Marga)

Hello everyone, hope you are all good. Today I want to show you two tags I have made.


The first tag I have made with Distress Oxide and I used the stamp set Floral Heart. I stamped the images with Versafine Onyx Black and I used a white gel pen for the edges and the accents.


The second tag I made also with Distress Oxide and I used the stamp set Fluttering Hearts. I stamped the image with Versafine Onyx Black and the background images with Distress Oxide and I used a white and black gelpen for the edges and the accents.

Hugs Marga

Friday, 5 April 2019

My Heart's All of a Flutter (By Julie)

Hello, today it is my turn to show a couple projects.
My first card is stamped with the brand new stamp set, A Heart Full of love.


To start with I stamped the floral corner design and coloured with Polychromus pencils. 
 Apply green and blue inks through a dotty stencil all over the background, but try to avoid the corner design and when dry take the sentiment from Floral Heart and stamp it in the bottom right corner. Cut your panel so that it fits your card blank, leaving approx. 1cm border all around the edge. To finish off, stamp the heart design, colour with the pencils, cut out and then mount in the centre with 3D glue gel.


My second card is stamped with both Punky Hearts and Fluttering Hearts. Both of these sets are brilliant and work so well together.
 I stamped the Butterfly Heart from Fluttering Hearts onto my card blank, starting with the image at the top, followed by the bottom image and then the left and finally the right image. You then need to make a mask. I did this by stamping onto copy paper and then folding the paper so that when I cut out the image I had two copies. Place your masks onto the top and right hand side images, ink up your Butterfly Heart, stamp onto scrap paper and then stamp onto your card, over the top of your masks. This is second generation stamping and you need to repeat this step until you have stamped in between all of the butterflies. Colour with Polychromus pencils.
Ink up the cluster of hearts from Punky Hearts, stamp around the background and finish off with Distress ink blended into the background.

Thanks for stopping by and please call again soon for more Design Team inspiration.

Julie xx

Thursday, 4 April 2019

Oil Burner by Rachel

Hello there! I have my oil burner to show you today that I painted for the March shows...


I decorated the piece using stamps from the fluttering hearts stamp set. I stamped them onto a ceramic piece then painted using glaze. I had to then outline the image in glaze as the ink burns off in the kiln. After drying a final clear glaze is added and the piece is fired.

Hope you have a great day!
Hugs

Rachel xx

Monday, 10 December 2018

Heartfelt Anniversary (by Pat)

Hello everyone, today sees the first of three posts from our Guest Design Team member Pat Moore. Pat has created a very pretty anniversary card for her first post.

Pat writes:

Hi everyone.

It's good to be back again as part of the Guest Design Team with this anniversary card for which I used the Fluttering Hearts set of stamps, gold embossing powder, a stencil, some Distress Inks and a sparkle pen.

I started by stamping four of the hearts from the set and heat embossed them using gold embossing powder. I then fussy cut them out omitting the bird which sits on top of one of the hearts, as I decided on this occasion I didn't want it. I coloured them using blue and purple Distress Inks applied with a waterbrush, with the addition of just a little green. When dry I added some sparkle to each one.

I then made the background by applying the same blue and purple Distress Inks to the stencil itself, spritzed with water and turned face down onto a piece of white card, leaving it for a few seconds and mopping up any excess ink before carefully lifting it away. If the coverage is not to your liking you can re-ink the stencil and repeat, but luckily this worked well first time.

I cut the background and also a slightly larger white mat using some pierced rectangle dies and added these two layers to the 7" x 5" card. I then added the hearts as you can see using some dimensional glue gel and stamped a sentiment and heat set with the gold embossing powder.


Thank you for joining me today and I'll look forward to seeing you again next week.

Best Wishes,

Pat.

Wednesday, 28 January 2015

Guest Post - Butterfly Canvas by Julie Smith

How soon the weeks pass, we are already at Julie's last post as a guest designer and this week she has a stunning canvas to share with us.


Hello to you all, today I have a canvas for my third and final post as January's guest designer which I have created using the fabulous Punky Hearts and Fluttering Hearts stamp sets.

I started by covering the canvas board with Golden Molding Paste and dragging a contour tool through the paste to create texture. I added jute, wooden butterfly and bird charms, micro glass beads and a chipboard die cut cog to the wet paste and then set aside to dry.

Once dry I painted it with light pink and mint green acrylic paint so that the base was as light in colour as possible. Once dry I darkened the canvas by stenciling green dots and adding a variety of distress inks over the top. The flower was created by stamping the smaller heart four times from the Punky heart set. The centre of the flower is a small die cut circle layered up with a cheap bracelet charm picked up from Primark!
The butterfly and heart was stamped onto Clearly For Art Modeling film, I then sprayed alcohol pens on the reverse and then painted over the reverse with white Gesso to make the colour pop.

I stamped the jewelled heart using black Versafine and coloured with green and red chalks. I then punched a hole to add an eyelet and jump ring so that I could attach the chain to the steampunk style heart.

The steampunk heart was created by spreading Iridescent Paste over the rubber stamp and leaving over night to dry. Once dry I coloured the heart by spraying various alcohol pens and then attaching an eyelet to the key so that the chain could be attached.

Thanks to everyone that has left a very kind and very appreciated comment, I have really enjoyed being a guest designer and you have all made me feel very welcome.

Thank you for this inspiring project Julie and for being our guest for the last three weeks.  I am sure you will want to show your appreciation for Julie's final work of art and remember to check out her blog, Julie's Crafty Bits.