Pin It button on image hover
Showing posts with label Winter Edges. Show all posts

Wednesday, 9 December 2020

Christmas is coming (by Anne)


Hi everyone. I am delighted to be a guest designer for you this month. My first offerings are some Christmas makes. It's been a tough year for us all and this Christmas is not really going to be usual. However, lets hope that time goes by quickly and that we can look forward to better times ahead with our friends and family in 2021. Lots of hugs, Anne.

CHRISTMAS LANTERN

My first project is a pretty Christmas lantern. I mixed & matched lots of stamps on this one but just had to include my absolute fave reindeer stamp.

Woohoo – all lit up.

This one is to be gifted to my 96 year old friend who I help care for. We are having Christmas together as I am in her support bubble. I think that she will love it.

Materials List

Pretty 3D scene with house and trees.

A close up – oh that reindeer!

Adding the acetate baubles helps to blur and disguise the side edges of the card cut outs creating the scene.

How it was made:

  1.  The bare MDF lantern was coated with white Gesso (primer).
  2.   When dry it was painted with acrylics. Gilding wax was added around the ledges.
  3.  Versamark was applied through the stencil onto heat resistant acetate to create the Winter sentiment. It was heat embossed with sparkly white powder, cut out and attached to the lantern with strong tape.
  4. The snowflakes border was stamped and embossed with white glitter powder 4 times, cut out and taped to the top portion of the lantern arches. Two large baubles were also stamped, embossed and cut out.
  5. Extra snowflakes were stamped and embossed with white or blue glitter powders, along with a few twiggy branches, and cut out ready to use as embellishments.
  6. The main images; 2 large background trees, the building scene, smaller foreground tree and reindeer were stamped with Versafine and cut out. In addition pine cones were cut out from the stamped pine branch stamp.
  7.  Images were coloured with watercolour, glitter and gel pens.
  8.  Now for the messy bit – ha ha. The glitter gel was used to coat the base and spread on top of the ledges. Some was also applied behind the acetate to help glue it in place securely. I had this heavy bodied thick glitter gel in my stash for years. It really needed using up as it had started to set in the pot. Some of the half set chunks were stuck down into the wet gel for added dimension. For added sparkle I also dropped in some of the chunky mica flakes. You could substitute heavy bodied acrylic medium and add glitter for similar results.
  9. The stamped images were anchored into the wet gel to create the scene. I just had to add a little bit more sparkle over the images with clear glitter glue too.
  10. Once the glitter gel medium had dried I did a bit of dry brushing with white Gesso in some areas to add more snowy effects.
  11. The light string was then arranged to light up the background house and trees, and to light up the foreground tree. The wires were anchored with strong tape at the back of the images to help hold them in place. The switch was hidden behind the large background scene images.
  12. The acetate bauble images were added to the sides with red tape. This helped blur the view through the sides of the lantern where just side on edges of the card elements were visible. It may have been better to stamp the sides as one complete panel but I found that I needed easy access to the inside in order to arrange the stamps and lights.
The ribbon bow was added to the top. The acetate snowy sprigs and pine cones were added to embellish the bow. The glitter glue gel was used to anchor everything in place. Extra snowflakes used to embellish too.

ROBIN SCENE CARD

Every year I end up leaving my Christmas cards until the last minute so I decided to do a couple of projects that would be fairly quick and easy for batch making. I always use my stamping press for batch making – it makes it so much easier to line everything up and repeat stamp multiple times.

I hope that you like this robin scene card.
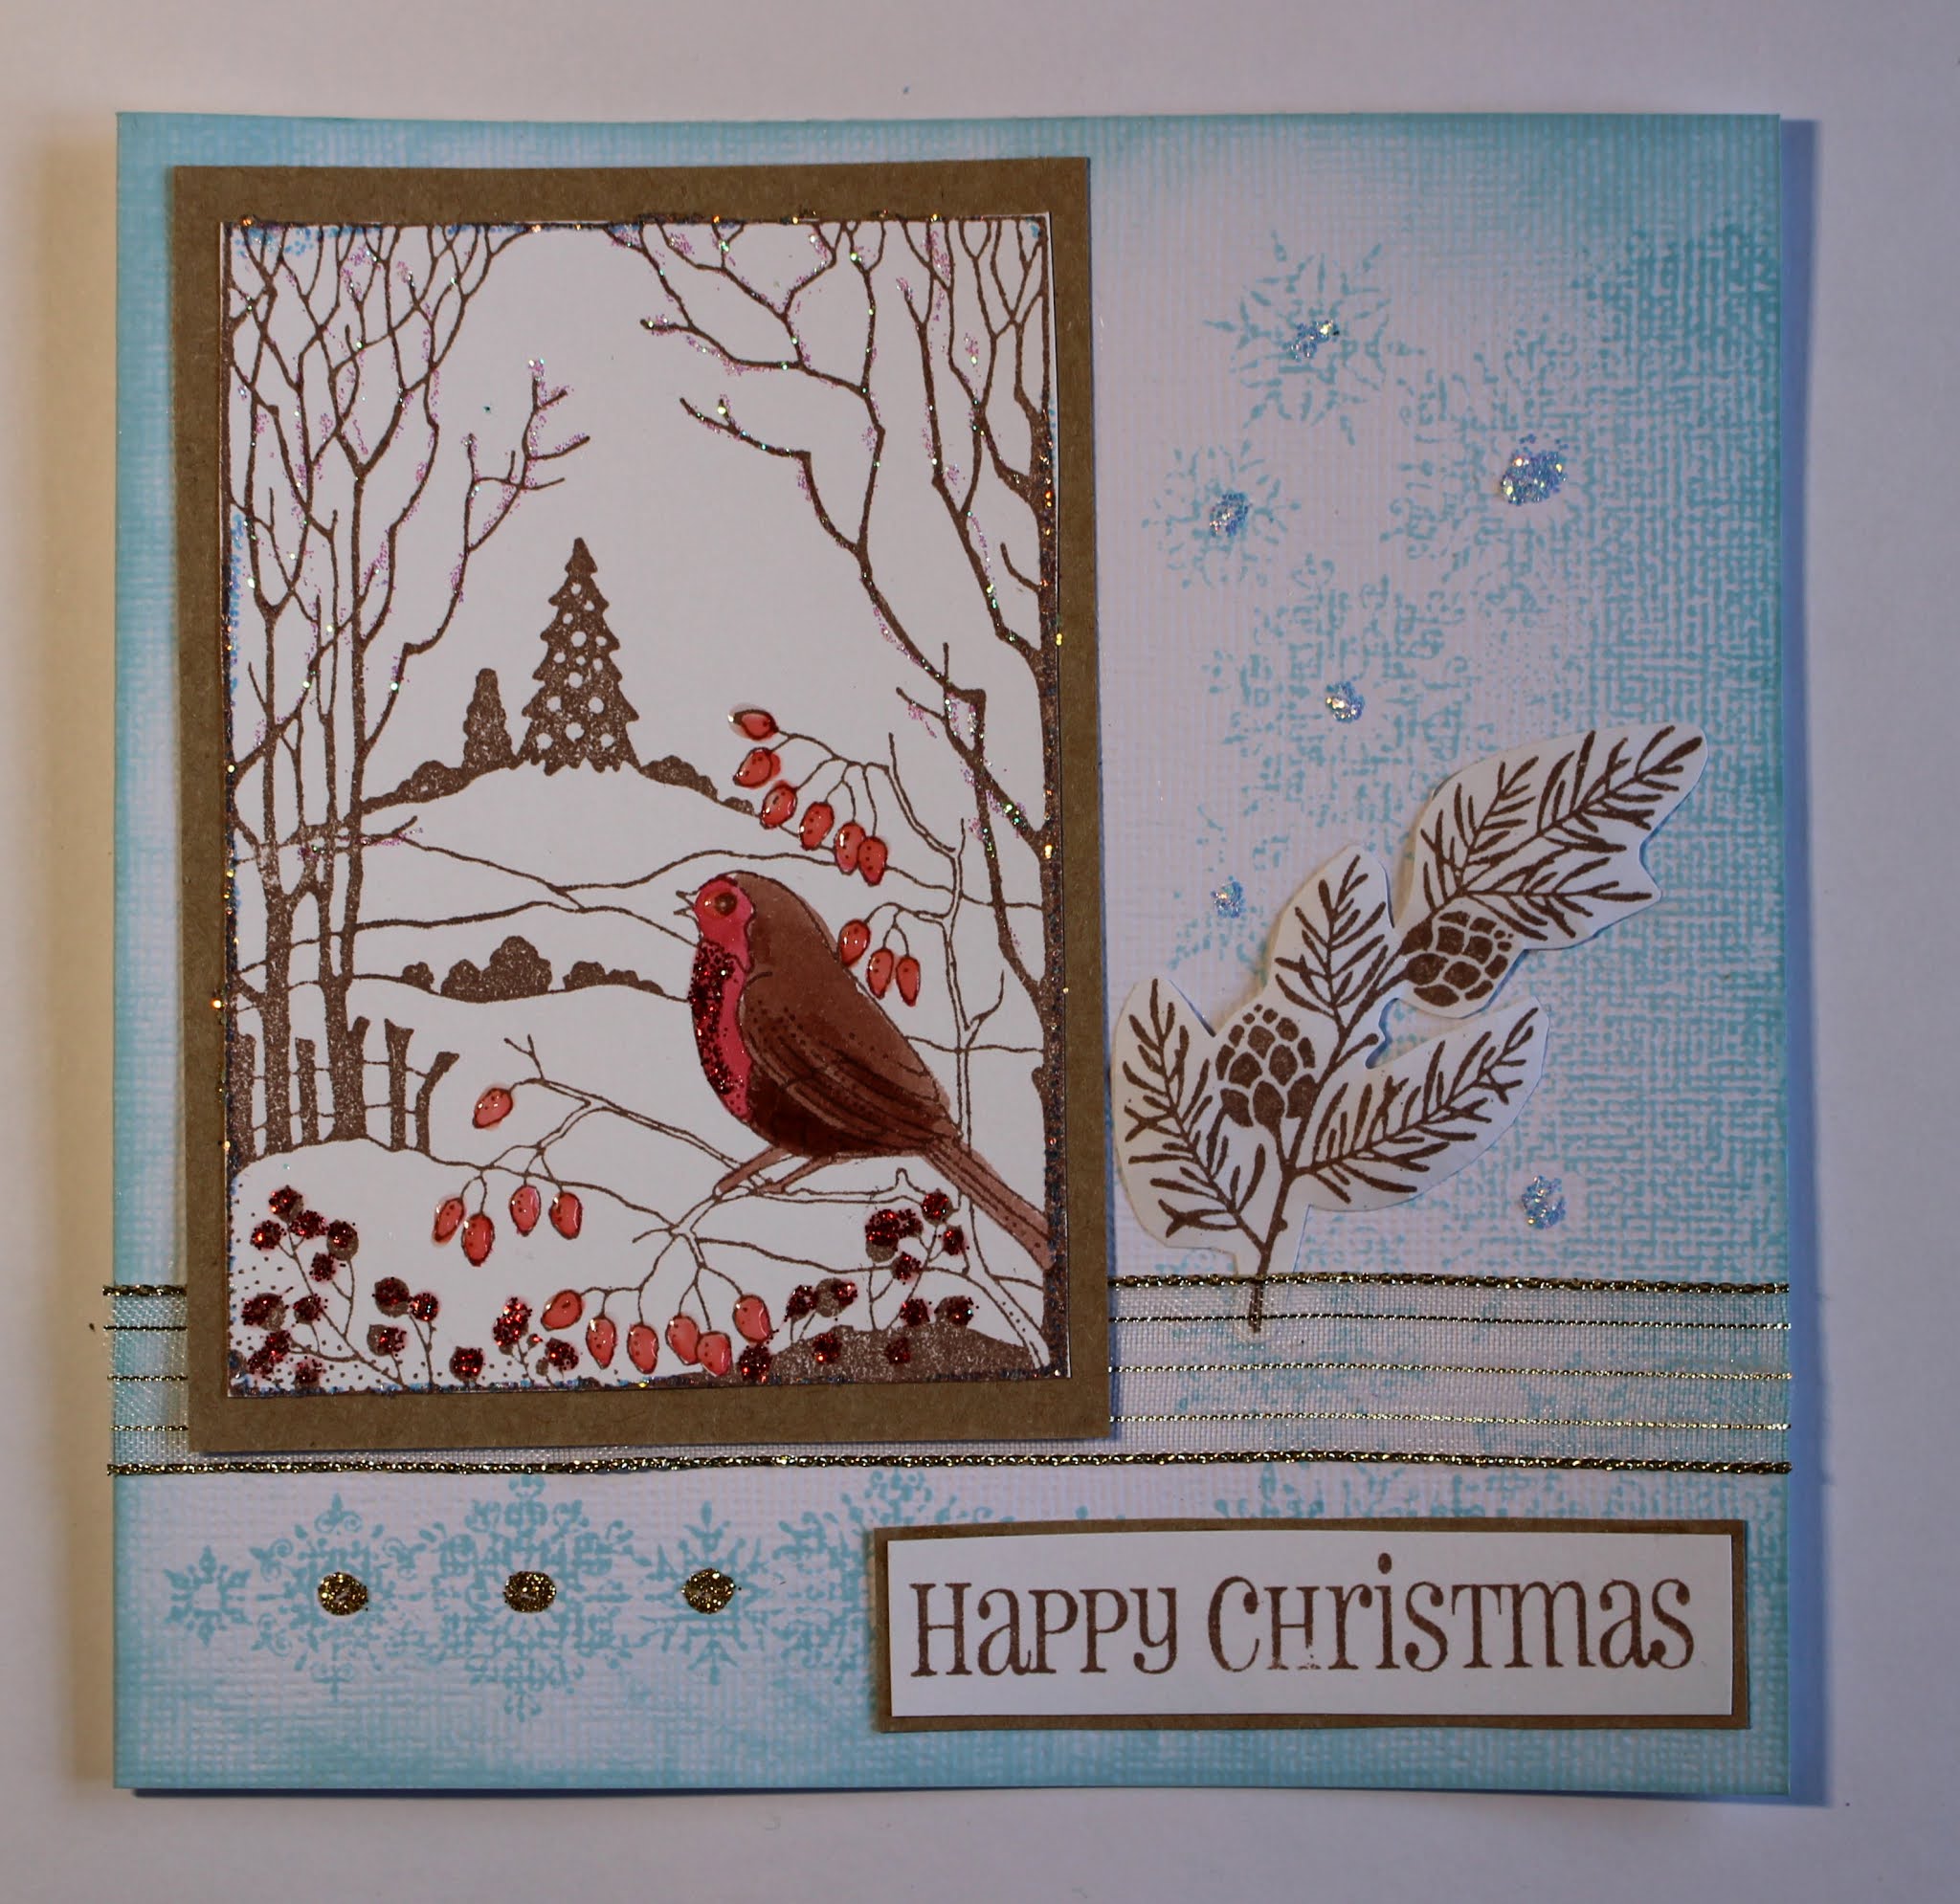

I added extra inking around the outer edges of this one but decided that it really didn’t need it so didn’t do it on the rest. I just had to get on with that batch making! Ha ha.

Materials list

How it was done

  1.        Images were stamped with Versafine and cut out.
  2.      The main image was coloured with watercolour pens and mounted onto Kraft card. Glossy Accents was used to add shine to the Rosehips, and glitter glues added for sparkle.
  3.         The snowflake borders were stamped directly onto the card blank with  Distress Ink.
  4.      The ribbon was glued down and the main topper added. The sentiment was also mounted onto Kraft card and glued in place. The branch was lightly shaped before gluing.
  5.           Finished with more dots of glitter glue. Hey – you can never have too much bling – tee hee.

Note: I kept these fairly flat for ease of posting. 3D foam could be used for more depth if desired.

CHRISTMAS TREE SHAKER CARDS

Who doesn’t like a shaker card? Scenic panel stamps make them really quick and easy for batch making. These were quite tricky to photo due to shiny acetate and all that bling. Hopefully you can see enough detail of the lovely glittery snow behind the acetate windows.

Materials list:

  • Frosty Trees stamp set (Chocolate Baroque)
  • 15 X 9cm white linen textured card blanks
  • Heavy weight textured white card (for frames)
  • Heat resistant acetate
  • Versamark Inkpad
  • Embossing powders: Detail white, white with silver glitter, metallic silver
  • Glitter for inside shaker (I used Pinflair Ice Diamond – non static glass glitter)
  • Stickles glitter glue (Icicle)
  • Foam tape and red liner tape (strong double sided tape)
  • Optional: Die to cut decorative aperture approx. 12 X 6cm (or cut a plain frame by hand). I used a die from Tonic (Kaleidoscope Box Panel set)

How it was done:

  1.         Cut a frame to fit the card front and surround the stamped scene.
  2.       Stamped the image onto acetate and heat embossed with choice of powder. Trimmed and attach behind the frame with strong tape.
  3.           Next attached foam tape ensuring that no gaps were left (to contain the glitter).
  4.         Laid card flat and placed glitter in the middle before placing the framed acetate scene.
  5.         Finished with dots of glitter glue.

MORE CHRISTMAS TREE CARDS

Finally I made another batch of quick and easy cards using the reverse scene image and blue ink. I do love monochrome blue & white cards.

Materials list:

How it was done:

  1. Images were stamped with Versafine. Note: images on the textured card blanks will not be sharp. This is fine for the backgrounds.
  2. Scene panels were cut out and stuck down with foam tape for added dimension.
  3.    Finished with glitter glue sparkles. Sorry but had to do it.


Tuesday, 6 November 2018

Christmas Inspirations (by Magda)

It is time to think about Christmas cards and on the Chocolate Baroque site you have a big choice of stamps.  Here below I show you three projects that could inspire you.

From Our House to Yours
1. Score a white cardstock and colour it with Distress Ink Pad
2. Stencil with embossing paste the snowflakes from Seasonal Elements
4. Stamp the birds from Fat Robin and colour with Distress Ink Pad using a brush and cut the shape
5. Stamp the sentiments from Let's get Festive, use Stickles on the snowflakes, and assemble all of the pieces as shown


Joy
1. On a white cardstock use several layers of stencil in blue Distress Ink Pad and the snowflakes from
    Seasonal Elements
2. Stamp Winter Edges in Archival Library Green and apply embossing paste on the trees and on the
    bottom
3. Colour the ground in brown/green shades of Distress Ink Pad
4. Stamp the sentiments from  Let's get Festive, use Stickles here and there  and assemble all of the
    pieces as shown


Frosty Trees
1. On a white cardstock blend  Distress Ink Pad  Barn Door and Festive Berries
2. Stamp with Versamark Onyx Black one tree from Frosty Trees plate
3. Stamp the sentiments from  Let's get Festive at the bottom of the card and cover it with embossing
    paste through a stencil
4. Wipe on the same  stencil a wet cloth in a corner on the top of the background
5. Stamp with water  the same tree of Frosty Trees plate  to create a shadowed wood
6. Apply Stickles gold on the stars of the trees and add a gold wire.


See you soon for my second post in November, happy Christmas crafting 
Magda


Sunday, 26 August 2018

Mini Book (by Magda)

Hello everybody
Here is a tiny "Mini Book" for your next Christmas memories.

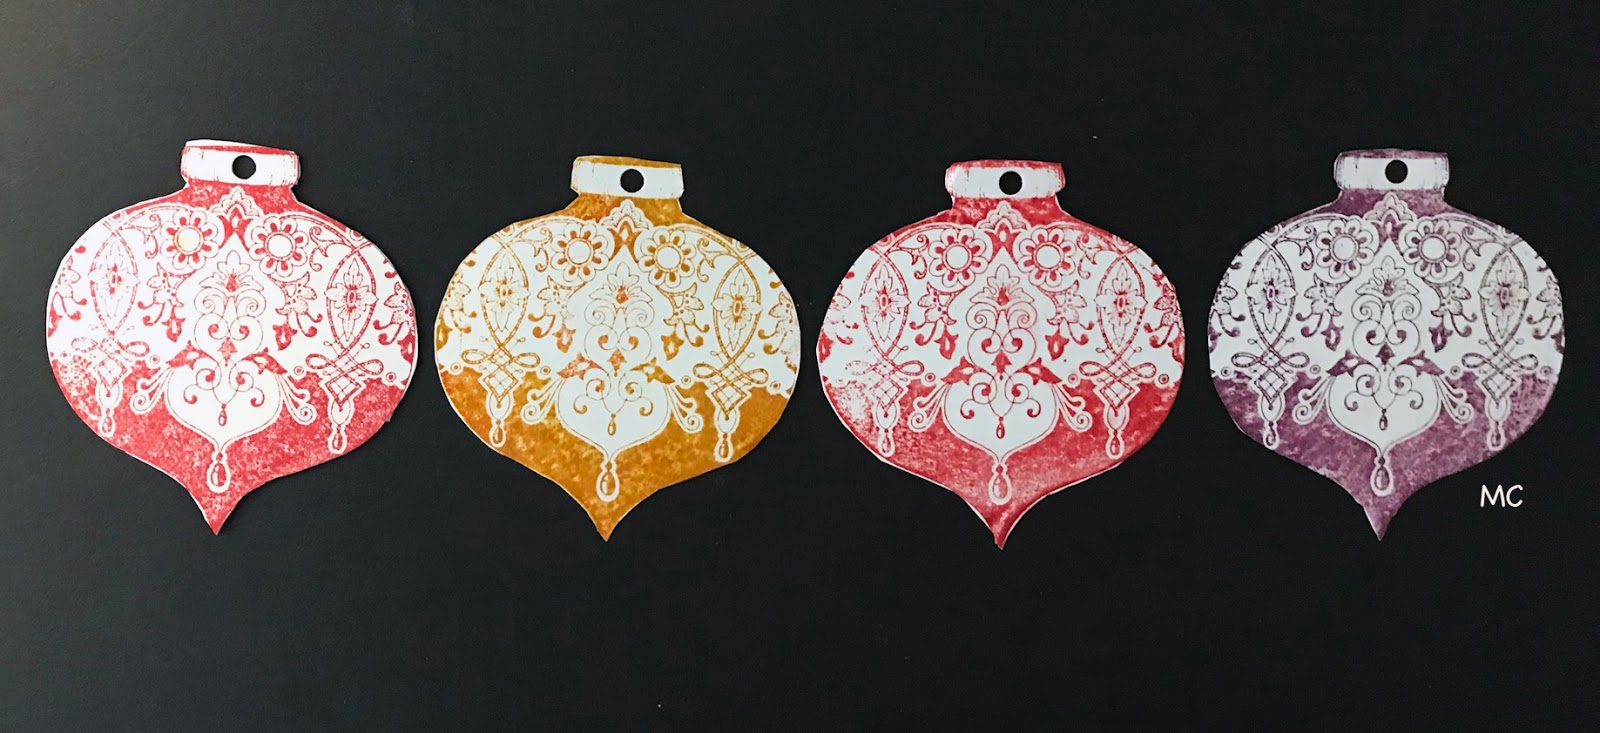
Stamp the bauble  of  Pears and Baubles stamp in different colours on a white cardstock , cut out the images and make a hole at the top of each one.


Stamp the sentiment in black with Versafine on a white cardstock and glue it on one bauble.
Blend Distress Ink Pad on the reverse side of the decoupage cut and stencil a little star as decoration


Assemble the baubles, at the end the mini-book will look like the photograph below:


For this card I used  the background stamp, the bauble and the sentiment from Pears and Baubles


From the same stamp sheet, Pears and Baubles   I stamped the Tree, while the borders are the snowflakes from Winter Edges stamp set. I stenciled stripes for giving some movement to the background.


I wish you a nice Christmas Crafting Time,  full of ideas, and fun in creating.
Magda 

Saturday, 25 August 2018

Christmas Candle Box and Card (by Anne)


Good morning. Today I am sharing a couple of Christmas project ideas with you.
The first is a festive card with a bit of a grunge feel. I was experimenting a bit with this one – just had to add a bit of glitter bling though (no stopping me – ha ha). Stamp sets used: Winter Edges, Pears and Baubles plus Let’s Get Festive.
How it was done:
The card blank was stamped with the snowflake border and black dye based ink (12cm square texture Kraft card).
A die cut tag was spritzed with green and gold ink sprays. When dry the background was stamped with snowflakes and the sentiment using black ink and opaque metallic gold acrylic paint. A little black ink was blended around the edges. Black and white Bakers Twine was tied onto the tag and around the card front.
The tree was stamped with gold paint onto black card. A little opaque red gouache paint was added to the branches. This was cut out and mounted onto white card to create a border around the tree. It was lightly shaped before gluing to the card.
Next for the bling: I added Stickles (Gold and Sprinkled Sugar). Glossy Accents was also added over some of the elements to add shine and depth.
My second project is a festive candle box using the lovely Robin The Spruce stamp set – lots of bling on this one! The decorative background stamp from the Pears and Baubles set was also used to decorate the inner box panels, plus the Seasonal Elements Stencil  to add sparkly snowflakes to the inner acetate box lid.
How it was done:

I first created a little plain box with acetate lid to go inside and hold 4 small T-light candles (approx. 8cm square and 2cm deep). Viva Décor glitter paste was applied through the stencil to decorate the acetate lid.
An A4 sheet of silver decorative metallic card was used to create the outer box. This was a little deeper than 2cm (to accommodate the inner box) and approx. 9.5cm X 13cm (large enough to fit the stamped panel and sentiment on the front). The candle box was glued inside and Pinflair Snow Dust used to create a snowy effect.
Instead of a fitted lid I created fold over flaps for the top (approx. 13 X 8cm each). Inner panels were stamped in green ink onto smooth white card and coloured with watercolour and sparkle pens. Red glaze pen was added to the berries. The panels were glued to the inside flaps. Thin magnets were added between the card layers to give a magnetic closure, plus a little ribbon tab added for opening. A little obligatory bling was also added with silver glitter glue.
The sentiment was stamped with black ink onto a die cut panel. Foliage was stamped in green around the edges, and yes …. more silver glitter glue.
The front panel was stamped onto acetate with black StazOn ink. The back was coloured with alcohol ink pens. A piece of plain white card was trimmed and glued to the back creating an opaque background layer.
Glaze pen was used to colour the berries and rosehips, and glitter glue added to the snowy hills.

Thursday, 23 August 2018

Christmas roses (by Veronica)

 My last samples for this month share a theme of Christmas roses, and both stamps are great for colouring in.
The first stamp is called 'hark the Christmas rose'  and has a background of music for the carol 'hark the herald angels', which i thought was a lovely combination.
 The first one was stamped with versamark onto black card and gold embossed before painting with some very ancient mica paints - I think this one used H2Os. Trimmed down, mounted onto gold card, then onto a white card blank that had been randonly stamped with the roses using a gold inkpad.
 The second version is very similar, but embossed in silver and the paints were from an anonymous palette of mica paints - it is so old that the clear lid has disintegrated, but the paints still work fine!
This time i stamped and white  embossed the snowflakes from winter edges to make the background, then sponged a light grey ink round the edges before adding matting layers of black and silver


The serena stamp does count for this theme as it has a small bunch of Christmas roses!
My first card was the simplest, stamped with versamark onto cream card and gold embossed.
Painted again with the mica paints, a thin gold mat and mounted onto a white base card randomly stamped using the Christmas roses which were gold embossed. The sentiment is from 'lets get festive'.


The final version I stamped serena three times,  once onto white card and twice onto black and silver embossed all the images.
One of the black cards was trimmed to size, and a versamark pad dragged roughly round the edges which were then silver embossed.
Serena was painted with the mica paints on the white card and fussy cut out, then glued onto the image on the black card.
The roses and candles were painted on the third image, then fussy cut out and glued on.

I hope that you enjoyed Christmas in July, there are loads of lovely samples coming up from the girls, so keep looking!


Wednesday, 22 August 2018

Frosty Night in Laketown - by Penny

Hi everyone - Penny here again with a bit more crafty fun to share with you.  Today I have another of my Christmas samples from last month featuring stamps from the Winter Edges, and Let's Get Festive sets; a Blue Sparkle pen, black Versafine ink, clear embossing powder, die cuts and glitter from my stash.


I took a piece of Drawing Cartridge  card and stamped and embossed the town image in black.  I then created a background with the Sparkle pen and added a gold star in the sky.


I created a reflection of the town using acetate as a stamp and used gold pen on the embossed image as highlights.  I then took a white base card and cut an oval aperture into the front, and attached the focal panel to the inside of the card front, so that it showed through the aperture.  I took some Christmas foliage  die cuts from my stash, added some ink and glitter and attached them to the card around the aperture, to frame the scene.  Finally I stamped and embossed a sentiment at the bottom of the card.

Thank you all for popping in today  and taking the time to read this post, I hope you've found it inspiring.  For more details check out my blog:   https://ladypenelopesfabcraftyblogspot.blogspot.com


See you all next time,

                                         x  Penny  x         

Saturday, 17 December 2016

quick tags


two very quick - and very last-minute!- tags to show today.
I used white tags, as they were handy - for this one, a blue tag would have been even quicker.
I just stamped the larger snowflakes from the winter edges set across the top of the tag using versamark and embossed with white EP., then sponged chipped sapphire distress ink across the tag.
Of course, if you have a pristine versamark pad, you can just emboss with clear powder,but all mine are varying shades of grey, so white powder it was......

Second tag uses the bells from a child is born, stamped with black versafine and clear embossed. Coloured with watercolour pencils and a waterbrush, with the green of the pine needles brushed out around the bells.

Hope you are all more up-to-date for Christmas than I am, I still have cards to make and post, but at least I have the stamps ready (both rubber and postage)

Veronica

Thursday, 1 December 2016

Faux Candles (by Julie)

Hello crafters! The countdown has begun...are you ready? What do you mean no!
If you would like a quick decoration idea then you are in luck as I have two faux candles to show you. They are both stamped with the rather lovely Winter Edges and really don't require too much effort.


Firstly take some copier paper and place it down in portrait style. Ink up the Winter Church Edge with Onyx Black Versafine and stamp along the bottom of the page to make a continuous border, then cut your page so it measures approx 8.5 cm high. You will need to cut a piece of acetate the same size.
You will then need to reach for your Pan Pastels and sponge over Blues and Greys, with yellow around the silhouette. Take off the excess dust with a kitchen towel before patting the entire strip of paper with Versamark, or any other clear embossing ink before adding clear embossing powder and heating. Do this twice so you have a nice smooth finish.


Next step is to staple your pre-cut acetate to make a cylinder and then wrap your embossed design around the outside and secure with double sided tape. Dab silver Distress Paint around the edges, top and bottom, then place the finished candle over a battery operated tea light.

The Christmas tree candle is made in the same way, however I allowed more height to take account of the design being taller than the Winter Church scene, so this candle is 10.5 cm tall. The trees were coloured with brush markers and I swapped the dark blue Pan Pastel for a lighter, icier blue.

Many thanks for looking and hope to see you again soon.

Julie xx

Tuesday, 3 December 2013

Christmas Farewell (by Clare)

Hello!  It's almost that time of year again!  Christmas!  I cannot believe how fast time is flying by, although having to sit without being able to do much makes time seem to drag by.  I am so sad to say that after having a fourth surgery on my left shoulder, one on my right elbow and right shoulder upcoming, I am stepping down from the design team for a while.  I haven't been able to keep up with all my talented and creative team mates!  I hope you enjoy these few last cards of mine.  I wish each and every one of you Merry Christmas, a blessed holiday, and a prosperous and healthy New Year!  I will miss you all!

This first card was made with two stamps.  The background is from the Winter Edges set, and the main image is from the Reindeer Landscape set.  I used a wood-look embossing folder on the blue base, and placed two rows of glue and blue chunky glitter across the bottom.  The background was stamped in dark blue on white cardstock, then cut in half to fit across the 6" width behind the main image.  The deer landscape was stamped on white and heat embossed in teal blue.  I used a sponge dauber and blue inks in three different shades on the top and bottom.  There is light blue sparkle sheer ribbon 1" wide tied around the top, with a small piece of teal 1/8" wide satin ribbon tied around the center and a plastic snowflake button glued over that. I adhered the main panel over all with dimensional squares.


The card just below was made using the ornament edges from the Christmas Edges stamp set, and a bauble stamp from the Pears and Baubles set.  The white card base background was stamped in dark green with the bauble edge stamp after cutting the card out with a large die. I cut a smaller green panel with a smaller die, then positioned a scalloped-edged die in the middle of the green card cutting it twice to create the desired effect.  A white oval was die cut and lifted off the green panel with dimensional dots.  The beautiful bauble was stamped and heat embossed in white on dark green cardstock, then touched up with a silver marker.  I hand cut this out then positioned it on the white oval with dimensionals.  A piece of 1/8" wide silver ribbon was tied around and rhinestones placed to enhance.  (the green is a dark forest green, not teal as this looks)  The final touch was a thin line of silver marker around the periphery.


The next card is a favorite of mine!  I love the color purple (for royalty) and this turned out so pretty combined with the plum and silver.  My camera shot didn't do it justice!  I made a card base from white cardstock, and covered the front completely with purple/lavender paper.  I heat embossed both the deer image and the trees, using purple and silver, respectively.  Purple and plum ink was daubed onto the top and bottom of the image, as well as on the horizon.  The trees were hand-cut, and positioned with dimensional dots, giving the view some depth.  Some iridescent silver ribbon 1/8" wide was glued around the outside edge of the image, and was very easy to do.  A super CAS card!  The stamp set I used is Reindeer Landscape.


I'm really fond of this next card, because I love Poinsettias, and Chocolate Baroque has really done a great job with these Zentangled ones.  The stark red and black on white is really striking!  I've used two stamp sets on this card - Christmas Edges, and Joyful Christmas.  The card base is white, with dry embossed dots across the top half of the front.  The Christmas Edges poinsettia stamp was used in black across the bottom, and I applied some tiny little shiny red stickers for the centers.  Red was daubed all around the outside edges of the card.  Red 3/8" grosgrain ribbon was glued across the center of the card, with red cording glued over that.  I stamped the larger flowers from the Joyful Christmas set two times, then cut them out and layered them for dimension.  Yellow rhinestones were glued to the centers.  I framed the sentiment with red cardstock after stamping in black, then glued on.  A very easy card to make!
  

This next card is an easel.  It's  4 1/2" wide by 11" total length, scored at the 2" and 4 1/2" marks.  It's folded in half, then the bottom 2" flap is folded up.  I cut a piece of coordinating card stock (red) to 4 1/2" wide and 4" top to bottom, then scored in half widthwise.  Unfolded, I die cut the top edge (inside) with a scalloped edge, the inside the bottom, used another scalloped edge die to make the design through which the white card base is seen.  I stamped the sentiment in black.  With this flap folded down, I glued a little plastic snowflake button in the center for the top front to catch on forming the "easel".  For the top front, I cut a piece of patterned coordinating paper to fit, leaving only 1 3/4" of the white card base showing at the bottom.  Using a scalloped die, I cut the same as on the front in the bottom white edge.  On the bottom right of the patterned paper, I stamped in black the tree grouping from the Winter Edges set.  I placed some red shiny sticker circles on the garlands on the trees.  At the top of the card in the score line, on the left about 1 " in from the left edge, I used a craft knife to cut  a 1/8" cut to thread the yarn through with a needle.  Before tying into a bow, I threaded a plastic tree onto the yarn to finalize the card.


This next card is another favorite of mine, and I love the icy feel of it.  I used an "all-over" punch to make the snowflakes in the white panel which was glued over the white card base, shaded with stamp paints in blue and lavender.  I stamped the three different snowflakes and embossed in silver, tinting the center or the edges with light blue ink and a dauber.  I cut them out by hand.  The snowflakes and trees are from the Reindeer Landscape set.  The trees were stamped on white with silver embossing, then shaded in with markers.  I stamped the sentiment "Winter Wonderland" from the set Bold Christmas Words on blue cardstock then embossed it in white.  I cut it out with a large banner die, and shaded the edges in blue stamp paint.  Before gluing everything down, except for the snowflakes which I adhered with dimensional dots, I tied a piece of 1" wide sheer blue ribbon around the bottom, and tied a bow, gluing a small blue snowflake brad in the center.


This last card is a wonderful image of a winter fairy.  She originally had a fall of roses in her hands, but since I was making her for Christmas, I changed it up with holly boughs.  She was so much fun to color!  Love those wings!  She comes from the new set, February Fairies.  For the top and bottom borders, I used the holly edge stamp from the newly released Christmas Edges. 


Again, I'd like to wish you all a very Merry Christmas, a Happy and Healthy New Year, and I've really enjoyed working with all the wonderful design team ladies!  Please continue to check back for their amazing work!  Here's to better health, healing and getting back into the swing of everything Chocolate!  Yum, yum! 

I'd like to thank Glenda and Adrian for being so generous, and their patience during my learning how to manage a blog entry, working with editing of photos, and computer glitches.  Lesley, I wish you continued healing, and pray that you will be back to "normal" very quickly!  Sue, thank you for drawing up some gorgeous "must-have" stamps!  You're amazing! 

Merry Christmas, with love!

Clare  


Wednesday, 27 November 2013

Winter Fairy and Snow (by Shirley)

Hello everyone

I have a design today featuring a fairy from the new Winter Fairy Collection and it's starting to snow on her.   I guess fairies don't need warm clothing :)  


The beautiful fairy is from January Fairy and the tree is from February Fairy.   I also used the snowflake edge from Winter Edges.  I love how Chocolate Baroque's beautiful stamp sets work so well together.   The designer is very talented. 

I used blue design paper from my stash that actually has a wood grain pattern, but I liked the colour for the sky.   I did all the stamping with Rich Cocoa Memento Dye Ink and colouring with Prisma Pencils.  I masked the fairy before stamping the trees and 'ground'.    I stamped the bottom part of the snowflake edge on the ground and coloured it in.   I used puff paint for the snow.

Thanks for visiting and have a great day
Shirley

Monday, 14 October 2013

Snowflake Edges (by Debbie)

Hello all visiting today. Like many card makers I'm in full on Christmas card making mode at the moment and hoping to leave time to make a few handmade gifts for friend and family.
For this trifold square card I stamped the snowflake border from the Winter Edges stamp set three times with Versamark and embossed with Nice Ice Blue embossing powder. I trimmed two of them for panels for the front of the card and the third to fit the inside. I added the sentiment May you days be merry and bright which is great for the inside and front of cards.
Here's another card I made while I had my equipment on the table.
Thanks for visiting. Debbie

Saturday, 12 October 2013

Let it Snow by Clare

There's a little chill in the air at night, so I know that winter is right around the corner!  I wish it would snow!  I know you probably think, "She's nuts", but I can't help it!  haha

This card really makes me think of a snowy day in Colorado where I was born and raised.  We'd have some storms that would be blizzard-like, but my favorite is the heavy huge flakes that stick to everything, and are perfect for making a snowman!  The second photo shows the dimension of the snowflake flowers.  I layered some snowflake vellum over the blue cardstock, and stamped the snowflake edge from the new set, "Winter Edges" in glue, then added a lot of sparkly glitter.  The sentiment is from the set, "Bold Christmas Words".  I used a snowflake embossing folder, spread clue across the tops of the raised images from a glue pad, and added more sparkle.  I die cut snowflakes from white cardstock, shaped them with a stylus on a pad, tinted the edges of one with blue, and layered with dimensional dots.  The last touch was the blue rhinestones.  Very easy to make!


In this photo you can really see the sparkle, and the
dimension of the flowers.