Pin It button on image hover
Showing posts with label Distress inkpads. Show all posts

Tuesday, 27 September 2022

Don't you just love Versatility ? (by Doreen)

 Don't you just love Versatility ?

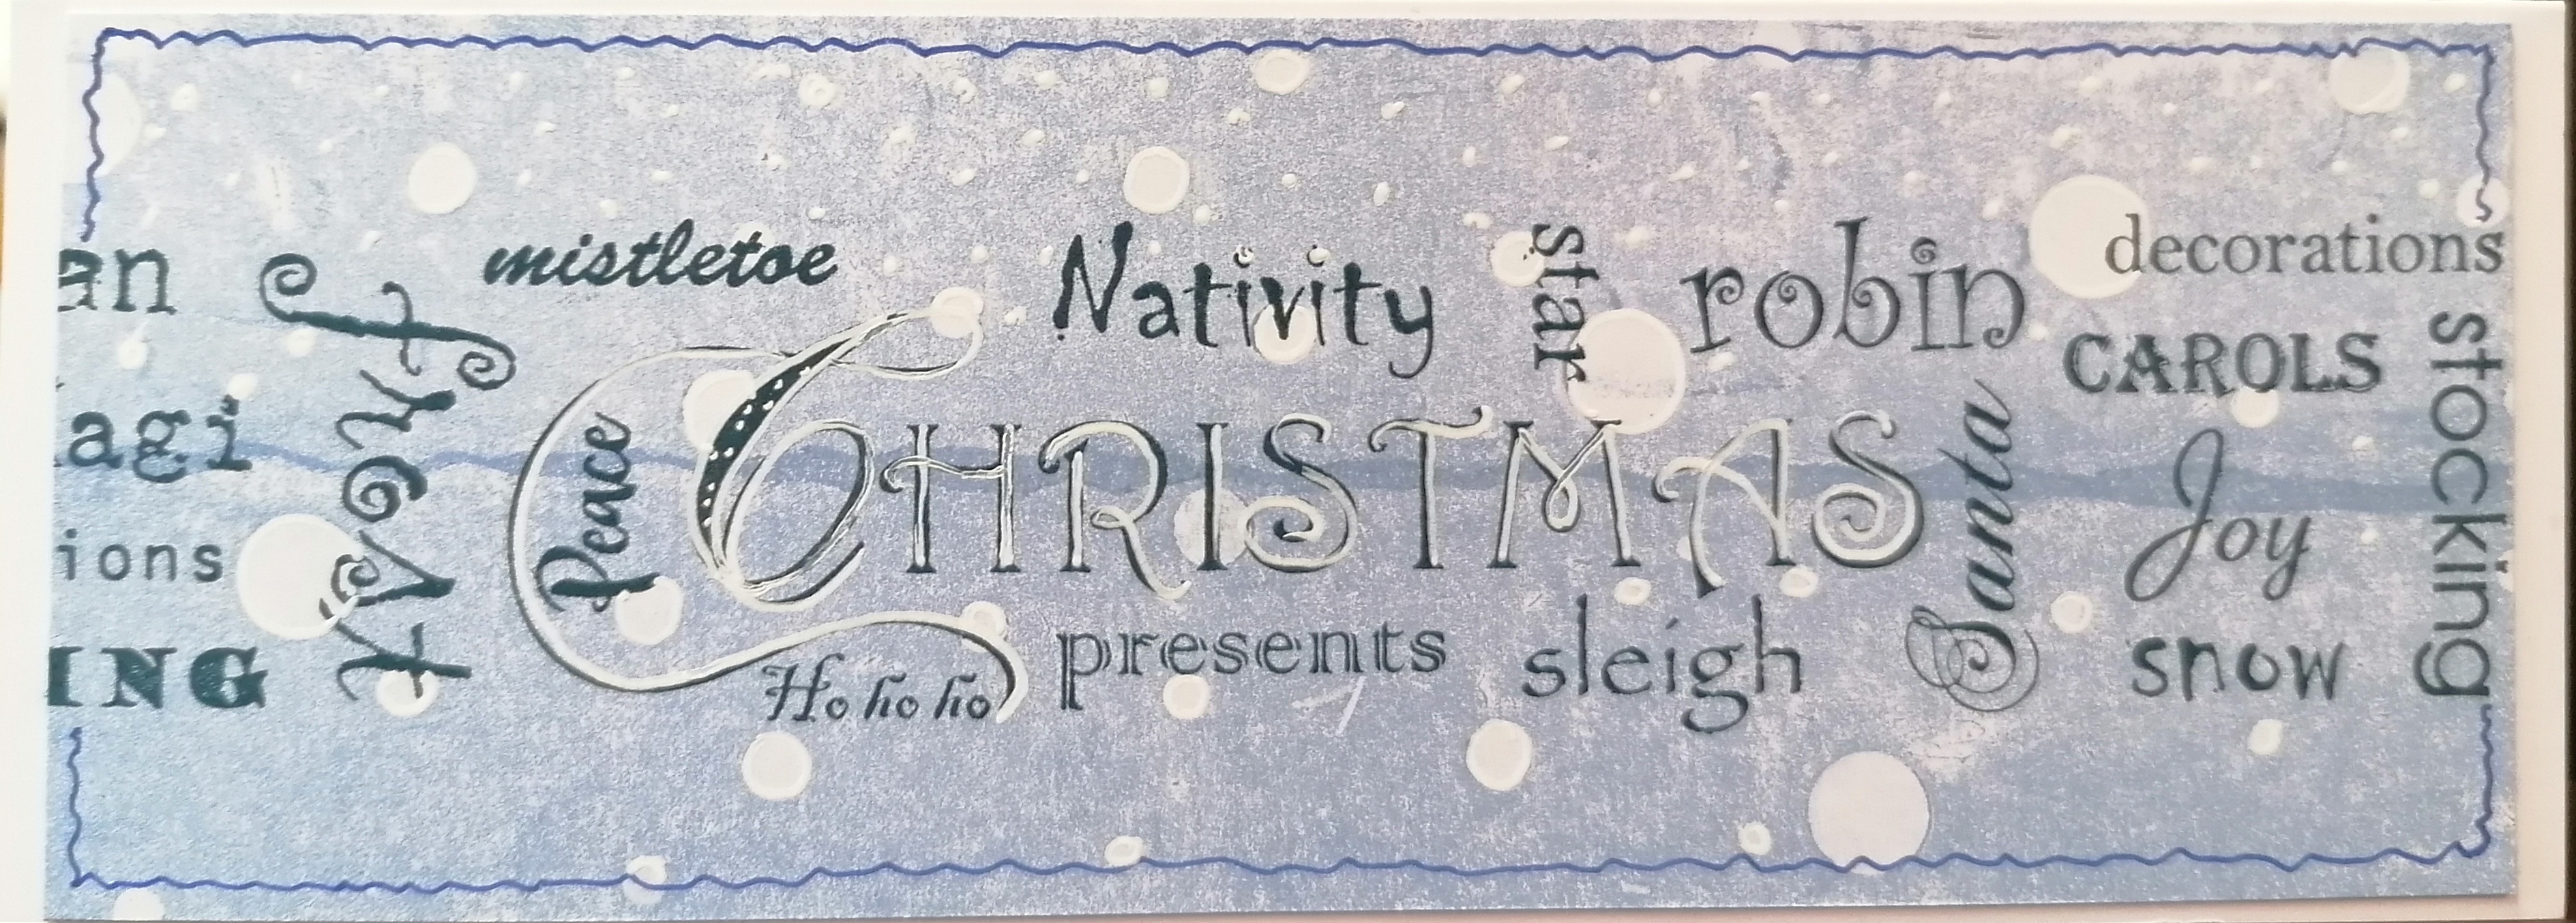
Hello everyone, for todays blogpost I have included several different makes, all from the same wonderful set of stamps along with a couple of other stamps from other sets.

The stamp set is one of the brilliantly designed word strip sets A4 Slim Word Strip 2 the other sets used are Rejoice! and A Tomte Christmas. I have used several different techniques which I am fairly certain you are familiar with they are Distress Inks applied with blending brushes mainly either to use on their own or through stencils or to colour Chocolate Baroque Black and White printed DL card. Versafine Clair Inkpads are also used throughout in Black, Dark Blue, Versamark with White Embossing powder.





If you have any questions on any of the above card do not hesitate to ask.

Thank you for looking in today

Love Doreen


Tuesday, 20 September 2022

Tree of Knowledge ( by Doreen)

 Tree of Knowledge

Hello everyone, welcome to the second blog of the month for me, which gave me the opportunity to use one of my favourite dies in conjunction with this beautiful stamp set. If you were not already aware I love trees no matter of size shape etc I am just fascinated by all of them !!

   The Tree of Knowledge I feel lends itself to this die not that I can remember where I purchased it from it just lives on a magnetic sheet waiting for me to put it to use.


I have used the largest of the dies for a base and the next size for the image. I stamped the image using Versafine Clair Morning Mist, then coloured the edges with Distress Inkpad Olive applied using a blending brush. The sentiments were also stamped in the Versafine Clair Morning Mist ( I really do like this grey) and then I coloured the image using
 Derwent Chromaflow Pencils.

I made my own stand for the back of the card as I didn't want to mount this on a blank and wanted it as a stand alone card in its own right. I simply scored a piece of card applied it to the back of the card and cut off an angle at the bottom to make it stand with a bit of a tilt.

Below is another sample made on watercolour card using Brushos and stamped in Black.


Thank you for looking in today

Love Doreen


Tuesday, 30 August 2022

Harebell by Doreen

Harebell

Hello everyone, today  I would like to share a quick but effective card with you using the Harebell Butterfly stamp set. I had the background left over from a previous make but it just uses the original Distress Inkpads applied and blended with brushes.


This card is quite simple already having a spare background or you may have some printed papers that you would like to use.
I  decided to stamp in a different colour as normally I tend to stick to my old faithfuls Grey, Black or occasionally Blues. With this card I have used Versafine Clair Purple Delight.

Stamp your main image almost centrally and stamping off the edges using other images from the set plus using the silhouette stamp for your foliage at the bottom of your images.
I have coloured the images using Inktense Pencils blending the colour with water.
I simply mounted this onto a blank white card as I really didn't think it needed anything else. If you do not have the Inktense Pencils, Watercolour Pencils or paints will work equally as well if painting my go to paints are the Koh - I - Noor watercolour paints which Lesley tries to bring to the shows as regularly as possible and are worth their weight in gold.

Thank you for looking in
 
Love Doreen 


Tuesday, 8 March 2022

Double Delight by Doreen

Double Delight

Today I would like to share with you this card, I do like long slim cards. 


This card uses the Floral Delight  stamp set which is a single floral image. If you like one half of the photo above.
The background was coloured first using Distress Inkpads and blending brushes.
I then stamped onto Masking Tissue but not stamping the sentiments.
I splashed the background with water and then blotted with a tissue, quickly check this is dry by a brief heat gun dry.
Take a Black Inkpad to stamp one side of the card ( I have used Momento Tuxedo Black) then apply your cut out mask to the image and re-ink your stamp and line up as well as is possible with the image on the card slightly overlapping the stems this will not matter if it doesn't line up as well as you would like if you use an embellishment or stamped butterfly, maybe a a bow if you wish.
I used coloured pencils to colour the images.
With some of the card cut from the initial coloured card stamp your sentiments and cut them out, using a Black chisel ended permanent marker edge the card and sentiments. Apply to card separately on foam tape.

Thanks for looking in today 

Love Doreen


Saturday, 8 January 2022

The Versatility of Damask by Doreen

The Versatility of Damask 

Firstly I would like to wish everyone a Happy New Year, I do hope you all enjoyed a good Christmas too.

My first projects today use the Damask Panel perfect for using in its own right or as a background which is how I chose to use this background which I have taken from my stash of Brusho pieces. I also used one of the many beautiful butterflies from the Chocolate Baroque selection.

I stamped the butterfly using a Versafine Clair Nocturne inkpad and then covered the whole of the stamp in Versamark the colour comes from Salvaged Patina and Kitsch Flamingo embossing glazes sprinkled onto the Versamark and heat embossed.


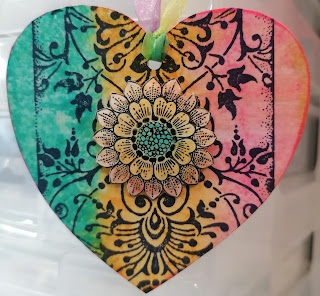
The second is a heart shaped sample using Distress Inkpads on an acrylic block which is spritzed with a little water and a swiping action straight across the Damask Panel onto the  background. Then I stamped the Song Thrush onto  a piece of card and painted using the same Distress Inkpad colours used for the background, then I fussy cut the large flower to decorate the Panel. Shape the flower and apply using Silicone Glue Gel to apply to the heart. Use a light varnish or spray to give a sheen and then put ribbon through hole to hang.


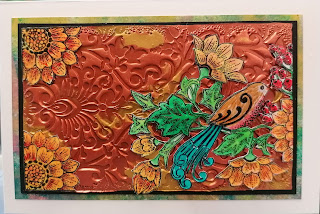
The final sample shows a background using a Soft Form Copper and a Gold Relief Paste applied directly to the stamp and left to dry overnight. I also used the Song Thrush to decorate this card just cutting out desired elements and applying to the background using a strong PVA glue.


Thank you for looking in today

Love Doreen

Tuesday, 19 October 2021

Enchanting Echinacea

Enchanting Echinacea 

Hello all, today I will be sharing samples of the Echinacea Blueprint stamp set. The Echinacea has to be one of my favourite plants so pretty and they do last a lot longer than you would think if you deadhead them regularly.

For this first sample I made a mask of the heart and cut the Masking Tissue the same size as the topper which really helped when making both the heart itself and for masking the outside when using the stencil to make 'sunrays' inside of the heart, these masks can be kept for future use and will be used many times more yet.

I used Distress Inkpads to colour and Promarkers to add extra detail.


Here are a few more samples for you the Echinacea is a very easy flower to cut out so although you may not like fussy cutting this is not too fussy.


Thank you for looking in today, take care

Love Doreen


Wednesday, 29 September 2021

Poinsettias - Christmas is coming ...


Poinsettias - Christmas is coming ...


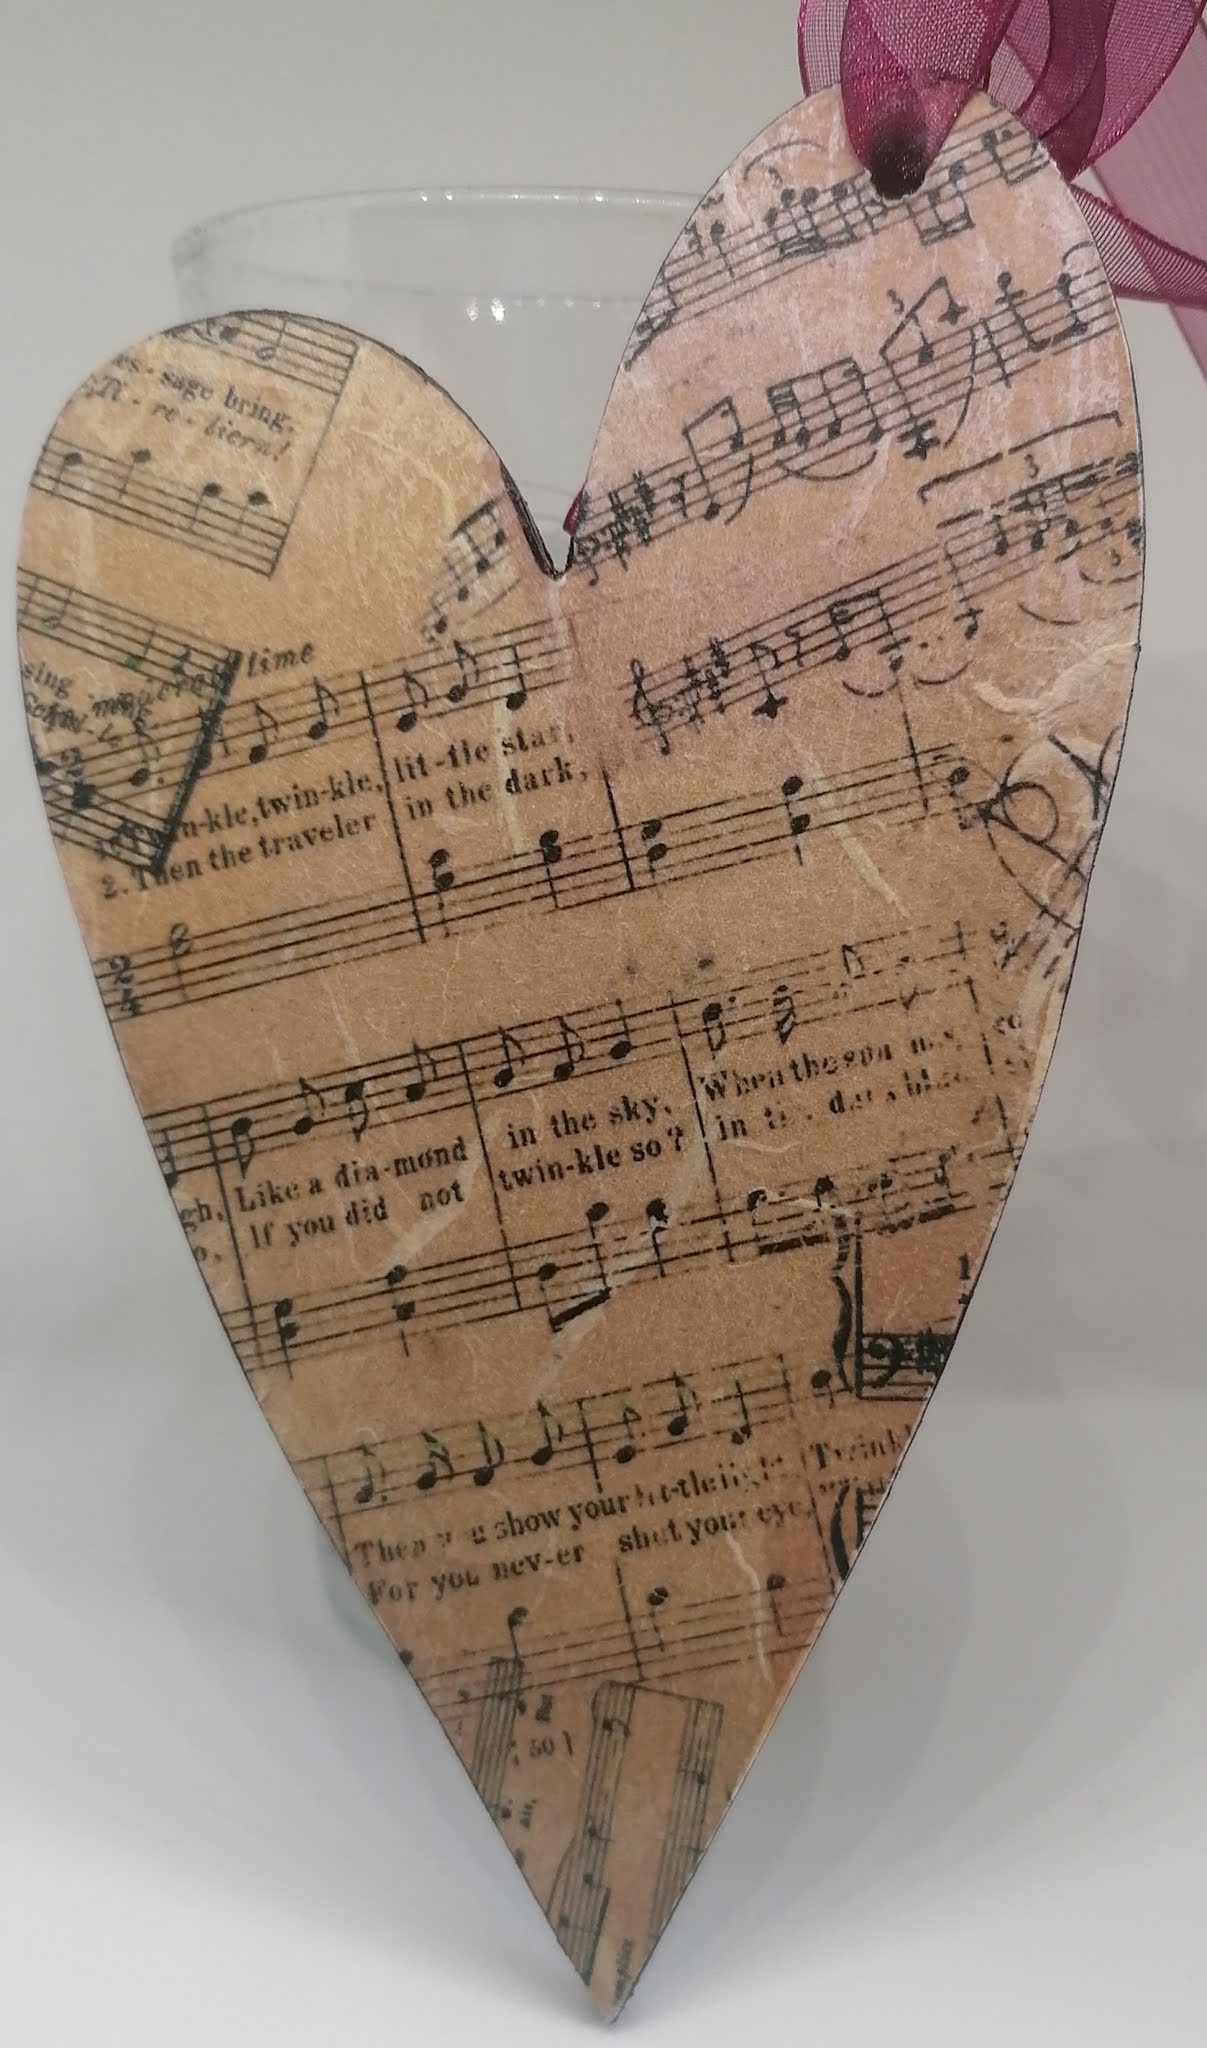
 Today I am using a set  of DL Rubber Stamps the Poinsettia Script is a beautifully designed set and can easily be made into a 3d image should the mood take you. I have shown the front and the reverse of this heart which could be used on a gift or as a gift to someone special. Or maybe even a Christmas Decoration.
I used a blank Rice Paper to stamp onto and then coloured using Distress Inkpads a little water and paint brush, then once dry stamped the image using  A Versafine Clair Nocturne Inkpad. To add extra colour to the image I have used some watercolour brush pens. To seal the image onto the heart I have used Deco Art Decoupage. On the reverse I have used a pre-printed piece of Rice Paper, sealing once again and then after completing both sides of this heart I used a permanent black chisel tipped marker to go around the edge. Finally I used a suitable piece of organza ribbon making a loop and bow to hang the heart from.


Thank you for looking in today 

Love Doreen


Sunday, 8 August 2021

Summers Day

Summers Day


Hi everyone, here are my picks for today. Can't you just imagine looking a view just like this out of a window ? 
This was a fairly quick make to be fair. I used a cloud mask and some of my Distress Inkpads applying them with soft brushes onto some glossy card.
Next with some Versafine Clair Green inkpads and the 
 For the grasses in the foreground I just used the tops of the stamps, applying them randomly. When completely dry buff with a soft cloth to give a sheen to your finished card and although I chose not to you can easily add a sentiment of your own choice to the card.


Here is another card which uses the grasses from the Walk Tall Rubber Stamp sheet - DL
in the background to compliment the beautiful Majestic Crane Rubber Stamp sheet - DL 
Again this is a simple card to make using the Majestic Crane stamped directly onto a Pixie Powder background which work exactly the same as brushes but with added mica powder.
The card used for this make is the trusty  A4 Drawing Cartridge 220gsm - pk 10 Which is definitely my go to card in the majority of my makes. 


Well that is all from me today, I will be back again later in the month but there is a daily blogpost from the Design Team where you can see some fantastic makes from the rest of the team to inspire you.

Thank You for looking in 

Love Doreen xx


Sunday, 20 June 2021

Orchard Designs

 Orchard  Designs


Using a blank wood plaque and Versafine Clair Acorn and the taller of the trees from the Orchard Design a Tree set, which I slightly extended. A dye inkpad was used to colour the sky applied with a stencil brush. The heads of the flowers were also coloured from a dye inkpad and paintbrush. The foliage on the tree was stamped with a Plum Archival Inkpad. Both the stems of the flowers and grassy area used a green inkpad and paintbrush. The white gel pen daisies were left to dry before applying 2 coats of Deco Art  Decoupage medium to seal.


This card needs a little pre preparation I have used something called
 ' Goosebumps' Which is basically a clear medium that remains raised when dry this was flicked onto the card not sprayed. Anything you have in your stash that does the same will do equally as well.

 Once dry you can carry on as normal.
Using a mix of Distress Inkpads, for the sky I have used ; 
Wild Honey, Rusty Hinge and Crackling Campfire, which have been applied to the card using a soft brush randomly building up the colour to give the illusion of a sunset.

The trees and hills have been stamped and using a torn piece of paper and soft brush to build the colour for the hills from the really dark working the colour from the brush without adding more colour to build the distant hills , if more colour is required on brush use the brush very lightly or using a scrap of card apply the dark ink to be used at a later date. The trees and hills used a Versafine Clair Inkpad 'Pinecone', stamping the foliage until no ink remains on the stamp which will add depth. Buff the colour from your raised dots and although some will stay most will come off and mount onto  Craft Card for contrast. 
 

This card is so very simple, again using a remnant of the above card with the raised medium. I used a circle of  Masking Tissue. Then using Distress Inkpads in colours Shaded Lilac, Faded Jeans and Hickory Smoke using circular motions fading the colour out to the lovely soft grey. The Hills were coloured using Black Soot with a make up sponge and a torn piece of copy paper. Then the tree was stamped with Versafine Clair Nocturne.

So there concludes three relatively quick and simple cards from the  Orchard Dress a Tree set.

Thank you for looking in today

Love Doreen


Sunday, 30 May 2021

Marked Retro (By Doreen)

                                                                      Marked Retro


Hello Everyone, welcome to my third post for May, Marked Retro uses 3 stamp sets


 Make Your Mark

 https://www.chocolatebaroque.com/make-your-mark-rubber-stamp-sheet-dl.html

Life Is So Much Better 

https://www.chocolatebaroque.com/life-is-so-much-better-rubber-stamp-sheet-a5.html

Retro Florals   These are available by phoning Chocolate Baroque Direct and speaking to David or Lesley, they are not on the website.


Take an A5 piece of glossy card and randomly splash with Distress Inks ( I unscrewed the tops from sprays and flicked the ink in the tube onto the card, please make sure to cover surfaces as this is quite a messy process) Leave to dry. Once dry randomly use the stamps from the Retro Florals set using  Distress Inkpads squished onto a glass surface or messy mat as this will stop you contaminating your inkpads. Then you may wish to use a stamp press to use the Make Your Mark  stamps as you an achieve a really black mark by inking and stamping until you have the black you require.

Leave to one side to dry thoroughly (this will take a while) 

Take a couple of small scraps of card 1 piece of black and I used a rusty coloured piece of scrap but if you don't have a piece to match ink a piece of white card leave it to dry properly before using it to stamp your sentiment. 

Buff the dry topper using a soft tissue until you achieve a beautiful shine. 

 Mat and layer onto a black card blank. Add mat and layered sentiment.


Thank you for looking today

Love Doreen 


Tuesday, 26 November 2019

Vintage Ephemera Part 2 by Debbie


Hello again everyone here's my second chance to show you my samples form the October Chocolate Baroque show on Hochanda.

Here's my first sample using Art of Chess


  Simply Stamped with Versafine Onyx Black I began by stamping the 2 large chess pieces at the front of the design & then masked them using Pebeo drawing liquid. I then stamped the chess board and other pieces into the background. I stamped the chess pieces randomly over the A5 white card using a grey inkpad, before adding the image which has been layered onto black card.


For my next design I used Music Fanfare plus some of the stamps from Baroque


For this one I took an A5 white card blank and folded the front half back on itself. I stamped a background using stamps from Music Fanfare and Distress inks Picked Raspberry and Iced Spruce. I then took a square of white card and stamped with one of the stamps from Baroque Ephemera 1 using grey ink before stamping the violin over the top. I coloured with pencils and distressed the edges of the piece. I then mounted it at an angle onto a piece of bright pink card and then onto grey before attaching to card. Below is a closer look at the background.


Here's another look at Music Fanfare this time embossed in gold onto brown card and layered onto ivory, gold and brown onto an ivory A5 card blank.


Here are the rest of my samples and some which didn't make it onto the show.


Simply stamped with black Versafine for a monochrome look, Movie Strip on a background from Baroque Ephemera 1 and 2.

 
Floral Grunge stamped onto an old book page several times and decoupaged.


The postcard stamp from Baroque Ephemera 2 with some die cut corners and flowers 

plus some lace on a 7 x 7 ivory card blank.

Finally, the fun bingo card stamp from Baroque Ephemera 1 and coloured with water based pens on an ivory 5 x 7 card blank.


That's all for this time, don't forget to watch the next Chocolate Baroque show on Hochanda in early December. Bye for now Debbie 


Monday, 11 November 2019

Vintage Ephemera by Debbie

Gosh don't the weeks just whiz by, can't believe Christmas is almost upon us again. It's my turn on the blog today and a chance to share my samples from the October show with all the lovely vintage themed stamps.

My first thought when I saw the plethora of labels, tickets and old postcards was to make a mini scrapbook so I began by making a "masterboard" in 2 complimenting colours. I took most of the small stamps from Baroque Ephemera1 and Baroque Ephemera 2 and placed them randomly on a large acrylic block. I used Distress Inks Wild Honey, Tea Dye, Weathered Wood, Frayed Burlap and Hickory Smoke to sponge over 2 A4 sheets of card. I then over stamped with the stamps on my block using Versafine Vintage Sepia to form a great background.


I die cut the 2 sheets then and stuck the 2 colourways back to back to form my mini scrapbook. I used old family photos to compliment the general look and added lace, paper flowers, buttons, pearls, washi tape etc before putting all together with a book ring.


 Also featured in the October shows on Hochanda  was Movie Strip and I was really pleased how well this went with the Ephemera stamps.
For the next sample I simply white embossed the flower onto white card and added some black Brushos before spraying with water and letting the Brushos do their thing. I just love the fact that you never know what you're going to end up with! I stamped a few of the vintage stamps randomly using Versafine Onyx Black.


 I then took a 7 x 7  ivory card blank and stamped with  Versafine Vintage Sepia before layering the image onto orange card and attaching to the card blank.

 A closer look


For my final sample for this time I've used another lovely floral stamp Floral Grunge.
I took a white A4 card blank and masked the top and bottom with masking tape leaving a band in the centre approx. 3" wide. I then sponged Distress inks Wild honey, Peeled Paint and Rusty Hinge over this band and when the inks were dry I carefully removed the tape.
I used Floral Grunge to stamp  in 3 areas partly over the inked area using Versafine Onyx Black. I like the clean simplicity of this design.

That's all for this time but I'll be back later in the month with more samples. 
Bye for now Debbie