Pin It button on image hover
Showing posts with label Designer Papers 8" x 8" - Chic Script. Show all posts

Wednesday, 13 January 2021

Bright and Cheerful Flower (by Christine)

Hello everyone, today sees the first of three posts this month by our Guest Design Team member Christine Patch. She has created a colourful card to inspire you.

Christine writes:

May I start off by wishing you a very Happy New Year - let's keep our fingers crossed that it will be a considerable improvement on the year just finished, even if it might take a bit of time!

I decided to kick off my turn on the Blog with a very bright and cheerful design to be added to my journal.

I chose one of the designer papers and added some additional stamping to give it more detail. I used a Versafine Clair in a toning purple to add some butterflies and hatching.

Having picked one of the lovely postcards for a mat, the lovely large flower stamp allowed me to choose strong bright colours as decoration. I decided on Memento Tuxedo Black ink as I wanted to use Alcohol Pens for the colouring. I stamped two of the butterflies on white card and one on the same postcard for a point of difference. Glossy Accents added dimension to the bodies.

I found a wooden button in my stash that was the perfect colour and added that as an embellishment to the flower centre. I used the same flower stamp to edge the postcard and then the designer paper to bring it all together. Finally, I added a sentiment that I think is so pertinent to us all: Live life to your own design. 

Chocolate Baroque products used:

Designer Papers 8" x 8" - Chic Script                

Seriously Gorgeous A6 Postcards

Flower stamp taken from Tangled Garden stamp set

Open Weave cling mounted stamp

Just Butterflies stamp set

Sentiment taken from Freesia Blueprint stamp set 

Happy Crafting!

Christine

xx


Friday, 21 August 2020

Tag Art (by Judith)

Hello everyone, I have a couple of projects to share with you showcasing the stamps featured on last month's TV shows on Hochanda.


My first project is a couple of acrylic tags. I stamped images from Hold On and Do Right Always using second generation stamping, to create a subtle background, onto some plain pieces from the Designer Papers 8"x8" - Chic Script. Next, I stamped the totem pole and peace pipe onto the backgrounds using a black ink, and added a sentiment. I coloured the images using Polycolour pencils from Koh-I-Noor. Watercolour pencils will NOT work for this project.


I covered the background with matte medium and adhered it to the acrylic tag. Once the glue was dry, I trimmed the piece, and added some yarn through the hole at the top.

My second project was a very quick and simple card. Rainbows have been very much on my mind lately, with everything that has been happening around us, and one of the sentiments on the Do Right Always stamp set was just perfect for this project. I took a sunburst stencil, any one would do, and chose seven different colours of Distress Ink. I applied them through the stencil to create a rainbow effect, and then simply stamped the sentiment using black ink.


It just goes to show how useful and versatile these stamp sets can be. I hope that you have found lots of inspiration among our posts this month, and will try some of our ideas out for yourself. Thanks for stopping by, and stay safe,


Judith xx

Monday, 30 March 2020

Stamping on Surfaces (by Judith)

Hello everyone, I have a few more projects to share from last month's TV shows on Hochanda. This time, I have been looking at various surfaces and how the stamps could be used to decorate a project.

My first make is a card, using the Snowdrop Script stamp set, and I have chosen a simple colour scheme of pastel blue, reminiscent of the bluebells that I have chosen to stamp. I coloured a piece of drawing cartridge using Distress Ink, and then stamped the bluebells repeatedly, using blue ink in first and second generation stamping, to create a bluebell meadow. I coloured the images with Koh-I-Noor watercolour paints, using blue, green and purple.

I edged a whiteboard heart with blue ink, and again stamped a single bluebell image and painted it with the Koh-I-Noor paints. I added the word 'Bluebell' to finish.

I took another whiteboard heart and covered it with texture paste. I spritzed the large bird from Doodle Butterfly with water, and pressed it into the paste. I allowed the paste to dry completely, and them coloured the surface with beige coloured ink, adding a deeper colour into the bird image and around the edges with a dry brush. I also added some copper wax around the sides of the heart.

I used a piece of texture card for the background, and painted it using acrylic paint and tinting medium. I added a border from the same stamp set using Archival Ink.


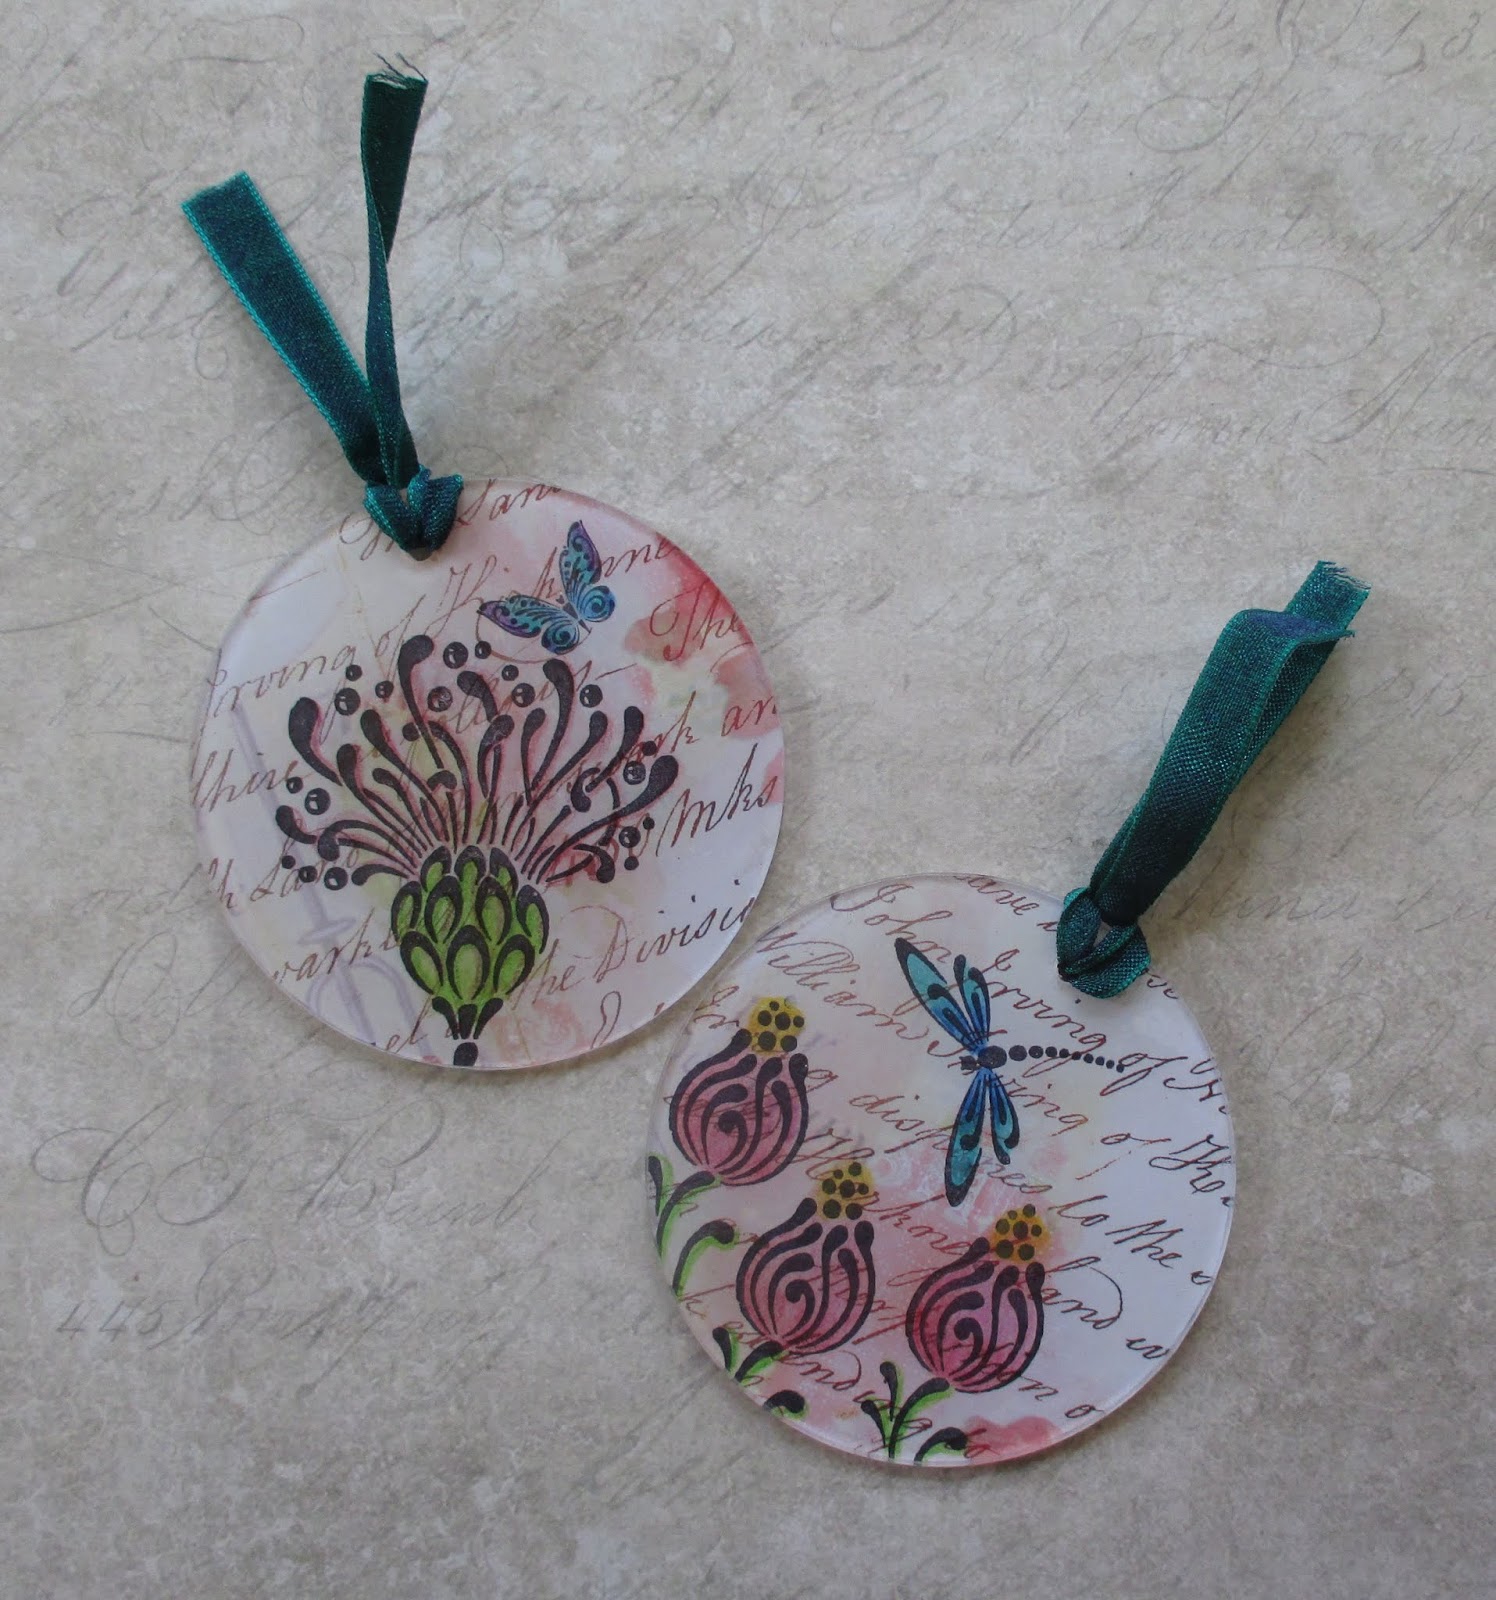
For my final project, I stamped a collection of flowers, butterflies and dragonflies from both Doodle Butterfly and Doodle Birds onto circles cut from Designer Papers 8" x 8"- Chic Script, which I then coloured with pencils. I adhered these to Circular Acrylic Tags, which would make really pretty additions to cards, or lovely gift tags. These were fairly quick to make and colour beautifully.


I hope that you will try out some of the ideas that the Design Team have given you this month with these fabulous stamps. Thanks for stopping by, see you next month!

Judith xx

Wednesday, 11 March 2020

Pattern Building (by Christine)

Hello everyone, today sees the first of three posts written this month by our Guest Design Team member Christine. You will have seen some of her samples on the TV shows for the past few months, and she is now joining the Guest Design Team to write for the Design Team blog as well. Christine has created a fabulous selection of projects for your inspiration today.

Christine writes:

I am delighted to write my very first blog post for the wonderful Chocolate Baroque range of stamps and crafting goodness. I have long been a fan: creating samples for the Hochanda shows and now writing posts to share other ideas - well icing on the cake as the saying goes!

I have a bit of a theme for this post; pattern building. All three are 8" x 8" cards.

For my first example, I used one of the stamps from the Rose and Thistle sheet. I made three masks and then stamped on pink card, using the masks to create a full backgrpound as I moved around the card. I chose Versafine Clair Onyx Black ink since I thought that would stand out well against the pink.

I stamped again on white card, cut the image out using an oval die and then chose a larger patterned oval die from my stash as a black layer. I decided against adding a sentiment so that I could add one when the appropriate occasion arose.


Example two uses the large stamp from the Baroque Corners stamp set. I used a stamp platform to ensure that I placed the stamp accurately in the four corners. Once placed on the platform, I simply had to turn the card 90 degrees four times, and voila. That left four areas for another stamp and this time I chose one of the smaller stamps from The Folk Art Garden set.

For the central area, I turned to the Mackintosh Windows set. I used alcohol markers to ensure strong colours then added black glitter to the flower veins, leaves and stalks for added emphasis.


Card three also uses the same stamp set and a sheet from the Chic Script Designer Papers. I stamped the square window four times using Versafine Clair Smokey Grey ink. I used the same ink to stamp the little flower around the edges. I used Distress Oxides to colour the flowers.

I used the same Oxide colours blended on a whiteboard trading heart and then stamped one of the small flowers. I used a glue pen around the flower and then gold glitter for a bit of sparkle.

I stamped the 'face' image in black and then used clear embossing powder. I painted the image using the same Distress Oxide colours.

Finally I added two glass cabochons from my stash that had toning colours.

Happy crafting!

Christine.

xx