Pin It button on image hover
Showing posts with label Parfum de Paris. Show all posts

Saturday, 23 July 2022

Some of My Favourite Retired Stamps (by Sandra)

Hello everyone. I am sharing some more of my cards from the Create and Craft show in June.

My first card uses the Parfum de Paris stamp set.
I took an 8x8 card blank and mat and layered two patterned papers for my background. I then stamped the flourish background in archival ink and mat and layered this. My final layer was the script stamp from the set. I finished with a small resin Eiffel Tower.


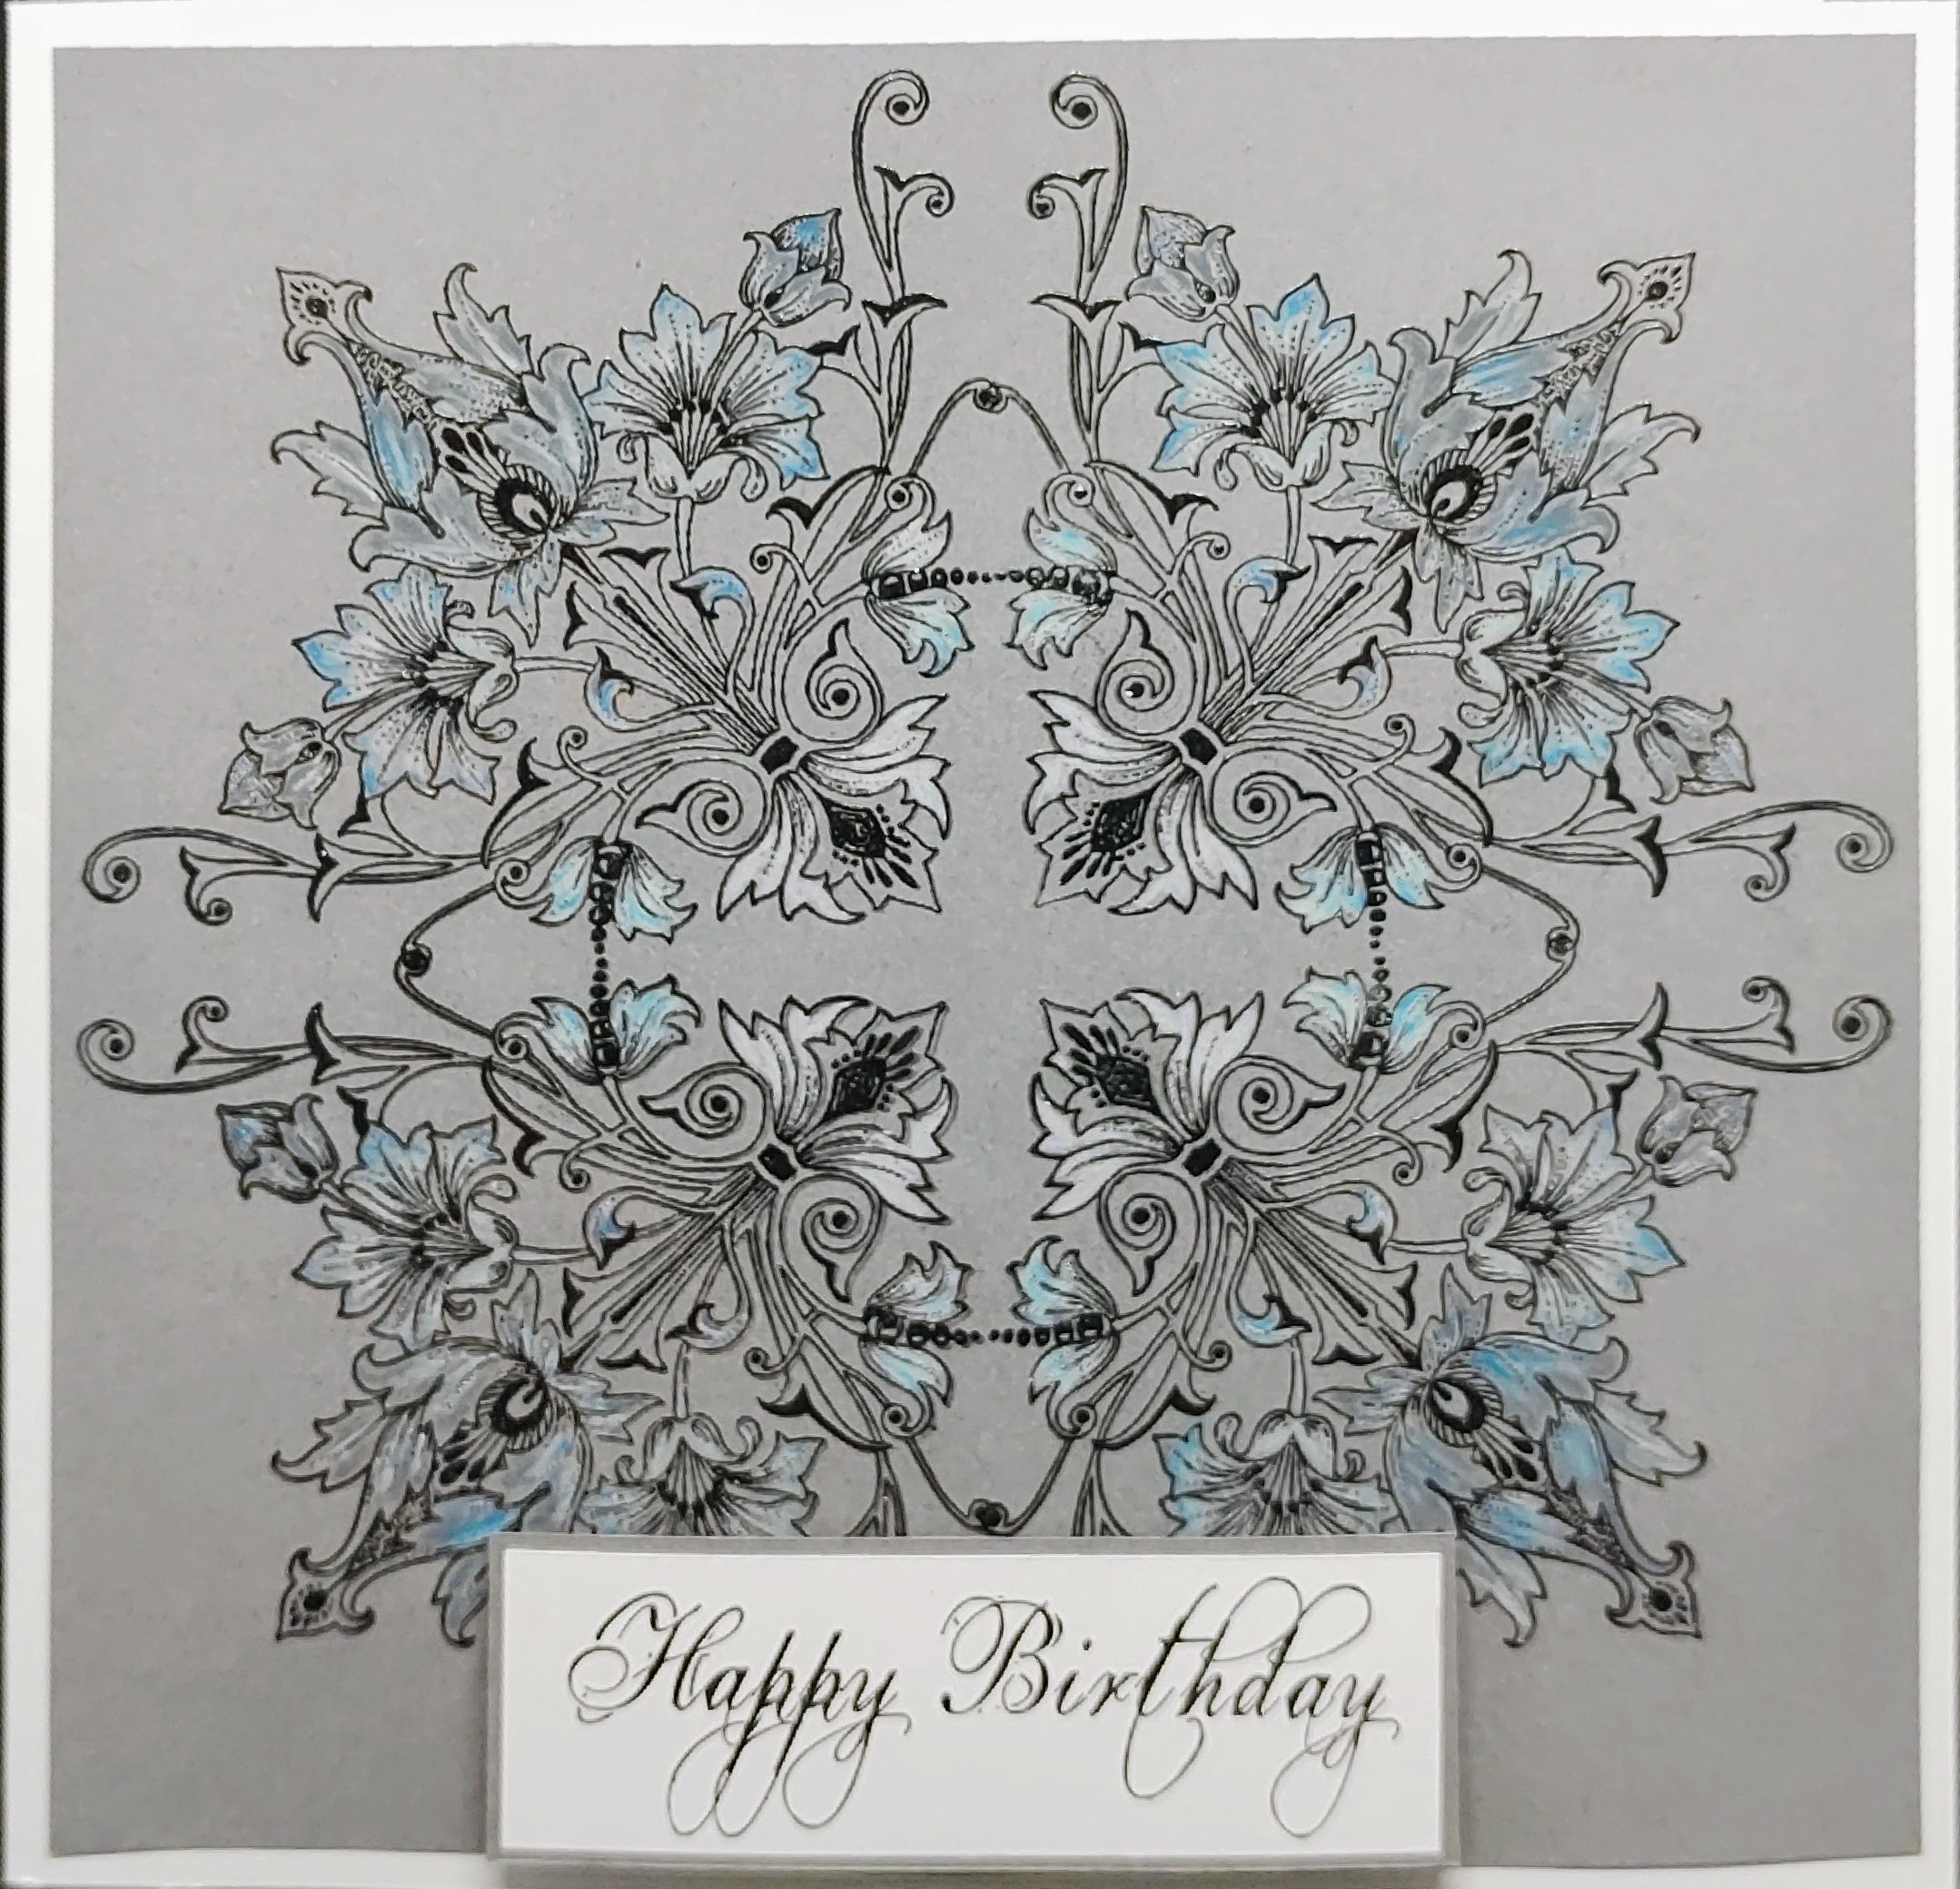
My next card features the beautiful Baroque Corners. I used my stamping platform to stamp and emboss  the largest corner stamp 4 times onto some grey card. I love how different patterns emerge, like the circle in the centre. I then used a selection of pencils to colour in just parts of the stamping. A very elegant stamp.


My last card today uses the Bird Song stamp set. I made a gatefold card using 15x 42cm card base.  I made three slightly smaller panels, 2 for the front and 1 for inside.  On the outside panels I stamped the bird house and on the inside panel I stamped the bird bath and swirls. I added some blended Distress Ink and mat and layered onto black card.


 Thanks for looking

Sandra xx

Sunday, 10 May 2015

Floral Mannequins, The Sewing Room and Dressmaker's Window By Florence

Hi everyone

I hope you are enjoying the weekend and the weather is being kind to you.

Today I would like to share some projects made using some of the new stamps. They all work so well together.  To see the new stamps sets in full please click on the individual links:  Floral Mannequins, The Sewing Room and The Dress Maker's Window.   Do also check out the website for the multi-buy offer on these stamps.

Just a thought on the Dress Makers Window stamp.  This stamp can be used in so many different ways not just with the sewing stamps.  Personally, I have been after a window stamp for a many years and this one is perfect.  An absolute delight to craft with.  The design and size of it is fabulous.


My first project is a box style card.  


Box cards are really easy to make and a lot of fun.
The inside of the box is made in exactly the same way as you would make up a front of a card.  The only difference with box cards is that you score the card more times to give you the box shape.

Front view


The next project is a quick and simple card


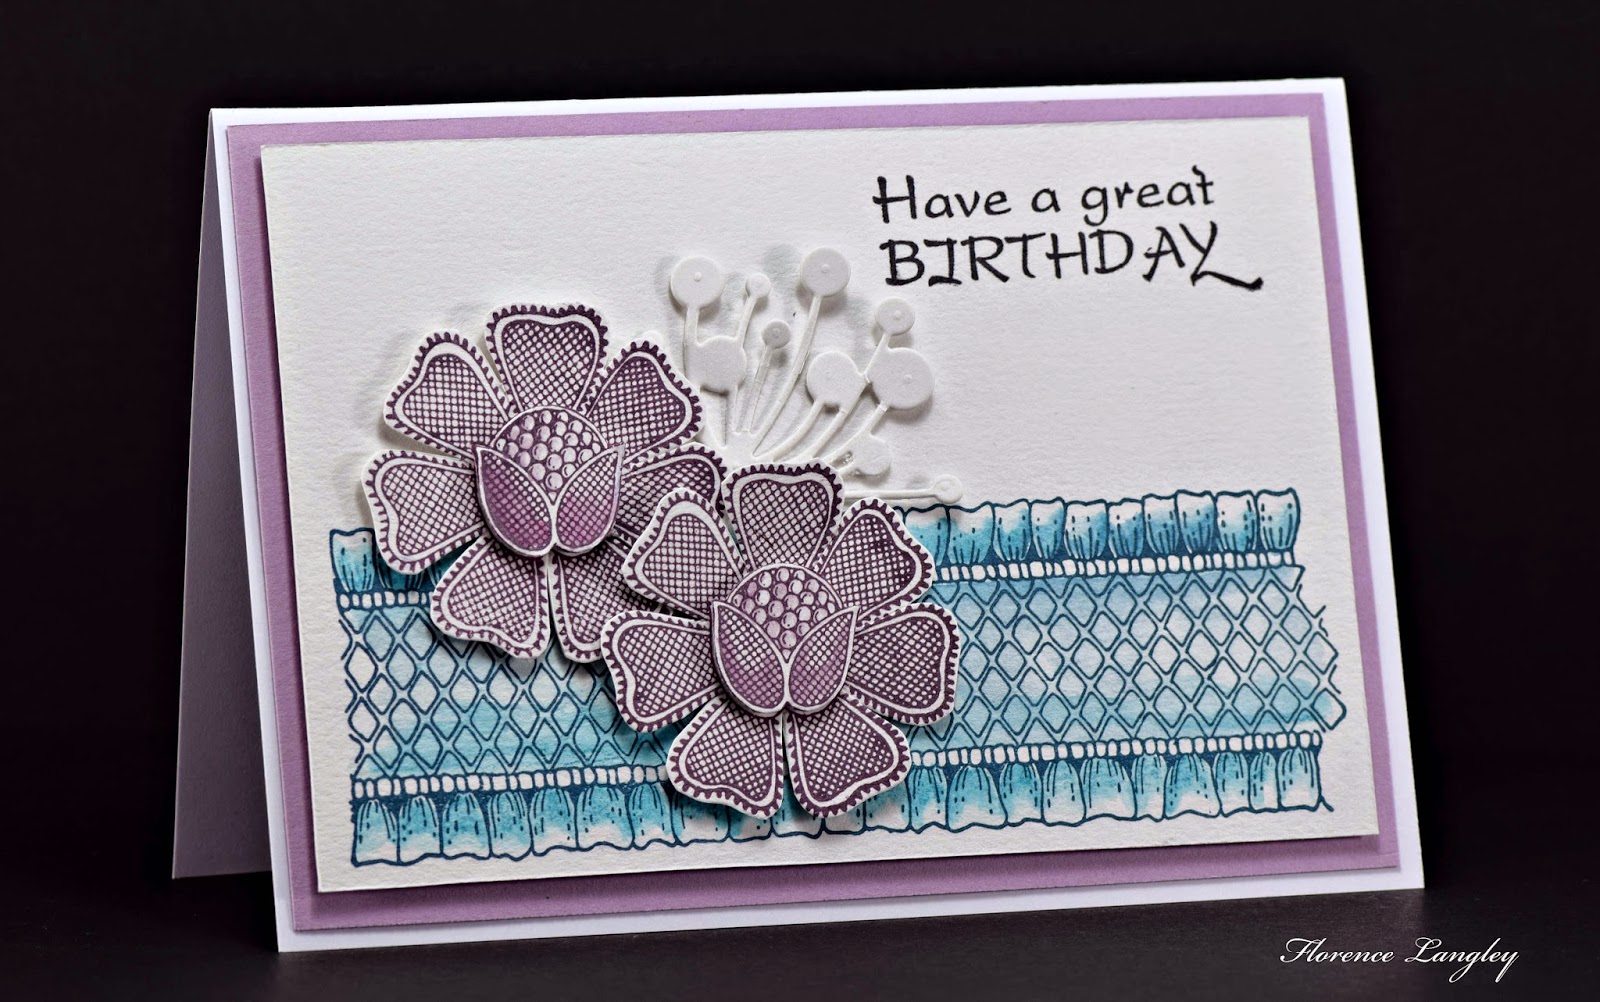
For this card I have just stamped the frilly ribbon and the sentiment directly onto the card and added a hint of color on the ribbon using water color crayons.  The flowers have been stamped onto separate card stock and cut out.  The card has been made up as seen with foam pads behind the stamped flowers and the addition of a little die cut.

The next card is simple in style but it did take a little time to cut out the bottom of the dress form.  Having said that it was quite easy to cut out with a craft knife.  I found it easier to make all of the downward cuts and then make all of the across cuts.


I mixed and matched the dress forms and made a little modification to the body piece.

For this card I started by stamping the sentiment and the lace trim. I then stamped and cut out all of my pieces and decoupaged them onto the base card using foam tabs.


That's all from me today
Thank you for stopping by

Happy Stamping
Florence x

Sunday, 3 May 2015

Floral Mannequins (posted by Claire)

Good morning, I hope you're having a lovely crafty weekend. My card today features some of this months new stamps from Floral Mannequin which you can find here.


I've created a background by collage stamping the stamps from Parfum de Paris with Memento Tuxedo Black in on white card, using both first and second generation stamping. I then stamped the stand from the smaller dress form on this set. I stamped the floral mannequin and coloured with distress markers before cutting out and inking around the edges with Black soot Distress ink. I used 3d foam pads to attach the floral mannequin to give it some depth. I used a black fineliner pen to add faux stitching around the card. I popped some little pearls in the corners and added lace, ribbon and a crystal button to finish off.

Thanks for visiting today
Claire xx