Pin It button on image hover

Saturday, 13 June 2020

Kingfishers (by Veronica)


 Today I have a card to share using the kingfisher song and sticks and stones stamp sets -at least I hope so. Brenda passed on the information that there is a new version of blogger, that we will all have to use from the end of the month. Now i am not the best computer person at anything new , so thought I ought to try the new version while there was still the option to use the one that works! It took me 5 minutes to work out how to start a new post ( a big red + button at the bottom of the screen, so obvious after you've tried everything at the top) 

Back to the easy bit, stamping!
I used a piece of the drawing cartridge to stamp the reeds using grey versafine ink, then masked them off with masking fluid before stamping the smaller kingfisher. The large branch was stamped on the left using black versafine. Used watercolour paints to colour the image, with light washes for the sky , grass and water. The large kingfisher was stamped onto another piece of cartridge using black versafine again, painted, cut out and glued in place on his branch.
Added a mat of black. The white base card was stamped using the bridge image at the top left and the reeds at the bottom right, this time coloured with distress markers so I got  multicololur images


Thursday, 11 June 2020

River King and Solitary Tree.

Good morning everyone, I hope you are all well today.  I have another couple of samples from last months shows to share with you featuring more beautiful stamps from Chocolate Baroque.


River King.

I have used stamps from the Kingfisher Song and Sticks and Stones sets; Distress Inks, sepia Versafine ink, clear EP, Koh-I-Nor watercolour paints.


On a piece of Drawing Cartridge I stamped and embossed the Kingfisher, branch and bridge scene images, then masked them off.  I used water colour paints to create a dawn (or dusk) sky and a calm river scene for the background.  I then removed the masks and painted the stamped images.  I took a spare piece of card and stamped and embossed the Flag Iris image twice.  I then painted them and cut them out.  I matted the focal panel onto dark card, then attached the Iris images in 3D.


On a white base card I stamped several worker images around the edges of the card using Distress Inks then attached the focal panel.


Solitary Tree.

For this quick card I have used stamps from the Trees A Crowd set; Distress Inks, acrylic paints, black Versafine ink, clear EP.


I began this project with a background that I had made previously with acrylic paints and a Gelli plate.  I stamped a large bare tree image in black ink and embossed it in clear EP.  I trimmed the panel and blended ink around the edges.  I then drew a border around the edges of the painted background with a fine liner pen.


I took a Kraft base card and stamped along two sides creating a border to go either side of the focal panel.  I then attached the FP to the card.


Thank you for dropping in today, I hope that you have enjoyed my post and been a little bit inspired.  I shall be back later this month with some more CB samples so until then take care and stay safe,


                                   x x Penny x x

Wednesday, 10 June 2020

With Love from Russia (by Miranda)


Hello lovely people,

It's been a while and I am happy to be here again! I have a few blog posts for you and this is the first one. I had this stamp for quit a while in my stash and I really had a good time playing with it......
When I need some inspiration I always look on Pinterest and this time I searched for Russian colors and patterns...... I came in Russian spheres......so this was my inspiration.....

And when you see these flowers and patterns.... CB has a lot of designs which would match perfectly ...


Russian folklore

I started with a Distress ink background and stamped 'Katya' using a light brown ink(Memento Peanut Brittle) so I did not have harsh outlines.
I masked her and stamped the 'Silhouette palaces' behind her using the same ink.
I did use the Masking Tissue from CB and I am really thrilled about that! It's the most great masking paper I ever did use! At the moment it is out of stock, but I really am a fan!

Then I took the lovely background panel stamp from the 'Paisley elephant' sheet. Also stamped that with the same Memento ink. I stamped it partially. And on the upper left side I did stamp a text from the 'Words of Wisdom' using a grey ink.

Then the fun part began.......coloring with my Derwent pencils.....indeed labour intensive but if you like to color then it is fun.....
When I was satisfied I used another stamp, the large 'crackle stamp '
for the finishing touch I used a white and black acrylic marker for some accents.


The sentiment is from a cling stamp 'Shared beauty'.


And here a bit of digital fun....Katya in different colors and styles.....
Well, I think she looks great in any color.....


Hope you did like my take on this beautiful stamp and if you are inspired..take out your crafty stuff!!
Next time I will show some other possibilities with this stamp.

Thanks for visiting and till next time,


Monday, 8 June 2020

Tree of Hope (by Judith)

Hello everyone, I hope that you are all keeping well in these uprecedented times. Life is still very uncertain for lots of us, and I wanted to create a card with a message of optimism.

I started my project with a piece of kraft card, and stamped a large image from Trees a Crowd, using brown Archival ink. I added a little image from Sticks and Stones as foliage, using first and second generation stamping. I coloured the image using Koh-I-Noor watercolour pencils, and ran a waterbrush only over the first generation stamped images, as I wanted the colours in the other images to remain very soft. I added some colour under the tree to ground the image. A sentiment from Patchwork Landscape was perfect for this card.
To create a border, I ran the edge of an old credit card through the inkpad, and drew it along the card at various angles around the edge of the background. I added some shading with Rusty Hinge Distress Ink.

Thanks for stopping by, and take care,

Judith xx

Sunday, 7 June 2020

Tree-mendous Stamps part 1 by Zoe

Good morning Lovelies and welcome to my first post this month. I do hope you’re all keeping well?

So this time I’m showcasing my samples from last months Hochanda show featuring the fabulous Patchwork Landscape set. 
It’s just so different and easy to create something stunning with very little effort, the stamps do all the work, or equally you can get very creative. 
They are so versatile and would suit any level of Stamper, from beginner to advanced.

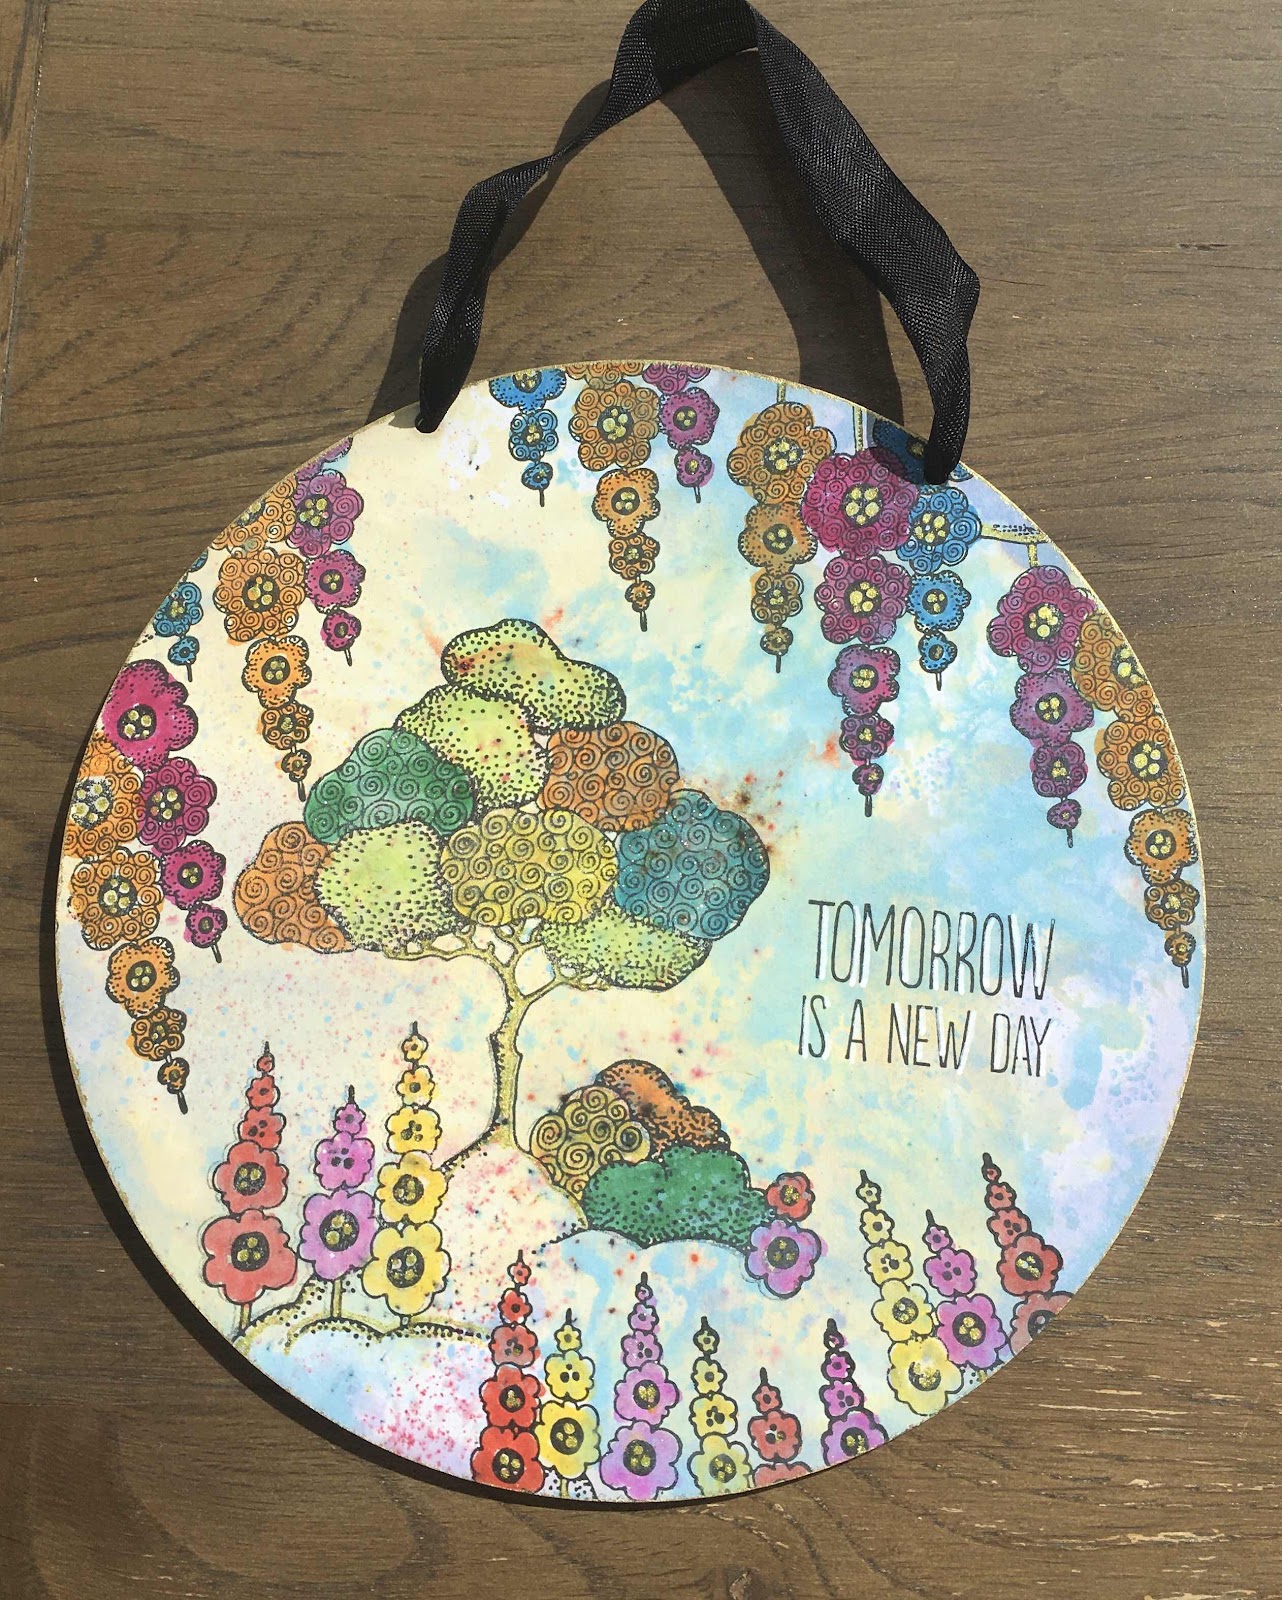
My circular wall hanging is just Distress Oxides splodged  onto a craft mat, spritzed with water and picked up with the circle, I sprinkled on a tiny bit of Brushos while wet and then dried. The image I coloured in using Watercolour pens.

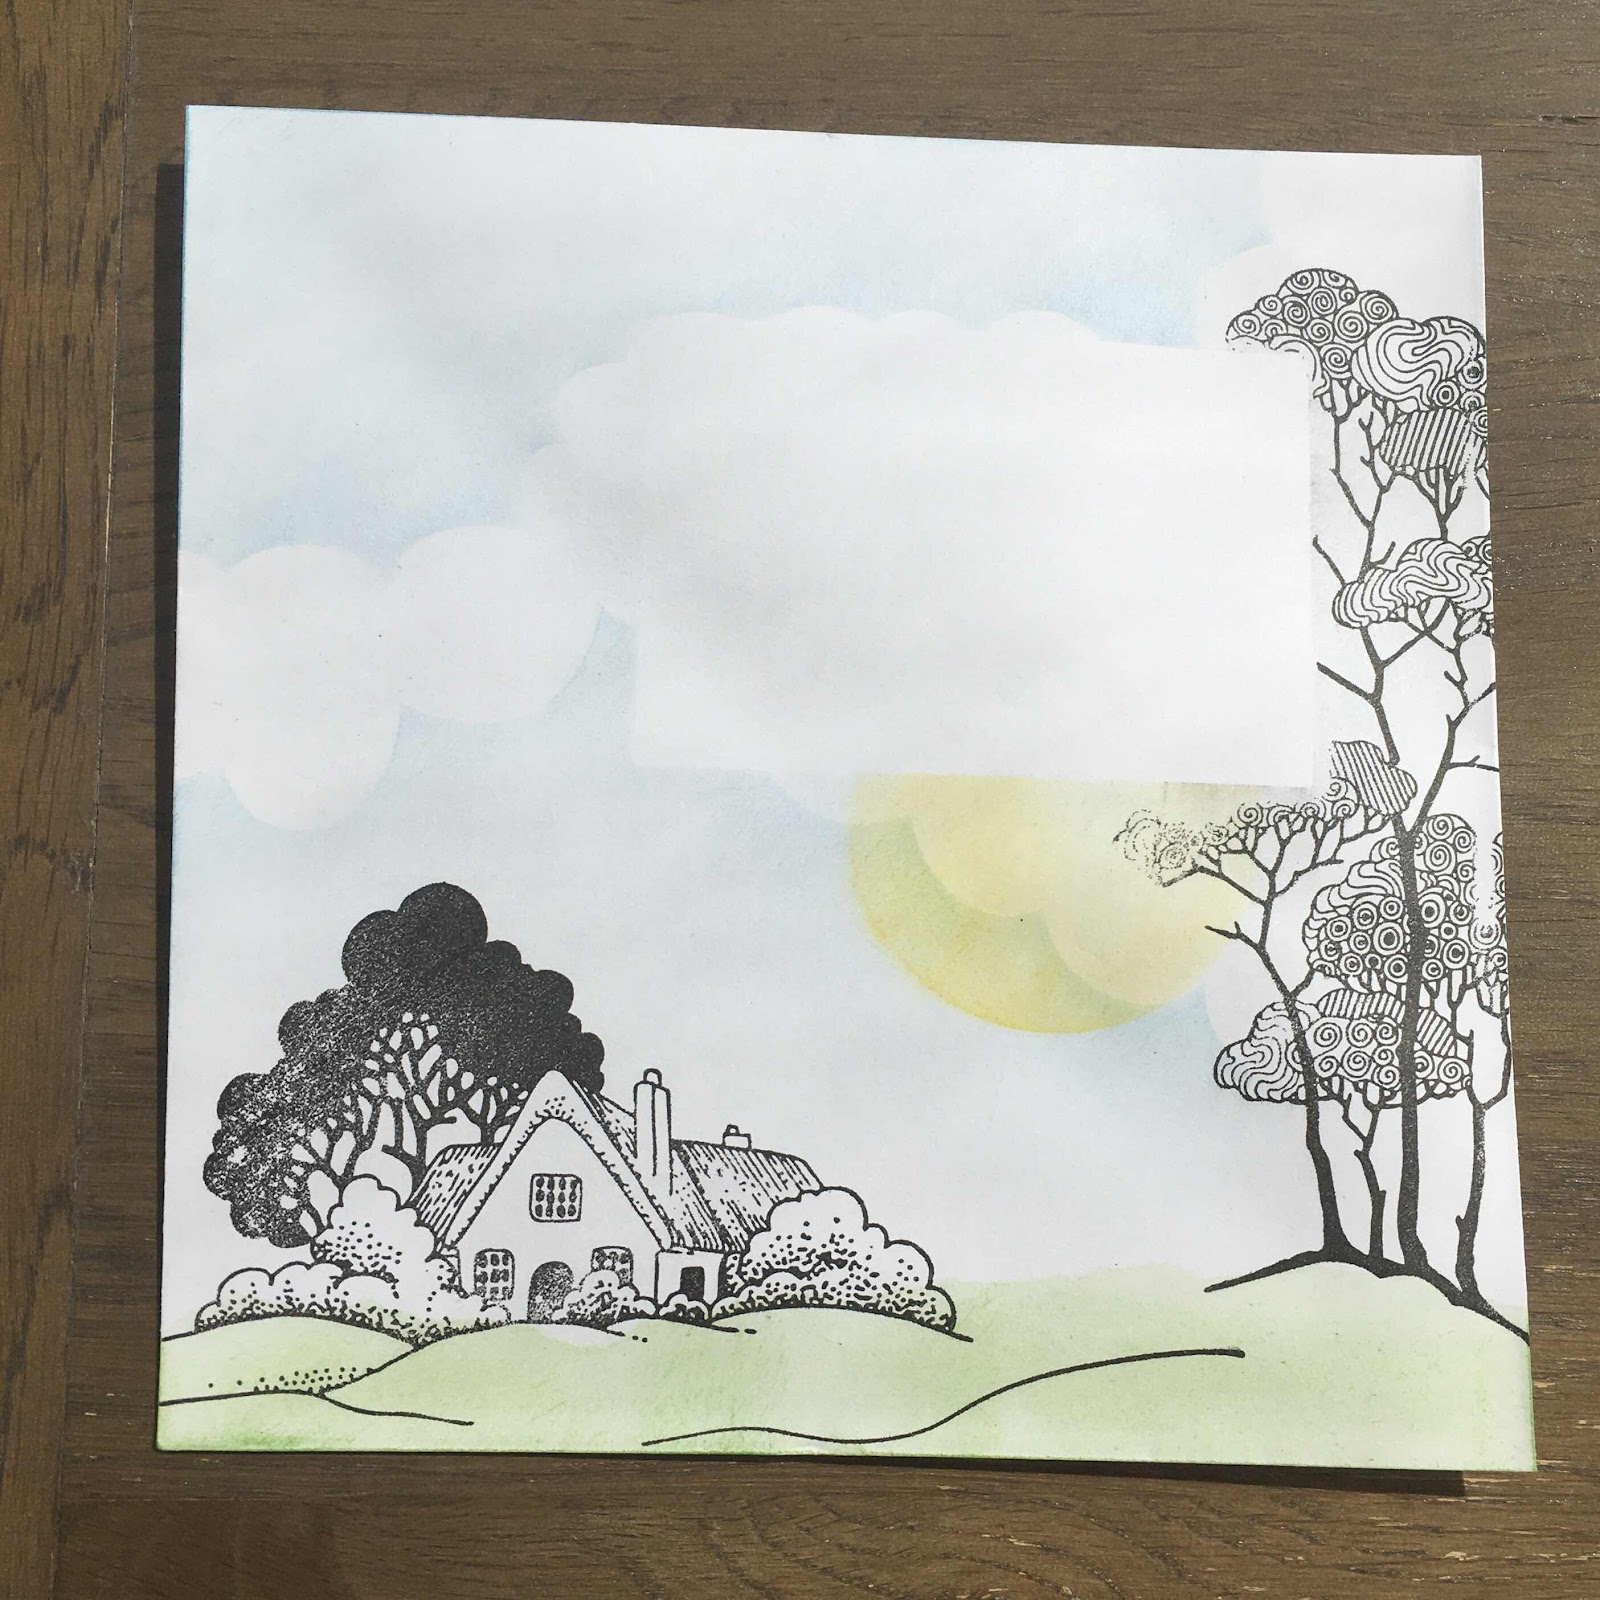
I used masks and Distress inks applied with brushes to create my envelope.

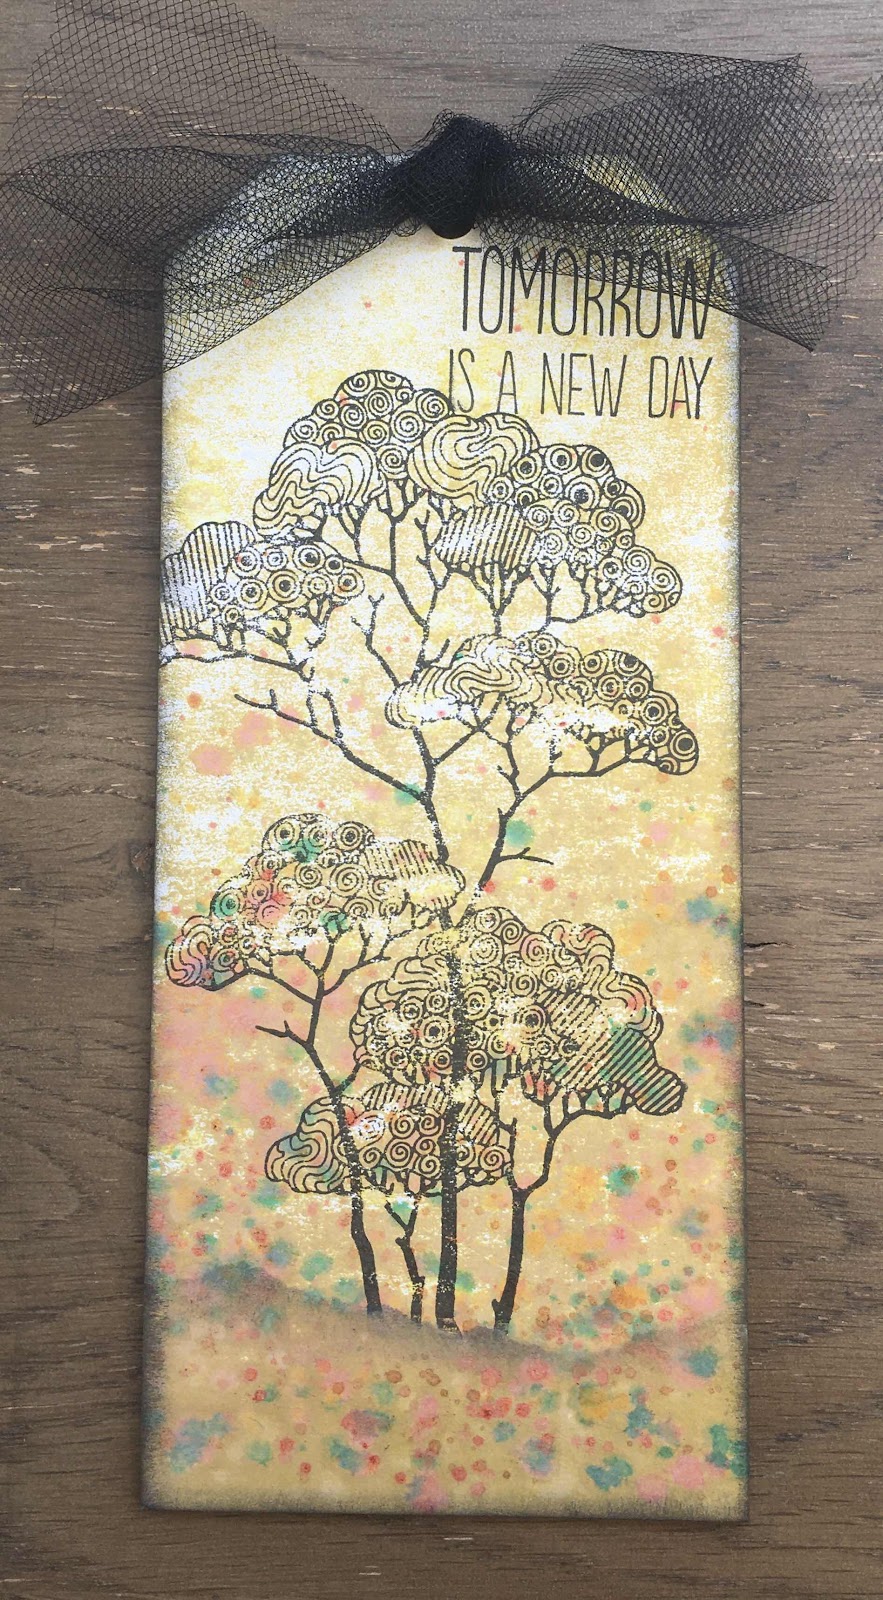
And my Greyboard tag I coloured with Distress Oxides which was picked up from my mat like the first project, when it was dry I used Brushos in a pallet and added lots of water to create an ink in various colours and used a fan brush to just flick the coloured inks onto the bottom of my tag. Simple stamping and Voila!


Thank you so much for spending your time to visit, I love to read your comments.
Have a great day, stay safe and keep well.
Zoe xx

Friday, 5 June 2020

Sepia landscape by Brenda


Hello all, Brenda here with a couple more shares and the top one is very much comfort zone crafting for me, a landscape with threes and hills using Harmony Tree staped three times using Versafine Toffee and a little sepia colouring added with Distress Markers. The hills and sky have al been done with a mixture of Pan Pastels and Distress Inks and some small worker stamps used to build up the scene. I hand drew the fence.....a rather rickety one which looks in need of repair!!


I 'splodged'.......very technical term, Distress Oxides to create a background then used images from Timeless to stamp onto a Whiteboard Heart and some smaller circles taken from a  sheet of Whiteboard Shapes, the whiteboard elements were all inked with the same DI's before stamping.
Stay safe and well everyone.

Thursday, 4 June 2020

Kingfisher Blue

Hello

I'm sharing some of my cards made for the May show on Hochanda.
The stamps I used are from the Kingfisher Song, Sticks and Stones and Trees a Crowd stamp sets.

I love Kingfishers. I live close to a canal and have been lucky enough to spot one, but not for a long time.

My first card uses the lovely medium sized Kingfisher from Kingfisher Song, I've stamped in Memento onto smooth cards and coloured with alcohol markers.I've die cut a simple frame and layered onto some design paper.


My next card I have used the same stamp along with some elements from Sticks and Stones and the main tree from Trees a Crowd. I stamped them all with VersaMark and embossed in silver. I made a moon by sponging VersaMark through Triple Circle stencil and embossing. I mat and layered onto some silver Mirror card and then put onto a black 8x8 card blank.


My last one is on a canvas board. I stamped the large Kingfisher using my stamping platform. I left the stamp in place on the platform whilst I coloured the image in with acrylic paints. I then re-stamped to get all the detail back. I masked the Kingfisher and repeated the technique with the other stamps.

Thanks for looking
Sandra x

Tuesday, 2 June 2020

May's Blog Comment Winner


Hello and welcome to the Chocolate Baroque Design Team Blog.

We hope that you are all safe and well.


We truly appreciate the time you take to let us know your thoughts about our designs, so each and every comment is very important to us.

Each comment in May was assigned a number and we used Random Org to draw a winner.

Congratulations to Faith aka Daffodil Cards you have won this month's £15.00 voucher to spend on Chocolate Baroque stamps.

To claim your prize, please email here to confirm your email address and Lesley will send your gift certificate.

Lesley will be giving another £15 gift voucher to another lucky winner drawn from June's comments.

The more comments you leave, the better your chances of being the winner.

Thank you so much for all the kind comments you leave.

 Good luck from all on the Design Team


Monday, 1 June 2020

Kingfisher Filmstrip and an accordion card by Rachel

Good morning to you! A new month and its time to take a look at some samples from the May shows. I adore the stamps we used this month and enjoyed making this first sample using one of the MDF film strip kits that were on April's shows.  To start with I used black gesso on the filmstrip part of the MDF then used paints to colour in the stamped images of the Kingfisher from the Kingfisher song stamp set.
My piece was reversible - I think they only showed the side above on the show but i really liked the other side (below) best of all!


Next I wanted to do a step by step of an accordion card I made for the show using the trees a crowd set. First I added oxides to my craft mat, spritzed with water and then mopped up on some card.


Once dry I cut the card into panels measuring 9cm by 13 cm each.


then I stamped on them using the trees a crowd set....


Next with each panel I added detail using moon masks, torn paper and more ink plus I did some grounding of the trees using charcoal pencil. I also added sentiments.


Finally I put the panels together on a piece of A3 card cut in half along the long edge and folded into quarters. I added the panels to the card with  4 panels on one side and the final panel on the front. This left 3 sides for writing an extended message to the recipient.


I hope you have enjoyed my 'how to' today and the Kingfisher sample too.
Have a great day.
Rachel x


Sunday, 31 May 2020

Floral plans part 2 by Zoe

Good morning Lovelies and welcome to my second post of the month.

I hope you’re keeping well, as I’ve scheduled this post I’ll assume we are still in lockdown, although they were talking about lifting some of the restrictions. Hopefully this hasn’t impacted too severely on you.

So back to my post, I love these Blueprint Floral Stamps, they are so different and versatile, I love the fact that you have the flowers without the drawings behind if you want, they are also fab for decoupaging if you want.

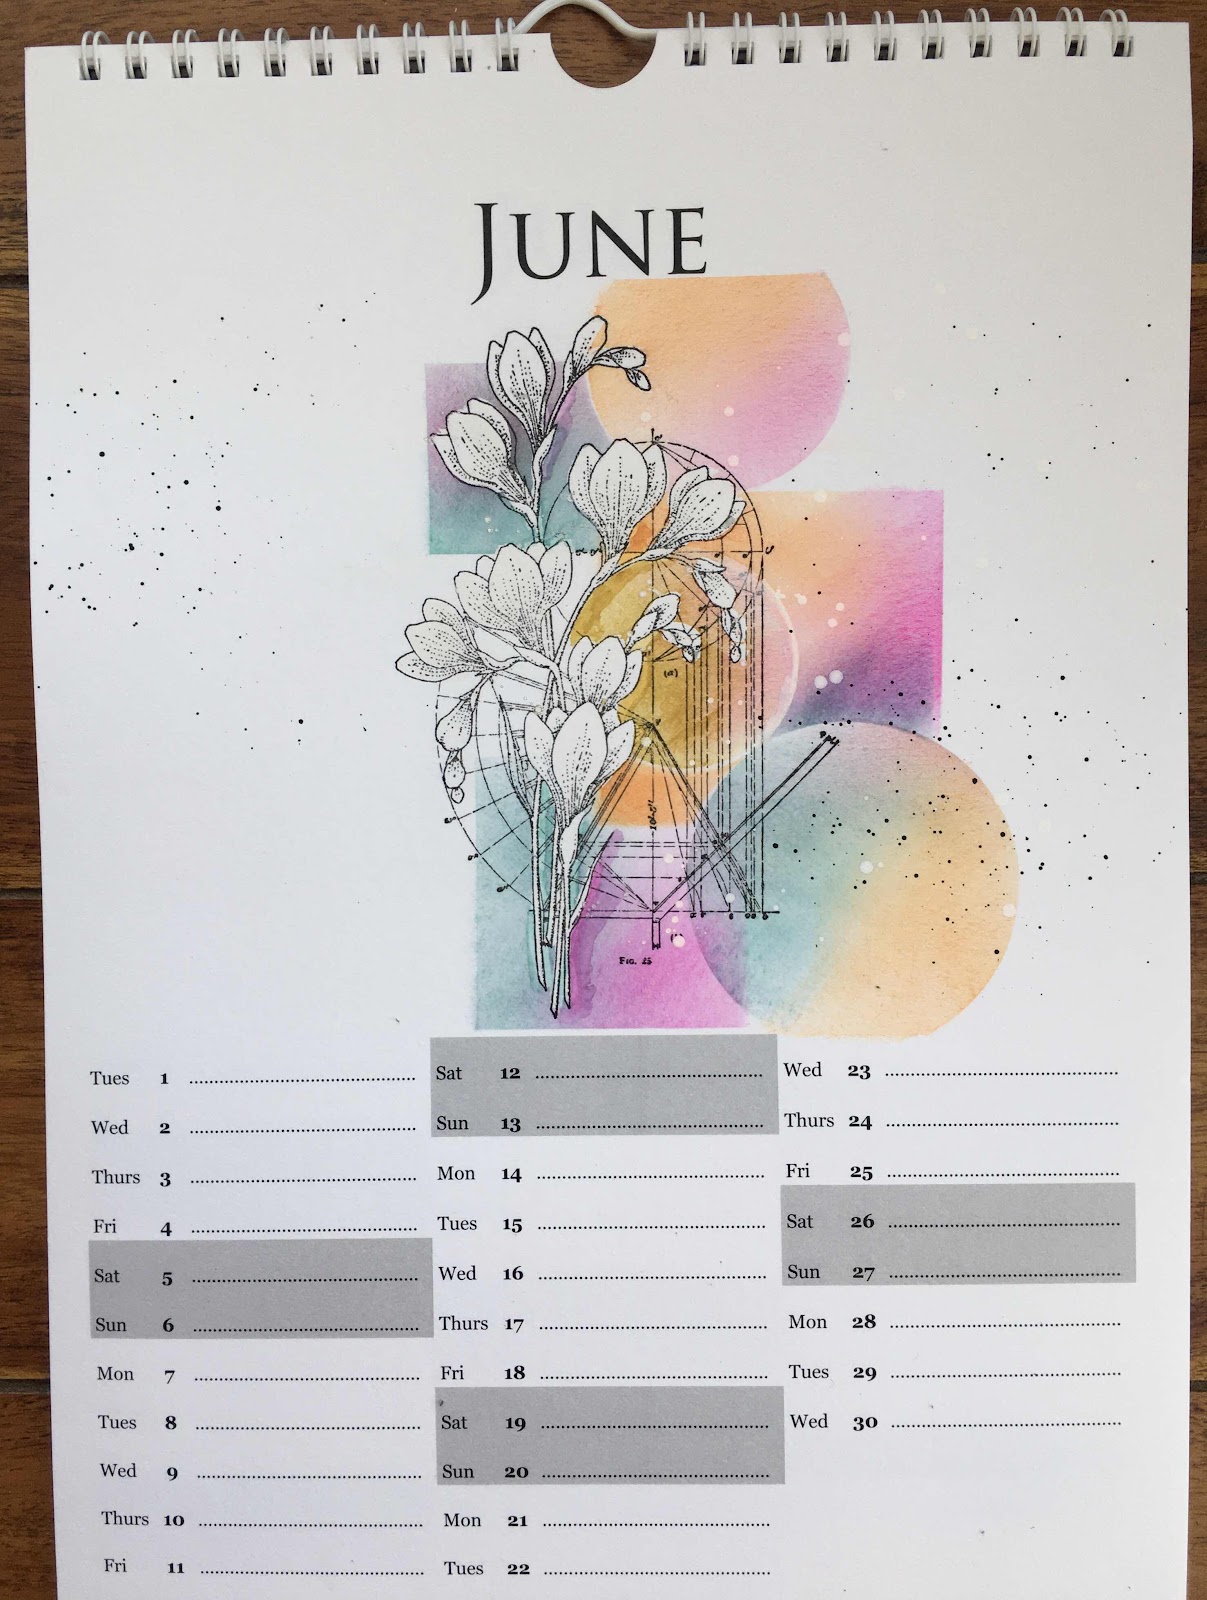
So my Calendar page wasn’t on the show of course as it’s still a work in progress, I created by stamping the main image and masking it, then using the square and circle Stencils that featured on another show I lightly inked through using water base dye ink pad in different colours, I used paint marker pens to add some speckles over the background, I think it just lifts the design.

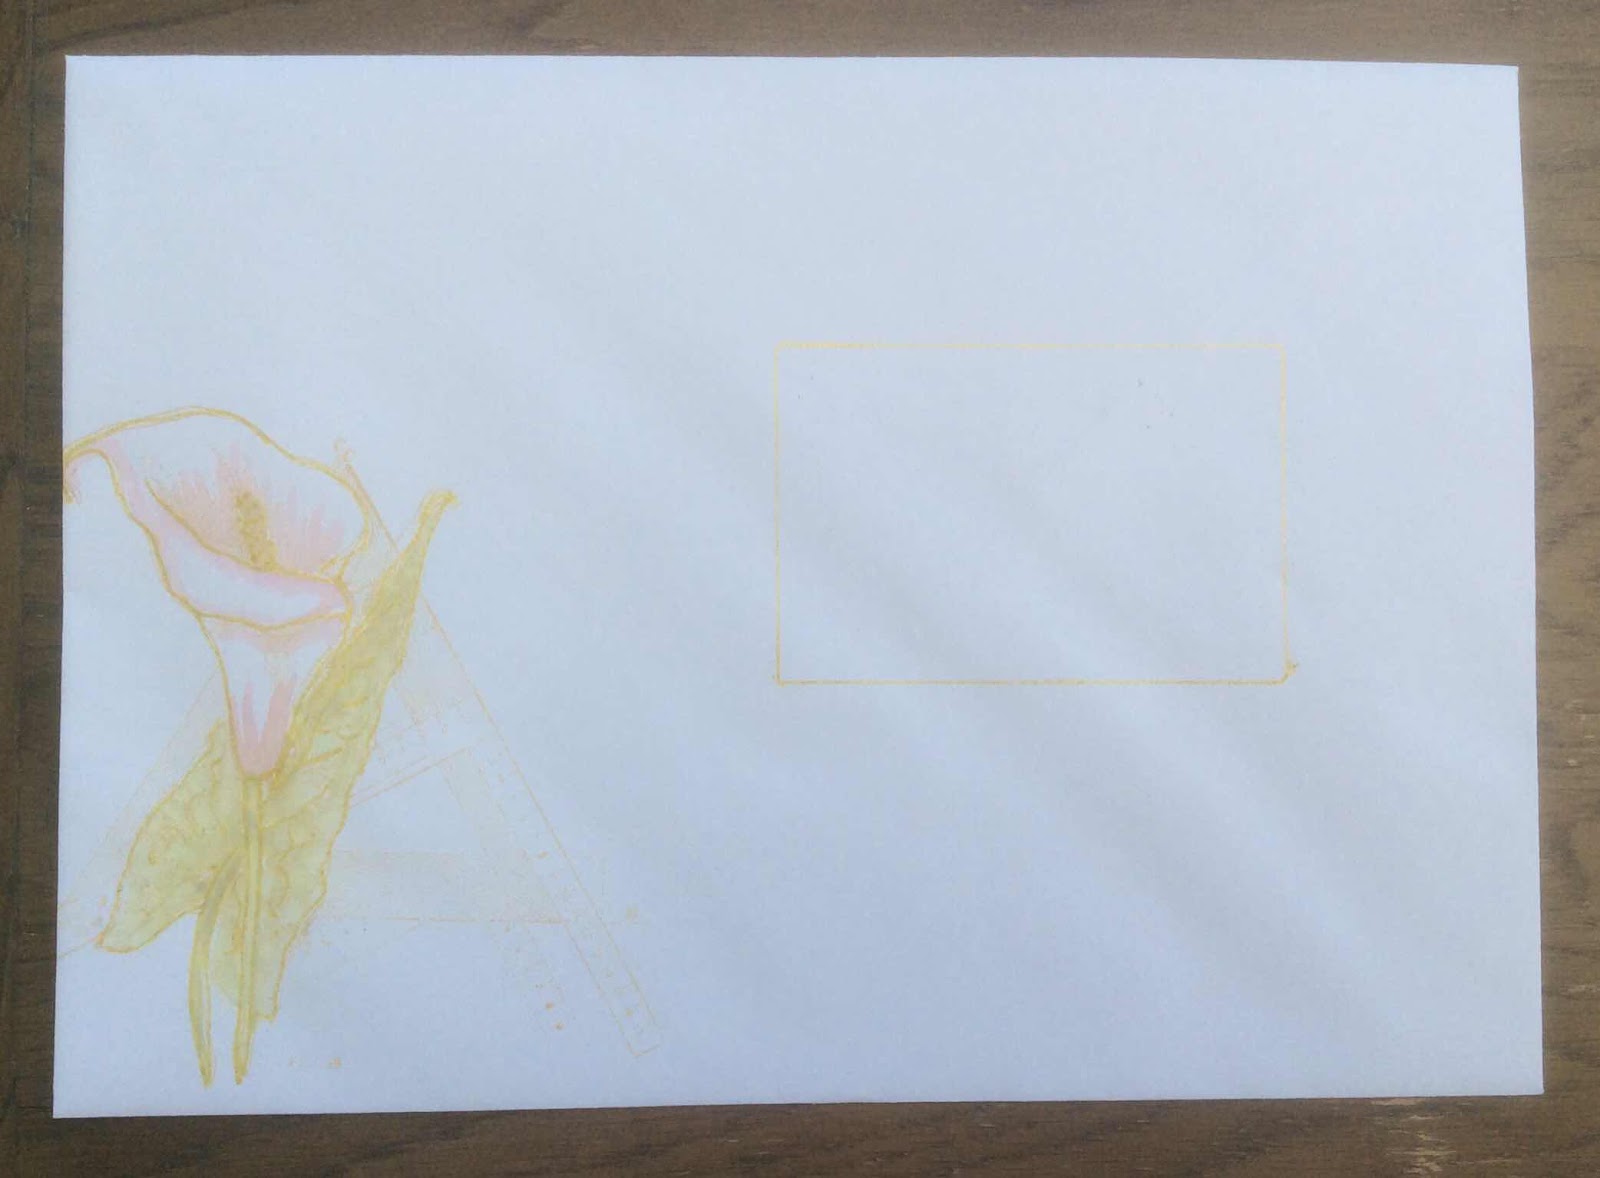
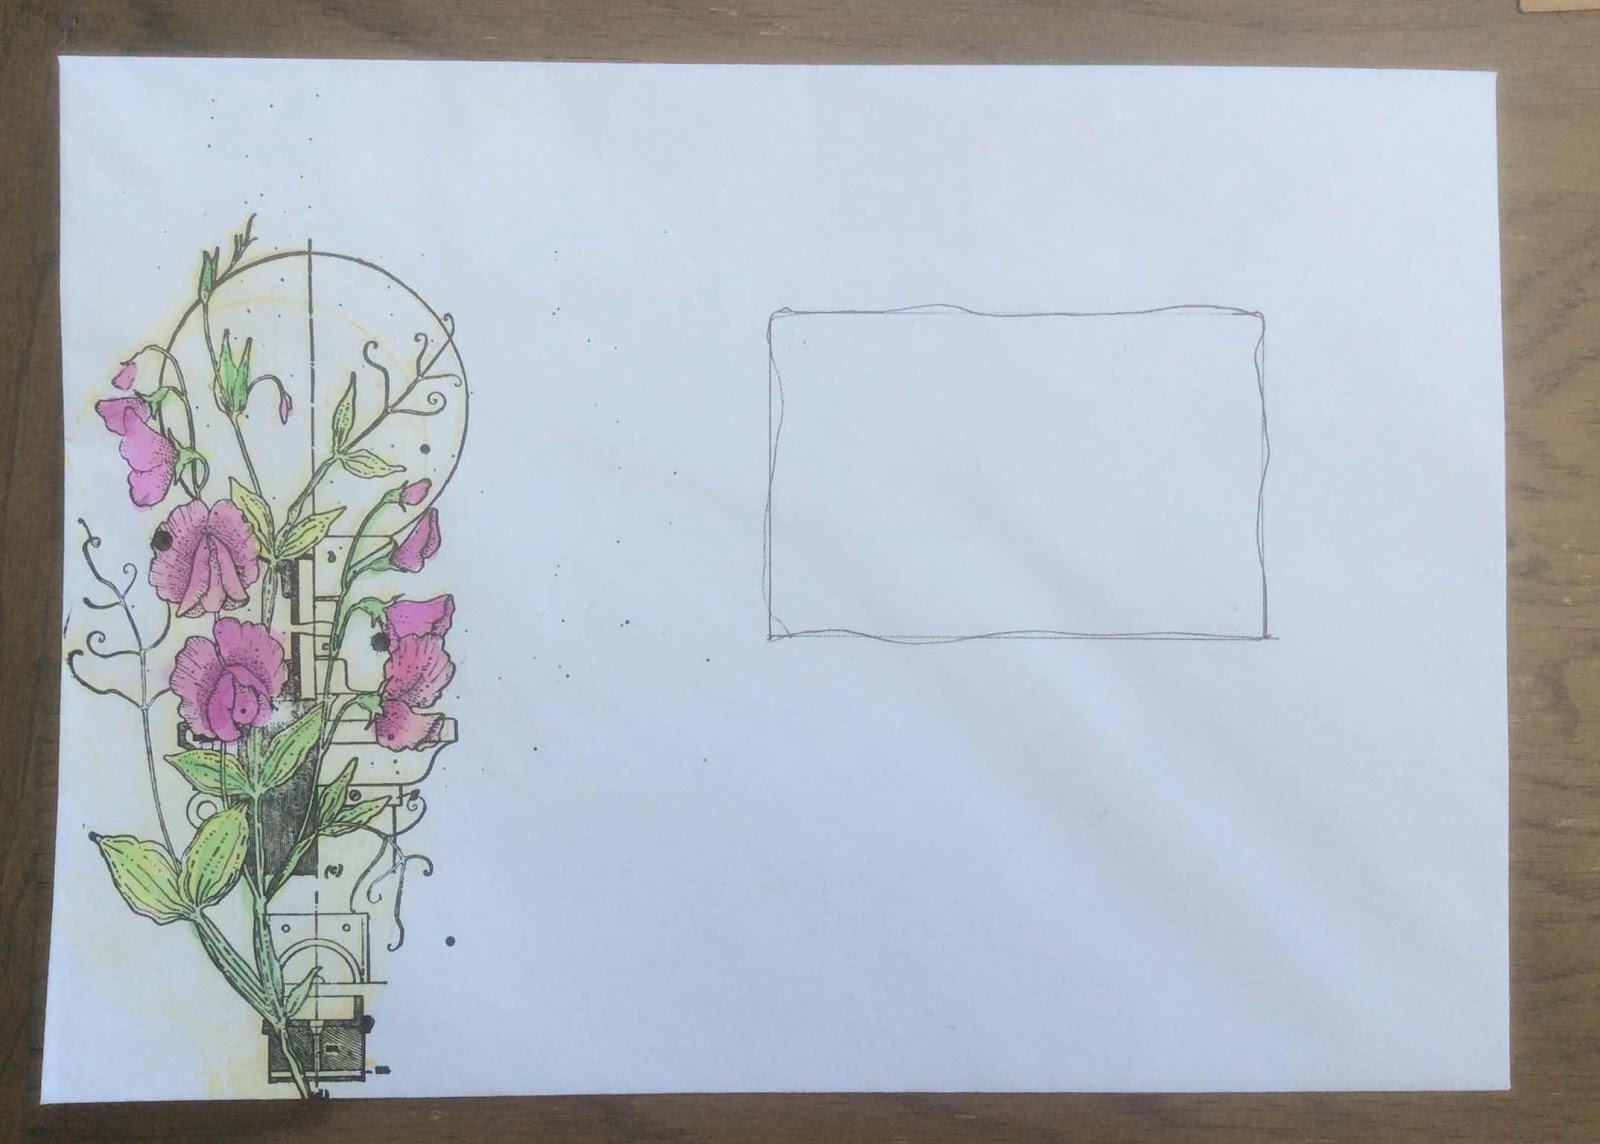
So I’ve become the “Envelope Queen” as Lesley calls me on the shows hahaha! (Love you Lesley) so I cant produce samples without adding the odd obligatory Envelope now.

My first one I used Antique Linen Distress Oxide inkpad to stamp the flower, I coloured in using a water brush and Distress Oxides.

I used Watercolour marker pens to colour my other envelope.


Thank you so much once again for visiting and leaving your comments.

Stay safe, keep well xx Zoe xx

Saturday, 30 May 2020

Cornflower Blue by Brenda


Good morning everyone. I hope you are all remaining safe and well and coping during these strange times, today should have been our eldest Granddaughters wedding, then COVID-19 came along, who could have foresaw such change in our lives. But there's always craft!!

Today I have a few more cards using the Blueprint stamps, starting with a blue and yellow creation, it's a colour palette I always enjoy working with. A Distress Oxide background created simply by dabbing ink onto a piece of acetate, spritzing with water and placing over the card giving a gentle rub on the back to release the ink. Then repeat the same process with the second colour, but this time bending the acetate to make contact with the card to get the colour exactly where you want it. 

Some stencilling using Strip Stencils and Wild Cornflower Blueprint Sketch stamped in Versafine Clair blue.


I used the smaller flowers from  all four sets here Freesia Blueprint, Sweet Pea Blueprint, Wild Cornflower Blueprint and Cala Lily Blueprinth stamping around the edges of the card and colouring in with pencils. I then used several of the sentiments from the same stamp sets and cut a circle to place in the middle.


Finally a soft yellow Distress Oxide background with a little pink as well, stamping around the edges with elements from Wild Cornflower Blueprint and then Sweet Pea Blueprint focally and coloured with pencils.

My thanks as always for your visit today.

Wednesday, 27 May 2020

Autumn Notice Board (by Carole)

Hello everyone, today sees the last project this month from our Guest Design Team member Carole Cann, she has made a brilliant project to inspire you and will be back later in the year.

Carole writes:

Hello everyone.

This is my last project for this GDT session. Hope you like the idea.

I have found this item very useful in my household, for leaving quick messages for my husband and vice versa.
Sttamps used: Mellow Fruitfulness and Autumn Poppy
Distress Inks, Versafine, laminator, Whiteboard pen.


I coloured my backgrounds with different yellows, oranges and red, then spritzed it so the colours bled and left a speckled pattern.

The top section was stamped with black and clear embossed to give it more depth.
Some areas were then coloured with water colour pencils and highlighted with white pen.
I then cut it to the required size and trimmed the other two sheets similarly.

These were then overstamped with various designs on the sheet with Smokey Grey Versafine. If you want it bolder then use black.

Once completed they were laminated too. I used my old Cropodile to put the rings on and joined them all together with wire loops.
You could tie them together with fine ribbon, which would look pretty too.
I didn't have any jump rings big enough, so I wrapped my wire around the handle of a paint brush to make oval jump rings.
The back of the sheets were decorated too.

You can write on this with the whiteboard pen and then rub it off easily when finished with the message.

Hope you have enjoyed my projects as much as I enjoy looking at what you are all making, and happy crafting.

Stay safe,

Carole.

Monday, 25 May 2020

Mica Powder and Rice Paper (by Sandra)


Hello
I'm sharing a couple of projects with you today.

My first uses the Cala Lily Blueprint set. I stamped the image onto some black, glossy card with VersaMark and then gently brushed on different coloured mica powders with a small, soft brush. Once all the ink was covered I was able to buff with a soft tissue.


My second piece, I stamped one of the images from the Freesia Blueprint set onto rice paper.  I coloured the flowers and added some crackle from Echoes of Italy. I then used gel medium to adhere the rice paper to a wooden block. Once it was dry I added some Distress Ink to the edges.


Thanks for looking and stay safe,
Sandra x

Saturday, 23 May 2020

Blueprint and butterfly Accordion by Rachel

Hello there! Its Rachel here today and I want to share two cards from the April shows with you today. You may have seen the second one on fb before the show but I thought I would show it here anyway.

The first card is the main event...its a 6 panael accordion card. To make this I added distress oxides and water  to my craft mat and made a large (A3) masterboard using a mop up technique. Once dry I cut this into 6 pieces each measuring 9cm by 13cm. There was plenty of card left over to be used another time. Each of these 6 pieces I then stamped an image on and coloured using water colour pencils. I also added some sentiments.


Here are the main 4 panels...


And the two panels that formed the back of the crd leaving room to write on two blank panels. The accordion itself was made by cutting an A3 piece of card in half along the short edge. This card was then folded in half and each half was folded in half again. 


This last card was made by simply inking through a stencil and then adding the stamped images on top - colouring was again by watercolour pencils.

I hope you have enjoyed reading about my samples.

Stay safe,

rachel xx

Friday, 22 May 2020

Feeling Gratitude (by Magda)

Hello,
my second post of this month is a layered Journaling Page, that brings in evidence two Chocolate Baroque stamps.
You can hardly see the first pink-brown background with the blue flowers and orange dots, the second layer of gesso with green swirls will give a nice light under the craft tag.


I stenciled the tag with light green flowers, scored the tag and blended with Distress Ink pad Walnut Stain , at last I stenciled again with white.


The decoupage "A Heart full of love" is coloured with watercolored pencils.
The sentiment on the project is in the plate Words of Gratitude  is stamped with Archival Black jet on a white cardstock coloured with Distresss Ink Pad Mustard Seed 
Glue all the pieces on the page.


As a quick idea here two ATC changing the colour but using with the same stamp Essence of Nature Words to Dazzle and Sparkle and stencil 


I hope you enjoyed my projects this time too,  hugs
Magda