Pin It button on image hover

Wednesday, 19 August 2020

Distress Oxides With Dark Cardstock (by Jodie)

Good morning everyone,

Hope everyone is staying safe and healthy during these crazy times. I'm creating my next project for Chocolate Baroque and I hope it provides a bit of inspiration for your creative imagination.

I'm continuing with the flower theme, this time using inks as a painting medium.

Supplies:

Stamps- Loving Sentiments Rubber stamp sheet-A5, Floral Perfumery Rubber Stamp sheet-A5

Distress Oxide inks

Versamark Watermark stamp pad

Versafine Onyx Black

White embossing powder

Paper- Black cardstock, light blue cardstock, dark blue cardstock

Waterbrush- Detailer tip

Double sided foam tape

Heat tool

Silver photo corner stickers 


Stamp the image onto black cardstock with Versamark ink. Sprinkle on white embossing powder, tapping off excess. Heat set the powder with your heat gun.

Taking the Distress ink pad, smush it onto a non stick surface.

Then pick up the colour with your waterbrush and begin painting in the image.

The unique thing about the Distress Oxide inks is that they are opaque on dark coloured cardstock and dry permanent.

Use less water if you want to have deeper colours.

You may have to go over certain areas a few times to create depth of colour, and remember to let each layer dry before adding the next coat.

Once piece is dry, fussy cut out the image, leaving a small border.

Cut the black cardstock to 5 1/4" x 10 1/2" (13.34cm x 26.67cm) and fold in half.

Cut a piece of light blue cardstock to 4 1/2" x 4 1/2" (11.43cm x 11.43cm) and layer onto cardstock base. 

Next cut dark blue cardstock, 4 1/4" x 4 1/4" (10.80cm x 10.80cm) and place onto card.

Attach image onto card using foam tape, towards right side of card.

Stamp the saying onto the white cardstock with the Archival ink, and mat with light blue cardstock.

Attach the saying to the front, then adhere the photo corner stickers.

Thank you for stopping by and remember to check out all the new stamps and wonderful colouring mediums. 

Tuesday, 18 August 2020

An Axe to grind part 2 by Zoe

Good morning Lovelies and welcome to my final post this month featuring the fabulous stamps designed by Kim Moody.

Here are a few more of my samples from the show last month on Hochanda. Ok there is no Axe in these ones lol.

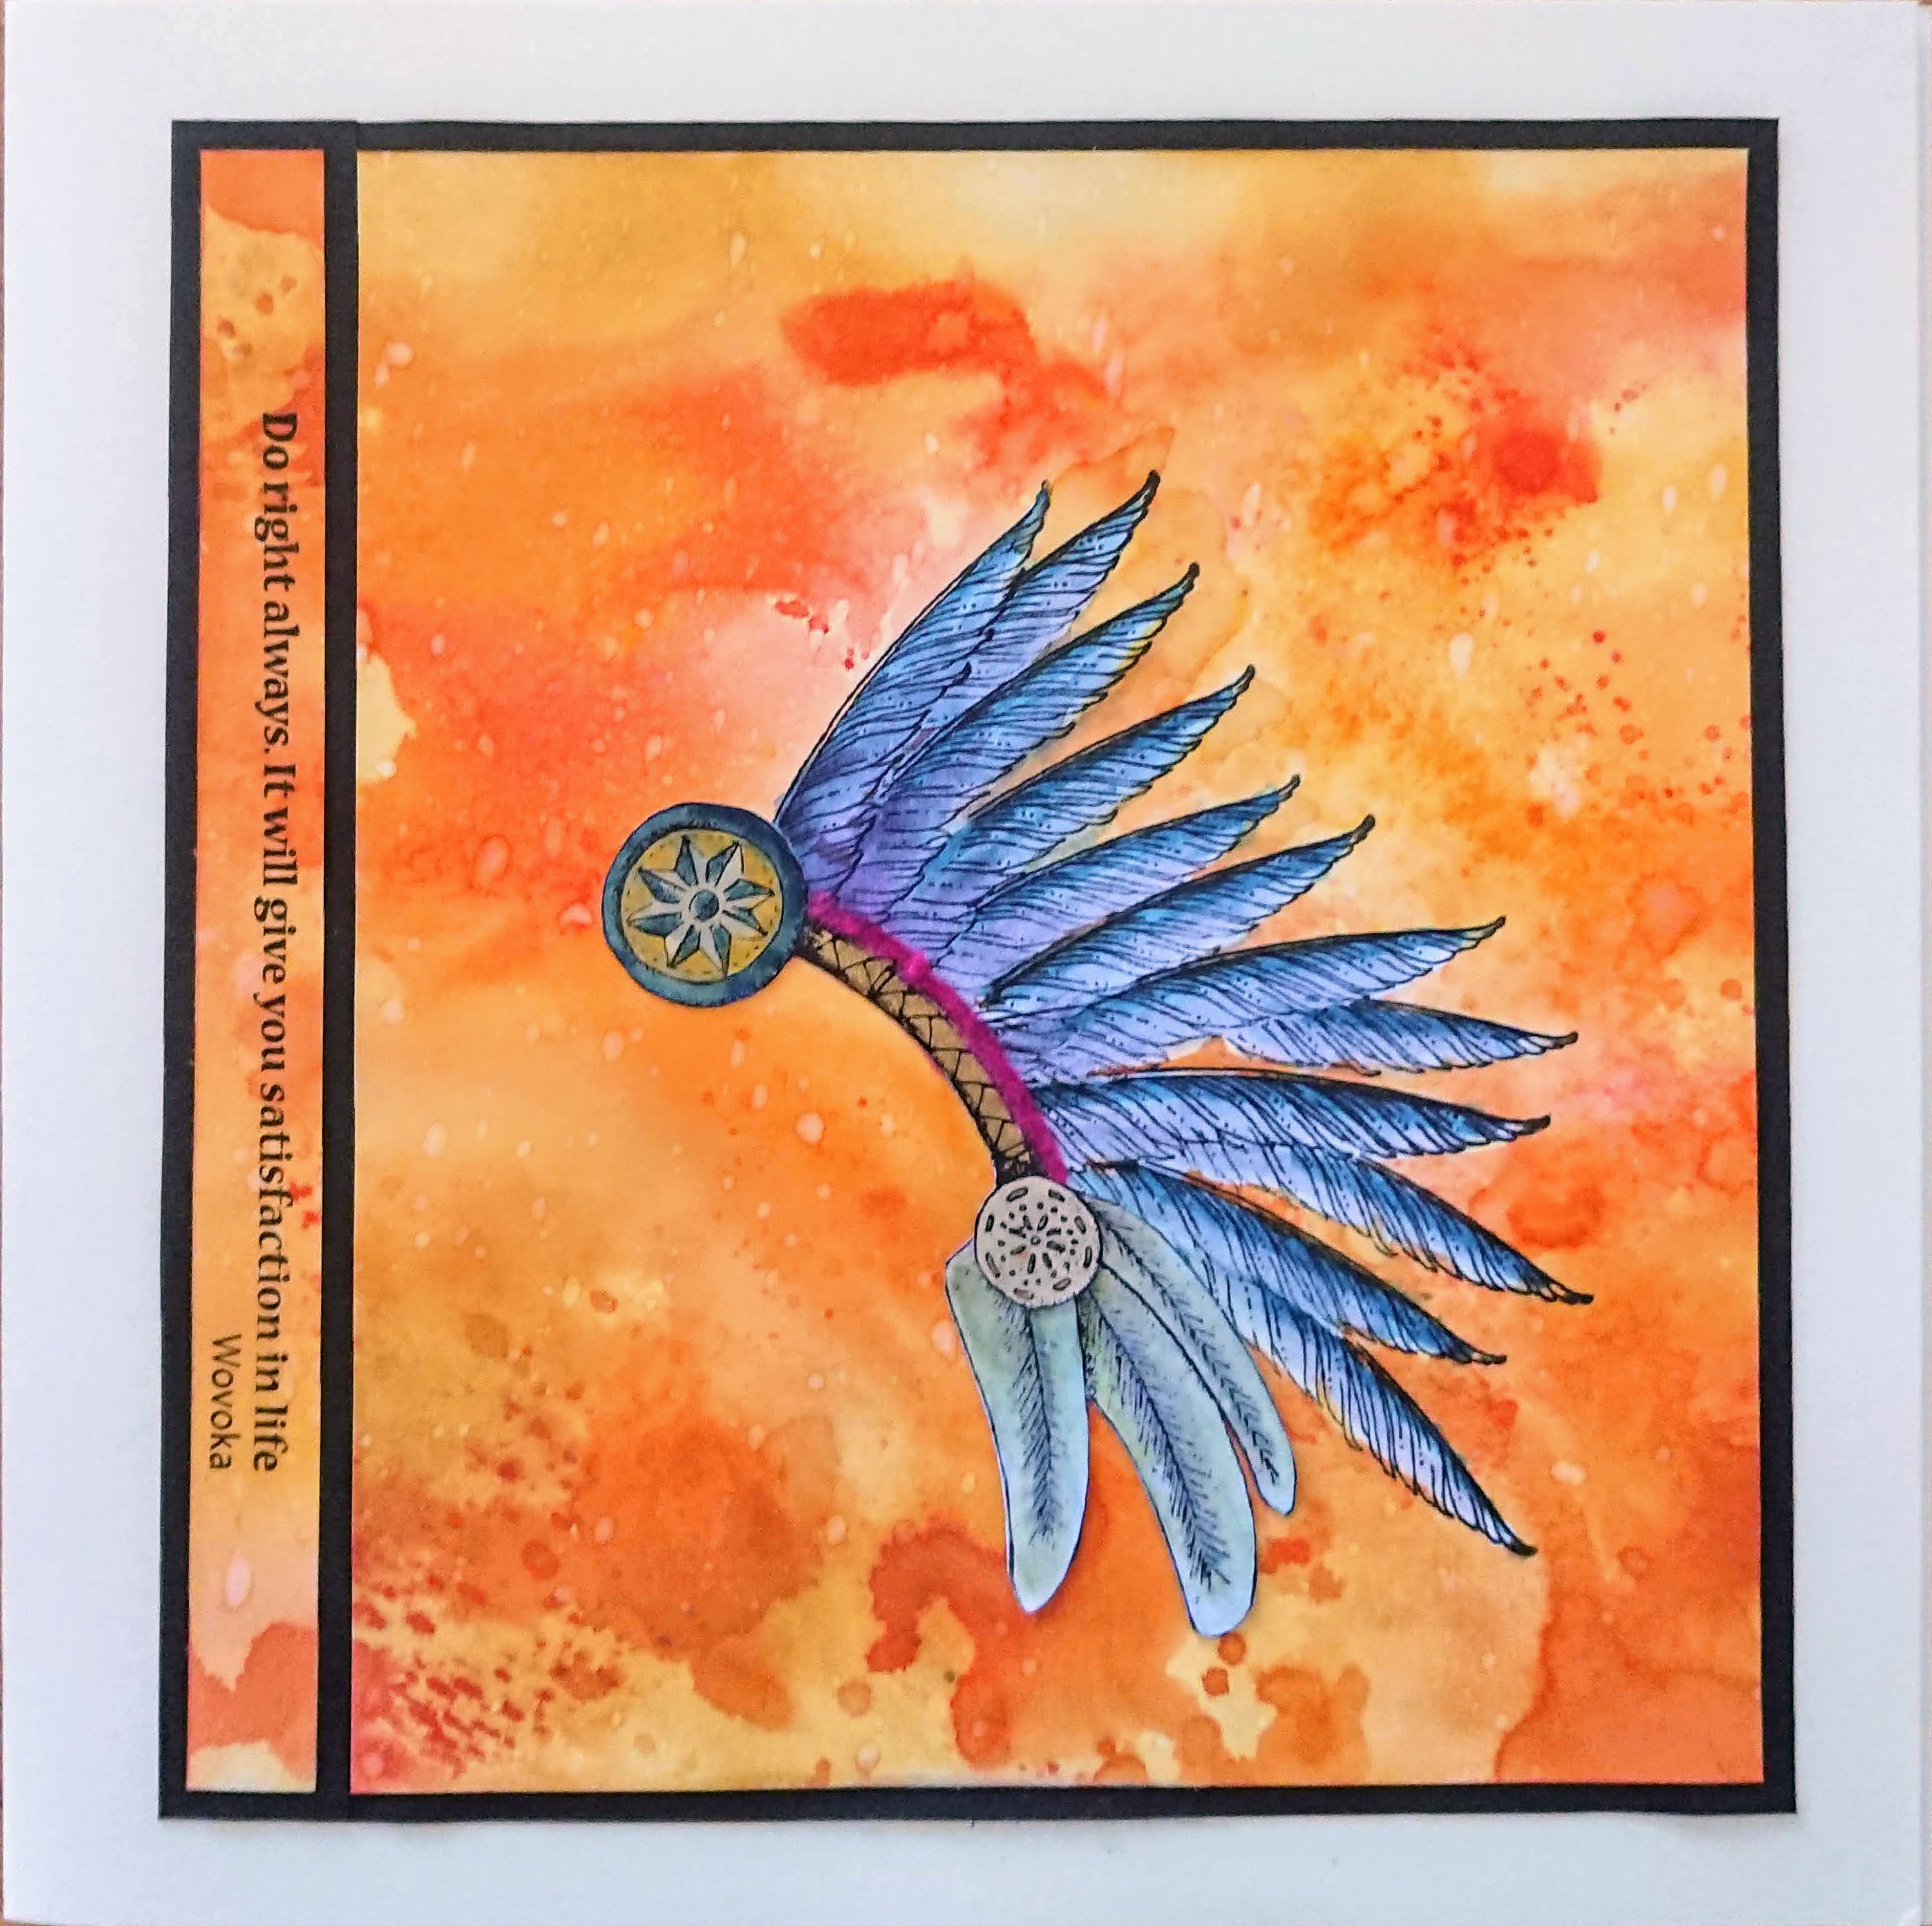
My first sample is a bookmark which I used a scrap of Yupo paper that was coloured with Alcohol inks, these feathers are just beautiful and so versatile.

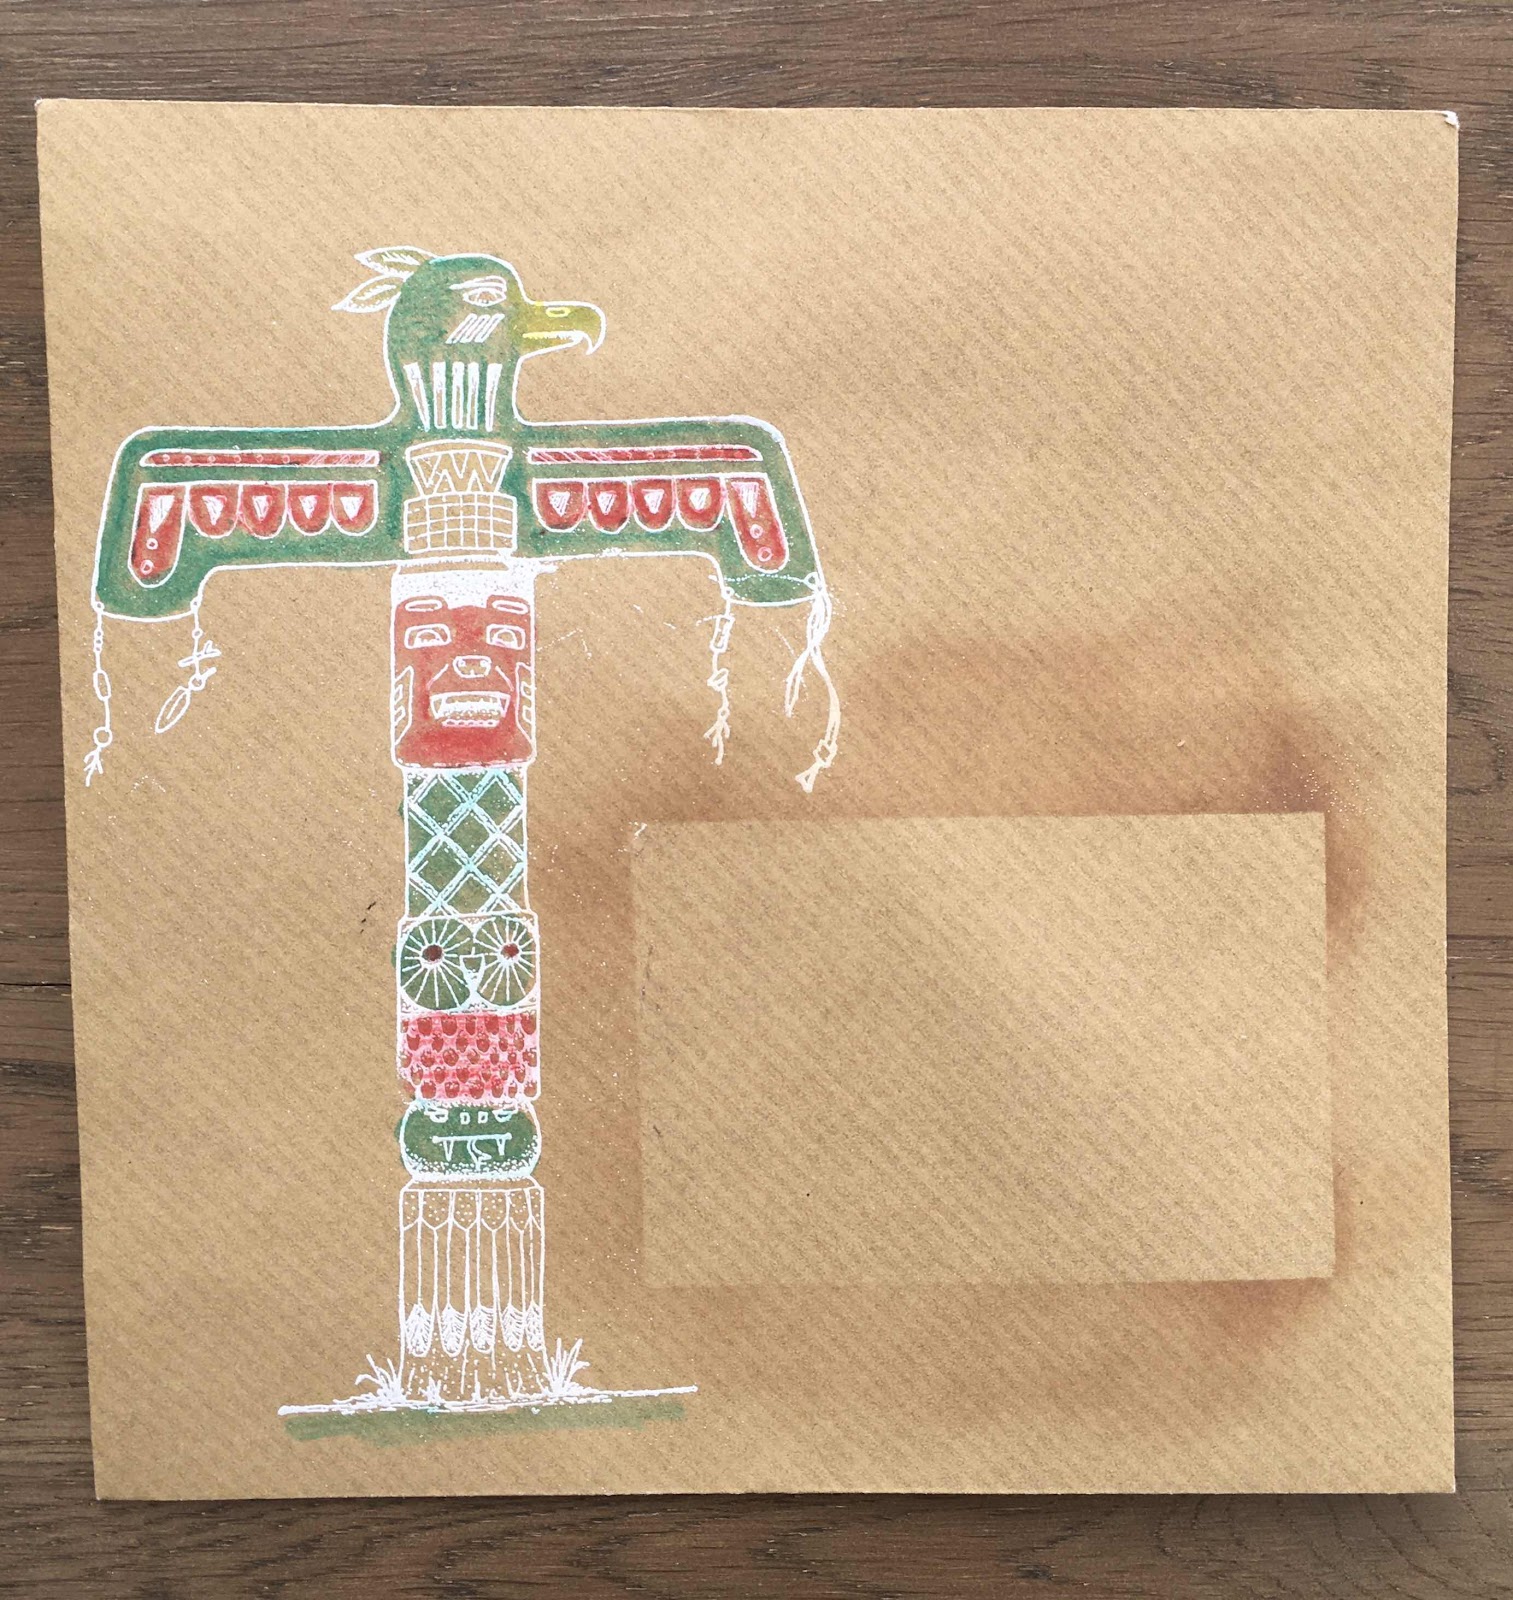
A Kraft envelope, heat embossed in white and coloured using Inktense pencils.

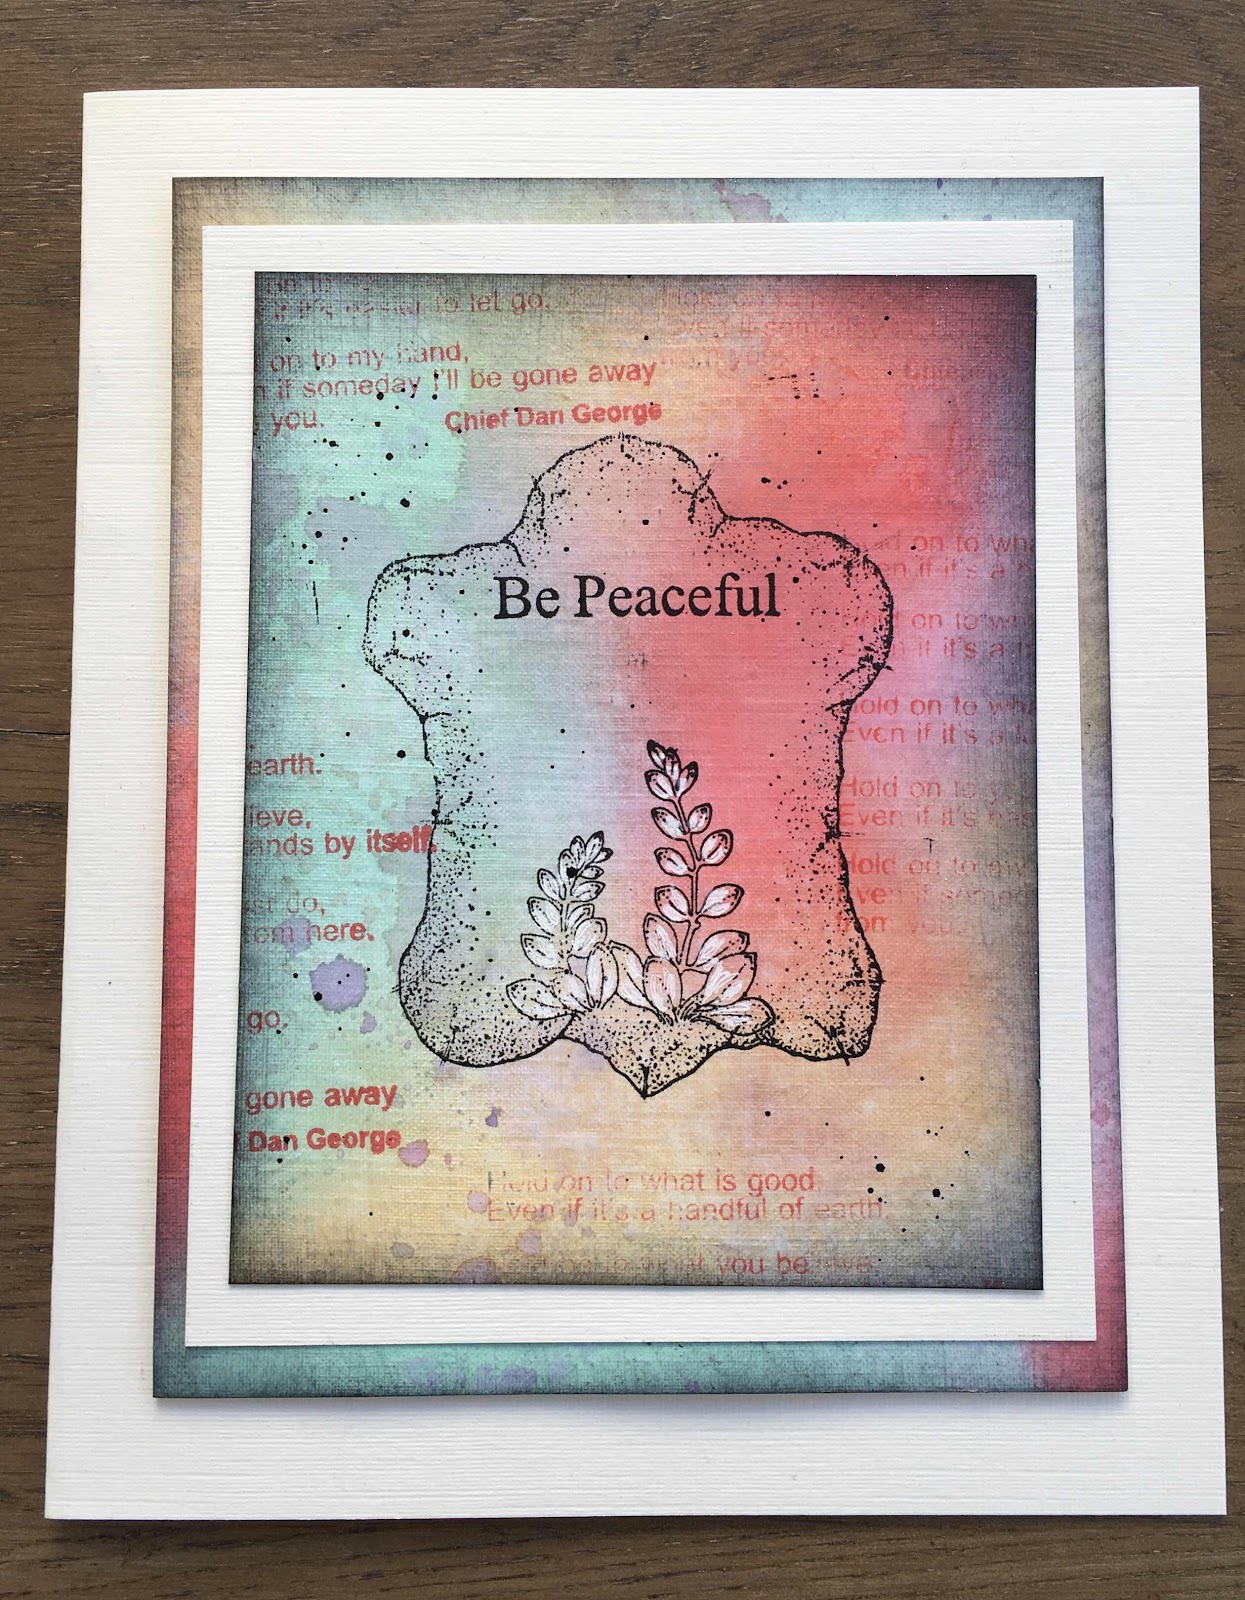
My final card is linen textured card, I masked off all the frame of the skin and just stamped the skin and used that as a frame, my background is coloured with Distress Oxides inks that I blended with a blending sponge tool, the mat I layered onto is also the same colours blended onto linen card.


Thank you so much for spending the time to visit, I hope you like my creations.

Have a great day xx

Big hugs
Zoe xx

Monday, 17 August 2020

Lovely Butterflies (by Miranda)


Hi there,

Miranda again with the promised butterflies.........This time I have used an 'old' Crealies create a card die which can display all these butterflies very well. (it is still available)

These are the stamp sets I have used:


And there are many more sets of Chocolate Baroque with butterflies, so there is more than enough to choose from..........also the new launched sets have beautiful butterflies!


I have used a die cut (Love) and did some watercoloring onto thick rough surfaced watercolor paper.
The large butterfly on the heart is from the Fluttering hearts set. I have used mica strips to attach the butterflies on.

 All the images are stamped using black Archival ink and colored with water-based markers and colored pencils.


Hope you did like my take on the butterflies........
Thanks for watching and till next time with more butterflies,


Sunday, 16 August 2020

Take only Memories by Brenda


Good morning, today I have another card to share using the Native American stamps Catching Dreams, Do Right Always and Hold On.

I scored a piece of cardstock and then ran Distress Inks down the grooves, stamped the images using Versafine Clair, one of the sentiments onto black card and heat embossed with detail white EP and fixed into place with a couple of index clips.


For this one I stamped the Tanning Frame onto an Oxide and stencilled background then two of the sentiments onto a piece of Aida to try and reflect the hide that would have been used  in the traditional setting and used glue gel to raise it over the framework.

Many thanks for your visits today.

Saturday, 15 August 2020

Do Right Always

Hello
I am sharing the cards I made for the Hochanda show in July featuring the wonderful Native American stamps designed by Kim Moody. There are 3 sets to choose from - Hold On, Catching Dreams and Do Right Always.

My first card features the Peace Pipe from Catching Dreams and the lovely verse from Hold On.
First I did a pale watercolour wash to my white card stock.  I then used my stamping platform to evenly stamp the image around the 4 sides, before stamping the verse in the centre. I then coloured with watercolour pencils.


For my second card I made a background with Distress Inks. I stamped part of the dream catcher onto some card and cut it out. I made a mark where I wanted the head dress to go,  I then made a mask for the largest feather and stamped and masked my way around. I then glued the dream catcher part in place and coloured with water colour pens.


For my next card I stamped the Tipi  and coloured with pencils. For the sky, I made up little pots of Brushos in rainbow colours and painted in stripes across the sky. As long as you let each colour dry they keep quite separate.


My last project is a piece of grey board that I randomly covered in gesso and watered down acrylic paints. I added a few stencils in the background and stamped and embossed the Dream Catcher, which I then coloured with water colour pens.


These stamps were a joy to work with, so unusual and great for all colouring mediums.
Hope you enjoy them too

Sandra x

Friday, 14 August 2020

Using the Little Stamps (by Judith)

Hello everyone, I have a couple of projects to share with you showcasing the fabulous stamps from last month's TV shows on Hochanda. These lovely stamps hand drawn by Kim Moody for Chocolate Baroque are so useful, and I wanted to show that they could be used for a range of different occasions.


My first card was created using a background that I found when rummaging through my stash. I had used Distress Inks in shades of blue and green, and thought that it looked very cheery. I made a smaller piece of background very quickly to match, and stamped the frame and skin from Hold On, adding a little motif that I decoupaged from the dreamcatcher from Catching Dreams. The cacti stamped on the main background can be found on Hold on and Do Right Always, they make a lovely overall background softly coloured with pencils, as I have done on this card. I kept to a set colour palette throught the card, and the pop of red against the blue and green adds a lovely warmth to the design.


Although there is quite a lot of colouring on this card, it was relatively quick to complete, and I would certainly make this design again, varying the sentiment to suit the occasion.


My second card was created using an offcut of drawing cartridge. We often have these, and do not always know how to use them up. I again created a Distress Ink background, and stamped a row of cacti, adding a few lines with a fineliner pen to finish off the landscape. I coloured the cacti and the grass with pencils, added a quick bit of shading with a stencil for a sunset, and stamped the lovely sentiment from Hold On. I mounted the piece onto a kraft background for a quick and simple card.


I will be back later in the month with a few more projects to share with you. Thanks for stopping by,


Judith xx

Thursday, 13 August 2020

Be Peaceful (By Rachel)

Hello there, Rachel here today with some of my samples from the July shows - I absolutely loved working with these stamps - and I know they will get plenty of use in the future. 
I want to start with some of the pieces I made using the large dreamcatcher stamp. This first one is a ceramic piece - a trivet for your teapot or pan.  I stamped in ink and then overpainted in glaze before having it fired in the kiln. 

In the second sample I used the same image on a background made using paints and clingfilm - the stamped image was then coloured using water colour pencils and decoupaged up in places.


My AT coins are the final sample I wanted to share with you today. I used paints and the dotty stencil by Chocolate Baroque. I chose smaller images from the stamp sets and added some of the wonderful sentiments that came with these stamps.


I hope I have given you some inspiration for the wide and varied things that could be made with your new stamps.
Have a wonderful day!
Hugs
Rachel xx

Wednesday, 12 August 2020

Lady's Slipper Orchid (by Jodie)

Hello everyone, today sees the first of three posts this month from our Guest Design Team member Jodie Heuser.

Jodie writes:


Good morning everyone,

I'm extremely excited to have been asked to be a Guest Design team member for this month.

Chocolate Baroque has so many new and exciting designs in stamps it's often hard to choose which ones to use.


Since we are in the middle of the dog days of summer here in Florida, I decided to go with a flower theme. 


Supplies:

Stamps- Loving Sentiments Rubber Stamp sheet- A5, Ladys Slipper Orchid

Colour- Brusho Crystal Colour (Set of 24- Crimson, Violet, Lemon Yellow, Sea Gree, and Turquoise)

Ranger Archival Ink- Jet Black

paper- Watercolour paper, cardstock

Waterbrush- detailer tip 

Water Spritzer Bottles- 2 pack

Double sided foam tape

Gold photo corner stickers


Cut the watercolour paper to 4" x 5 1/4" (10.16cm x 13.34cm) and stamp the image using Archival ink.

When you first begin using your Brusho colours, take a thumb tack, and pierce a hole in the top. I cannot stress enough that a little goes a long way.

Lightly spritz the paper with water. This will help the colours blend easier.

Begin by sprinkling which ever colour of Brusho you want to start with onto a non stick surface, then using your watercolour brush, mix a bit of water with the crystals and begin painting in the image. 

Use less water if you want to have deeper colours, and you can mix the colours together to create a specific shade.

Let each colour dry before going on to the next colour, which will help lessen the chance of colours bleeding together.

Once the piece is dry, cut a piece of purple cardstock to 5 1/2" x 8 1/2" (13.97cm x 21.59cm) and fold in half.

Cut a piece of light purple cardstock to 4" x 5 1/4" (10.16cm x 13.34cm) and layer onto cardstock base. Next cut a strip of medium purple cardstock, 4" x 1 3/4" (10.16cm x 4.45cm) and place on the right hand side of mat.

Cut out your image and layer onto card using foam tape.

Stamp the saying onto white cardstock with Archival ink, and mat with gold cardstock.

Attach the saying to the front, then adhere the photo corner stickers.


Thank you so much for checking out my project, and please join me next week, when I will use inks to colour in the stamps.   

Tuesday, 11 August 2020

More feathers and flowers(by Miranda)


Hello there,

I am back again with more feathers and flowers.......almost the same stamps as in my previous post but a totally different use of colors and a white,YES....... white background.......did not do much with that.....it was difficult, I admit it LOL....

I used another stamp from the Artist Baubles and I have a lot more of them to play with, really love that set! There are 6 beautiful baubles on the sheet and some design elements.

Used stamps:


I have embossed the feathers with silver embossing powder and used a lovely cabochon to ' hold' them together. 
 I stamped the bauble using Archival Shadow grey. Than I colored the image with Derwent Colorsoft. 
The feathers were colored using Tombo markers. I used the lovely sentiment from the pretty poppies sheet. 

Only added a thin black line and some dots using a black fineliner.


Next time I will be back with something totally different with lots of butterflies........
Thanks for your visit and always like to read your comments.


Monday, 10 August 2020

Unlock Yourself (by Magda) - Fantasy Woodland, Essence of Nature, Seashell Collage

Hello

These three colors on a neutral of grey brownish shades background filled my page today.

Brown for an old key
Green for the new peace    and
Red for the future

For stamping Fantasy Woodland Tree, the sentiment of Essence of Nature and coloring the backgrounds  I used only  Distress Ink Pad.


As  second project I create a Tag colored with Distress Ink Pad on which I stamped with Archival Jet Black  images of Seashell Collage. The illusion of the waves is given pressing a baby wipe on a stencil, while the dust of the sea, is the result of spritzing water on the tag using a water spritzer.


Thanks for passing by, hugs
Magda

Saturday, 8 August 2020

pipe of peace (by Veronica)


 Good morning , I hope that today you will like the cards I have to share using the lovely new stamps drawn by Kim Moody - something very different, and all the DT have really enjoyed working with them.

The main image is the dreamcatcher from the catching dreams set, the pipe of peace and the words are also in this set, and the totem is from do right always.

I started with a piece of kraft card, about 5.5x7.5 inches, and stamped the totem,  and the pipe twice using a brown dyebased inkpad. The dreamcatcher was stamped in black versafine clair and clear embossed, and then the sentiments in the black versafine .The dreamcatcher was coloured with watercolour paints.  

Once everything was dry, I die cut the word from the image. The base black mat was cut to fit an A5 white card, then the kraft card layered on. I added foam pads to the cutout letters, then glued them in place slightly offset to give more of a 3D effect.


My second card used the same technique, using the tomahawk and the pipe behind the dreamcatcher this time and the sentiment from the hold on set, and this time I die cut the word dream and added a small white layer between the black mat and the image.

Thursday, 6 August 2020

Village Life and Peaceful

Goodly morning everyone, I hope you are all safe and well.  I have a couple of samples from last months shows featuring the gorgeous new stamps from Chocolate Baroque.  

Village Life.

I have used stamps from the Do Right Always and Hold On sets; sepia Versafine Ink, clear EP, Distress Inks, acrylic paints, white charcoal, white paint pen, acrylic texture paint. 


I began this project by taking a piece of white card and stamping the Tee-Pee village image in sepia ink and embossed it with clear EP.  I used texture paint to give the foreground a sandy desert feel then used normal acrylics to colour the rest.  I then stamped the largest Tee-Pee onto Kraft card in sepia ink and embossed it.  I used DIs to colour it then cut it out and attached it to the focal panel.  I used white charcoal to add clouds and a sun/moon.


I took a white base card and stamped feathers down each side, using DIs to colour the images.  I then stamped the two small cacti images repeatedly along the bottom edge and coloured them as before.  I made a mat/frame then attached the focal panel to the basecard.   


Peaceful.

For this card I have used stamps from the Catching Dreams set; sepia Versafine ink, clear EP, Distress Inks, and a die from my stash. 


On a piece of white card I stamped the pipe image in sepia ink and embossed it with clear EP.  I masked the image then blended DIs to create a background.  I watercoloured the image with DIs then die cut the panel.  I stamped and embossed a couple of sentiments, blended ink around the edges of the panel then attached it to a Kraft base card.


Thank you for taking time to read my post today, I hope it has tickled your crafty mojo a little!  I shall be back later this month with another post, until then stay safe and well,


                            x  x  Penny  x  x


Wednesday, 5 August 2020

Journal Planning (by Judith)

Hello everyone, I hope that you are all keeping well, and enjoying the recent warm weather. I have a couple of projects to share with you today that were first shown on last month's TV shows on Hochanda. These very versatile stamp sets were drawn by Kim Moody for Chocolate Baroque, and have been such a pleasure to work with.

I fell in love with these images as soon as I saw them, and knew straight away what I wanted to do for my first two designs. I created a plan in my journal, sketching a layout and trying out a colour scheme for these two cards. I used Katya, masking off her headdress, and stamped just the face, the dangly decorative pieces of the headdress, and the shoulders. I drew a headband and some hair, and also extended the dangles up to the headband. I added a pattern onto the headband, and also added a similar design onto the bodice. Once complete, I used some Masking Tissue, and traced the design, before cutting it out, and covering the image.

I stamped the dreamcatcher from Catching Dreams and coloured the background with a light wash. I added some feathers and the sentiment from Hold On. I coloured the images with pencils, sticking to a fairly limited colour palette of ochre, red and green.

For my second project, I wanted to create a Native American landscape, incorporating the teepees, and the cacti. I stamped the main image from Do Right Always, and added the cacti to one side. I added extra lines to complete the scenery using a fineliner pen. I added more rocks and grass at the front, and mountains at the back. I coloured the picture using watercolour pencils, blending several colours together, to create a more natural feel. I used lots of terracotta to create a very scorched dessert look to the earth.


I wanted to show you my unfinished journal sketches, so that you could see how true the final cards were to my original plans. They were pretty close!


I will be back later in the month with more projects to share with you. I do hope that you enjoy what myself and the Team have to show you with these fabulous stamps. Stay safe, and take care,

Judith xx

Tuesday, 4 August 2020

Got an Axe to grind by Zoe

Good morning Lovelies.
Welcome to my first post this month featuring these fabulous Native American themed stamps designed by the very talented artist Kim Moody.

I hope you were able to catch the shows.

Here are a couple of my samples from the show.

I made a bookmark out of a scrap background I’d made using my gel press and coloured in using Inktense pencils.

A grey/white board wall hanging was coloured and stamped using Distress Oxides for the background, and once again the image was coloured using Inktense pencils and a gold glitter pen.

And finally my obligatory envelope, a Kraft one this time, for a change, coloured with Distress inks.


Thank you so much for visiting, I hope I’ve inspired you.
 Have a great day.
Big hugs xx Zoe xx

Sunday, 2 August 2020

July's Blog Comment Winner


Hello and welcome to the Chocolate Baroque Design Team Blog.

We truly appreciate the time you take to let us know your thoughts about our designs, so each and every comment is very important to us.

Each comment in July was assigned a number and we used Random Org to draw a winner.

Congratulations to PAT (Colourful Card Creations) you have won this month's £15.00 voucher to spend on Chocolate Baroque stamps.

To claim your prize, please email here to confirm your email address and Lesley will send your gift certificate.

Lesley will be giving another £15 gift voucher to another lucky winner drawn from August's comments.

The more comments you leave, the better your chances of being the winner.

Thank you so much for all the kind comments you leave.

Good luck from all on the Design Team

Here is another chance to see the beautiful creation by Rachel
 

Saturday, 1 August 2020

Stay Strong by Brenda


Good morning, Brenda here with our first post of August, this month the Design Team will be sharing their artwork featuring the wonderful Native American stamp sets Lesley launched on Hochanda last month. They are something really different and a joy to work with and so useful for masculine cards in particular, something I like many struggle with.

The above card was a bit of a labour of love as I wanted to create something that showcased most of the new stamp sheets and evoked memories of the very old and tatty book Hiawatha which captivated me as a child. Contrary to what many believe she was in fact female but you have to go back almost 100 years before Henry Wadsworth Longfellow wrote his poem about Chief Hiawatha and his fictional wife Minihaha.

So after creating a tri-fold base using dies, mats inked with Oxides and some stencil work I stamped various elements from Catching Dreams, Do Right Always and Hold On as well as the Beautiful Russian Princess Katya stamped without her headdress and an Indian bandana added so she has becomes Haiwatha from my storybook.

As always my thanks for your visit today and if you would like the opportunity to win a Chocolate Baroque stamp please do pop over to today's Allsorts challenge blog.

Friday, 31 July 2020

A time for reflection by Rachel

Hello there - Rachel here today with some more samples from the June shows - this time using the timeless stamp set. This first card is an accordion card  - I made a masterboard using oxides for the background then stamped each one separately. The front of the accordion is the main focus and I triple embossed the watch face to make it look glassy.


The other accordion pages were stamped also using the stamps from the set.


In my second sample I built up a background using the stamps in oxide inks then overstamped in black versafine Clair and cut the piece up into four before mounting onto black card.


I think this is such a pretty stamp set yet so useful for male cards. 

I hope I have given you some inspiration!

Hugs

Rachel x