Friday, 12 March 2021
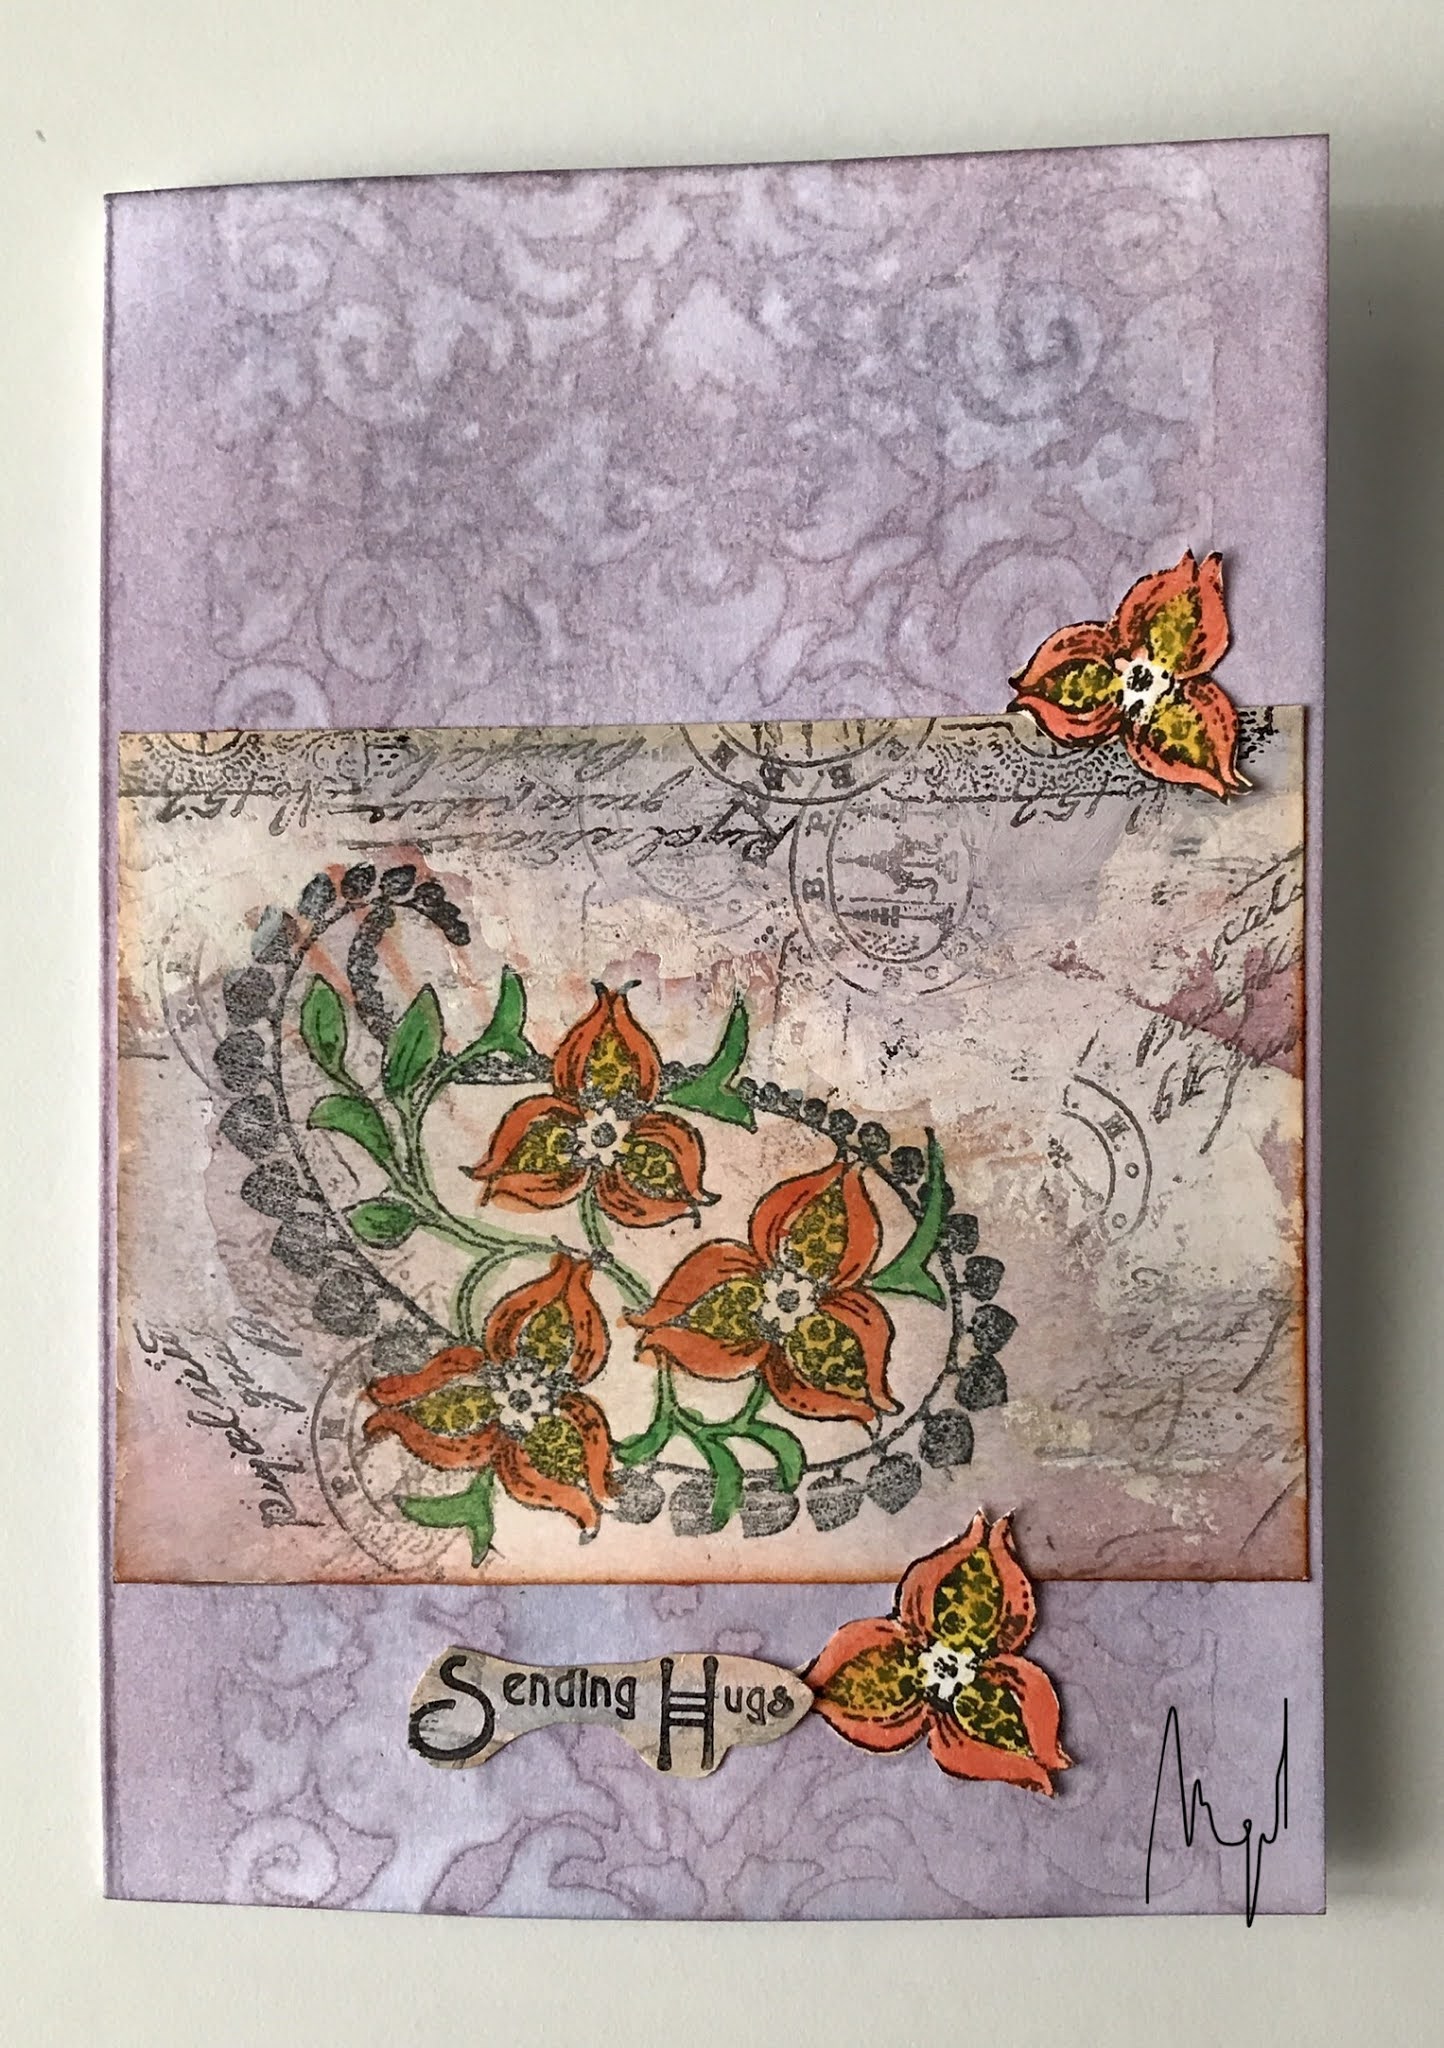
Rose spotlight by Brenda
Wednesday, 10 March 2021
Old and New Together (by Gerrina)
Hello everyone, our Guest Design Team member Gerrina is here today with the first of three posts this month. She has created a collage style card with several of our stamp sets.
Gerrina writes:
Hello again! I am so glad that I can show you what I made for my first Guest Design Team post of this month! Not only were the stamps from Chocolate Baroque some of the first flower stamps that I bought, but they keep releasing such beautiful new stamps... I had a lot of fun mixing older and newer stamps making the three Guest Designer posts for Chocolate Baroque this month.
This is the first of them. I stamped the flowers (Poppy Meadow) and the butterfly (Thistle Butterfly), masked them off and mixed the background stamps from the Rustic Fragments set on the same half of my page. I coloured the flowers, the butterfly and the pieces of the background stamps with coloured pencils.
I love mixing the many stamps of the beautiful background stamps sets that Chocolate Baroque has released over the years with other stamps, which you can see regularly on my blog.
Used Materials:
Stamps: Poppy Meadow, Thistle Butterfly and Rustic Fragments
Ink: Versafine Onyx Black
Other: Stamp paper, masking paper, coloured pencils
See you again next week,
Creatieve groetjes,
Gerrina
Tuesday, 9 March 2021
Flutter with me (by Magda)
Hello girls,
I like to see the first butterflies flutter in the mild spring air and this feeling of joy inspired me to create these three cards with Chocolate Baroque stamps.
Happy Dance
On a blue Brusho colored white cardstock I stamped Butterfly Dress and colored it with Pan Pastel. The little butterflies and the decoupage butterfly are in Just Butterflies, while you can find the sentiment in the Butterfly Perfumery plate. I used Distress Ink pad for coloring the butterfly, blending through the stencil and stamping the sentiment Happy Dance.
Monday, 8 March 2021
monochrome grasses (by Veronica)
The base card was stamped with the tall foliage stamp in grey in one corner to make a frame, and edged with black soot distress ink and then the edges dragged across a black versafine ink pad. The main image was stamped in versamark onto a piece of black card, then embossed in white.
The background card was randomly stamped using stamps from make your mark, the small foliage stamp from eastern grasses and the script from ace card and then sponged with black soot distress ink. Once it was dry, the foliage stmap was stamped on one edge using black verafine ink and clear embossed.
The foliage stamp was stamped onto a piece of black card using white pigment ink then twice more using second generation stamping. Stamped again using versamark ink and white embossed. Edges torn using the new draw and tear rulers
Sunday, 7 March 2021
Beautiful Florals
Friday, 5 March 2021
All about the Butterflies (by Judith)
Hello everyone, I have some projects to share with you today created with some beautiful butterfly images that we brought to Hochanda last month. My first card was created fairly quickly using a piece of drawing cartridge, onto which I drew a circle with a pencil. I chose several colours of Versafine Clair in shades of blue and green and stamped an image from the Thistle Butterfly stamp set around the circle. I stamped each colour five times, to ensure an even coverage, varying the direction that I stamped to make the foliage appear more natural. Although these colours are not necessarily true to nature, I love how they turned out.
Once I had finished the wreath shape, I added some splotches with an image from Just Useful, using some of the same colours that I had used in the wreath. I added a touch of shading around the edge of the background with Distress Ink. I added a sentiment in the centre of the wreath from Birthday Words.
I stamped and embossed three butterflies from across the four sets, I just chose whichever butterflies appealed to me most, to be honest. I used some of Lesley's A5 Doubled Sided Designer Papers, they are so useful for this sort of thing, and will last for ages. I used white embossing powder for a delicate touch.
I am sharing two older projects with you today using the Honeysuckle Butterfly stamp set. These two projects were really fun to create, so I hope that you don't mind seeing them again. The first was a canvas that I made using a sheet of old music paper. I painted over the top using a zingy green colour, and decoupaged the image which I had coloured using pencils. I stamped around the edge using Archival Ink. I added lettering to create a collage effect, you could use book paper, die cuts, whatever you have in your stash to create this effect.
This next project is more subtle, but again, I loved creating this one too. I used a Brusho background, and added stamping using an image from the Elegant Edges stamp set around the edge of the background. The butterflies are decoupaged, leaving one wing free for real dimension. This card is just waiting for a sentiment for the right occasion. It would make a lovely Mother's Day card, don't you think?
Thanks for stopping by, take care and stay safe,
Judith xx
Thursday, 4 March 2021
Fluttering by - by Zoe
Tuesday, 2 March 2021
Blog Comment Winner for February
Hello and welcome
to the Chocolate Baroque Design Team Blog.
We truly appreciate
the time you take to let us know your thoughts about our designs, so each and
every comment is very important to us.
Each comment in February
was assigned a number and we used Random Org to draw a winner.
Congratulations to Cuilliesocks you have won this month's £15.00
voucher to spend on Chocolate Baroque stamps.
To claim your
prize, please email here to confirm your
email address and Lesley will send your gift certificate.
Lesley will be
giving a £15 gift voucher to another lucky winner drawn from the March comments.
The more comments
you leave, the better your chances of being the winner.
Thank you so much
for all the kind comments you leave.
Good luck from all
on the Design Team
Here is another chance to see the beautiful
creation by Brenda
Monday, 1 March 2021
Butterflies and Pattern building by Rachel
Hello there,
Rachel here today with three cards from the February shows - two of these feature the flower-butterfly stamps whilst the final card is a pattern builder using one on the worker stamps from one of the other flower-butterfly stamp sets.
In this first one I have used the Briar Rose Butterfly set as the main focus but I have also used stamps from the make your mark set too plus one from the Harlequin Fragments set and one from the Ephemera 2 stamp set. These stamps were used to build up a clean and simple collage design.
Sunday, 28 February 2021
artful allium (by Veronica)
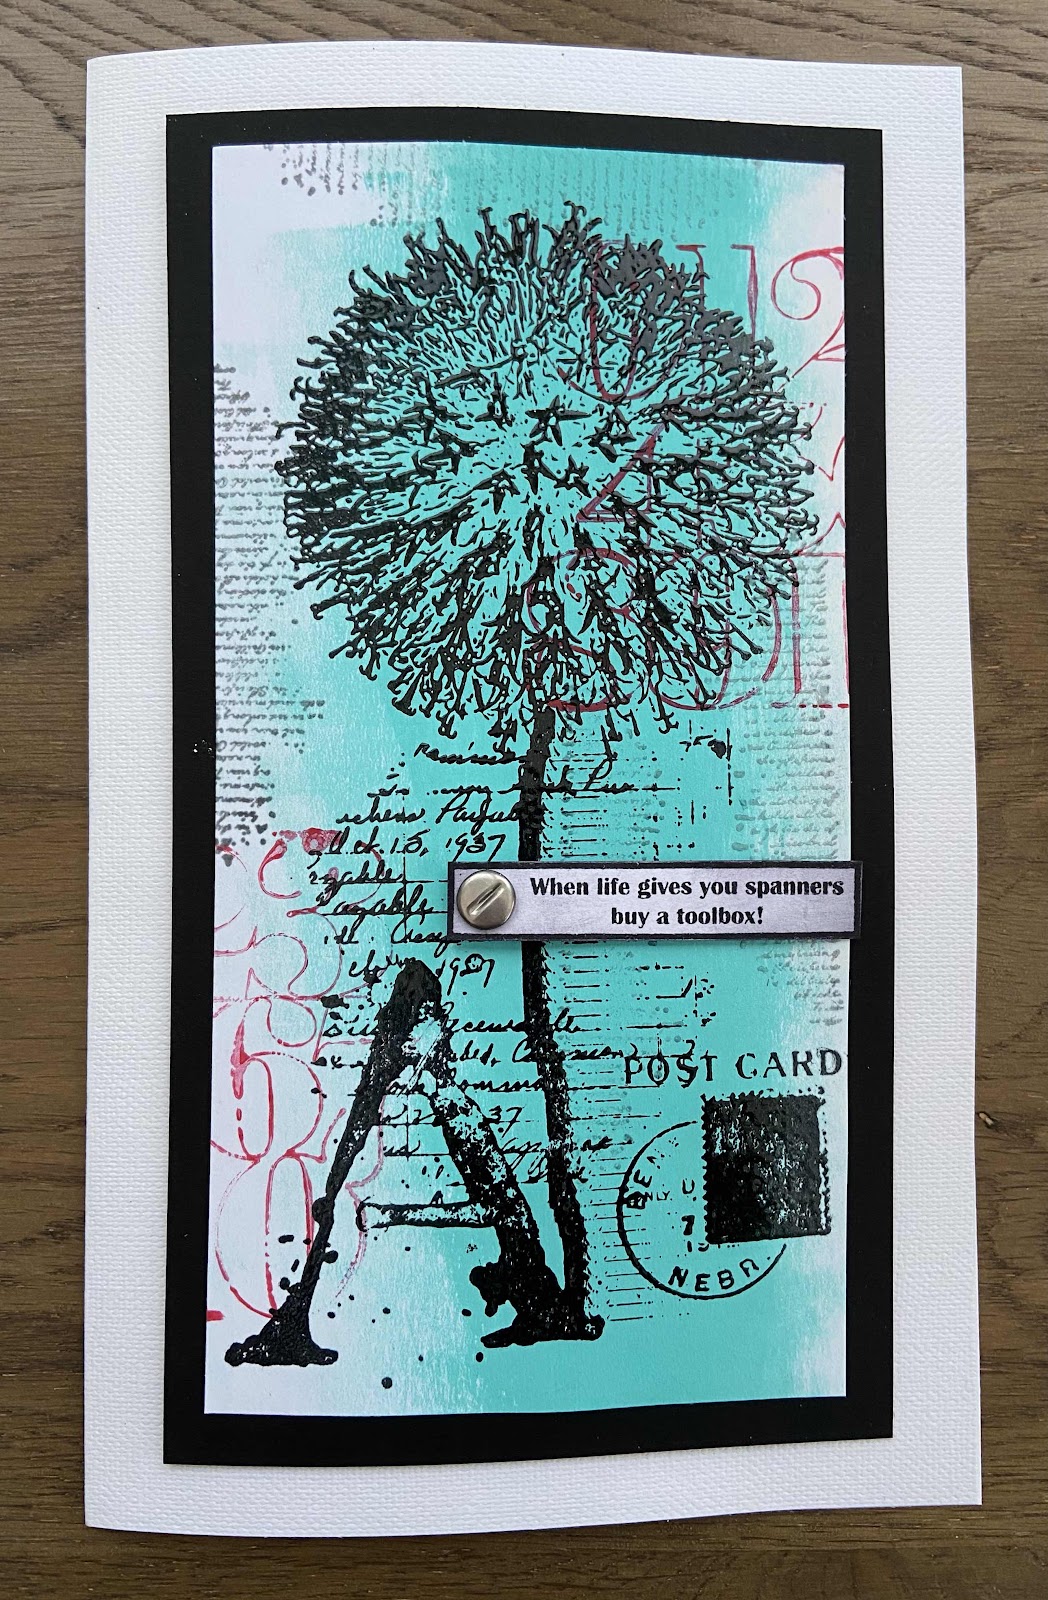
The first card is very simple, I coloured the stamp using distress oxide inks and stamped directly onto a DL card blank.
The second version was a bit more elaborate, I created a foldback card blank creasing the card into onethird and twothirds, so the front panel was DL sized.
The images on the back panel were stamped directly onto the card using black soot distress oxide ink. The large letters were from the just useful set.I stamped the main image for the front onto a separate piece of white card, and coloured the stamp using distress marker pens. I used a stamp platform, so could give a good huff to the image to get a stronger coloured image. The card was inked round the edges with a matching pink inkpad before gluing ontot he fron card panel.This one the image was again coloured with distress marker pens , but then overstamped with grey versafine ink and torn out round the image. The background was created with distress oxide inks spritzed with water, then overstamped with smaller worker stamps using the same inks. The letters from just useful were stamped in black and clear embossed.
I used watercolour paint to fill in the centres of the numbers.
Saturday, 27 February 2021
Ace of Trees
Hello
I am showing more of my cards from the January show on Hochanda.
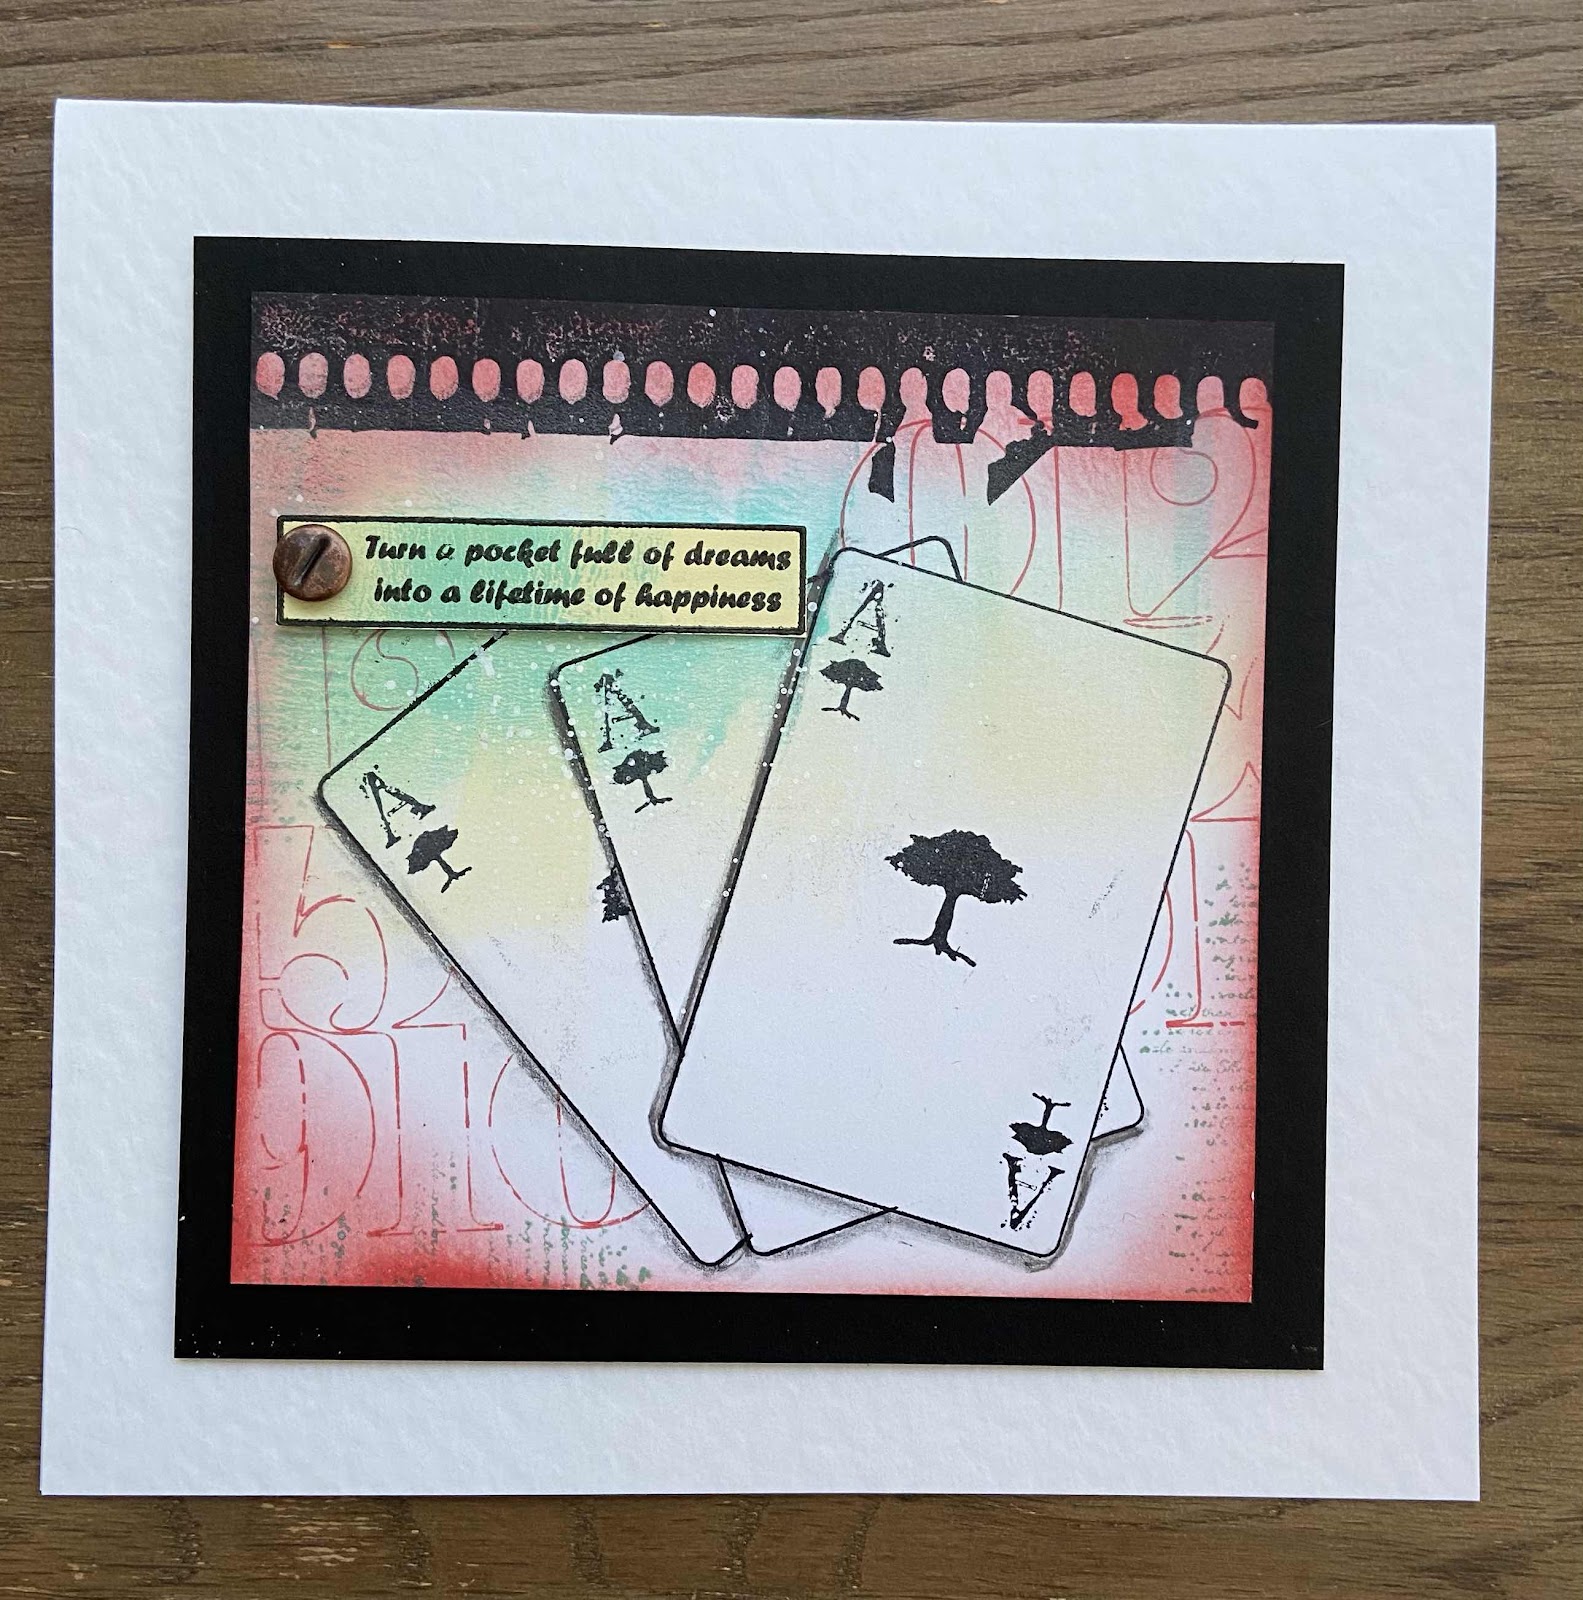
I have used the same stamp set, Ace Card, for my two cards, but coloured to give totally different effects.
For my first card I used a light brown ink for the background and added some splatters from the Just Useful stamp set. I then stamped the main image from the set and coloured with watercolours. I added a sentiment from Gothic Angels . Love this Vintage look....and it's never too early to make a Christmas card!
Thanks for looking
Sandra x
Friday, 26 February 2021
Dragonfly Dreams (by Judith)
Hello everyone, I am sharing my final post of the month, showcasing stamps from last month's One Day Special on Hochanda. These stamps have been such great fun to work with, and I hope that you have enjoyed our inspiration this month. on the DT blog.
I started my project by taking a piece of tea stained drawing cartridge from my stash. I have a few of these ready for a quick start to a project. I added salt when the background was wet for extra texture. I stamped the large playing card image from Ace Card with black Versafine ink, and masked the image with Masking Tissue. I added the small script from the same stamp set along one edge, and then the woodgrain image designed by our great friend Kim Moody from the Fragile Wings stamp set all over the background.
I stamped out three of the smaller playing cards onto a spare piece of background, plus the sentiment. I added some Seedless Preserves Distress ink around the edges of all of the pieces. I coloured the main image with Inktense pencils and blended the colours with a waterbrush. When the image was dry, I added extra details with darker colours. I used a touch of glitter pen over the dragonfly wings.
Thanks for stopping by, take care and stay safe,
Judith xx
Thursday, 25 February 2021
Art for all part 3 by Zoe
I hope you like my creations, thank you so much for spending your time visiting today.
Wednesday, 24 February 2021
If You Can Dream It...(by Corine)
Hello!
Here I am again and would like to show you my third card as a Guest Designer. This time I made a card with different Distress Inks.
I used the stamps from these sheets:
Start sponging some acrylic paint through a stencil. I used pink and turquoise colours. Dry the paint with a heat tool. I work on sturdy watercolour paper.
Spray Distress Spray Stain Kitsch Flamingo and Speckled Egg on the paper. Use water to make the ink flow. Let it dry for a while and then dry well with the heat tool. Drop water on the paper, let it soak for a while and dry with a tissue.
Stamp the harlequin three times with Distress Oxide Speckled Egg. If necessary, use a stamping platform to stamp it straight.
Splash with silver acrylic paint on your background paper. Let it dry completely. Using a stamping platform, stamp the text with Stazon Jet Black. Sponge the edges of the paper with Distress Oxide Speckled Egg.
Stamp the flower with Distress Oxide Speckled Egg on watercolour paper and emboss with Distress Glaze Speckled Egg. Colour the flower with watercolour markers. Add some accents here and there with a Gelly Roll Stardust Glitter pen.
I hope to have inspired you again now. If you want to try out the technique for this card, I wish you good luck and have fun.
Kind Regards,
Corine van Kuilenburg
Tuesday, 23 February 2021
Darting Dragonflies
Hello there. Rachel here today with my final post for this month showing my makes from February. All of these use the fragile wings set. Firstly this black and white tag - I made this using a set similar to that of Jean Hardy from the Comfy pyjamas retreat. I painted my tag and frame in black gesso and added some of Lesley's black and white papers to the tag. I stamped the sdragon fly in black on white card and in versamark (that I set with white embossing powder) on black card. I fussy cut those dragonflies then assembled the piece.
I hope this has given you a few more ideas of ways to use the fragile wings set.
Hugs Rachel x
Monday, 22 February 2021
Yet another Dragonfly by Brenda
As always, many thanks for your visit today.
Sunday, 21 February 2021
Two cards (by Magda)
Hello girls, today I propose to you two cards thinking about spring
For my friend card is an ochre wiped mat, on which I stamped Mackintosh Beauty, stretched the lines with a black marker and coloured the flower with watercolour pencils. For the stenciled background I blended a very light Pine Needles Distress Ink Pad. You can find the sentiment stamp in Amazing Mackintosh Words
Saturday, 20 February 2021
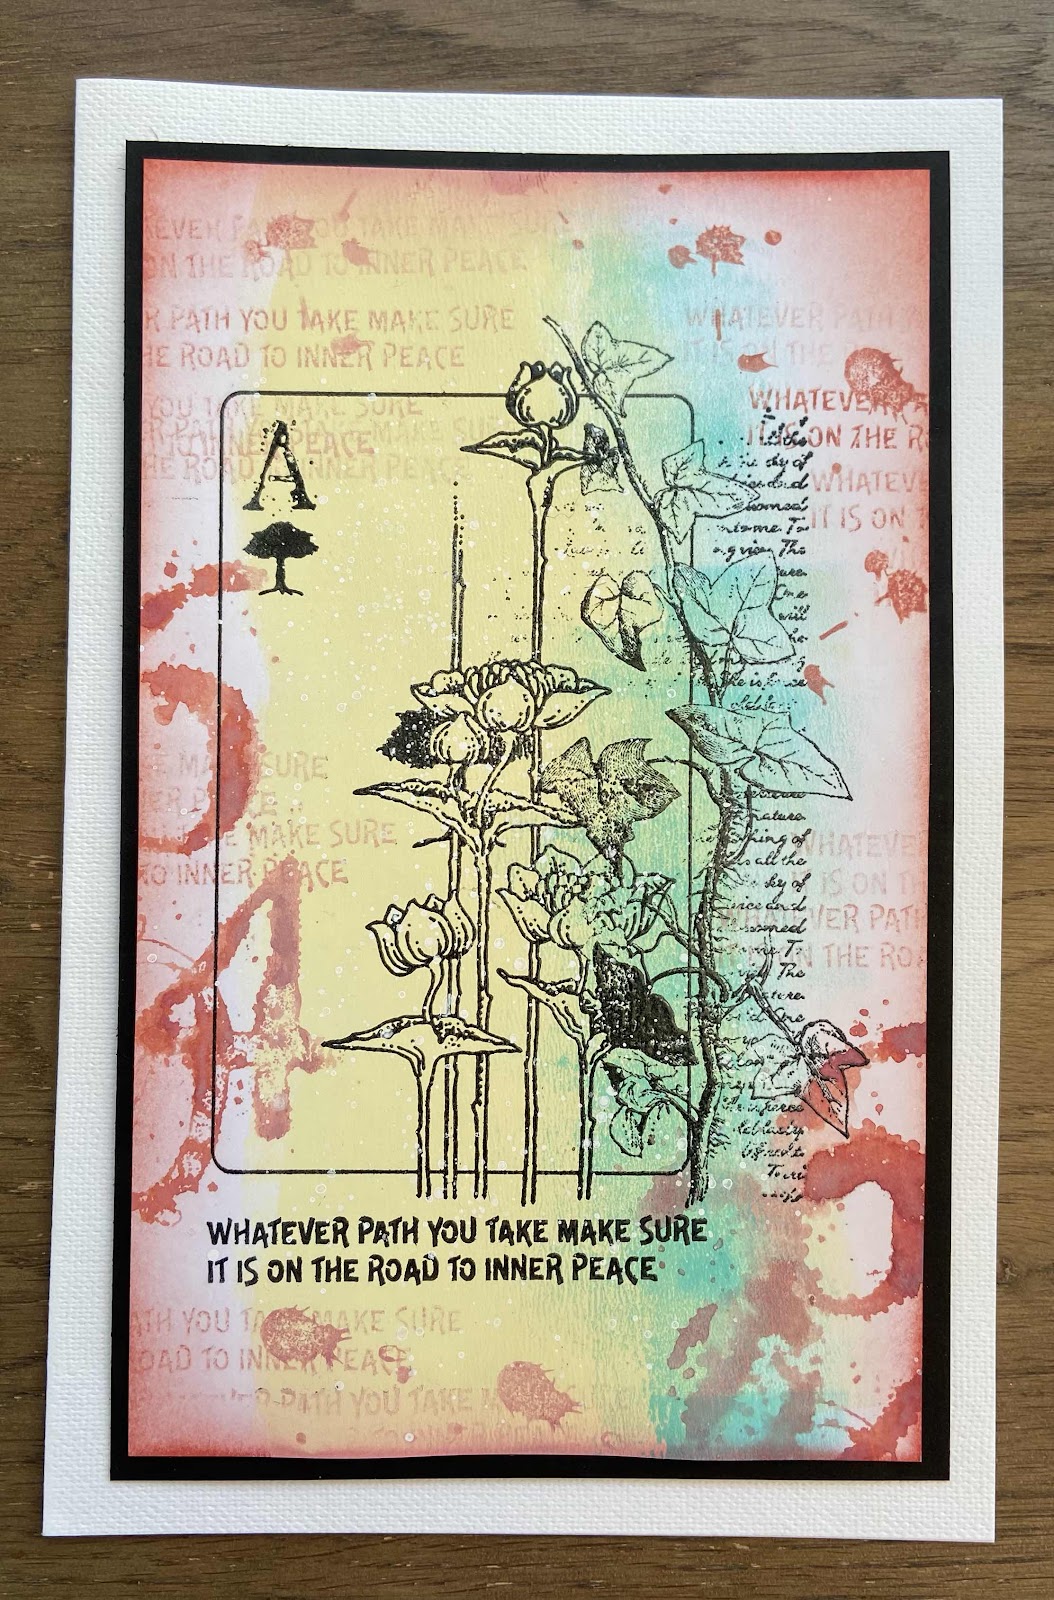
nature's ace (by Veronica)
A very delicate image, so coloured with water colour pencils , image cut oput and edged with black ink. Background was stamped in green ink just using the vine part of the stamp, with the small script stamp stamped randomly as well.
i cheated with the sentiment from the allium collage set by cutting it out the colouring in the hole in the tag shape
The main image was stamped onto white card , coloured with watercolour pencils, torn out and edged with green ink. The small card image was stamped twice onto white card, cut out aand tucked behind the main image and the sentiment added to finish
Friday, 19 February 2021
Amazing Alliums
Hello everyone
I am sharing a few more of my cards from the January show on Hochanda.
I have used Alium Collage for my first cards. I sprinkled and spritzed some Brushos onto a piece of cardstock. I then stamped the Allium in Black Archival ink. I mixed some Brushos with water to make an ink and coloured the Allium flower. I finished with one of the sentiment tags and a piece of ribbon
Thursday, 18 February 2021
Just Useful Collages (by Judith)
Hello everyone, I have a couple of projects to share with you today. I posted one of the projects a few weeks ago on social media to help promote last month's One Day special on Hochanda, so some of you may have seen this card already. To create the card, I stamped the paint splash onto a piece of drawing cartridge several times using Versafine Clair Ink in three different colours. I chose bold colours for lots of impact. I stamped the dragonfly image from the Fragile Wings stamp set onto the background, and added the slim script and splatters from the Just Useful stamp set to extend the collage. I also added circles from the Make Your Mark stamp set.
I stamped and embossed the dragonflies onto some patterned paper, and cut them out. I then attached them to the background. The sentiment comes from the Fragile Wings stamp set as before.
I created an acrylic tag as my second project, I really enjoy making these, they are really fun to create. I chose a piece of A5 Double Sided Designer Paper, and using Archival Ink, added lots of detail. I used elements from the Just Useful stamp set to create a collage, showing that you do not need a hero image to create a real focal piece of artwork. You could add this to a card, or give it as a special gift to someone, hang up as a stand alone piece of artwork, or include it on a larger piece of mixed media. The stamps I have used are all great for incorporating in backgrounds and building up your collage pieces. I have some real favourites amongst them already, some real go to stamps. As you experiment and play with them, I hope that you will find yourself reaching for these stamps too.
I will be back later in the month with some more projects to share with you, thanks for stopping by. Take care and stay safe,
Judith xx