Thank you so much for spending your time visiting today.
Thursday, 15 July 2021
Feeling Punky by Zoe
Thank you so much for spending your time visiting today.
Wednesday, 14 July 2021
A Smooth Sea (By Doreen O'Brien)
Hello everyone, we have another Guest Design Team Member joining the Team today, and we are sure that you will all give her a big welcome. We asked Doreen to tell us a little bit about herself and she has included a photograph:
Lives in Chesterfield, Derbyshire
I have been crafting most of my life wth knitting and crochet I started papercrafting seriously when I started my blog back in 2009. I found lots of stamp companies Chocolate Baroque being one of them. The first stamp I bought I remember was Rose Stem Script. I love nothing better than getting inky making cards and journals.
I am married with three children and three grandchildren any spare time is spent walking in the countryside.
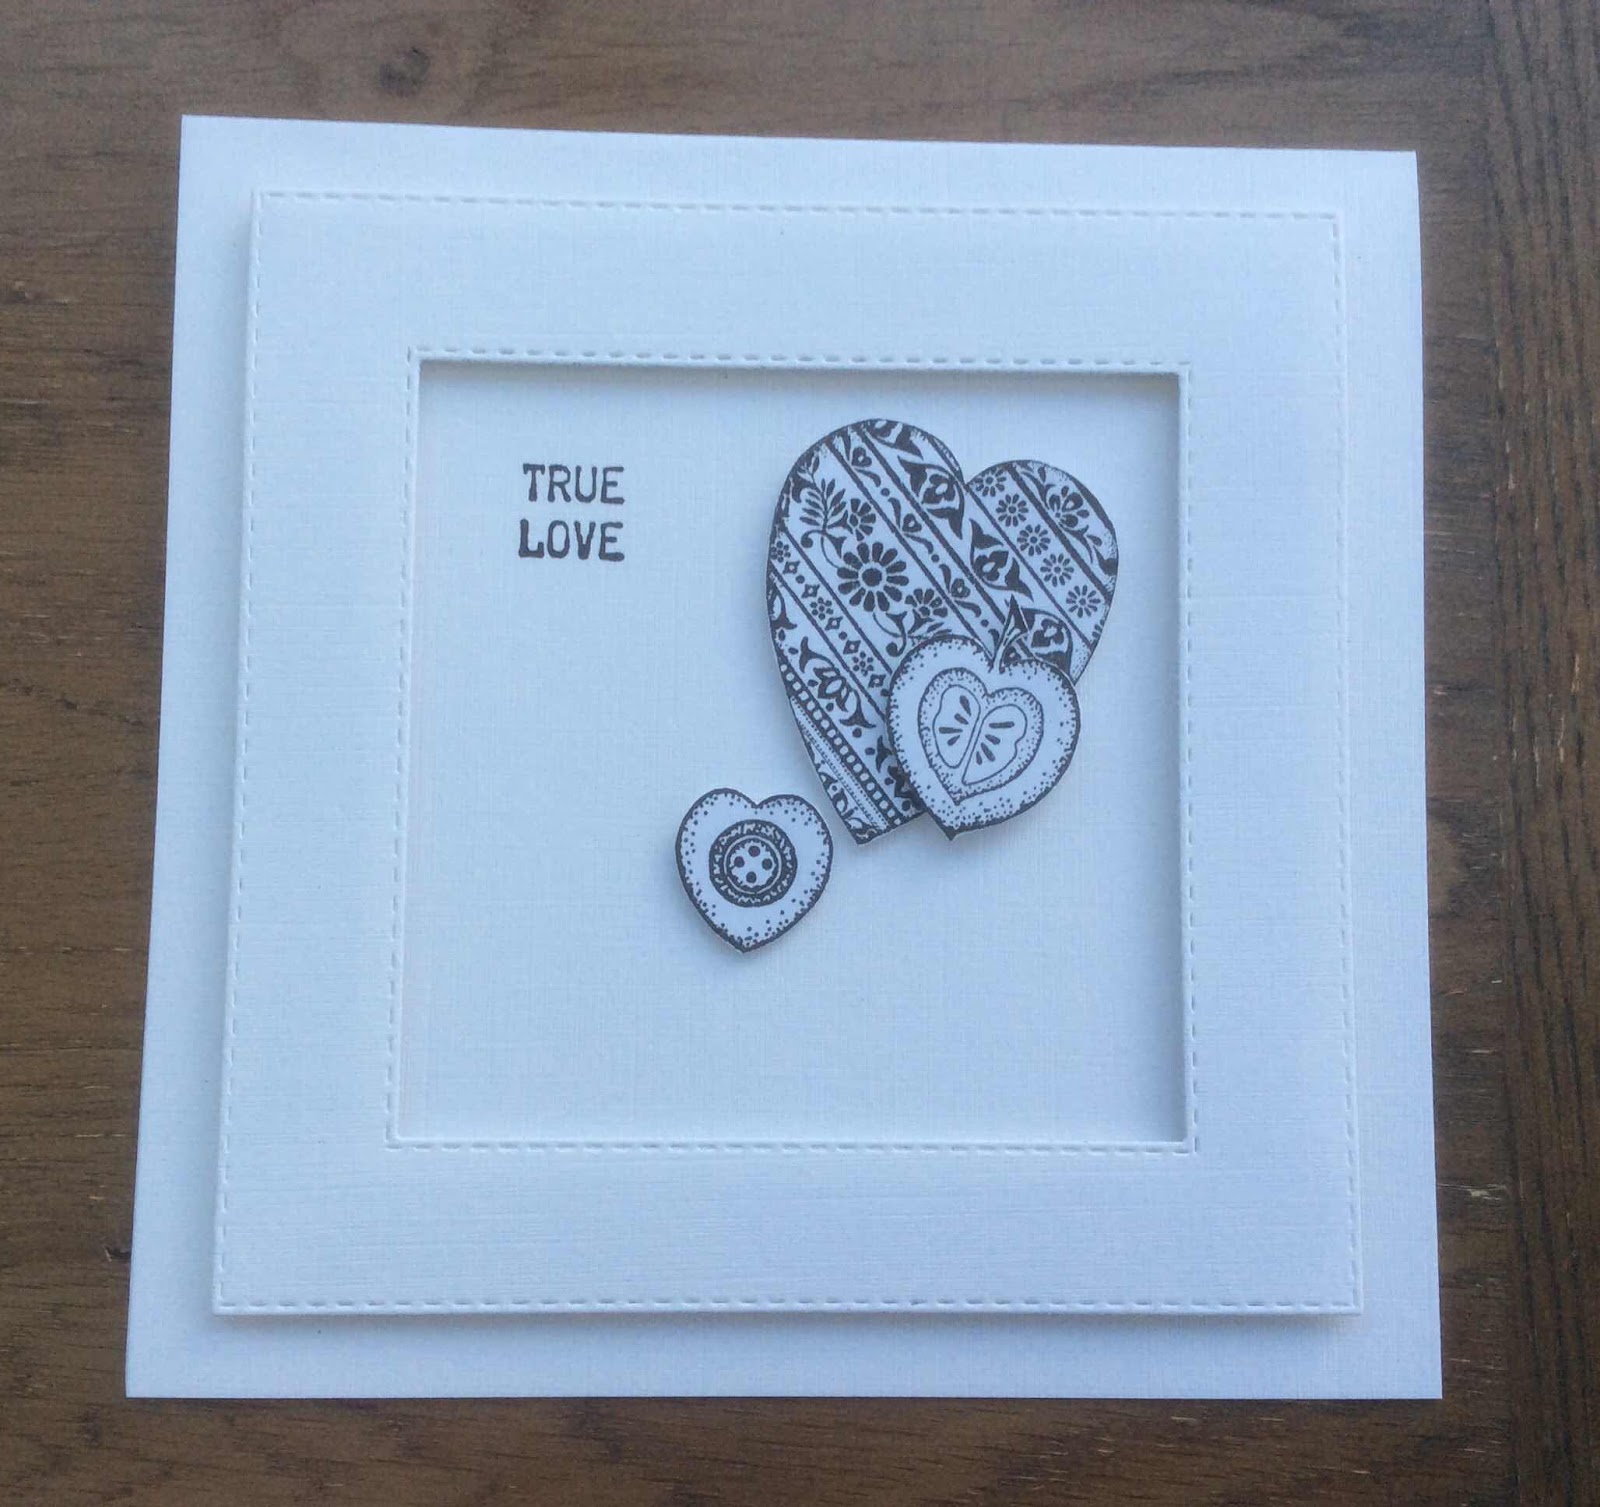
Hello Doreen here showing my first of 3 blog posts for this month.
Well that's all from me for now, see you soon with another blog post.
Tuesday, 13 July 2021
The call of the ocean
Hello there , Rachel here today with somw more makes from the June shows. This time I am featuring makes using the Seashell Collage and Something fishy sets. This first one was made using one of the kits from the Comfy pyjamas event last October - I still hadn't got around to completing the classes - time just isn't on my side at the moment. Anyway I put the piece together then added paints and background stamping using the large crackle stamp. I added the heart which i had painted and stamped and the gull which I had stamped and fussy cut.
This second piece is actually suposed to be a fob watch MDF piece but I thought it made a lovely fish tank so I used stamps from the Something fishy set to decorate it and mostly translucent paints to colour it in.I hope you have a great day! Big hugs Rachel x
Sunday, 11 July 2021
tall ships (by Veronica)
The first one used a brusho background from my stash that luckily looked like wild seas. I used masking fluid to cover some of the white foamy bits before I stamped the ship in black versafine clair ink on one side. I added the verse on the left side, then removed the masking fluid. Trimmed down to a square, a blackl mat, then onto a square card blank. A quick card to make!
For the second card I printed a different verse from the poem out on the computer and stamped the ship alongside. A mask for the moon, and distress inks brushed over to create the grey dawn - I hoped, anyway. I trimmed it down to fit onto a DLcard blank which I had covered with black card.
The last one is a rather different Christmas card using another background from my stash. This one was using a gelli plate with a brayered versafine ink and brusho sprinkles. There was a light area in the centre, so i added a mask for the moon there and sponged round it with blue distress ink.
Two ships stamped using versafine clair black ink, and the centre one using versafine smoky grey ink. Dots of white ink for the seaspray, and the words were printed from the computer
Introducing Our New Guest Design Team Member Andrew Bennett
Hello everyone, today we are introducing another new Guest Design Team Member Andy Bennett. We are sure that you will welcome him to the Team. We asked Andy to tell us a little bit about himself and to include a photograph. Here is what he had to say:
I have been crafting all of my life, basically started when I was eight and when I came out of hospital (I was born deaf and had to wait until I was eight for the operation to rectify the condition), to take my mind off the overwhelming cacophony of noise my grandmother in her wisdom taught me how to knit.
I still knit to this day and when I want a jumper I go and knit one simples lol
Over the years I have done cross stitch and quilting, my artistic talents have also stretched to being clasically trained on flute and piano even playing and doing solos on respective instruments even at university.
I first got into card making back in 2004 and soon got addicted to stamping. One of the things I cannot do is draw, hence ,my love of stamping as someone has done artwork for me, and therefore within reason lol can do what I want with it.
I have throughout my crafting life deomoed for companies at various shows, ran my own craft club and also stamping club. I love sharing with other people what other people have taken the time to show me.
The majority of my time is now spent knitting, making cards and now having the pleasure of being on Chocolate Baroque Design Team whilst juggling with a full-time job.
Outside all of this I'm also a runner and belong to Plymouth Harriers, so I have done 10k, half marathons and full marathons, even an unltra which is a 32 mile run over Dartmoor.
Ammonite
Hello peeps, thank you for dropping by.
Today I'm going to do a card from the recent Chocolate Baroque TV show. Today I'm using the Ammonite stamp.
Cut a piece of Parchment paper to 4.25"x4.25", using Versamark stamp the image on to the parchment paper. Apply detail white embossing powder and heat set.
Turn over and colour using a mid-brown alcohol marker.
With the same side, place on to embossing mat (or old mouse mat) and GENTLY with embossing ball tool emboss the image using the lines in the stamp as a guide.
Mat and layer on to a card and attach to a card blank.
Saturday, 10 July 2021
Vitamin Sea
Hello everyone, I am sharing some more of my cards from the June shows on The Craft Store.
I have used stamp sets Mermaid Queen, Something Fishy, Seashell Collage, Make Your Mark, Punky Expressions and Edgy Edges
For my first card I stamped and embossed the main mermaid image and coloured with watercolour pencils. I added some sparkle to the mermaid's tail so it was lovely and shimmery.
I then used Distress Inks for the background taking care not to go over the mermaid. I used a blue archival ink to stamp the seaweed, bubbles and fish. Using the blue ink gave a bit of depth to the picture.
I added some gauze along the bottom of the card which I coloured with ink. I then added some fussy cut shells and a die cut of a ships wheel.
To finish I added the Vitamin Sea quote. To make this I used the alphabet on Edgy Edges. Using my stamping platform I inked and stamped each letter onto a piece of clear plastic and then moved my piece of card underneath until it was in the right place, removed the plastic and stamped onto the card. This takes a little time, but worth it.
Thanks for looking
Sandra x
Friday, 9 July 2021
Monotone Cards with Distress (by Natalie)
Hello everyone, I would like to introduce another new Guest Design Team member Natalie Ballard. I am sure that you will give her a big welcome to the Team. Natalie has created a great step by step blog post for you today, but first she is going to tell you a little bit about herself:
Hi there, I'm Natalie and some of you may know me better as one half of Plannercraft. I've been crafting all of my life and I've never really settled into just one craft... which I think makes me a good teacher as I have a really broad skill set. I'm passionate about encouraging and inspiring others to craft and to enjoy the creative process. I have a formal art and design education background and I have worked in the graphics industry for just over 20 years. When I'm not crafting (which is rare in these unusual times) I love to spend time with my family and indulging my passion for photography.
Distress Ink and Distress Oxide pads give us a really easy to use form of watercolour that we can use to quickly add form and dimension to our stamped images. This project is all about working with one colour, and focusing on the differences between oxides and inks.
- One colour of Distress in both Ink and Oxide pads
- Strathmore Mixed Media or other smooth watercolour surface
- Paint brush and water
- Palette sheet or blending mat to use as a palette
- Chocolate Baroque stamp set: English Cottages
- Background stencil
- Blending brushes or sponges
- 6"x6" card blank
- Masking tape
Thursday, 8 July 2021
Memories Of The Beach
Wednesday, 7 July 2021
Romantic Steampunk Butterfly (By Rachel)
Hello there,
Rachel here today with the first of my makes from the June shows. In this first card I used the very beautiful punky romance stamp set to create a very simple card. I started by stamping then masking the main image. I also masked off the sides of the card then stamped some of the smaller images from the set into the bar I had left exposed. Finally I added the sentiment.
In this second card I mostly used the steampunk butterfly stamp set. I started by creating a mop up backgound using distress oxides (mermaid lagoon and scattered straw). Next I added some stamping in the same colours mostly using stamps from the make your mark stamp set, then added some torn bookprint. I stamped the quarter circle 4 times to form a circle - I confess it wasn't perfect but since I was always intending to apply my butterfly over the top it didn't matter. The butterfly was stamped onto white card and coloured using watercolour brush pens. After this was added, I also added a sentiment and a black line around the edge of the topper and sentiment before mounting onto the card blank.Tuesday, 6 July 2021
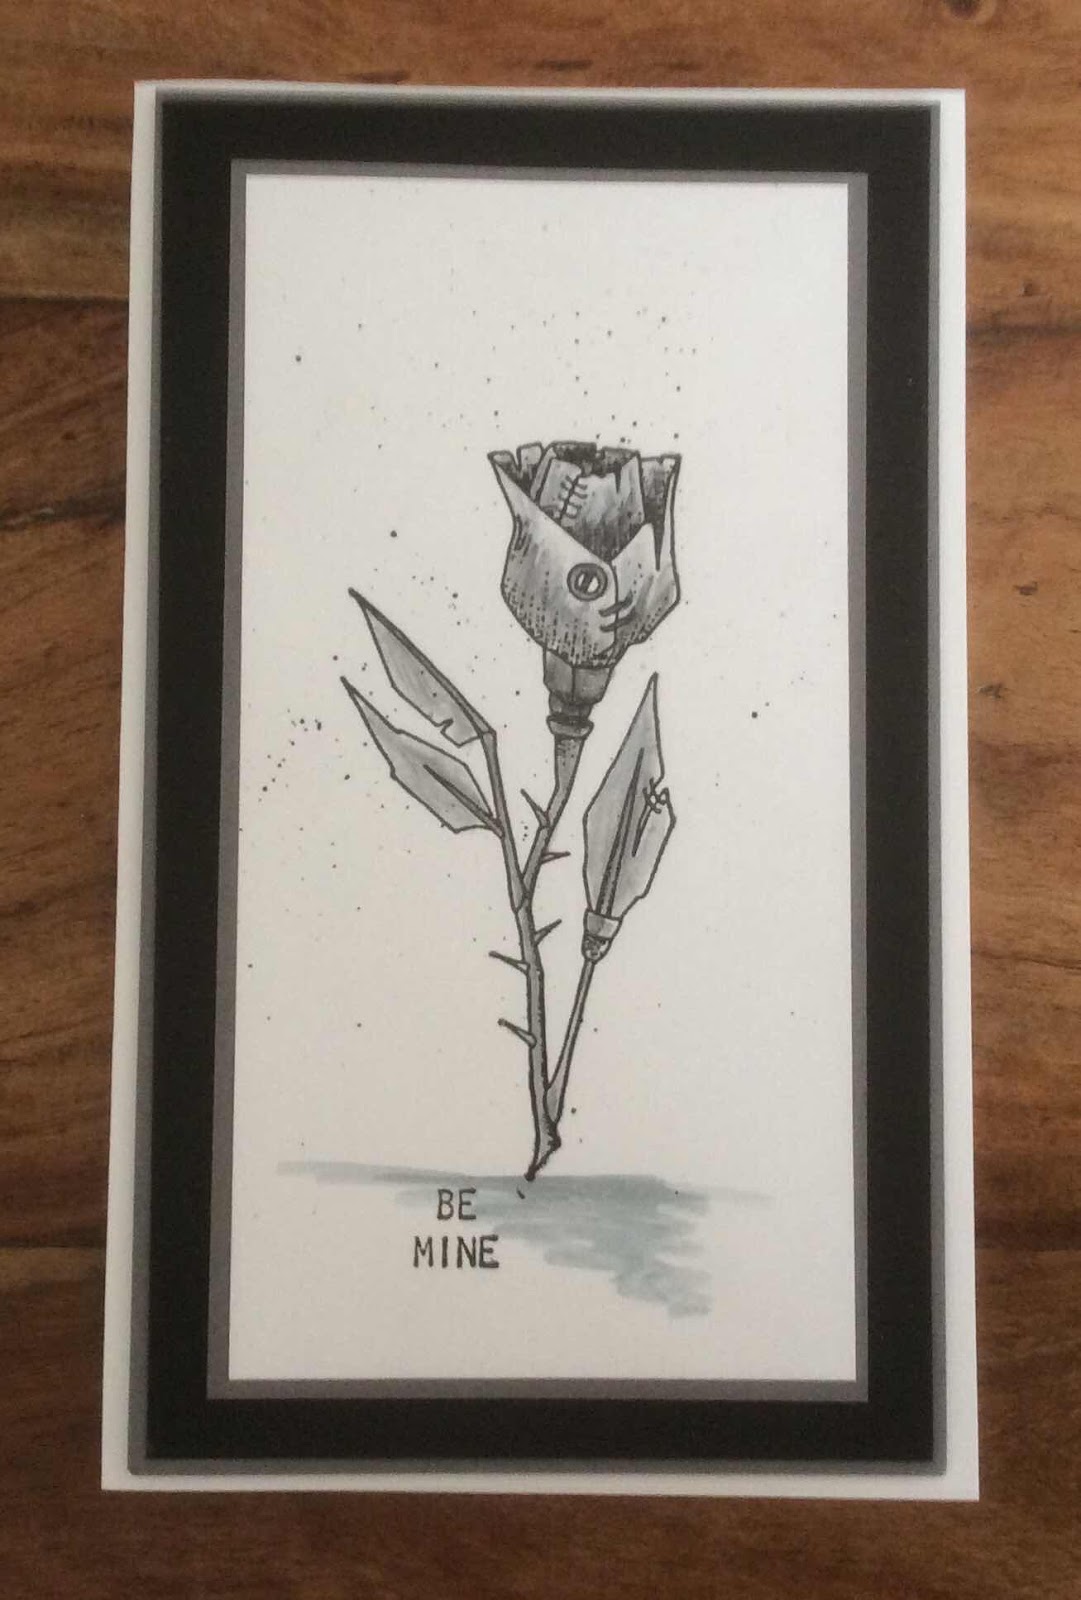
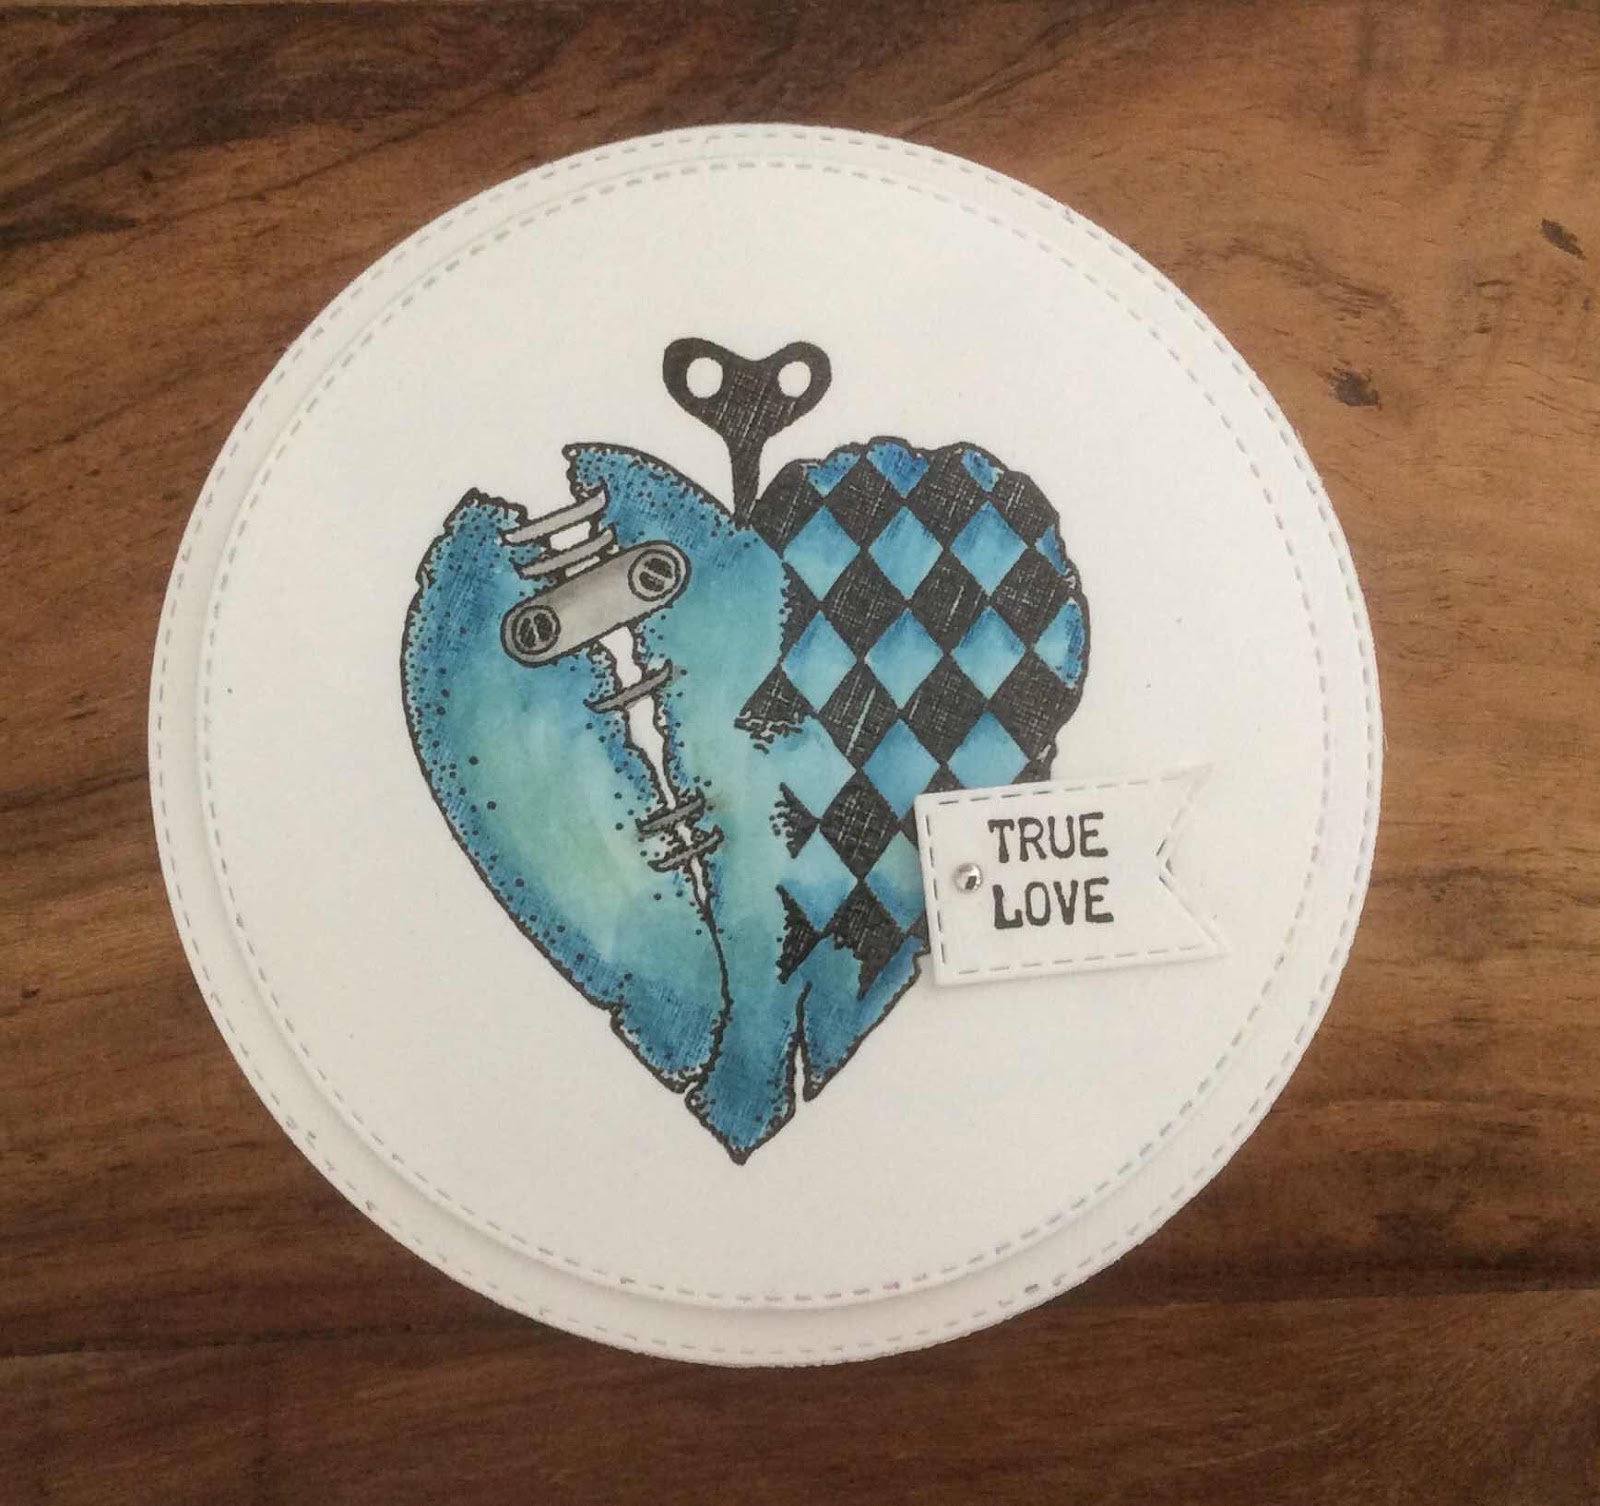
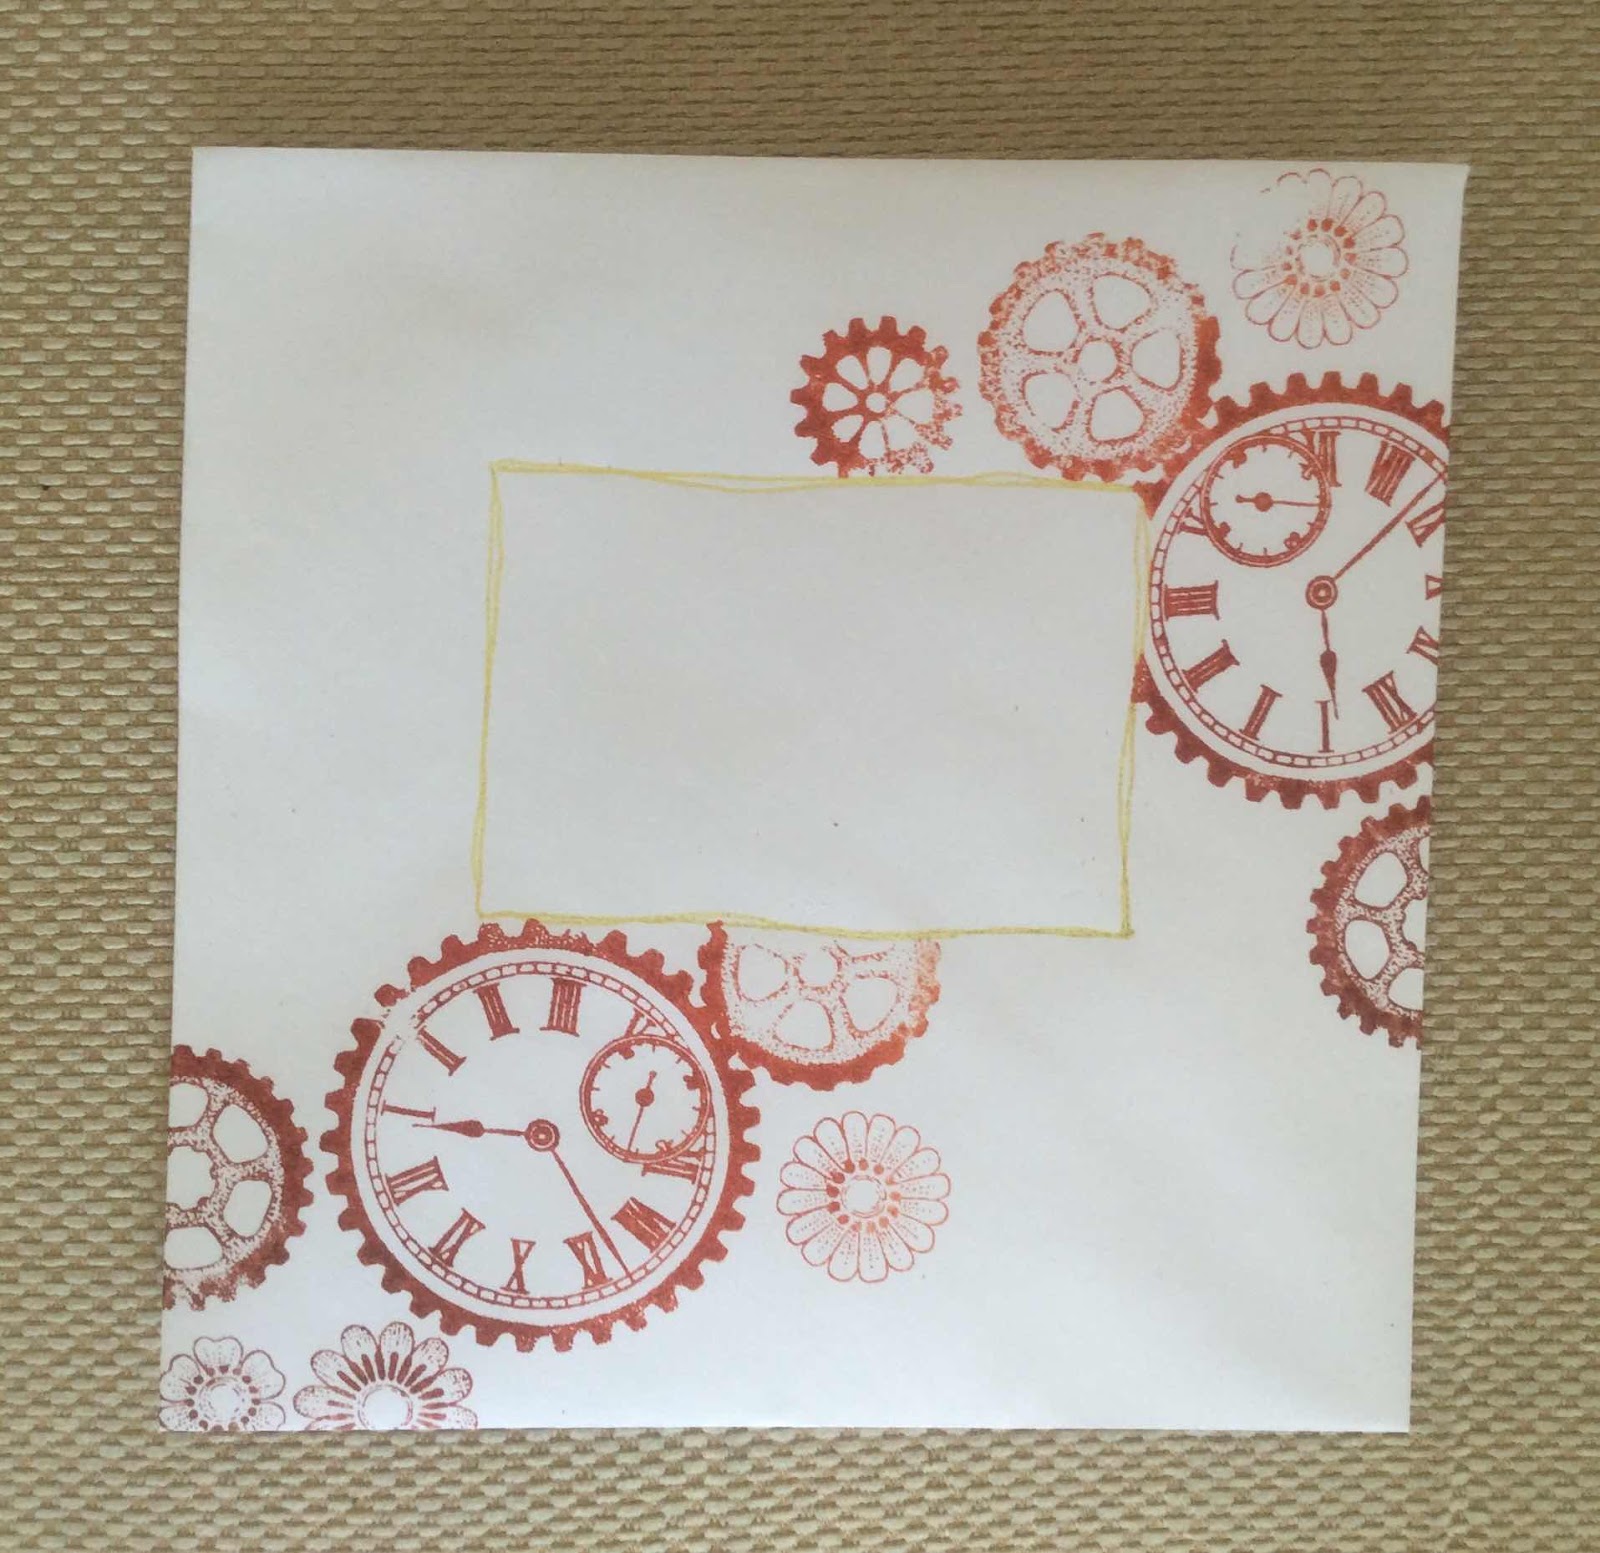
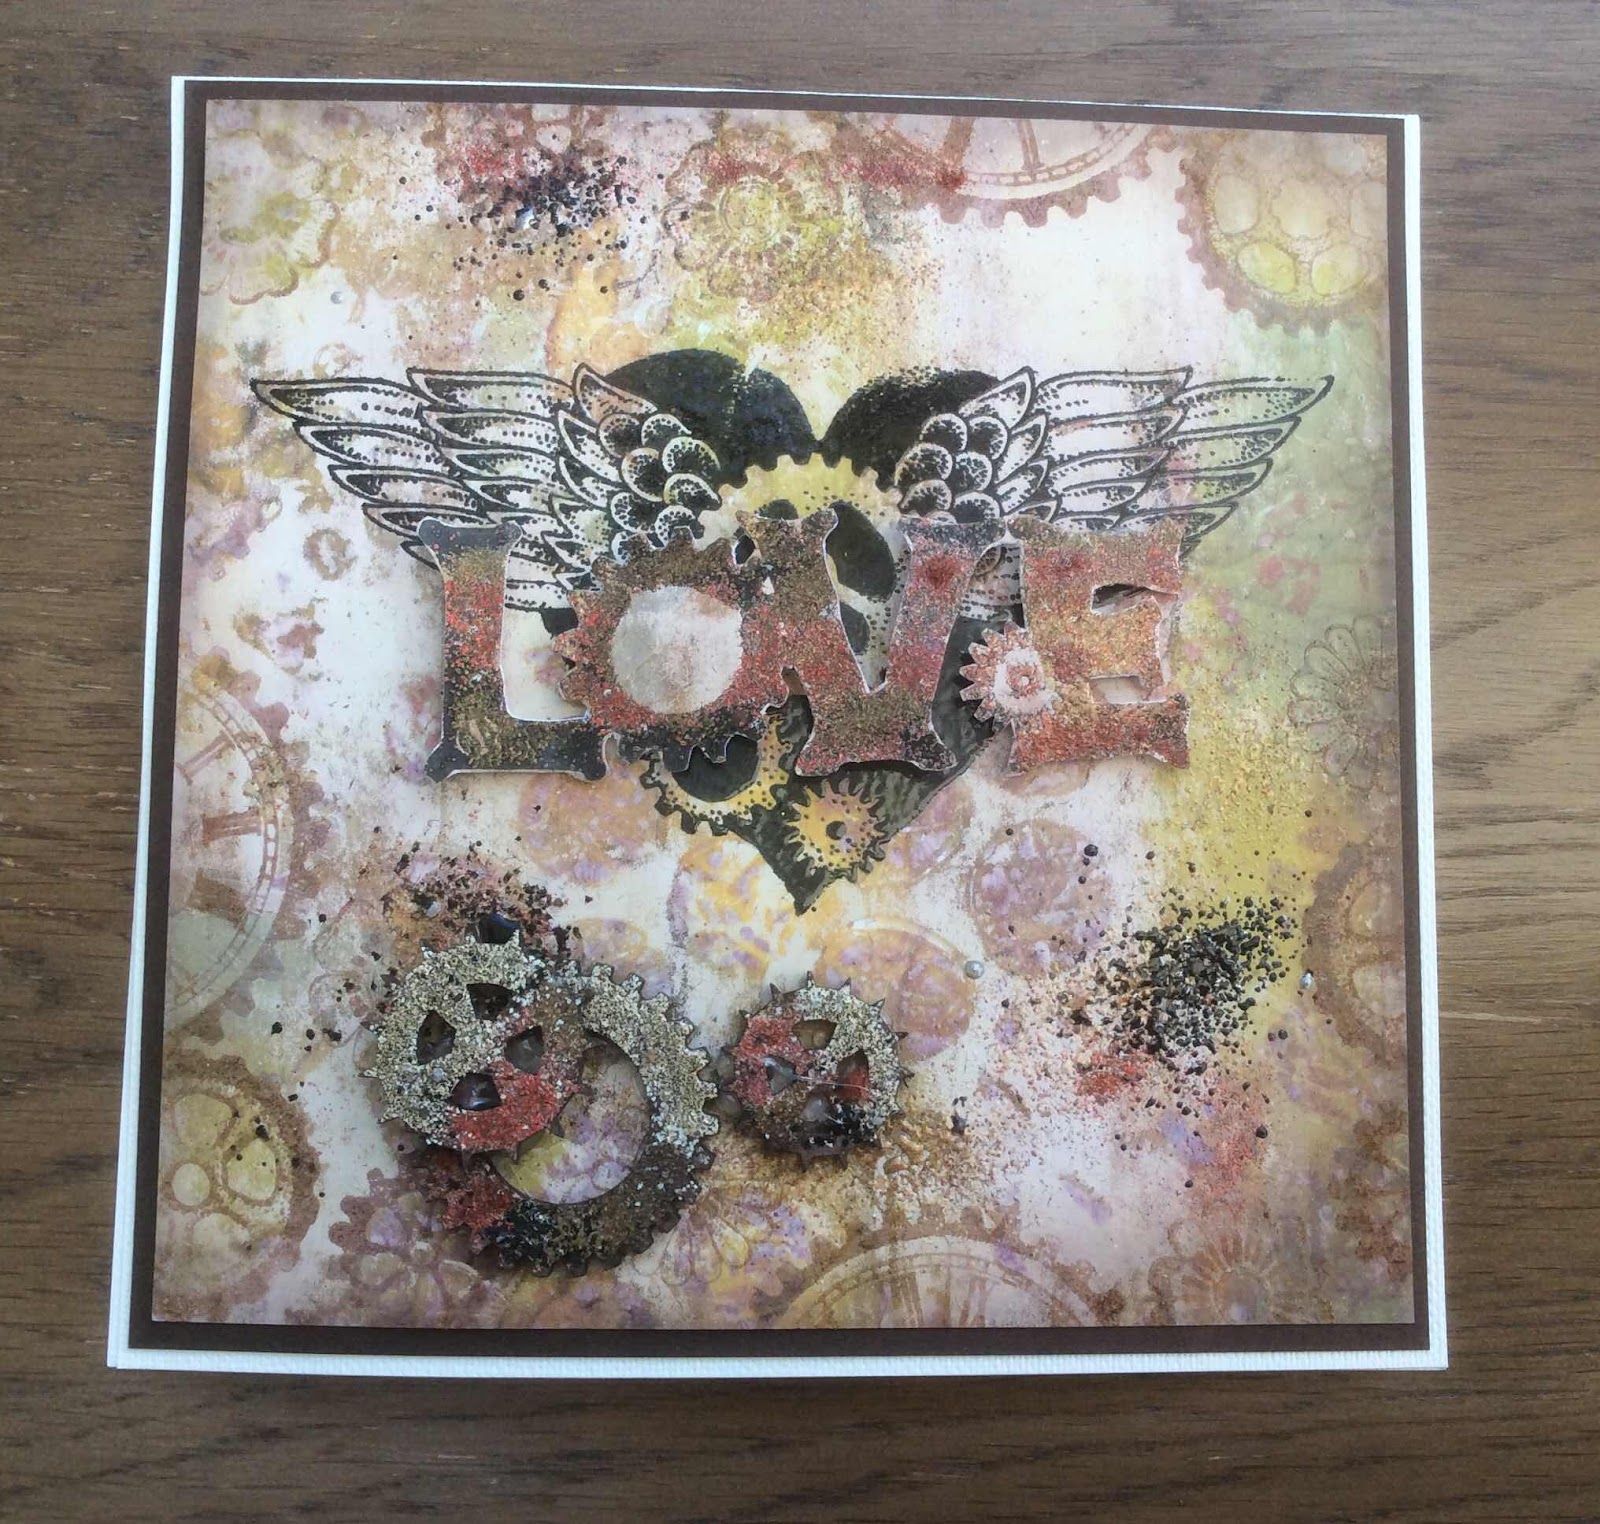
Punky Love by Brenda
Monday, 5 July 2021
Sea-Season (by Magda) - Mermaid Queen, Seashell Collage, Something Fishy
Hello,
The blue of the sea is all inside my post of today. In the depth you can find "Mermaid Queen" , the corals and the fish of "Something Fishy". On the surface you can find the sea-gulls, the sentiment the boat and and ship rudder of "Seashell Collage". I coloured the background as well as the decoupages with Distress Ink Pad. The ship rudder is the result of a try. I soaked in water a dry leaf, stamped on it with Archival Jet Black and cut it out.
Sunday, 4 July 2021
sea view (by Veronica)
The first uses the seagulls, these are just waiting for signs of anyone approaching who may have food....
Coloured with watercolour pencils,apart from the sky which was sponged with distress ink. The large gull was stmaped on spare card, coloured, cut out and glued over the main image. The base card was sponged wioth distress ink and randomly stamped with seashells in the same ink.
The second card uses some of the smaller stamps from the set to create a rough wreath shape. The shells were inked with distress inks in orange and green and the anchor and helm in brown. The words and some of the seashells seashells were randomly stamped around the edges to form the background in distress inks, and the same inks sponged round , with a very light blue added to the centre. The sentiment is from punky expressions
Saturday, 3 July 2021
All at Sea (by Sandra)
Hello
I am sharing some of my cards from the June show on The Craft Store.
This card uses the Seashell Collage stamp set.
First, I cut a circle with a die. I then stamped the seagulls on the wooden pillars and coloured with watercolour pencils. I used a cloud stencil in the background which I coloured with Distress Inks.
On the card base I stamped some of the shells in opposite corners, I added some splashes using the Distress Ink and some black. I used a fine brush as I only wanted small splashes. I added one of the sentiments from the set.
I then used a doily style die to layer up my design
For the background I sprinkled some Sea Green Brusho across the centre of the card and spritzed with water to make lots of speckles and splashes like a rough sea! I them mixed some of the Brusho with water to make an ink and used this across the bottom of the card. I finished by adding some circles from Make Your Mark.
Sandra
Friday, 2 July 2021
Blog Comment Winner
Hello and welcome
to the Chocolate Baroque Design Team Blog.
We truly appreciate
the time you take to let us know your thoughts about our designs, so each and
every comment is very important to us.
Each comment in June
was assigned a number and we used Random Org to draw a winner.
Congratulations to Hilary
Jane you have won this month's £15.00
voucher to spend on Chocolate Baroque stamps.
To claim your
prize, please email here to confirm your
email address and Lesley will send your gift certificate.
Lesley will be
giving a £15 gift voucher to another lucky winner drawn from the July comments.
The more comments
you leave, the better your chances of being the winner.
Thank you so much
for all the kind comments you leave.
Good luck from all
on the Design Team
Here is another chance to see the beautiful
creation by Doreen
Thursday, 1 July 2021
From The Deep (by Judith)
Hello everyone, I have a few projects to share using stamps that were featured on last month's TV shows on The Craft Store.
My first card was created on a piece of glossy card, and I used an inky plate to create the background. I brayered a selection of Distress Inks onto the plate, and then pressed the card onto the plate to get a print. I trimmed the card to size, and then placed a square of Masking Tissue in the centre. I stamped the images from Mermaid Queen and Seashell Collage around the edges using Archival Ink. I added some shading using grey Archival Ink before removing the Masking Tissue. I stamped the bird and sentiment from the Seashell Collage stamp set within the faux frame, amd added a touch of pencil colouring to the image.
To create my second card, I used a piece of Smooth White Stamping Paper and stamped the Ammonite image in the foreground using black ink. I masked the image using Masking Tissue, and proceeded to stamp the image again in grey ink, masking as I went along, until I had filled the page. I only needed three masks in total to achieve this effect, and as they are reusable, I will be able to put them to good use in future projects. I used colouring pencils to complete the project, choosing a rainbow palette, and using three different colours on each shell to give a good variation of shading. I started with the lightest colour each time. I added a sentiment from Birthday Words.
My third card was created using Drawing Cartridge and Distress Inks. I added salt to the background while it was still wet to create an underwater effect, like bubbles in the sea. Once the background was dry I added some foliage along the bottom from Something Fishy, and completed the sea bed by drawing in some lines and dots with a fineliner pen. I added lots of the fish, and stamped a few extra fish and shells onto to some sticker sheets which I coloured separately, all with pencils. I added a few fronds of colour to represent seaweed using my Koh-I-Noor plalette and a waterbrush.
This last project is a golden oldie which I am sharing again for those readers who have not seen it before. I used Ink and mica powder on the bckground covered up with scrunched up cling film. Once the background was dry, I stamped all of my images from Mermaid Queen with Archival Ink and coloured them with pencils. I have joined the images up with dots to make them appear to be part of one big scene using a fineliner pen, and used toning colours throughout.
Thanks for stopping by, I will be back later in the month with more projects to share with you. Take care, and stay safe,
Judith xx