Pin It button on image hover

Saturday, 9 October 2021

Rainbow Chrysanthemums

Rainbow Chrysanthemums 

Hello everyone and welcome to October .... a way in now I know but where the months are going since July I really don't know. 

Today I would like to share some of my makes from the September shows, firstly the Chrysanthemum Blueprint. Using a tag from my stash I painted the tag with White Gesso and then once dry colour randomly with Distress Inkpads of choice using either blending sponges or brushes. Stamp using VersaMark and Black Embossing Powder.

Use a black marker around the edges of the tag and Clear Gems to decorate and finish with a piece of ribbon.


Here are a few more of my September samples using the same stamp set.


Thank you for looking in today 

Love Doreen


Friday, 8 October 2021

Lupins and Lightbulbs by Rachel

 Hello there! Rachel here today with a couple of makes from Chocolate Baroque's September shows - these makes mostly use the Lupin Blueprint stamp set but there is a little stamp from the Echinacea Blueprint set also used.

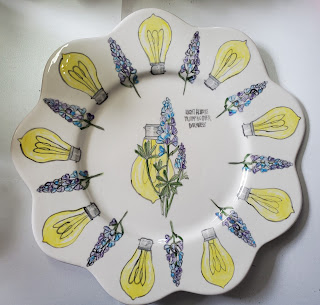
My first piece is my ceramic piece - I do love this one and think it worked very nicely! As usual I stamped the images in ink and then over painted all the line work as well as the colours in glaze. My friend Deb from PottyRoos then took over and did the over glazing and the firing. 

This second piece used the worker stamps from the Lupin and echinacea sets - I stamped them on a rectangular piece of card then coloured in using watercolour brush pens. Finally I added a little more greenery by hand and then used a distress tool to add ink for the sky. 


Hope you have a lovely day!
Rachel x


Thursday, 7 October 2021

Vibrant Echinacea by Brenda


Morning all, my first post of the month with some shares from the September Craft Store shows where some of the lovely Blueprint stamps were revisited.


The above card and matching envelope uses the lovely Echinacea Blueprint, we have an abundance of these in one of our perennial beds and the vibrant colours are a joy. The background is a simple watercolour rainbow wash onto which I stamped the image and coloured with Distress Markers and placed the piece into a die cut frame. Stamping the individual Echinacea's several times, I coloured, cut our and placed around the frame so the blooms popped outside. A sentiment from my Life is so much Better.


From light and bright to a bit of grunge with Lupin Blueprint. I had fun creating the background for this one using Distress paste, some of the new colour Halloween Mica Distress Stains along with Oxide sprays.  The main image was stamped and also one of the worker light fixings and the main image coloured with pencils. A sentiment from the same set placing into a Kraft pocket.

As always, thanks so much for your kind words and visits.

Wednesday, 6 October 2021

Dancing leaves (by Magda) - Twilight one, Put a Spell on You, Sunny Sunflower

 Hello,

I want to share with you the result of the inspiration I had reading Simona Arian Cordara Nobilio's Poem and I list the items I used for this journaling page.

Autumn colors of Distress Ink Pad, Ranger Archival Jet Black and Carnation, the stamps are:  Twilight Zone, Put a spell on you,  Sunny Sunflower, and Simona's poem I stamped  with her permission.


Continuing Halloween Theme, here some bookmarks and some ATC using the same stamps.


Thanks for passing by today and  I wish you a funny Halloween eve. Hugs
Magda 


Tuesday, 5 October 2021

Blueprint in yellow {by Tracy Thompson}

Good morning, I'm here now as a member of the Design Team and not a Guest, I was really chuffed to be promoted to the team and join all the other lovely members, this is my first official post.


Here is two of my creations I made for the Septembers show, the one above is created using Chrysanthemum Blueprint , I decoupaged the image after colouring it with pencils and highlighting with a white gel pen.  I did some yellow ink splatters on the white of the card.  I then layered that on to another background I made by splodging ink on to acetate and then dipping my card into it.  It took a fair bit of time to do the fussy cutting but so worth it.


For this tag I firstly made a faux wood effect background and then made a pocket, which to me was like adding a window box or planter.  I again did some fussy cutting, I cut the Lupins from the Lupin Blueprint stamps out then coloured them, always cut first as they cut better then when they have been coloured.  I coloured with pencils and highlighted again.  I added a butterfly which is from Butterfly Mind set, and a sentiment from the Butterfly Perfumery set.


Thank you for stopping by

Happy crafting

Tracy x

Monday, 4 October 2021

rhythm of life (by Veronica)

Good morning everyone, hope you all had a pleasant weekend and everyone who needed fuel got some.....

Today I have two wreath cards to share, using some of the smaller blueprint stamps from the September shows. 

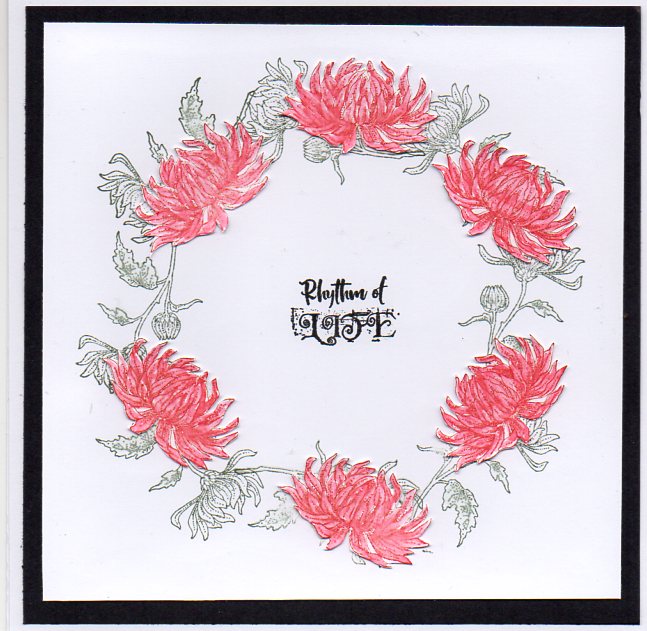
These may look complicated, but if you have a stamping platform they are very easy. The first one uses two  flower stamps from the blueprint chrysanthemum set. The smaller stamps was inked in green ink and stamped 8 times to form the base of the wreath onto a square piece of white card. The larger stamp was stamped several times onto white card using a terracotta dye ink pad, and the colour dragged out with a waterbrush. I fussy cut these out, and decided to use 6 of them to add to the wreath shape - while we are always told to use odd numbers in flower arranging, I fwelt that 5 wasn't enough and 7 was too much, so 6 it was.  The sentiment is from the echinacea blueprint set.

This was even simpler. I used a very ancient multicolour ink pad to stamp the lupin image 8 times onto a piece of square white card. The centre image is part of the main image on the set, cut out with a punch and glued in the centre. I inked a mat of white card with a matching alcohol marker .


Sunday, 3 October 2021

Spires in the Sky (by Sandra)

Hello, I am sharing some more of my cards from the September show on The Craft Store.

The stamps I am using are from Allium Blueprints.

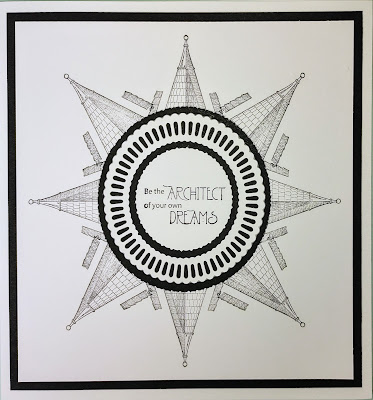
For my first card I have used my stamping platform and repeatedly stamped the Spire in black archival ink by rotating the card stock 4 times, I repositioned the stamp between these points and stamped again.  I then added the sentiment on some die cut layers. I added some mat and layers and fixed to a 8x8" card base.


My next card is using the Spire and Allium. First I added a little colour to the background with some Distress Inks. I then stamped the image in black archival ink and coloured with shades of purple and green watercolour pens. I added a little sparkle to the flowers with some Stickles. I used a couple of the worker stamps to complete my card. I mat and layered onto a DL card base.

Thanks for looking
Sandra

Saturday, 2 October 2021

Blog Comment Winner for September


Hello and welcome to the Chocolate Baroque Design Team Blog.


We truly appreciate the time you take to let us know your thoughts about our designs, so each and every comment is very important to us.


Each comment in September was assigned a number and we used Random Org to draw a winner.


Congratulations to Lee you have won this month's £15.00 voucher to spend on Chocolate Baroque stamps.

To claim your prize, please email here to confirm your email address and Lesley will send your gift certificate.


Lesley will be giving a £15 gift voucher to another lucky winner drawn from the October comments.


The more comments you leave, the better your chances of being the winner.


Thank you so much for all the kind comments you leave.


Good luck from all on the Design Team


Here is another chance to see the beautiful creation by Judith


Friday, 1 October 2021

Creating a Blueprint (by Judith)

Hello everyone, I hope that you are all keeping well. As we head into another month, and the darker nights and cooler weather are definitely with us, I wanted to share a bold and bright card with you to cheer up your day. I have chosen a project that was shown on last month's TV shows, using the Lupin Blueprint stamp set, which is a beautiful set of stamps.

To start my project, I used some of the plain paper found within the Chocolate Baroque Black & White Papers Series 2, which allow you to create your own backgrounds. I stamped and embossed some of the smaller images from the stamp set onto the paper using clear embossing powder and Versamark. I then covered the paper with Blueprint Sketch Distress Ink. I covered the paper with a blank piece of copy paper, and used a medium iron to take off the embossing powder, creating a faux batik effect. If you do this with your regular iron, remember to turn off the steam setting.

I stamped the main image onto a die cut oval and coloured it with pencils. The sentiment was stamped onto a smaller die cut oval. I coloured the edges with the same colour of Distress Ink as I had used for the background.

Thanks for stopping by, I will be back later in the month to share some more projects with you. Take care,

Judith xx


Thursday, 30 September 2021

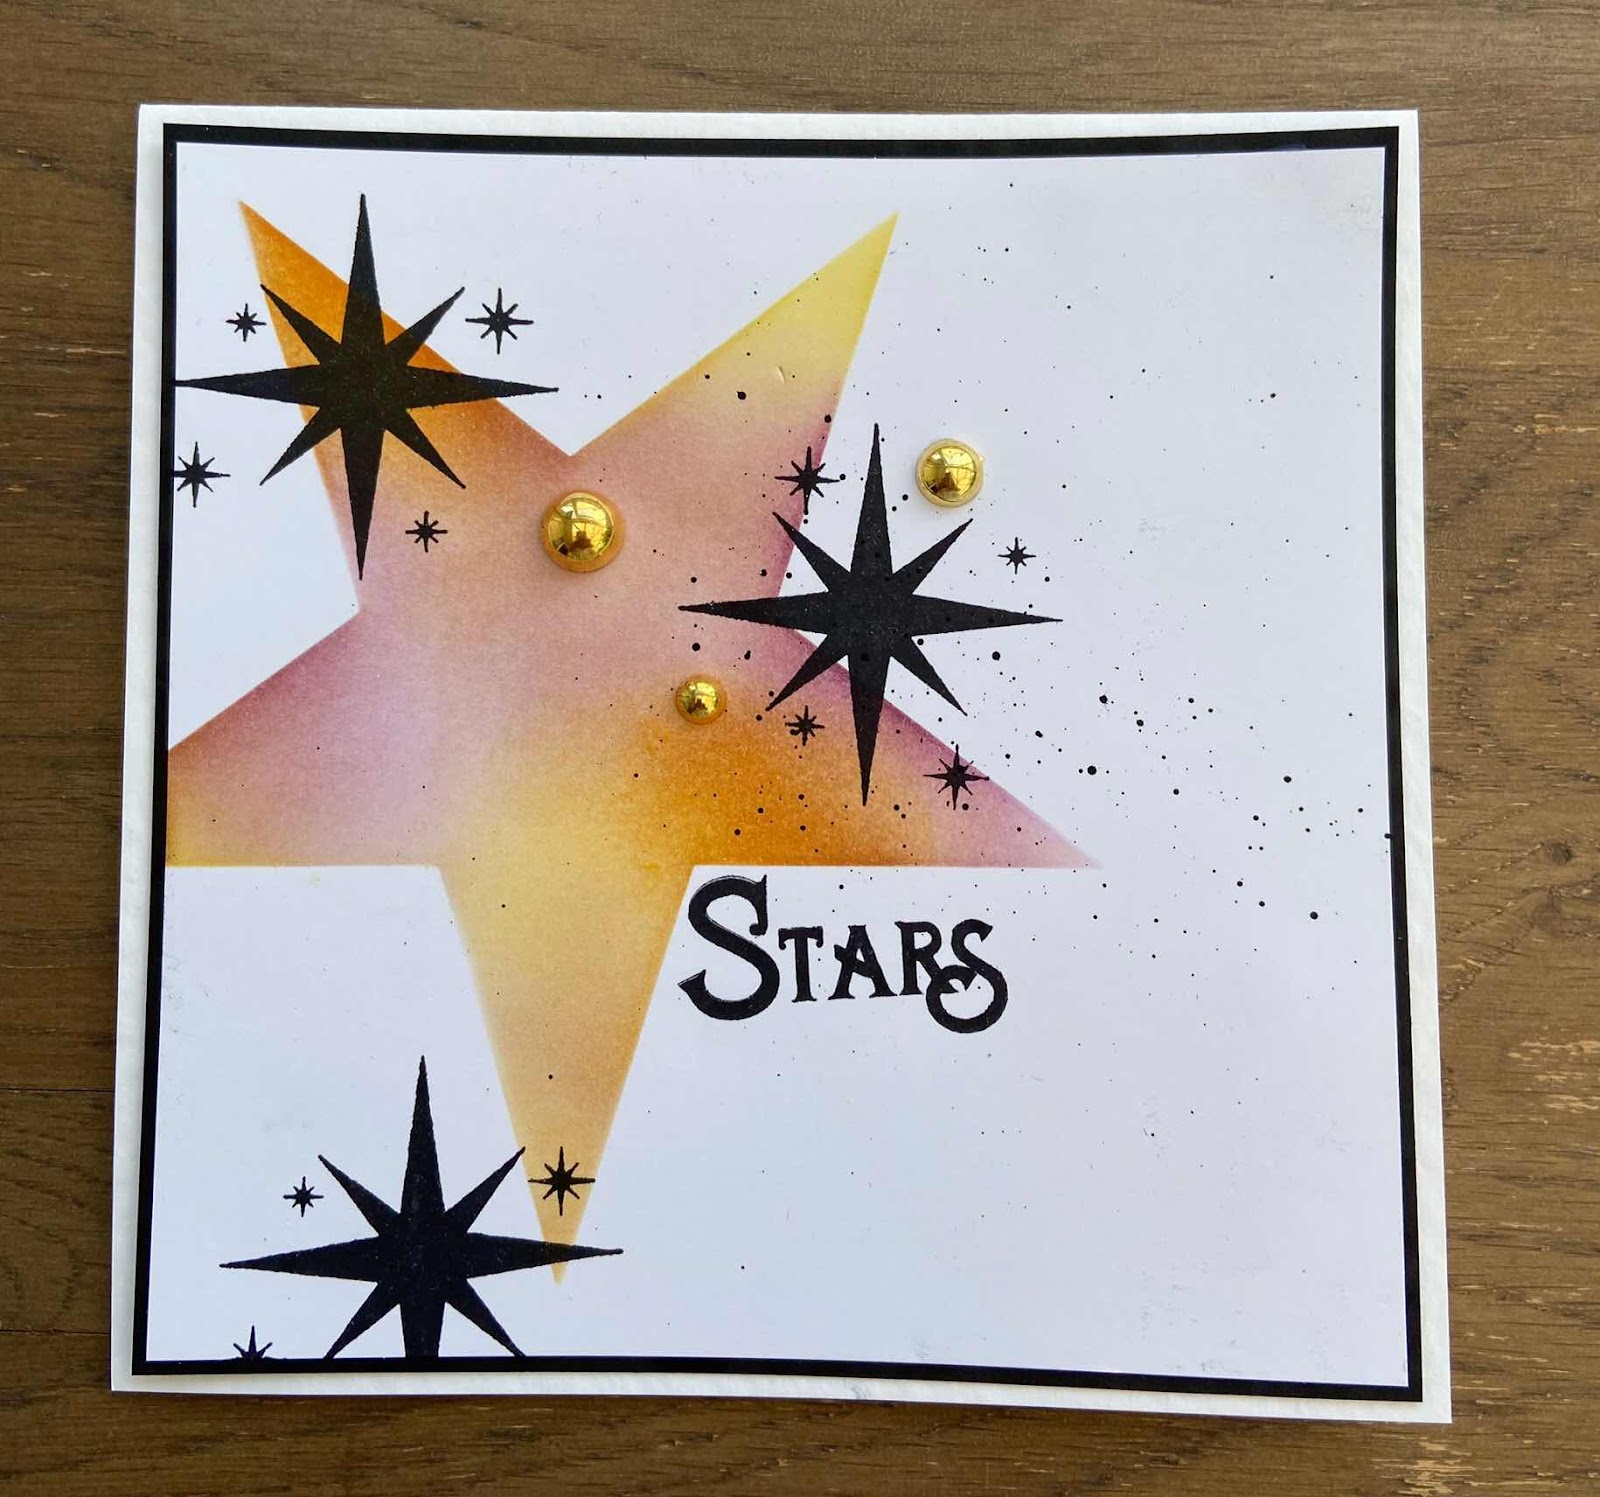
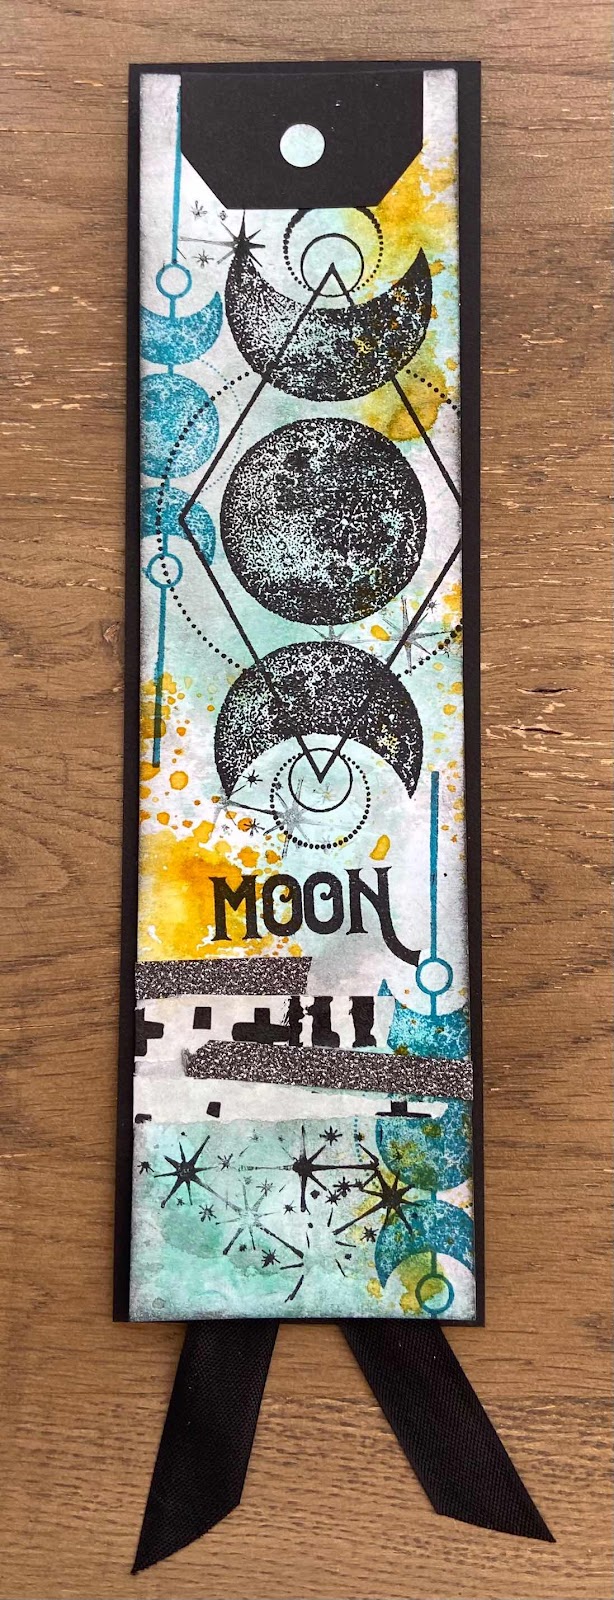
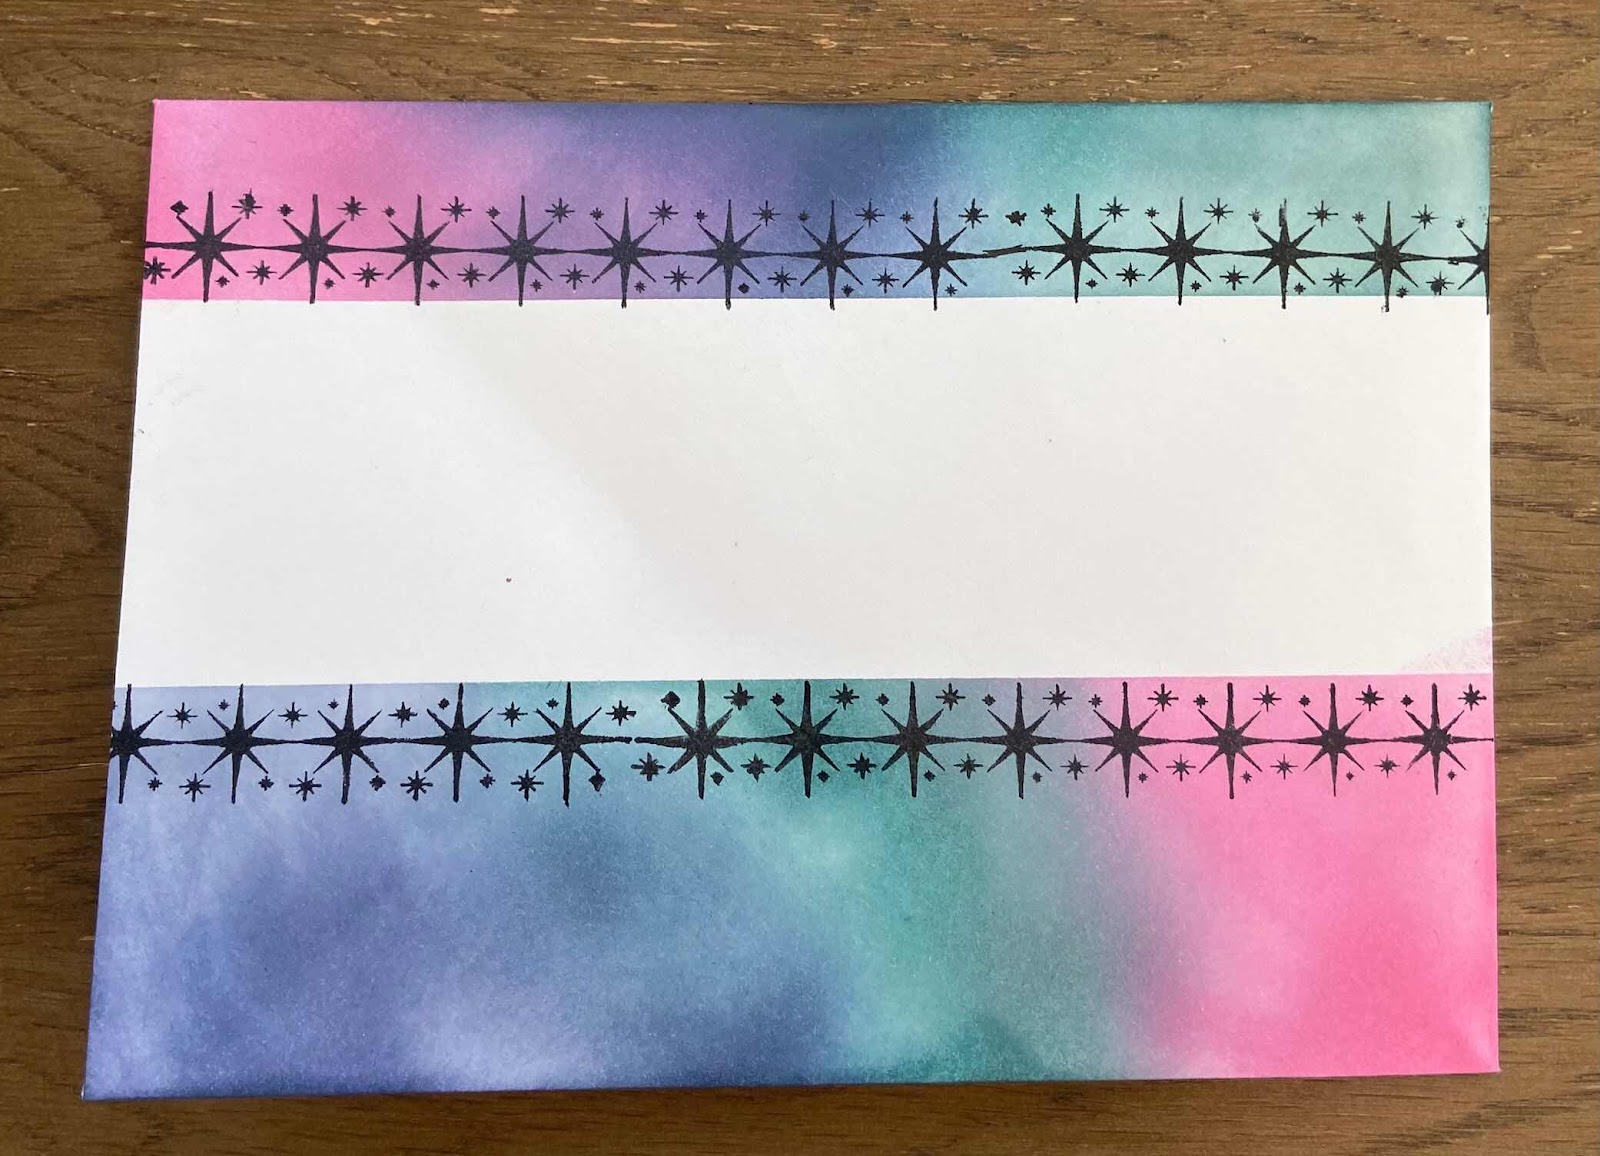
Fiona Randall’s Galaxy by Zoe

Good morning Lovelies and welcome to my final post this month.
Today I’m showcasing the amazing new stamps that were designed by the very talented Fiona Randall.
Wow they are fab. So versatile and generic, fab for those “tricky to make for people” lol
I used some Stencils along side the stamps to create some depth and interest to the 2 cards.
Some masking off for the envelope and some washi tapes on my bookmark just to add some interest.


Thank you very much for visiting, I hope you liked my creations.
Have a wonderful day xx Zoe xx 


Wednesday, 29 September 2021

Poinsettias - Christmas is coming ...


Poinsettias - Christmas is coming ...


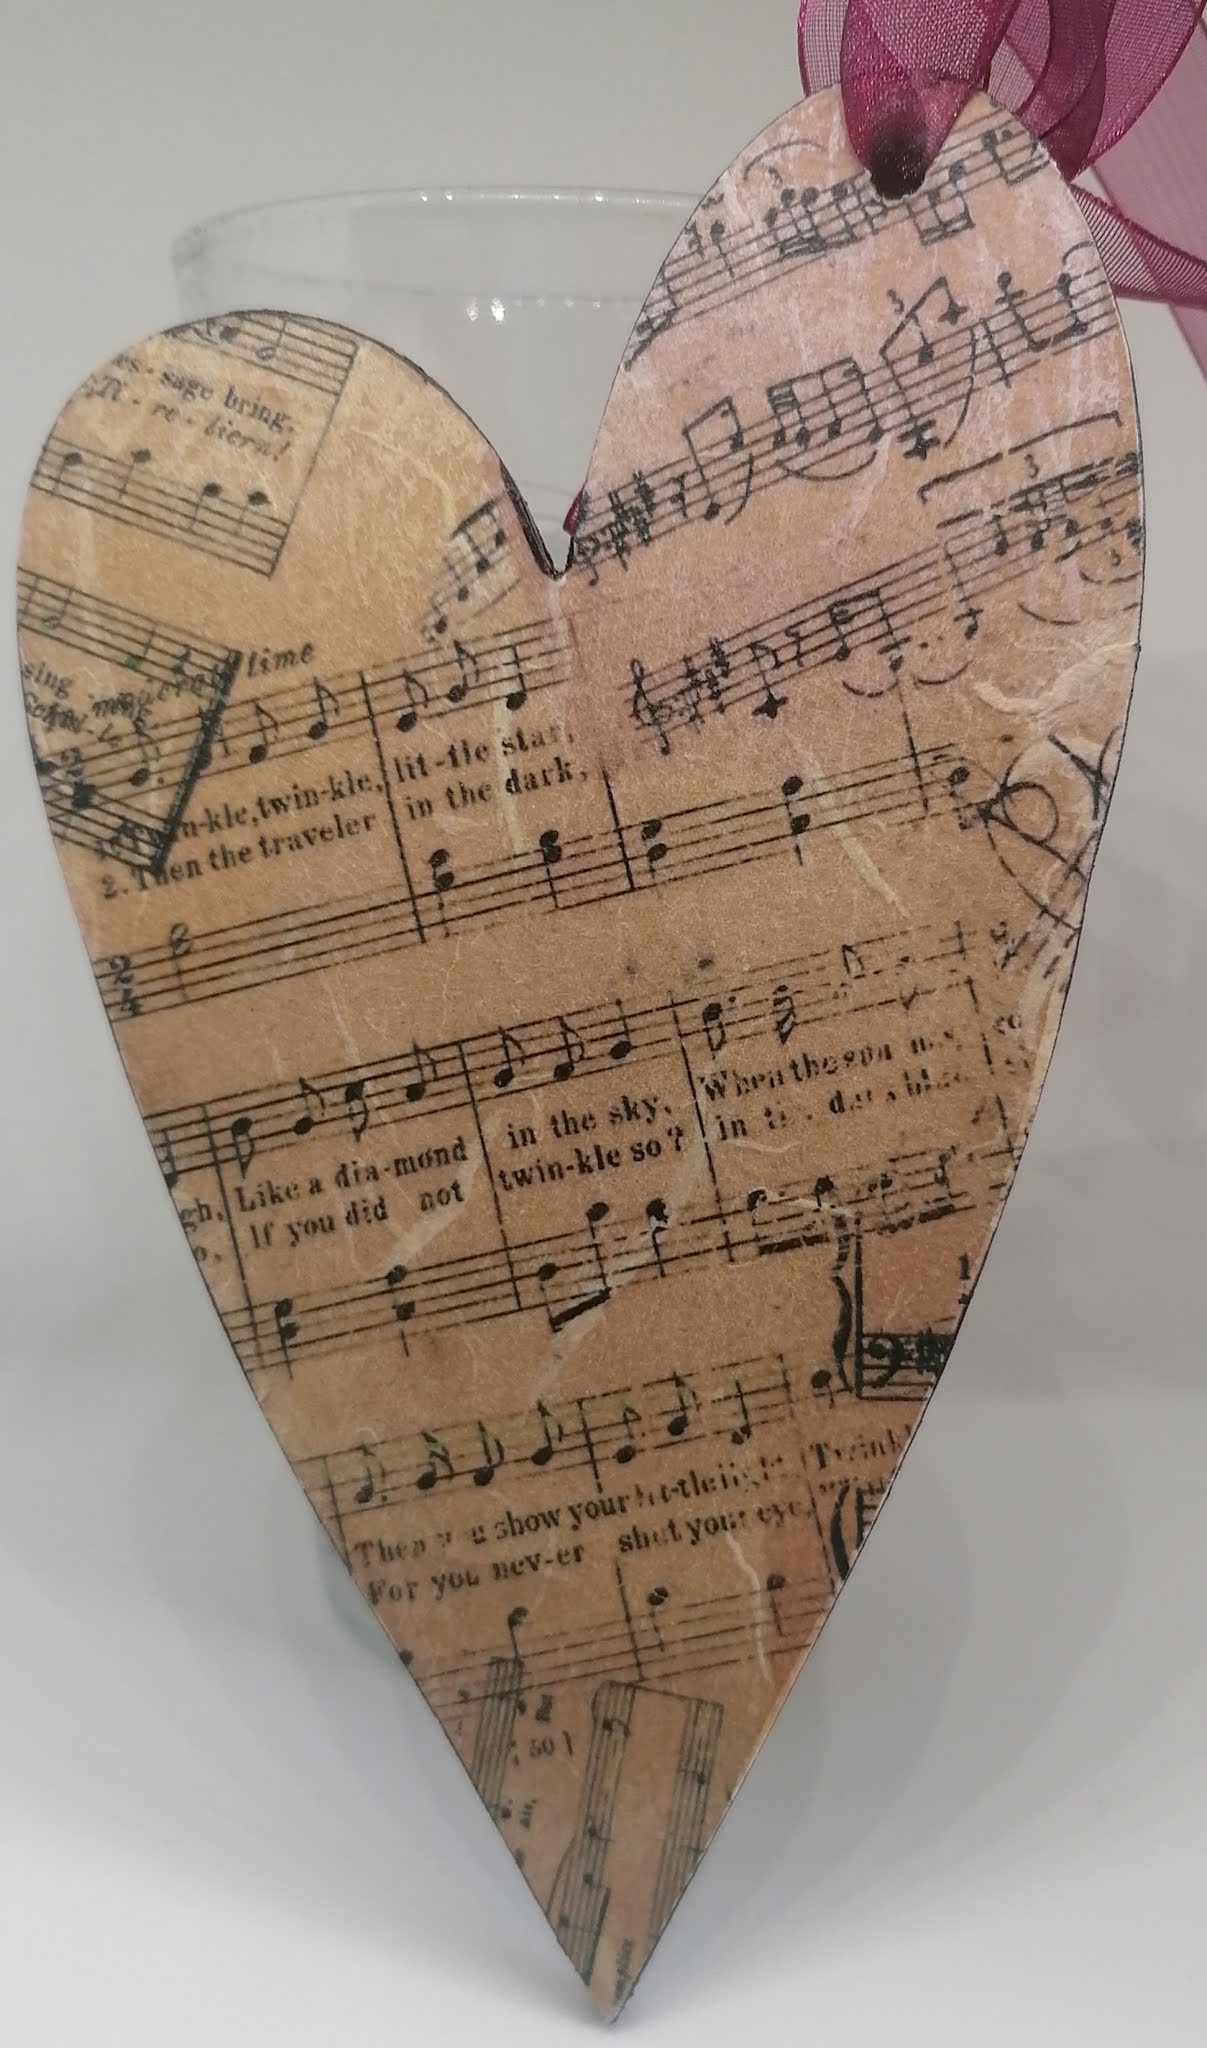
 Today I am using a set  of DL Rubber Stamps the Poinsettia Script is a beautifully designed set and can easily be made into a 3d image should the mood take you. I have shown the front and the reverse of this heart which could be used on a gift or as a gift to someone special. Or maybe even a Christmas Decoration.
I used a blank Rice Paper to stamp onto and then coloured using Distress Inkpads a little water and paint brush, then once dry stamped the image using  A Versafine Clair Nocturne Inkpad. To add extra colour to the image I have used some watercolour brush pens. To seal the image onto the heart I have used Deco Art Decoupage. On the reverse I have used a pre-printed piece of Rice Paper, sealing once again and then after completing both sides of this heart I used a permanent black chisel tipped marker to go around the edge. Finally I used a suitable piece of organza ribbon making a loop and bow to hang the heart from.


Thank you for looking in today 

Love Doreen


Tuesday, 28 September 2021

Celestial Dream by Rachel

 Hello there - Rachel here today with a couple more of my makes using the wonderful Celestial stamp set.

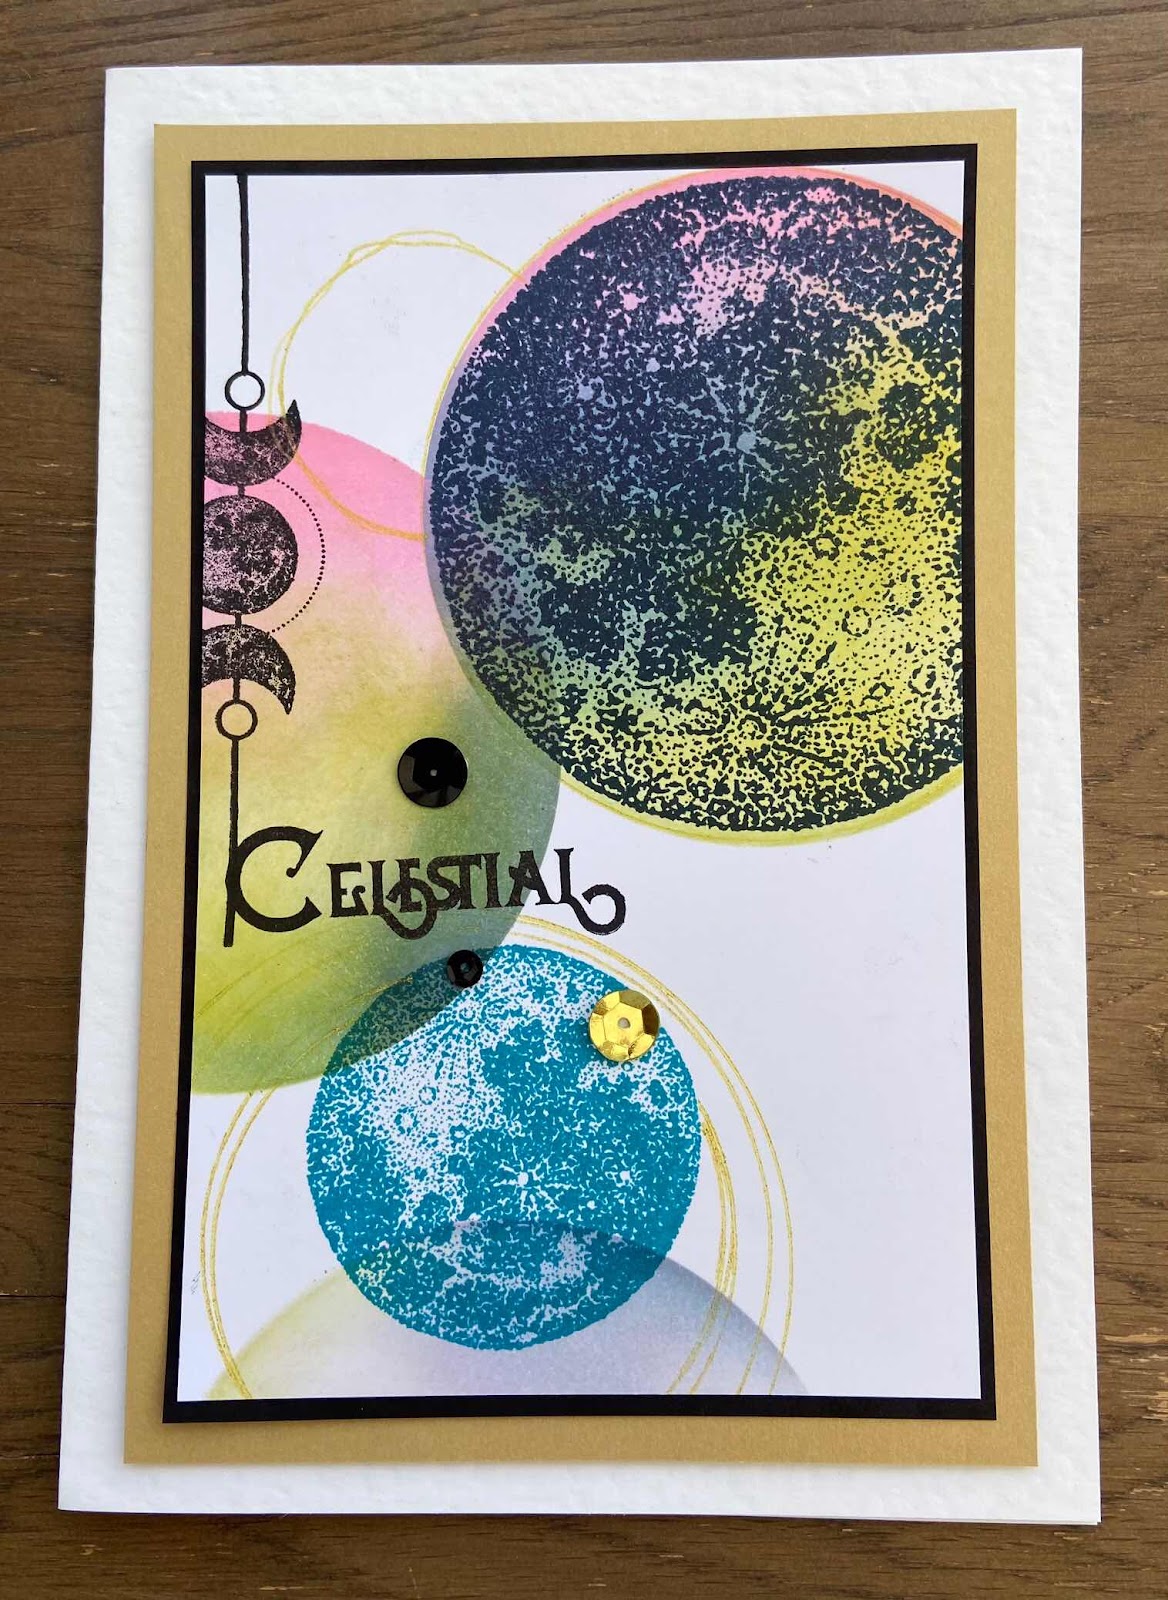
In this first one I have used a mop up background from a mica spray and stamped directly onto tht but then added the moon from a fussy cut image.
For the tag I started by using black gesso all over a board tag then once dry I stamped and embossed the images in gold. Next I painted in mica powders before finally adding the black and white moon to  the tag 

Hope you have a great day!
Hugs
Rachel x


Monday, 27 September 2021

Twinchies be Brenda


Morning everyone, my final post for this month sharing more samples from last months TV shows.

Here I have used the Dragonfly and the moon and sun image from Sacred stamped onto four twinhcies inked with had been inked Oxides……I usually fix them togetehr with tape on the back to make stamping easier. Once dry the four were individually inked with Judikins embossing ink, this comes in a bottle with sponge top and is much easier for a smooth application, likewise it works well before adding distress glaze.


UTEE then added to each piece, heated and the same process repeated twice more. If you still see a few uneven areas or bubble you can re-heat so smooth. The four pieces where then reassembled into one and matted and layers onto a base card.


Blue is not a colour I tend to use much but I do rather like the vivid shade achieved here with blue, green and silver alcohol inks which were applied to the reverse of the sheet of vellum. Poinsettia Script then stamped with Versafine ? Blue, the Poinsettia then stamped again several times and hear embossed with detail silver EP, cut out and decoupaged.
Hope I have provided a little inspiration.


Saturday, 25 September 2021

monochrome


 For my last post this month I have a couple of monochrome cards to share using two very different stamp sets.

The first card uses the lovely poinsettia script which I think does not have to be just for Christmas. I stamped it on grey card using black ink and clear embossing powder. It was coloured with koh-i-noor pencils using the white with blending solution on the flowers with yellow in the centre and green on the leaves.

I added silver and black mats before adding to a white square card blank with the sentiment stamped in blac

The second card uses the small geometrtic shape from Fiona Randall's sacred set, stamped four times on grey card and once on white in black ink and clear embossed.
The grey images were trimmed to square and mounted onto black card, with stickles glue on the centre triangles, although it doesn't show up well. The white image was closely trimmed and glued at an angle in the centre.

Friday, 24 September 2021

Sacred Moth


Hello, I am sharing some more of my samples made for the August show on The Craft Store.

These are using the beautiful new stamps from Fiona Randall called Sacred

For this card I made a background using alcohol inks in shades of blue, purple and gold. I then stamped the words and geometric stamps and embossed in gold. I stamped the butterfly onto acetate and embossed with Verdigris powder, fussy cut it out and used the alcohol inks to colour on the back.


Next I have a wall hanging. 
I covered a piece of grey board in papers and stamped the geometric elements in VersaMark. I have then brushed mica powder over. This gives a lovely, subtle shine to the stamped images. 
I then made my layers for the centre. 
First, I have a black mat of card. On this I have a piece of corrugated card which I have brushed with gesso. I then had a scrap of muslin which I have stained with Distress Ink. I stamped the moth and embossed in white. I then fussy cut this out. I used distress ink on a small wooden frame, I cut a piece of card to fit behind the frame and stamped and embossed one of the geometric stamps in gold. I assembled all the pieces together and added the word stamp. I made two holes at the top and added some string.

 
Thanks for looking
Sandra x

Wednesday, 22 September 2021

Butterfly (by Gerrina)

Today my last post this month as a Guest Designer at Chocolate Baroque, so you can see my card/Art Journal page here and at my blog as well. As it looks like we are getting some Summer after some wet summer months, I couldn't resist to use this beautiful big butterfly one more time. I again used an edge liner to draw the stripes and a circle stencil that I have for years to draw the circles. That's how I got a simple background to let the butterfly 'pop'.


Used materials:

Stamps: Patchwork Butterfly

Ink: Versafine Onyx Black

Other: White aquarel paper, black fine pointed brush, straight edge and colour brushes


Creatieve groetjes,


Gerrina


Tuesday, 21 September 2021

Christmas Rose Wreath (by Judith)

 Hello everyone, I am sharing my final post for September with you today, showcasing another of the stamp sets featured on last month's TV shows. I have chosen to pick one of the little worker stamps from the Christmas Rose Script stamp set to create a wreath. These are always popular projects, and I enjoy making them.

I drew an oval lightly onto a piece of kraft paper with pencil and a die, before stamping the image several times. I used Versafine Clair in a dark brown tone. I added a sentiment in the middle from the Holly Script stamp set. I cut a couple of masks for the little flower image, and moving around the oval, I added some sprigs of foliage from the Robin the Spruce stamp set to fill in the gaps, moving the masks as I went along.

I coloured the flowers with pencils, starting with the lightest colours first. Finally I added some white dots with liquid colour to lift the whole piece. You could use white acrylic paint to create this effect.


Thanks for stopping by. Take care,

Judith xx

Monday, 20 September 2021

Christmas Ensembles part 2 by Zoe

Good morning Lovelies and welcome to my second post this month.
I’m showcasing a couple of the samples I made for the show last month featuring these amazing script stamps.
I created some matching Christmas cards with tags and envelopes. 
I hope you like them.


Thank you so much for spending time visiting today, I shall be back later in the month with my final set of samples.
Have a wonderful day xx Zoe 


Sunday, 19 September 2021

Heaven and Earth

Heaven and Earth 


Today I will be sharing some of my samples from last months newly launched designs by the talented Fiona Randall there are two A4 sets and to choose a favourite is nigh on impossible,


The first of my samples is using the Celestial Set, using Alcohol Inks and a Lift Out Inkpad which quite literally does as the name suggests.
Using Yupo and a selection of Alcohol Inks I used 3 different shades of blue. 
Ink up the stamp of choice with the Lift Out Inkpad as you would with any other Inkpad and stamp onto the prepared and dry Alcohol Ink background. Lift off after a few seconds which will have allowed the Inkpad to do its work. Do not waste what you have lifted from the background stamp it onto a spare piece of card or into a journal. Two for the price of one, that can't be bad can it ?? 


The next photo is from the Sacred Set using the same technique but a different colourway.


For another look you can also use Versamark and White Embossing Powder on the Heavyweight Yupo but add the heat in short bursts as because the Yupo is basically a plastic paper it tends to buckle if too much heat is applied to it.


These are fairly quick and addictive techniques but very effective, I hope you have enjoyed looking today.

Love Doreen