Hello everyone, I hope that you are keeping well. Firstly, before I share my project for today, I have to announce that we will be bringing the Design Team Blog to a close at the end of this month. We will no longer be posting on the blog, as we are finding that our vistor numbers are sadly dwindling, and the preference these days is for Facebook and Instagram. We have a dedicated Facebook Group which is very friendly, you can join and see lots of inspiration over there. The Design Team share their projects there too, and we are always dropping in to answer questions if you want to ask us anything. You can post pictures of projects you have made with Chocolate Baroque stamps, we would love to see them. We have an Instagram Page too, which is full of fabulous projects. You can give us a like, or leave a quick comment, we really appreciate a visit.
We would like to thank you for your support over the years, and appreciate all of your visits and comments. The Blog was created for you, our readers, and would not have kept going for so long without you.
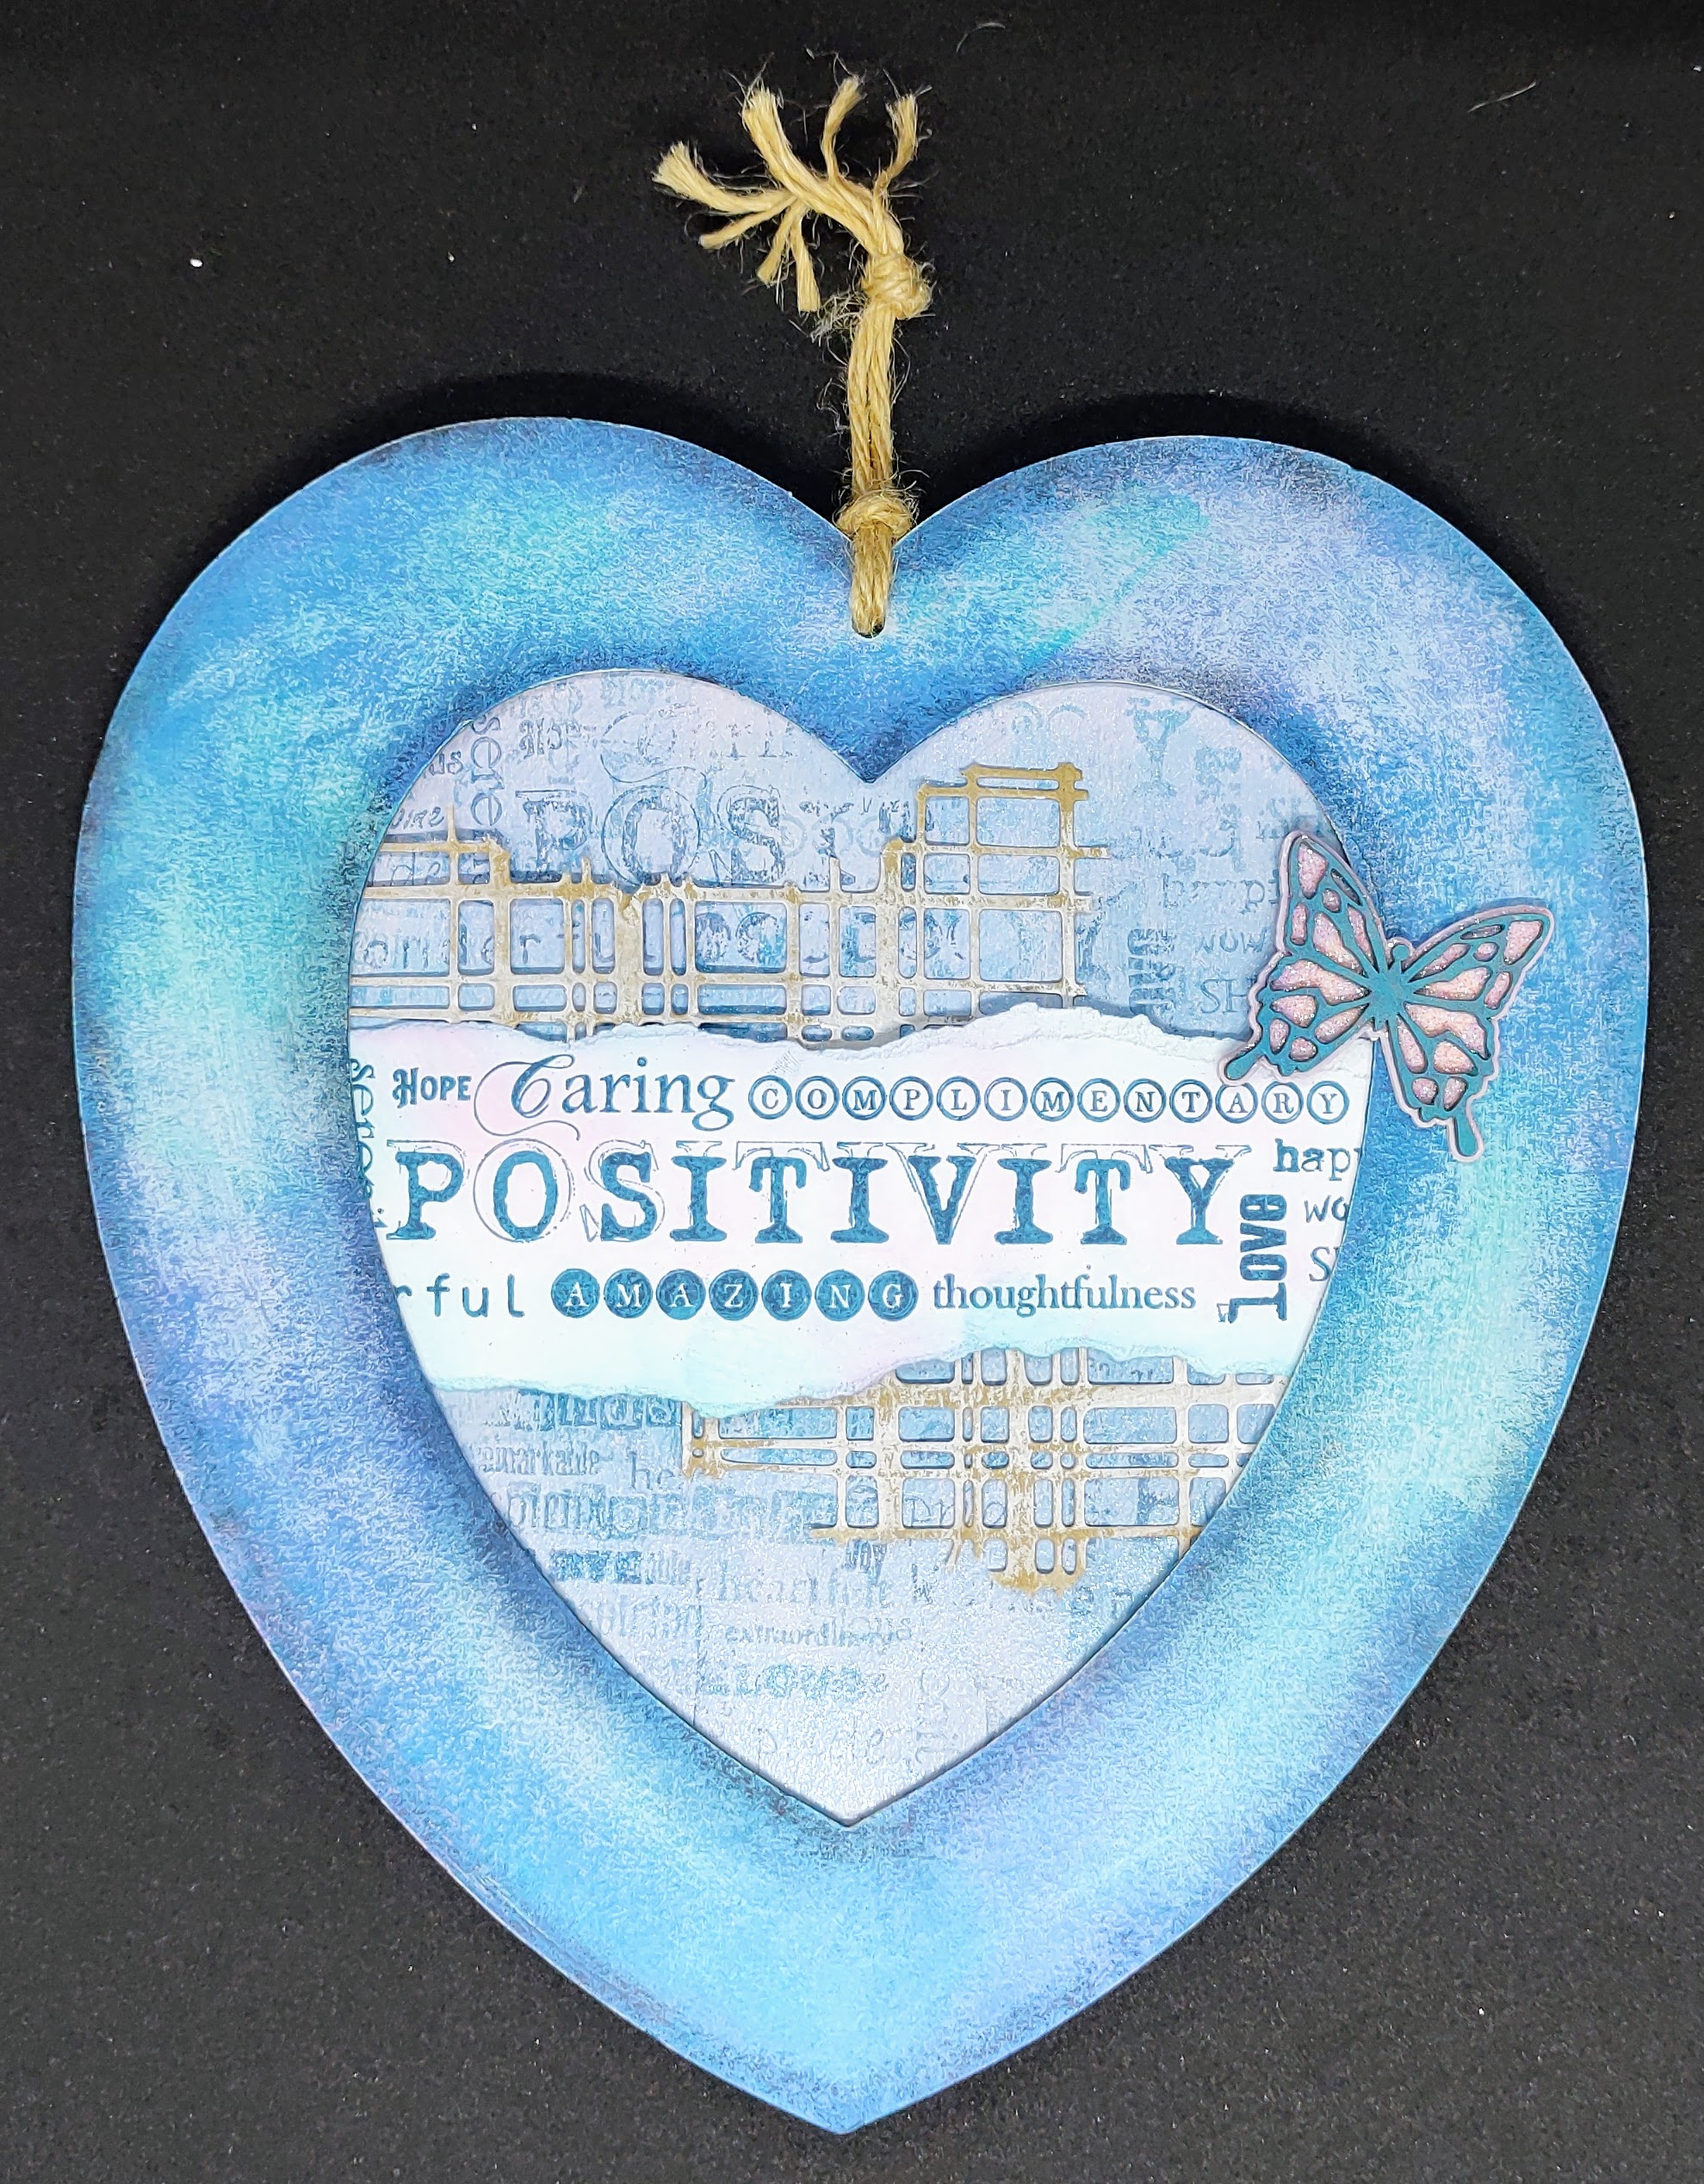
Now onto my project for today. I decided to create a panel using one of the long collage stamps from last month's TV show, stamped onto a serviette for this project. We often use patterned serviettes in our mixed media projects, and peel away the two or three layers behind, which get discarded or do not get used for anything. These plain layers are great for stamping on, and using just like their patterned counterparts.
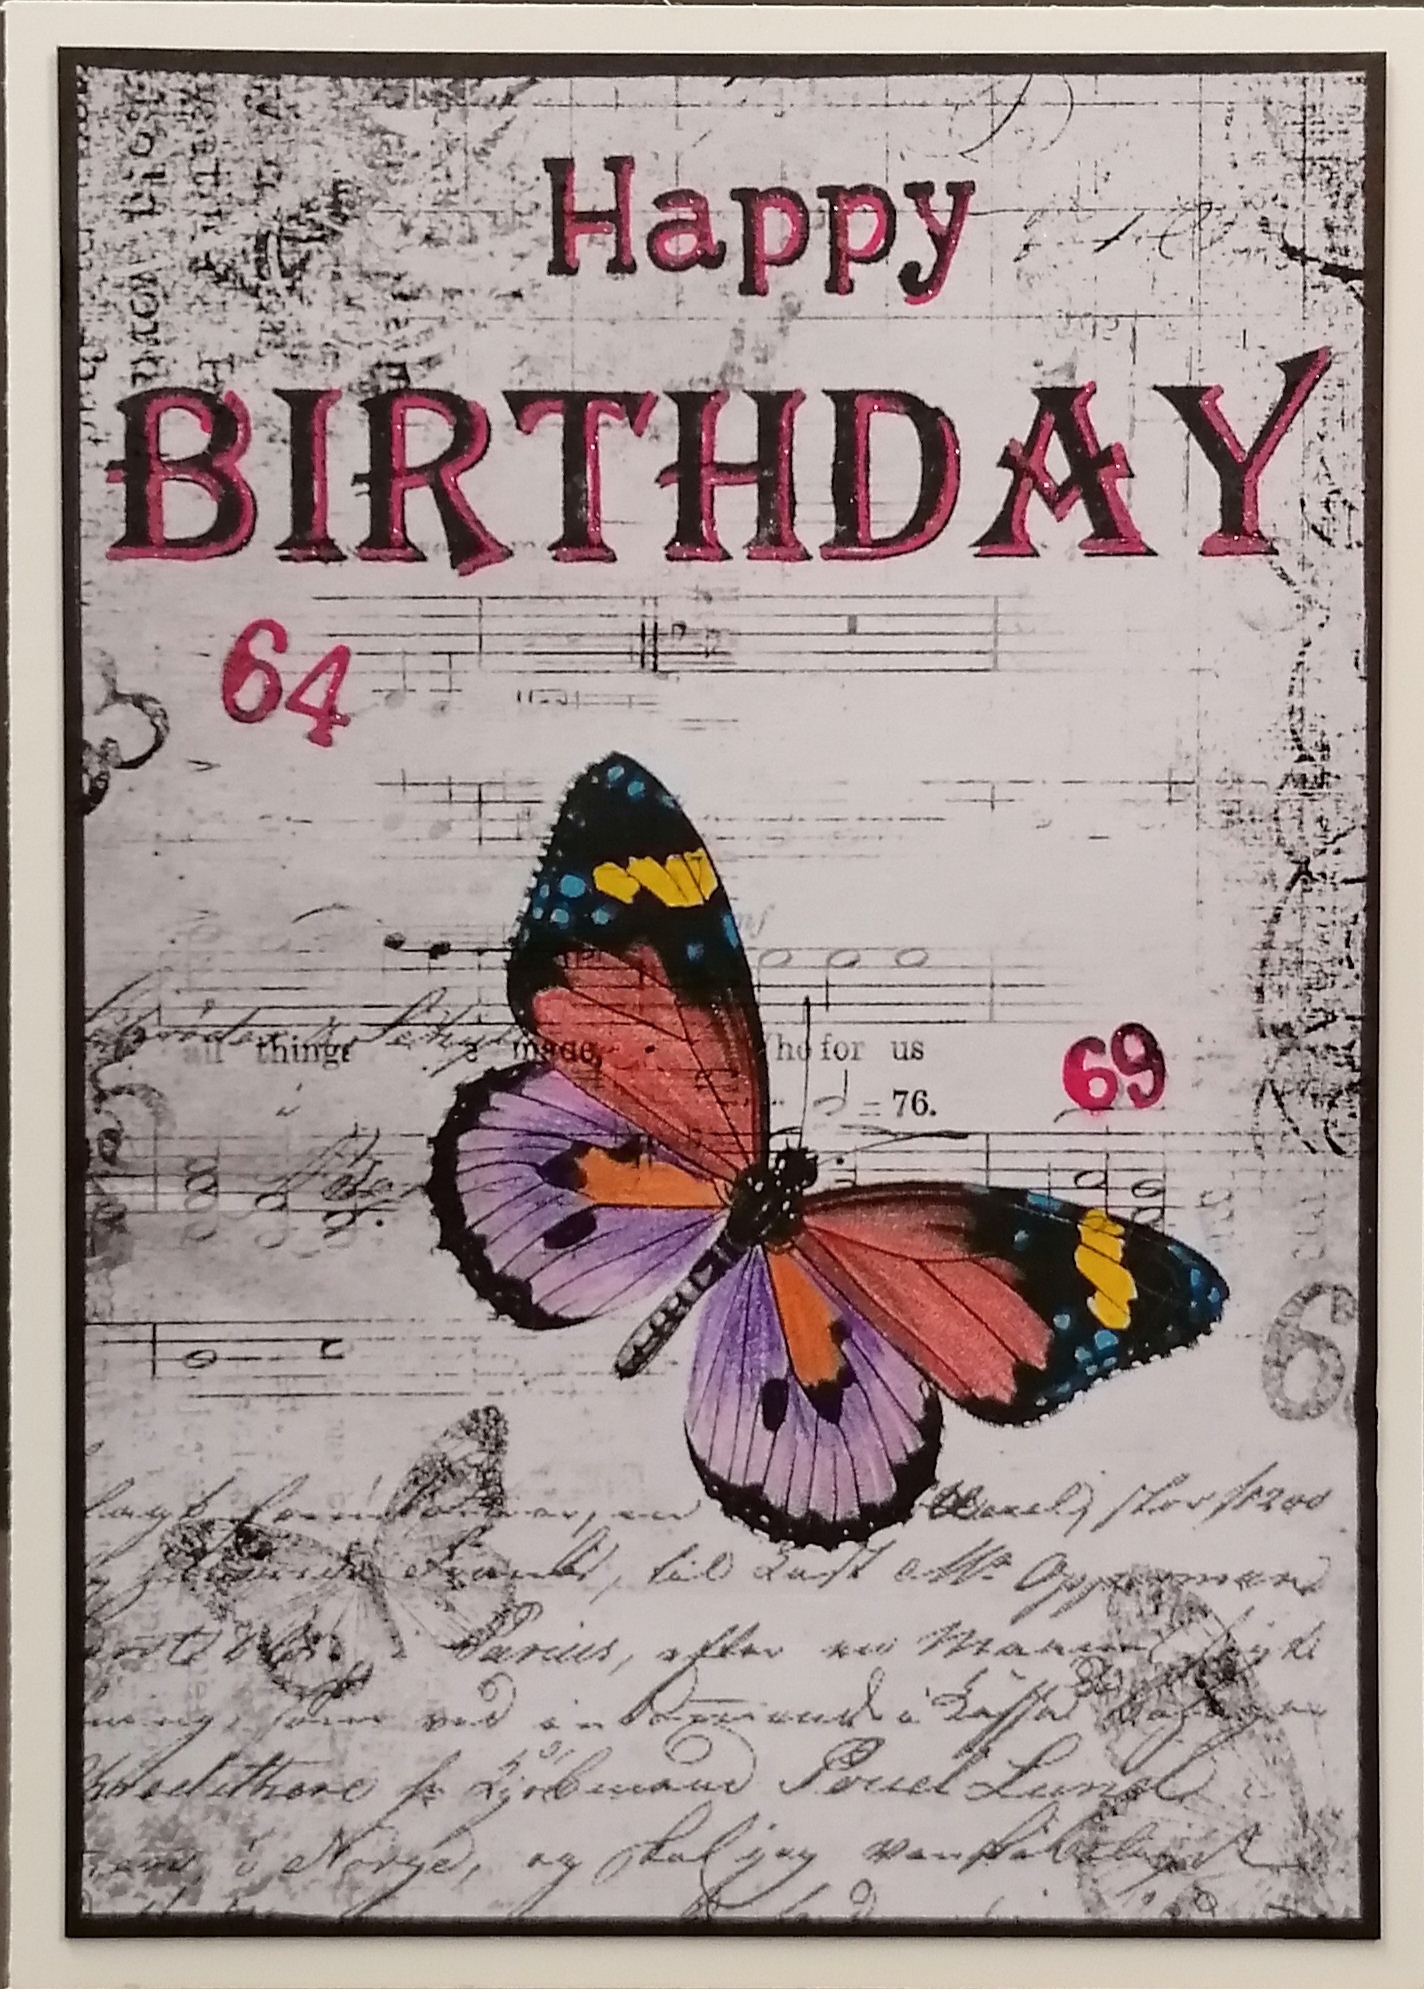
I stamped the large The Phenomenal Butterfly Slim Strip image using Versafine Clair Nocturne and left it to dry for a few moments. Also using Versafine Clair Nocturne, I stamped some of the images from The Phenomenal Butterfly Elements and Out of the Trees Elements over the MDF panel, checking that they were in the area that would not be covered by the serviette once it was stuck down.
I covered the reverse of the serviette with Matte Medium and adhered it to the panel. Now this worked fine twice at home, but in the studio, with the air conditioning blasting away, it was a completely different matter! The serviette was wafting about all over the place, and anyone who saw the show will have seen that I had a heart stopping couple of minutes while they turned the air con off and I attempted to lay the misbehaving serviette onto the MDF panel. Phew!
I gently brushed a bit more Matte Medium over the top, and this does take a very gentle touch, as too much can cause the serviette to disintegrate. I left the surface to dry completely before moving on to the next stage. I painted the image using transluscent paints in several colours. You could water your opaque paints down obviously, but I wanted to paint my colours neat, so this option worked for me. I chose a limited palette of colours.
I really like the unfinished MDF against the painted area, and hope that you will try this idea for yourselves.
Thanks for stopping by,
Judith xx


.jpg)
.jpg)
.jpg)
.jpg)

.jpg)