Hello everyone, today it is time for our monthly collaberation from the Design Team, sharing their tips and ideas for time saving projects. We aim to bring you a blog post jam packed with inspiration, that will help you to make cards and other items that we have created in fifteen minutes or less. If you are new to stamping, or need to make a card in a hurry, then these projects will be perfect for you. If you want to make batch cards for a wedding, for Christmas, or for a craft sale, then there will be something to inspire you, and you can make as many designs as you like using Chocolate Baroque stamps, as long as each one is hand stamped.
So grab a cuppa, and enjoy what we have to share with you this month.
We have a selection of stunning cards from
Anne to start us off this month. She has used some of the stamps from last month's TV shows on Hochanda to create some beautiful scenes. The first two backgrounds were created by using ink spritzers on cartridge paper, and Anne then stamped the images with Versafine ink. She added white highlights with a pencil. In the first card, she added the reflection by stamping onto acetate, and transferring the image onto the background.
She has used a bit of mica spray for added sparkle, and stamped the sentiment using Stazon, because her card blank had a coated surface.
Extra shading with brown pencil adds a bit of depth to the images on this card, and white charcoal for highlights.
For her third project, she coloured a mountboard tag with water based inks, and stamped the images with Versafine Ink. She drew in the hills with a marker pen. She added shading with brown and white pencils. She added background stamping onto a piece of patterned Crafty Individuals paper, and edged both the tag and paper with marker pen. The tag was added to the background with 3D foam pads, and finally she added ribbon, flower and PVA pearls to finish.
We have a collection of projects from
Magda next. She has used Distress Inks to create her backgrounds, adding stamping using black ink, and mixing a combination of the stamps to create some fabulous cards. The first card has added colouring with watercolour pencils:
Simple stamping onto a Distress Ink background for the next card:
Some great sparkly detail has been added to the images with glitter glue:
Finally, Magda has created a set of ATCs using the same principles of Distress Ink backgrounds and silhouette stamping. These would be great to give away, or could be added to a card over a larger background:
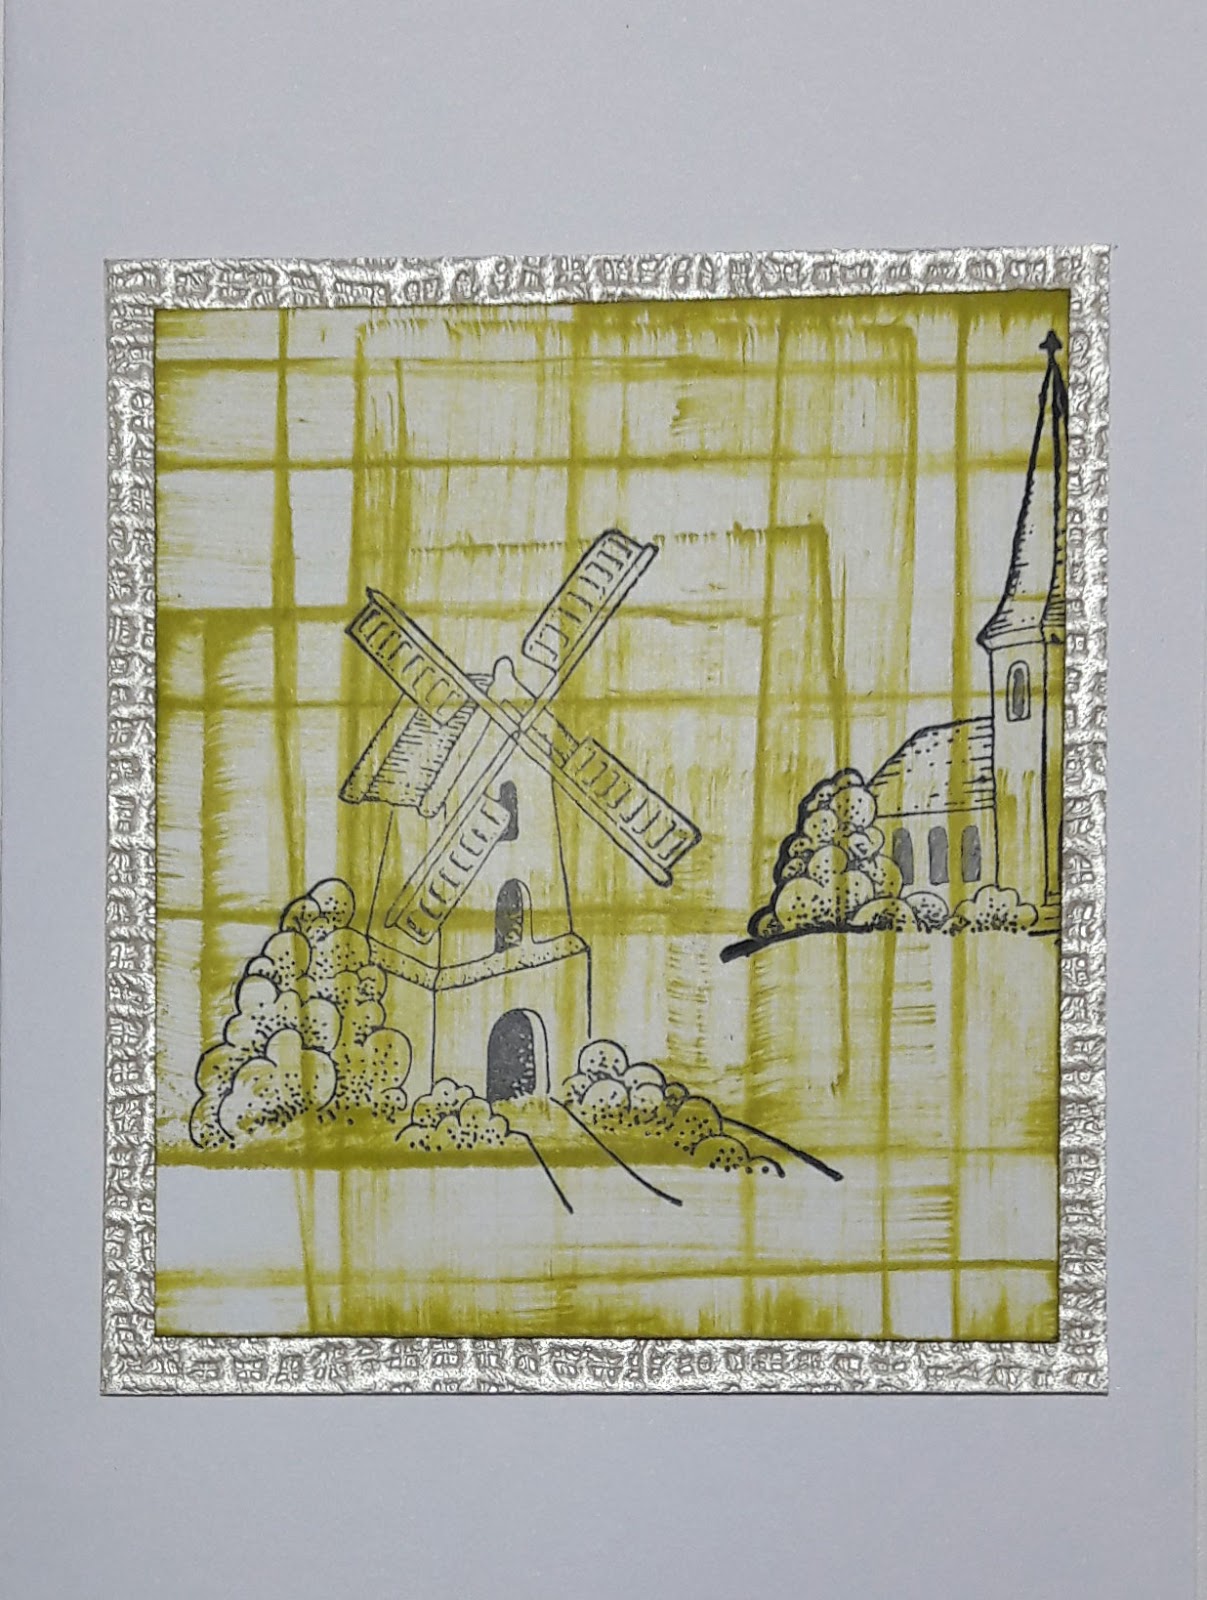
Dominike has created a colourful series of quick cards. She has used her ink pads to make the backgrounds by dragging them across the background first horizontally, then vertically, to achieve a gingham style effect. She has then stamped the images using black ink. This is such a pretty effect, and ties in with the country feel of the images so well:
Brenda has created two pretty floral cards for us this month, for the first card, she stamped the image using Versafine Ink and coloured the image with pencils. She stamped the sentiment with the same ink, and scored lines around the edge of the card.
Her second card was also stamped with Versafine and coloured in with pencils. The toning bow and pearls are lovely finishing details.
For her third card, she created a stencilled background, and coloured in two butterflies with sparkle pens. Brenda says that she has a supply of butterflies all cut out and ready to go for creating cards, which is a great idea for days when you need to make a card in a hurry. I am definitely going to use that idea!
Julie has made a beautiful card for us this month, creating a focal panel using one of the lovely images from the featured stamps from last month's designs. She then created a larger background using a leafy stencil, adding some trees along the bottom. This would make a great masculine or feminine card, and could be suitable for so many occasions, depending on the sentiment.
We have two cards from our Guest Design Team member
Carole next. She has created a fabulous masculine card by stamping the bicycle image, and adding a mask, before stamping the large script stamp in a sepia ink. She stamped the sentiment tag, adding it to the background. The card was trimmed to 14cms (5 1/2 ins) square so that it would fit a 15 cms (6 ins) card base.
Carole's second card has been made using one of her favourite stamp sets, Woodland Dreams. She has coloured the background with Bundled Sage and Dusty Concord Distress Ink before stamping the tree images over the top. The bird and branch have been stamped with Versafine Onyx Black Ink, and she has added some colour to the berries. If you are not on such a timescale, you could add some Glossy Accents to the berries for a bit of added shine, but you would need to let this dry for some time.
Zoe has created some stunning colourful mail art for us this month. Who would not love to receive one of these envelopes in the post? I am definitely going to start decorating some of my envelopes like Zoe, because they are sure to brighten up the recipient's day. She has used Distress Inks to colour the background in this example:
Stamping and masking has been used to create these scenes:
Simple white embossing on a kraft envelope creates an impressive effect:
Finally, multicoloured stamping creates a pretty forest across the bottom of this envelope:
Bringing up the rear is a card from
myself, you might have seen me demo this on the TV when I accompanied Lesley for the shows. I created a vibrant Distress Ink background, spritzing it with water. I used an offcut of cartridge paper, the piece that is left from a piece of A4 when I cut my backgrounds for 8" by 8" cards. I stamped the houses, masking them as I went along, to create a street. I picked out one house to colour, and made a reverse mask so that I could colour only that house with the same inks that I had used for the background. This would make a very quick New Home card, or in a smaller version on a tag, could be used to announce a change of address.
We hope that you have enjoyed what we have shared with you this month. We will be back next month with more projects, and time saving ideas. In the mean time, please do keep visiting the Design Team blog for a daily dose of inspiration from our regular Design Team posts.
Thanks for stopping by,


Amazing inspirations!!
ReplyDeleteStunning cards
ReplyDeleteLovely array of different designs and styles x
ReplyDeleteWhat a fabulous collection of quick cards Judith. The mail art is something I have never done so one to try and the faux gingham ones are a great idea for a quickly achieved background, and there is something there to please everybody with lots of colour and great design ideas. x
ReplyDeleteAll wonderful cards, so much inspiration from the team, Kate x
ReplyDeleteThese are all fabulous, lots of gorgeous inspiration ladies. Thank you!
ReplyDeleteHugs
Linda xxx
All great ideas, thank you.
ReplyDeleteSome fabulous inspiration - lovely job everyone :)
ReplyDelete