Pin It button on image hover

Monday 30 September 2019

Quirky structures part 2 by Zoe

Good morning Lovelies and welcome back. This is my final post for September using these fabulous stamps, I really enjoyed playing with them.

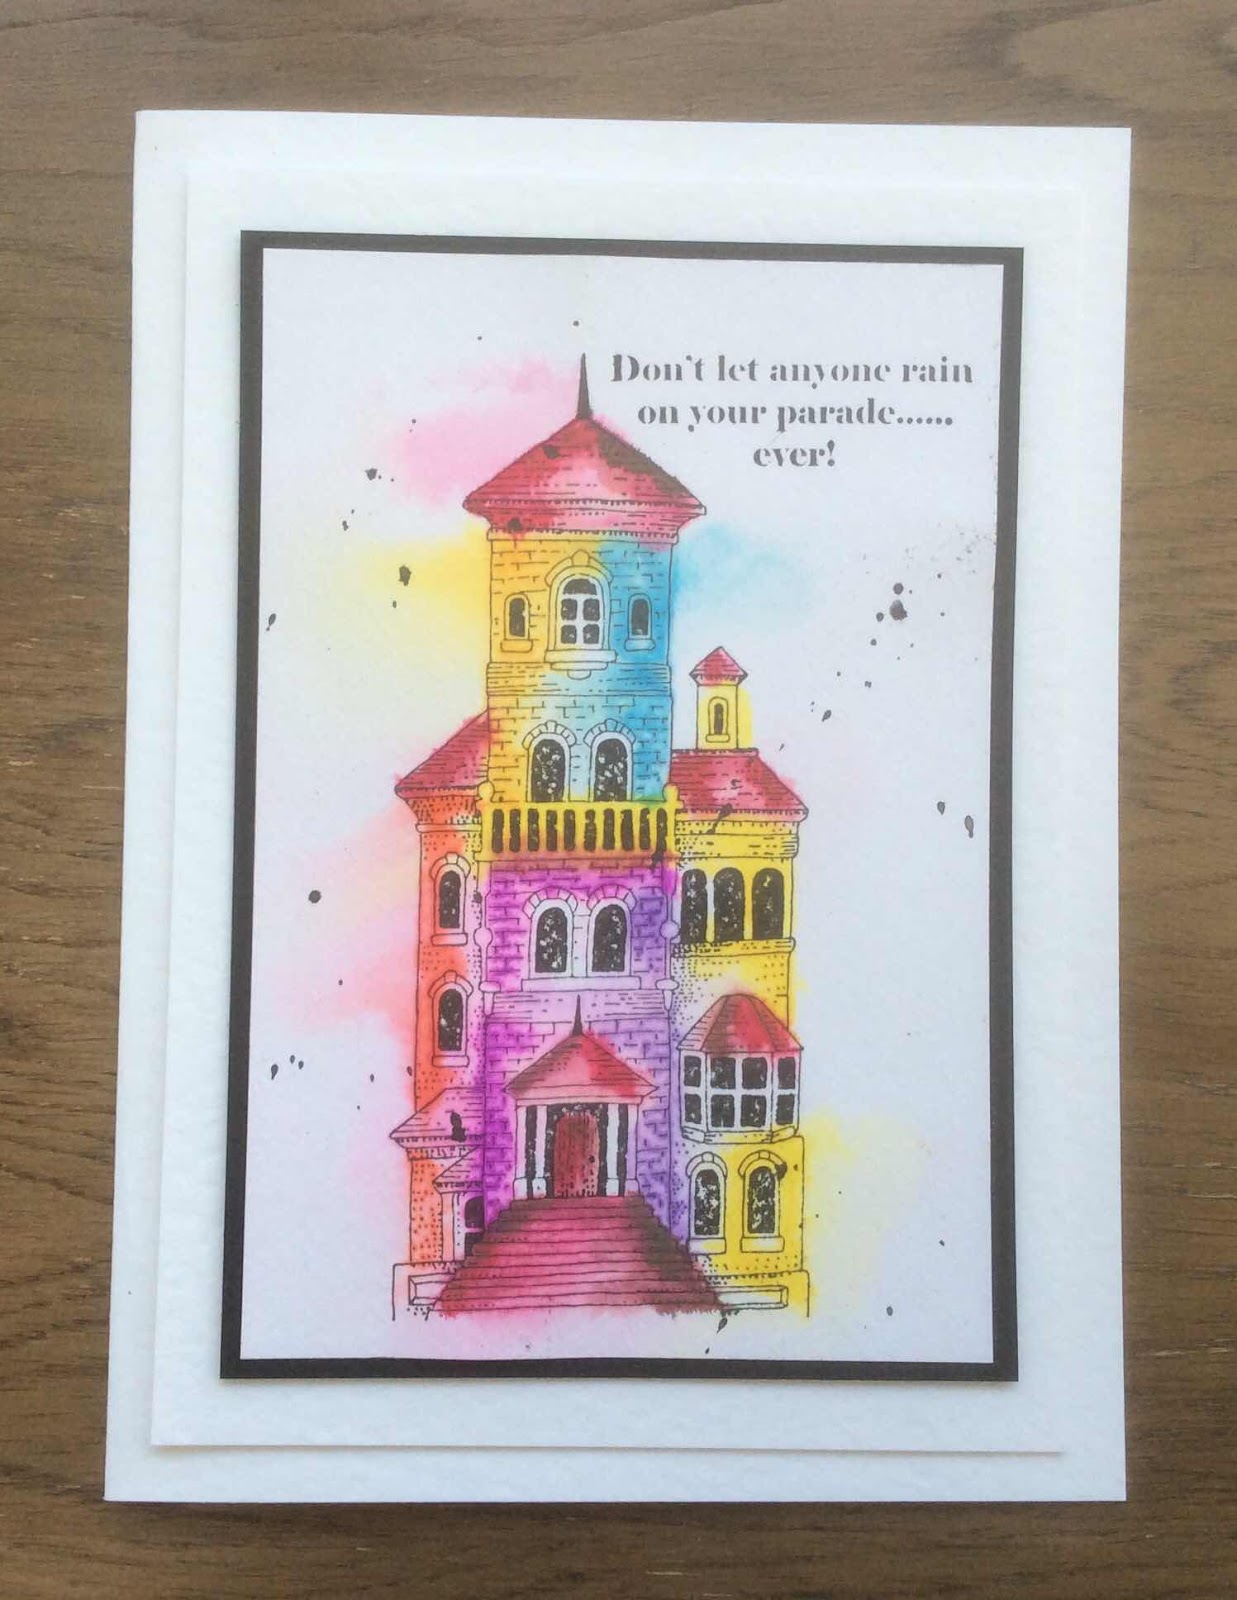
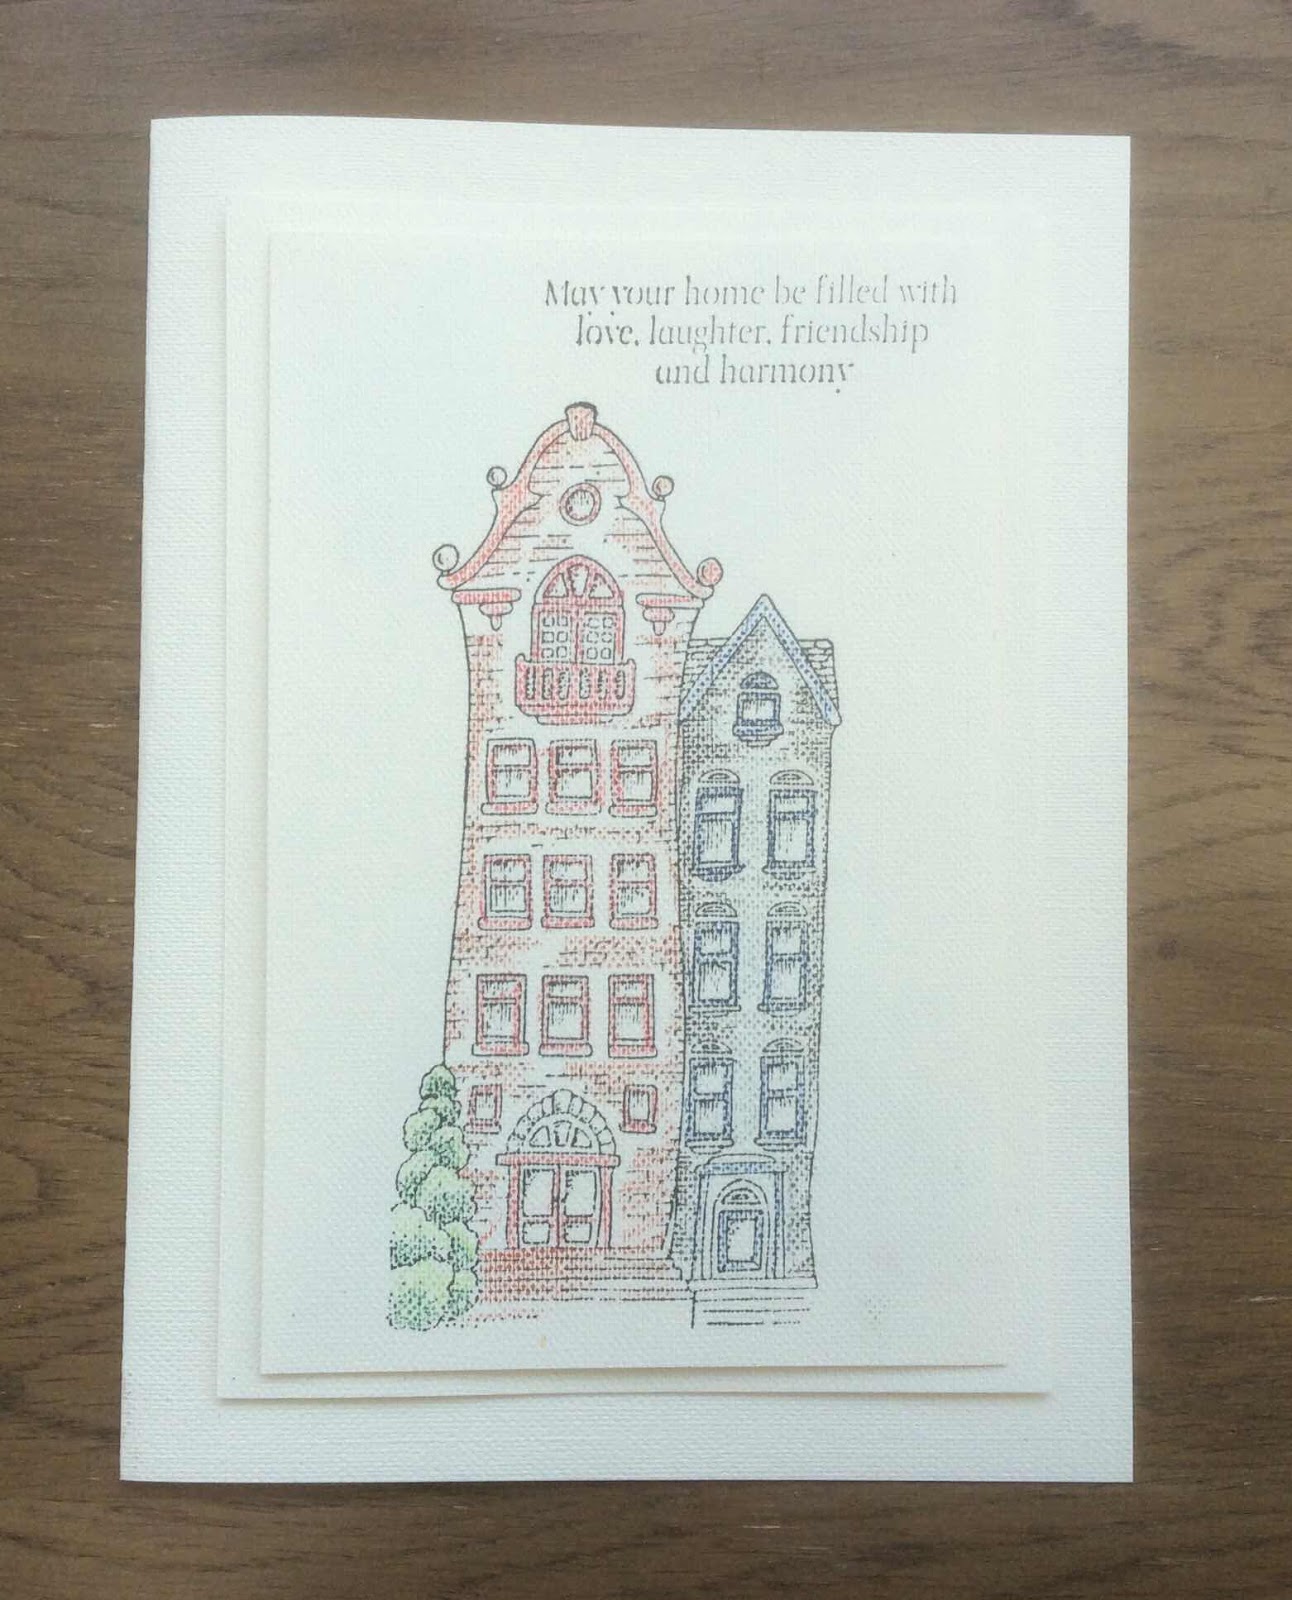
My first card I simply stamped onto Hopsack textured card which is Ivory in colour for a change, simply coloured in using pencils, I think the texture gives it quite a classy effect, I’m really into using the same cardstock to mat and layer too at the moment.

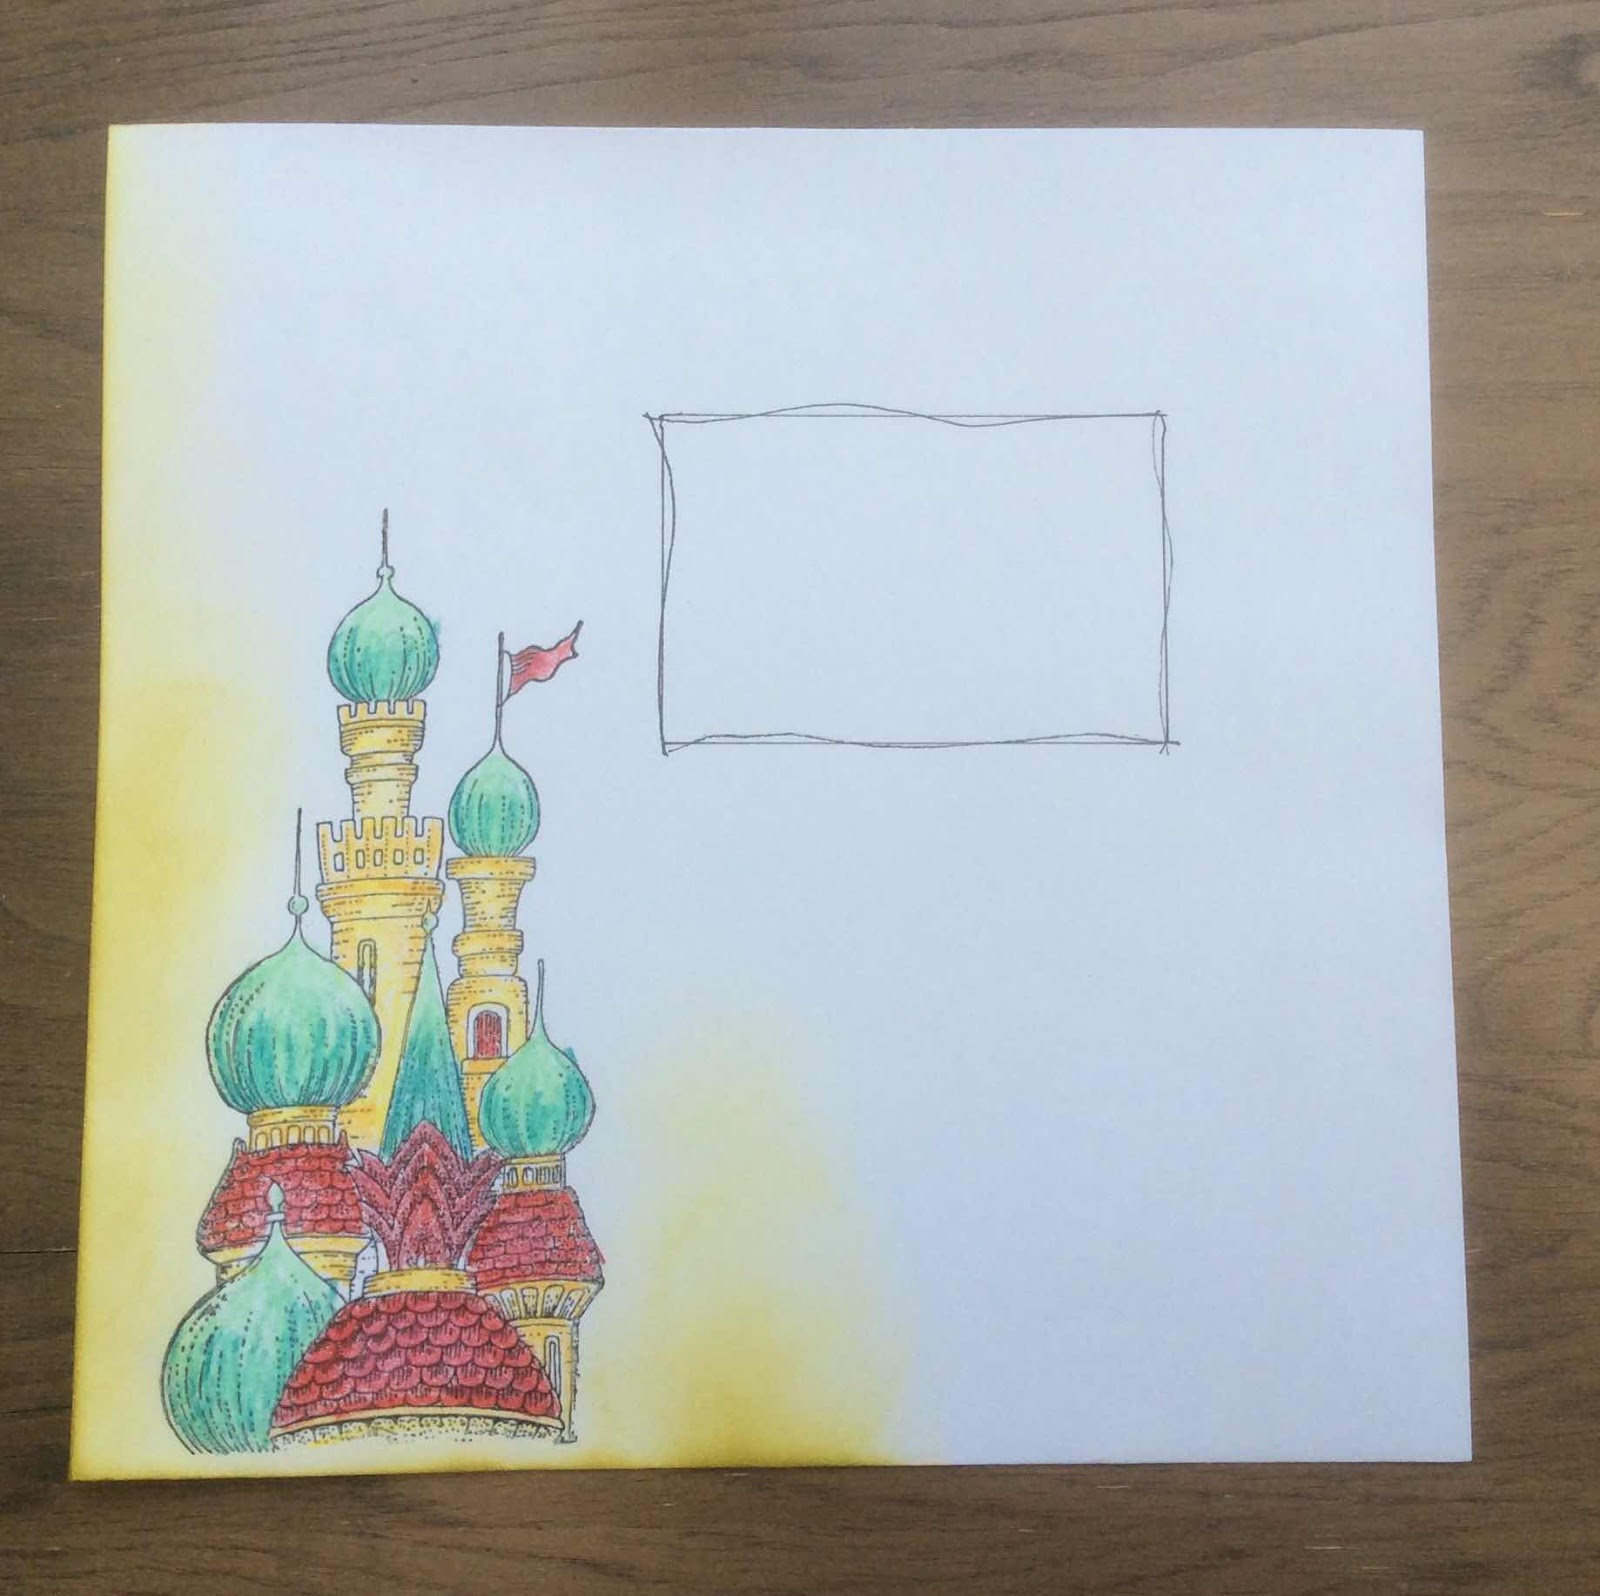
The obligatory envelope lol! Coloured in with Inktense pencils, bit of distress ink around the corner using a brush to add some interest.

My last card I stamped and heat embossed onto Watercolour card then wet the card generously and just added Watercolours, letting it move and bleed over the edges and adding more colour to build up and create depth, few splatters and a sentiment from the set.


Thank you so much for visiting, hope to see you again next month?
Have a great day xx Zoe xx

Sunday 29 September 2019

Colourful village


Morning Peeps, Brenda here again and this time I do have the right cards as the lovely Lesley very kindly took photos of my work (some will remember in my last post I explained I forgot to take photos before posting off my samples.......naughty corner for me), so a big thank you Lesley.

The card at the top uses all four of the new houses which you can find on the multi buy here, all were stamped in versafine black and masked so I could add the background, a Pan Pastel sky and some worker stamps around the houses. I coloured them with Koh-i-nor paints


I kept Kim Moody's Poppy Cottage fairly simple as I wanted to use red to reflect it's name stamping in Versafine Clair, adding just a little colour, matter and layered and some Poppies from Pretty Poppies which I coloured with pencils.


Here we have Bridge House which I stamped first onto acetate to get a reverse print and laid my card onto that, then stamping a second time to extend the house, coloured in with Koh-i-nor paints again as well as some Distress Markers and some foliage stamped in the foreground.


Both of these were stamped with Versafine Clair inks, some colouring added with pencils and stencilling in the background.


Poppy Cottage again, this time with a background stamped with Versafine Clair and Poppies again from the Pretty Poppies set. I added some colour to the doors of the house and inked around with DI's along with a sentiment from the same set.


Bridge House again, this time coloured in with Distress Inks and Markers, a tree created with stamps from Orchard Design a Tree along with more leaves from Take it or Leaf it set.

As always, many thanks for your visit today.

Friday 27 September 2019

Stylised Houses (Part 2)

Hello
I'm here again to show the remaining cards from the August show on Hochanda featuring the Bookmark Stylised House Collection.

My first card is from the Bridge House set . 
I stamped and water coloured the image. I then cut an aperture out of a piece of card and used a brick stencil and modelling paste to create a view.


My next card is from the Turret House set.
Using a stamp platform I stamped the image in Archival ink. I then re-stamped using a variety of Distress Inks. I added some Brushos to the background and spritzed with water to release the colours. Unpredictable, but a lovely technique!


Finally I made a little Tag Book using the sentiments from the stamp sets.  I also used stamps from Wild Meadow and Patchwork Butterfly.


Thanks for looking,
Sandra x

Wednesday 25 September 2019

Shells and Seahorses (by Carole)

Hello everyone, Guest Design Team member Carole is here for her final post this month, and she has created a beautiful underwater themed project for your inspiration. 

Carole writes:

Hello everyone, my final contribution for September goes under the sea.
What a great stamp set this is, I just wish I had more hours in the day to 'play' with it more.
I have used the Mermaid Queen set, to create this under water scene.

Products used: Mermaid Queen stamp set, acrylic paints, thin acetate, permanent inkpad that will dry on acetate and shrink plastic, gold pen and thread.

I started with the background so that it would dry while I did the rest.
Cut an A4 piece of acetate in half, and squeeze several different colours of paint onto one half.
Place the other half of the acetate on top and run your hand over it to spread the paint.
Pull the two sheets apart and an interesting pattern may occur.

At this stage you could sprinkle a little glitter over while the paint is wet. I tend to make a larger acetate piece so that I can cut out the most interesting section.
Put aside to dry thoroughly.
The seahorse was stamped and embossed, then coloured with a gold glittery pen and the tiny one is done with shrink plastic. Very cute it is too. The shells are full size.
Once the background was dry, I stamped the seaweed onto the front with a permanent inkpad, (I used Stazon), and the card was assembled.


Well that's it for this session, I look forward to showing more ideas in my next slot.
Thank you for your comments, they are always appreciated.

Best wishes, Carole

Other sea related samples to follow on my blog soon

http://cchotchpotch.blogspot.com/
Tuesday 24 September 2019

Let's play hide and seek- (by Magda)

Hello girls,
The second post of this month is a selection of 3 cards and three ATCs and I hope you will like them.

For this Simple Card I used :
Dutch House and its sentiment, Punky Hearts stamp,  Archival Black Jet, Archival Red, Faber Castel Art Grip Aquarelle


For Rainbow card :


Let's play hide and seek card:


ATCs :
Italian House stamp, Turret House, Dutch House,  and their sentiments. stencil, Faber Castel Art Grip Aquarelle


Thank you for passing by
Magda

Monday 23 September 2019

Turrets and Stencilled Brickwork (by Julie)


Hello, today I have two more of the lovely stylised houses that Chocolate Baroque recently released.


My first card is stamped with Turret House. I very simply inked up the main image with Onyx Black Versafine and stamped directly onto the DL card blank before colouring with Polychromus pencils.
The background was coloured with Distress ink and a cloud stencil and the card was finished off with a sentiment from the Turret House set.


My second project has been stamped using the Italian House and involves a bit of recycling.
The base for this hangar is a wooden slogan plaque picked up in the sale bin from our local supermarket. I didn't need to prime it as I just worked on the reverse side of the printed slogan. I simply inked up the Italian House and the sentiment with a black Versafine Claire ink and stamped directly onto the wooden plaque, once dry I then coloured with polychromus pencils and smudged the pencil with my finger to create a softer look. I then applied texture paste through a brick stencil and when dry I brushed the bricks with a red Distress ink. 
I reattached the wire to finish off the hangar.

Thanks for stopping by and please call back soon for more Design Team inspiration.

Julie xx

Sunday 22 September 2019

More house makes by Rachel

Hello there. Rachel here today with some more ideas of ways to use your house stamps from the August shows. Today I want to share three samples I made using house stamps.


In this first one I stamped the Turret house onto some card and added brushos to that before matting and layering. The background I created using different inks on a cloud mask. I applied the ink using stencil brushes.


In this second one I created the background using a mop up method with distress oxides then added some stencilling with a chocolate baroque stencil. The main image is part of the Dutch house and it is done on an acrylic piece, painted and with mirror product added in the background. 


Finally I covered a notebook in rice paper and stamped the Bridge House image onto plain rice paper before colouring in pencil and adding to the book. 

I hope I have given you some different ideas of ways to use the stamps.

Big hugs

Rachel x

Friday 20 September 2019

Houses of the World Part 2 by Debbie

Hi everyone it's my turn on the blog again today so I thought I'd show you the rest of my designs from the August Hochanda show using the great "Houses" stamps. 
 I'll start with one of my favourites Italian House and for the first design I've given it a spooky Halloween look.
I made a background with Distress inks Rusty Hinge, Barn Door and Carved Pumpkin. I then simply stamped the house using a black inkpad & shaded with a grey brush pen.
I've added some die cut bats & a punched circle for the moon.
To finish I've mounted onto black card and attached to an ivory A5 card blank and added some freehand lines.   


 For the next one I've used Dutch House which I have stamped twice onto white card so that I could 3D the tallest part of the house. I've coloured with pencils and the design itself is made up of a "bridge fold"- if you're not familiar with this fold let me know and I'd be happy to give you details. I've coloured in bright "Dutch" colours and added die cut flowers and punched hearts to decorate the card blank.


Next we have Bridge House and for this I've stamped onto cork using a black inkpad (Versafine). The cork sheet gives a great textured look and is very easy to colour with water based pens. I've mat and layered onto ivory and then Kraft card before attaching to the card blank. I've cut away the right side of the card blank (A5 ivory) and stamped the background with On the Tiles using a Sepia inkpad and added some torn strips of cork to add interest.


Below are a few more of my designs which didn't make it onto the show but I thought you'd like to see. 

Shrink plastic

An 5" x 7" canvas painted with water colour paints

Turret House simply printed over Mica sprays

Thanks for joining me today, see you next month. Debbie


Wednesday 18 September 2019

Indian Archway (by Carole)

Hello everyone, our Guest Design Team member Carole is back with her second post this month, and has created a delightful card with an Eastern theme.

Carole writes:

Hello everyone,
I am delighted to be here again and have a very different sample today from my previous one.
I have chosen to use the beautiful Indian Elephant set of stamps for my sample. This set always conjures up colour to me, so I have used brightly coloured Distress Inks for the background.

The card front has two layers. The top one has a die cut label hole cut into the centre to form an aperture with two labels either side.
The layer behind was coloured and then the tree stamped, so that it was positioned centrally and would fit into the aperture space.
The two elephants were stamped, coloured and cut out.
The top layer and labels were then coloured and the labels stuck onto the base. The front section was over stamped with the top of the tree.
This stamp set is so pretty and it has a variety of lovely images on it.

Thank you for visiting and hope to see you next time.

Bye for now,

Carole.

Monday 16 September 2019

eastern dream (by Veronica)

 To me, this turret house stamp from Chocolate Baroque looked very Russian, so that is the effect i tried to get.
I stamped onto black card using versamark, heat and stick powder and gilding flakes, trimmed it down and mouinted straight onto a 7x7 white card blank with the sentiment stamped in black

 This one I coloured directly onto the stamp using distress pens, and stamped onto damp card. The colours spread to give a blurry image that was a bit too dreamy, so once it was dry I overstamped with black versafine -  as i used a stmping platform, there was no problem matching the images.
Sorry for the poor scan, this one was a DL size card.  Coloured again with the pens, and I just huffed onto the stamp to wake up the inks. It was a faint image, so I reinked the stamp again and stamped a second time to get a more definite image.


Sunday 15 September 2019

Spring into Summer by Penny


Goodly morning peeps, I hope you are all well.  I'm back again with my second post this month and I've chosen four mini projects to share with you today.  Last year Chocolate Baroque added blank calendars (Blank 2019 Calendar/Planner) to their range and I decorated several for Christmas presents and one for myself.  

For the first project I have used stamps from the ButterflyDaisy Collage set, Distress Ink, purple Versafine ink, alcohol pens and a stencil from my stash.  I stamped a large collage image in the center of the picture area, then stamped a couple of daisies and butterflies.  I used alcohol pens to colour all the images.  I then used a stencil and DI to create the background.


For this one I used stamps from the Steampunk Travel  and Steampunkery sets, metalic paints, Distress Inks, alcohol pens and a couple of masks from my stash.  I stamped several images using black Versafine and embossed them with clear powder.  I used paints, inks and pens to colour them, using metalic paints for the metal parts.  I then used the stencils with a DI to create a back ground.


This project uses stamps from the Underwater Kingdom and Seadragon sets, Distress Ink, Koh-I-Noor paints, black Versafine ink, clear EP and a stencil from my stash.    I began by stamping and embossing all the images and then painting them.  I took a stencil from my stash and applied DI through it to give the picture a watery background.


For this month I decided to go sunny and hot!  (Well I can dream can't I?)  I used stamps from the Indian Elephant and Paisley Elephant sets, Distress inks, black Versafine ink, clear EP and a gold pen.  I stamped and embossed the elephants first then masked them.  I then stamped and embossed the Palace silhouette image between the elephants, and stamped it again in second generation ink.  I then stamped a script image repeatedly across the page and used one of the worker stamps to fill any spaces in the background.  I used a black fine liner pen to ground the Palaces and the elephants then removed the masks and coloured in the elephants.


Thank you for dropping by today, I hope you have found my little collection enjoyable!  I'll be back again next month with more craftiness to share with you  :) 


                                 xx  Penny  xx

Saturday 14 September 2019

A Trio of House Projects (by Judith)

Hello everyone, I am sharing a few projects today showcasing the beautiful stamps that we shared on last month's TV shows on Hochanda. These lovely house stamps designed by Sue Page were such a delight to work with, and demonstrate, as always, Sue's eye for detail and her talent as a designer. We celebrated Sue's wonderful work during these shows, and she will be sadly missed. Her artwork will continue to be appreciated through your projects and creativity.

My first project is a colourful street created using the Dutch House stamp set. I stamped the image several times, masking the image to enable me to add the subsequent images slightly behind the first central image. I also added some background foliage by stamping a tree from Trees A Crowd. I coloured the background using Distress Ink, then set to colouring the houses with pencils.

For my second project, I stamped the Bridge House onto a piece of scrapbook paper using Archival Ink, and coloured it with pencils. I stamped foliage from Silhouette Grasses onto an Acrylic Tag using Archival Ink and allowed this to dry completely. I covered the paper with Matte Medium and stuck it to the tag.

My final project was a TV demo, showing how to create a project with just three colours. I used some Koh-I-Noor acrylic paints to splatter across a piece of kraft card to create a very quick background. I then stamped the Turret House onto a piece of watercolour paper and coloured the image using the same three colours of paint; red, blue and yellow, mixing them to create orange, purple, brown and grey, by simply adding a little bit of one of the colours each time.


Thanks for stopping by,

Judith xx

Friday 13 September 2019

Quirky structures part 1 by Zoe

Goood morning Lovelies and welcome to my first post this month featuring these fabulous quirky buildings.
I hope you managed to tune in to Hochanda a watch our fabulous Lesley and Judith demo, weren’t they great?

My first card I brayered neon acrylic paints onto Hopsack texture card, added an abstract stencil from my stash and wiped away using a damp cloth, simple stamping using Versafine Claire ink - Nocturn.

My second card, I used a stamp press to position my stamp first, then using Watercolour card I coloured the stamp using Watercolour markers, huffed on it and stamped down, keeping the stamp on the press, I removed the card and sprites with water to move the ink, once dry I returned the card to the press in the exact position as before, inked up with Versafine Claire - Nocturn ink and over stamped.


Thank you for spending your time to visit, hope you will continue to visit through the month and see what the other DT members have produced.
Have a wonderful day xx Zoe xx

Thursday 12 September 2019

Joy flower by Brenda


Good morning, Brenda here with a few shares but sadly not of the work I made for Lesley's recent shows which featured lots of lovely quirky house stamps..........in my rush to get my samples posted off to Chocolate Baroque HQ before we left for our holiday I totally forgot to take photos! So instead I am sharing a few older creations which had not been blogged.

The card above featured the lovely bloom from Floral Delight, stamping the entire image onto a die cut circle and colouring in the blooms with some watery ink flicked onto the background. I then masked the flower and repeat stamped the words to create a side panel, again flicking watery ink onto the piece to carry the colours.


The image I used for this one is a favourite from the Thistle/Honeysuckle Butterfly stamp multi-buy, stamped with Versafine black and coloured in, DI's used around the image and then placed behind a die cut frame with foam used to raise the top panel. The sentiment is from my all time favourite CB sentiment set Words of Inspiration.


Update: This original post was scheduled but feeling rather guilty about my oversight I found time the other day to create another couple of cards using some of the quirky house stamps which this post should have been all about! The background on the above one has been created with Distress Inks and masks, then stamping the Dutch, Italian and Turret Houses in Versafine Clair and colouring in with pens.


And I had to do one using Kim Moody's Poppy Cottage which is Judith's house, I have kept it pretty simple, a Poppy background to compliment the name of the cottage, stamped the cottage with Versafine black and added just a little cottage to draw the eye. This was a limited edition stamp run, but when last I looked there were still a few available on the web site.

Many thanks for your visit today and kind words, myself and the team always appreciate your encouragement.