Pin It button on image hover
Showing posts with label Flowering Baroque Heart. Show all posts

Sunday, 29 May 2016

Framed Flowering Baroque Heart (by Julie)

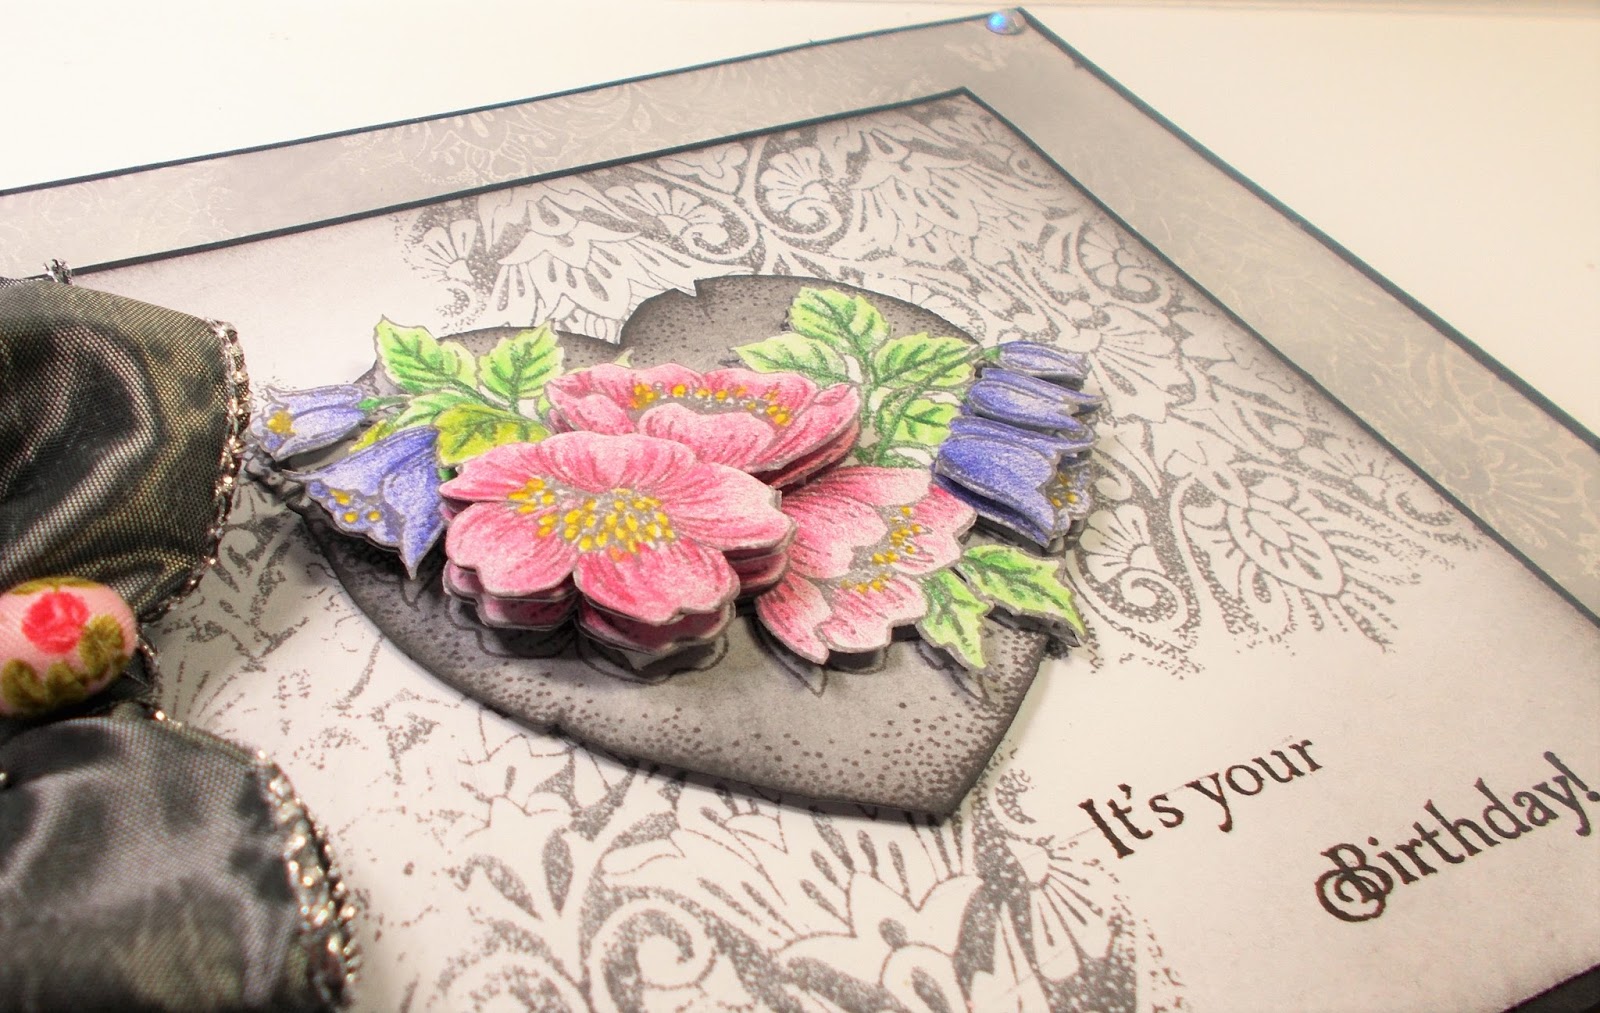
Hello and today it's me, Julie showing you my last creation for this month, using the rather wonderful Flowering Baroque Heart


For this project I stamped and embossed with white detail embossing powder, onto black card and coloured with pigment powders. Then I took some kitchen towel so that I could dab Brushed Pewter Distress paint over the background.
For the frame I used this little 15 cm x 15 cm MDF number. I chose a leaf design stencil and applied molding paste, through the stencil and all around the little frame. Once dry I coated the entire frame with black Gesso, gold gilding wax and Brushed Pewter Distress paint to create an aged metal finish.
I cut the stamped heart to size, placed in the centre of the frame and applied a black, gloss paint pen around the inside of the frame.

Many thanks for taking a look. Please call back very soon for another Design Team member's inspiration.

Julie xx


Friday, 27 May 2016

Gilded Heart (By Anne)


I created this one by recycling the clear packaging from the Flowering Baroque Heart clear stamp. Alternatively it could be stamped onto acetate using black Staz-On ink.


Materials:

  • Image from the clear packaging coming with the Flowering Baroque Heart stamp
  • 6X6 inch card blank, pink and black plain card
  • Alcohol ink pens (teal, pinks, orange)
  • Gilding flakes (gold mix) and acrylic glue
  • Gilding wax (light and dark coppery gold)
  • Stickles glitter glue (Diamond)
  • Stick on faux brads (black)
  • Ribbons (teal and pink)
  • Embossing folder


How to make it:

  1. Cut out the image from the packaging and colour the back with alcohol pens leaving the background clear.
  2. Paint over the coloured areas with white gesso. This gives an opaque background to the translucent alcohol inks. Note: you need to work fairly quickly without over brushing the gesso as it will lift some of the colour from the inks. Leave to dry.
  3. Apply a thin layer of acrylic glue to the back of the image and cover with gilding fakes, pressing down lightly. Leave to fully dry overnight. Once dry brush off excess flake with a sponge. Edge with a black alcohol marker and mount onto pink card (with acrylic glue) to frame the topper.
  4. Use the embossing folder to emboss the black card. Lightly apply gold gilding wax to the raised edges. Trim and glue to pink card.
  5. Wrap the panel with ribbon and glue onto the card front. Attach topper with 3D foam pads for dimension.
  6. Finish with a few dots of glitter glue on the flowers, add faux brads and ribbon bow.

Tuesday, 24 May 2016

Flowering Heart (by Asha)

Hello everyone. I'm back to share with you another project featuring the Flowering Baroque Heart single clear stamp. Today I have something simple with a shabby feminine look inspired by an old hand embroidered pillow:

How To:
  1. Stamp the the Flowering Baroque Heart image on to kraft cardstock using Ranger Glacier White Pigment Ink
  2. When completely dry, colour in with Faber Castell Polychromos.  
  3. Cut out image with heart shaped die and ink the edges with Vintage Photo.
  4. Prepare background using patchwork technique and ink the edges with Antique Linen.
  5. Cut out heart shape using same die as in #3 above and inlay the focal image.
  6. Finish with lace and Liquid Pearls.
Quite simple, isn't it? I hope you'll give it ago. And don't forget to swing by often for more crafty inspiration from the rest of the team.

There are more photos over at my blog, including a few of your favourite Chocolate Baroque stamps in action in tiny village store in Nieuw Weerdinge, Holland.

Thank you for stopping by and have a lovely day!

Beijinhos, 
Asha

Saturday, 21 May 2016

Decoupaged Heart (posted by Claire)

Good morning, Claire here with a card made using the beautiful new stamp Flowering Baroque Heart. This is such a pretty stamp, perfect for so many projects.


I stamped the heart with Versafine Smokey Grey on white card and then overstamped with one of the beautiful background stamps from Dusky Damask using the same inkpad. I stamped the heart four more times and coloured the flowers with coloured pencils. I cut the flowers out and decoupaged them in layers to give a 3d effect.


The sentiment is from 'Best Relative Ever' clear stamp set, stamped in black versafine ink. I layered this up on black card and then made a larger background. I stamped the same background stamp randomly on glossy card with versamark and then brushed over grey dye ink. It doesn't show up too well in the pic but it creates a lovely resist effect. 

To finish off I've added a bow and a button from my stash.

Thanks so much for visiting today
Claire xx

Monday, 16 May 2016

Happy Heart (by Julie)


Hello! Lovely to have your company. Today I have a card stamped with the rather wonderful Flowering Baroque Heart.This is one of the very latest clear stamp designs and is such a versatile stamp.


The main heart image has been stamped with blue Versafine and coloured with Inktense Pencils. I also stamped and coloured a second image onto spare card so that I could die cut the heart shapes using the same design. The background was created by sponging Worn Lipstick and Weathered Wood Distress inks around the stamped heart and then over stamping with the heart design inked up with grey Versafine. 
The Happy Heart sentiment is from Words of Wisdom and has also been stamped with blue Versafine.
I wrapped some sparkly silver twine around the card and glued the mini hearts into place with 3d glue gel and finished the card off with white, paint pen highlights.

Thank you for stopping by and please pop back soon for some more Design Team inspiration.

Julie xx

Thursday, 12 May 2016

Four Seasons Heart Coasters (by Magda)

I love the new clear stamp of Chocolate Baroque, it gives a lot of possibilies of use and
why not as a table home decor for special occasions? 


Step by Step :

1.     Take four cardstock coasters bigger than the heart
2.     Colour the coasters with Distress Inkpad Old Paper
3.     Stamp each Heart onto white cardstock with the Distress Inkpad colour you like for the four seasons
4.     Move the colour of the flowers and the leaves with the waterbrush
5.     Stamp a sentiment with the same colour of the flower onto the coaster
6.     Colour all round the edge with the same colour as the stamped heart
7.     Cut out the shape of the stamped image and glue it onto the coaster
8.     Put some drops of Stickles Crystal in the middle of the flowers and let it dry completely
9.     Ink the whole surface of the coasters with Versamark
10. Emboss with Clear Embossing Powder

Thank you for stopping by

Magda

Tuesday, 10 May 2016

Flowering Baroque Heart Easel Cards (by Anne)


I love this month’s new Flowering Baroque Heart stamp from Chocolate Baroque. I just had to combine it with heart dies from my stash and some die cut flowers that I shaped to co-ordinate with the stamped floral image. I love creating shaped cards so decided on a set of easel cards using a large die cut bloom as a stopper.

I haven’t used my opaque gouache paints in ages so thought I would do something a little different with the colouring and stamp the image onto black card. I love the dramatic effect.


Materials:


How it was done:

  1. I first cut the largest decorative heart, one in teal and one in black. A plain black heart was cut and glued onto the teal decorative heart. The Flowering Baroque Heart was then stamped directly onto the black card using Versamark. The images were then heat embossed with clear powder.
  2. The images were coloured with the gouache paints, using the gold mica paint to colour the stamens. The outer border of the black decorative pearl heart was also coloured with gouache.
  3. I used the plain heart dies to create the card blanks (in blue and teal) and inner black mats. The card was folded in half and the upper edge of the heart die placed so that it extended above and over the fold (cutting through both layers of card). The front panel was then scored horizontally to create the fold back for the easel. The topper was then glued onto the lower half of the front fold back.
  4. The leaves and flowers were cut from thin white card and coloured with alcohol markers. I like using alcohol markers on 3D shaped items as the ink bleeds through colouring both sides of the card at once. They were shaped with a ball tool and embossing mat. 
  5. Fine tipped pens were used to add faux stitching around the hearts. Black PVA pearls were dotted around the pearl heart frame. Glitter glue was applied to the flowers and stamped image for extra sparkle. The flowers were attached using 3D glue gel.


Monday, 9 May 2016

You Inspire Me (by Asha)

Good morning friends. Are busy crafting with your new Flowering Baroque Heart clear stamp? It really is so beautiful and versatile. I've decided to go mixed media with this image and paired it with a sentiment from the Words of Inspiration set.


I coloured the Flowering Baroque Heart with Faber Castell Polychromos, fussy cut and mounted it with foam tape.  To create the background, I randomly glued pieces of patterned papers and knocked it back with a wash of light grey acrylic paint. A few leafy accents with Texture Paste ties in neatly with the floral theme of  the focal image.

As always, more details on tools and products used are available on my blog. And be sure to stop by often for more fabulous projects by the rest of the team. Have a brilliant day!

Beijinhos,
Asha

Sunday, 8 May 2016

A Loving Heart (by Judith)

Hello everyone, I have a project to share using the new Flowering Baroque Heart clear stamp with you today. This is such a pretty stamp, and a great addition to the clear heart stamp range.

I started my project by adhering some book pages to a chipboard heart, and once the background was dry, I coloured it with Distress Crayons, spritzing them lightly with water, and adding a bit more here and there, moving the colour around with my fingers and a baby wipe. I dried the background with a heat gun, and stamped the heart image, using Versafine Onyx Black Ink. I stamped the image again onto a pale piece of scrapbook paper, and coloured the foliage on the spare image, and the heart on the chipboard shape with pencils.

I cut the foliage image out from the scrapbook paper, and decoupaged it onto the chipboard heart, and added some fine glitter to the stamens of the flowers. I added some gold paste to the edge of the heart.

To create the main background, I glued some strips of bookpaper to a chipboard square, and added layers of acrylic paint to the background, drying each layer, to avoid muddying the colours. I painted some strips of lace to tone in with the flowers, added some tiny mosaic tiles, and stamped the word 'Love', from the Words of Love stamp set.

Keep checking back for more inspiration from my Team Mates using this lovely stamp throughout the month. Thanks for stopping by, Judith xx

Saturday, 7 May 2016

brusho heart

I just had to try this lovely new stamp with my favourite brusho powders!
The background was a piece that was lying around, and the heart was stamped in black versafine ink and clear embossed.
I then bleached out the large flowers, and added extra colour to the leaves and small flowers with spectrum pencils and a blender pen.
Mounted onto a white 6"x6" card blank with a dark purple mat.

Lesley has a new show today at 11.00am on the Craft Channel, 'Brusho art with Chocolate Baroque' - should be a fabulous show with loads of ideas. The Craft Channel is on Sky 679, or you can watch on the computer - there is supposed to be a catchup facility if you miss the show!

Tuesday, 3 May 2016

Birthday Month Heart Stamp (by Debbie)

 
Morning, I have a couple of projects to share today,
The first is the card that Lesley sent out a photograph of with the newsletter last Thursday.

 
I stamped the Floral Heart with black Memento ink and coloured with alcohol pens. The flowers were not coloured as the detail of them is beautiful. I matted onto pink and grey card. For the base card, I stamped the Baroque Orchid four times with grey ink.
 
 
My second share is again the Flowering Baroque Heart, this time the flowers coloured and I used Adirondack inks. The dye ink pads are great for water colouring with. I cut out the heart and added to the lace square die cut. The card is a square gate fold.


And finally, I was very lucky to attend a workshop with Kate Crane at the beginning of last month where we decorated the Journal that Lesley had in stock and it flew off the shelves. The journal is one of the favourites that I have as you can add to it easily and it's a great size for notes, the covers are sturdy and could be decorated with paints or papers. The inserts and covers are sold separately so more inserts can be added.
 
Many thanks for stopping by
Debbie

Friday, 29 April 2016

Be still my beating heart (by Lesley)

Well, what a fantstic Birthday month we have had.  Thanks to all of you for your messages of support and good wishes that you have emailed to me and the wonderful comments you have been leaving on the blog posts.

As a final celebration of making it to our fifth year, which I think is a great milestone in itself, I wanted to release a stamp that summed up Chocolate Baroque.  So when Sue sent me this particular floral design I just knew it would fit the bill. And here is our latest single clear stamp in our Heart series entitled Flowering Baroque Heart

This wonderful stamp is just bursting with elegance and charm and sums up what we are all about; stunning handrawn images and quality, which all of us put our heart and soul into. I just know you will fall in love with this exquisite individual stamp.


There are so many ways in which you can use it and the Design Team will be wowing you during the course of next month with their brilliant samples.

Here I have coloured just the flowers and leaves to emphasise the flowering branch and then added some shading, whilst below Debbie has done the reverse and coloured the heart only.  You can see how versatile this stamp is going to be.

Finally from our heart to yours, thank you for making our Birthday so special. Looking froward to the next one already.