Hello everyone, I have another CAS style card to share with you today, mixing and matching stamps, which I love to do whenever possible.
I have stamped one of the candle stamps from this month's Christmas Candlelight stamp set and then masked the image, before stamping the Dressmaker's Window clear stamp. I coloured the images with Polychromos pencils to give a soft effect. Finally, I added a sentiment to complete my card.
Thanks for stopping by, Judith xx
Showing posts with label Dressmaker's Window. Show all posts
Monday, 24 August 2015
Saturday, 30 May 2015
Making a Frame of it (by Lesley)
I love the versatility of our stamps and today I want to show you how you can turn the Dressmaker's Window into a picture frame.
- Stamp the Dressmaker's Window onto white cardstock using Versafine Black Onyx. Cut out and then cut out the 'window panes', leaving just the frame.
- Paint the frame using Vintage Photo Distress ink and when dry use a coloured pencil to add shade and dimension.
- Adhere frame to a background paper taken from a dictionary, old book etc and trim off the excess paper around the edge of the frame.
- Stamp the mannequin from the Floral Mannequin set onto white cardstock and colour using a combination of Barn Door, Spice Marmalade, Mustard Seed, Mowed Lawn and Tea Dye Distress inks. Cut out.
- Cover a 5" square card with patterned paper, run a charcoal pencil around the edges and rub over with your finger to give a smudged effect.
- Attach the frame to the card and then the mannequin using 3d foam pads and finish by stamping the word 'Delight' from Artistic Expressions.
I hope this inspires you to explore the possibilities in your stamps, you may be surprised by the results.
Please drop in again to see more wonderful creations from the Design Team.
Wednesday, 27 May 2015
Christmas Window (posted by Claire)
Good morning, Claire here with another card made using 'Dressmaker's Window'. Its such a useful stamp and one I'll be using again and again. For this card I've teamed it with an old
favourite stamp from Family Christmas.
I began by stamping the tree and rocking horse stamp with Memento Tuxedo Black ink, I masked the image using masking tissue before stamping the window. I coloured the images and a snowy scene behind the window with Derwent Pencils and added some snow to the sky with a white pen. For a little Christmas sparkle I used stickles to create the lights on the tree.
I used a Sofft Sponge and Ultramarine Blue PanPastel to create the striped 'wallpaper' in the background. Its really easy to do this if you use the square edged Sofft Bar (here) and run it down the edge of a ruler. Use the ruler to 'mask' the white stripes and in a couple of minutes your background is done. I used grey PanPastel to ground the tree and rocking horse.
I used silver mirri card distressed with a craft knife to mat and layer and to finish off I've added little pearls, ribbon, pompom trim and a tiny snowflake button topped with a twine bow.
Thanks so much for visiting today
Claire xx
Thursday, 30 April 2015
The Chocolate Baroque Sewing Bee
Today we are launching our May stamp designs and the clue really is in the title. This month all our stamps are based a sewing theme.
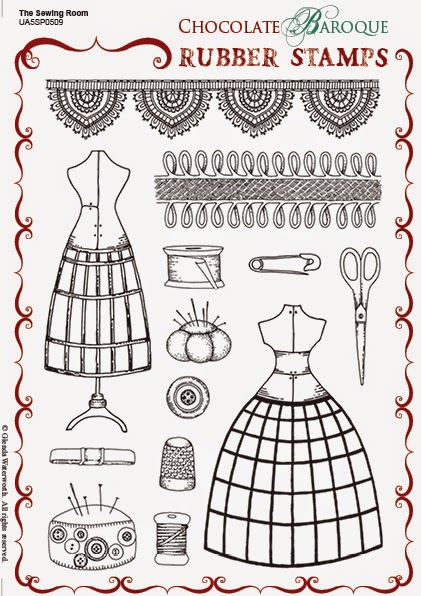
First there is The Sewing Room
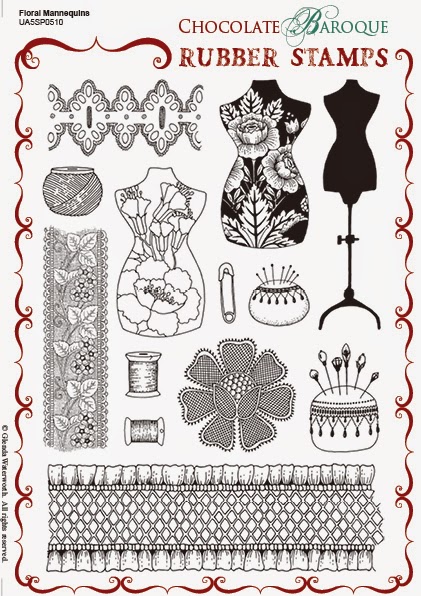
swiftly followed by Floral Mannequins
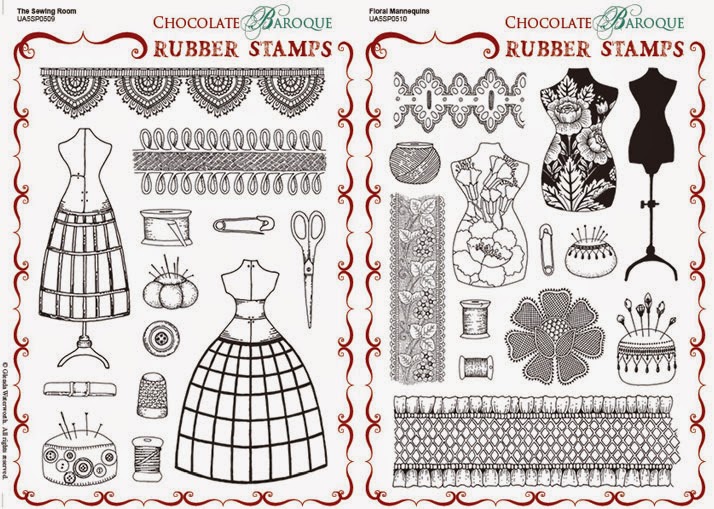
Available as individuals or as our usual multi-buy
As you can see both of these A5 sets are filled with images that would not be out of place in any sewing room and our the Design Team have had a ball putting together some stunning projects for you.
Here is a card designed by Judith which has a wonderful vintage appeal.
She has used an old paper pattern for the background and mixed and matched one mannequin with the stand from another.
We are also launching two new single clear stamps today.
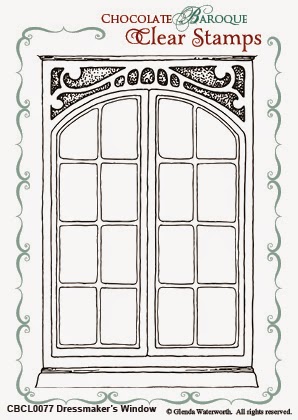
Dressmaker's Window
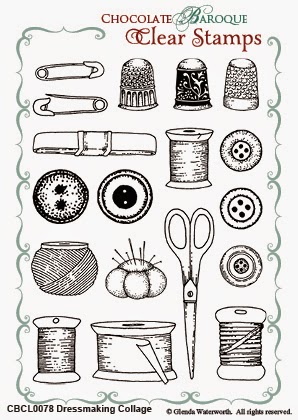
and Dressmaking Collage
I
can visualise the window being used with a variety of our stamp
designs, creating both interior and exterior scenes. And although the
collage is a single stamp you could cut out each image and have a
collection of small individuals stamps; fabulous for creating
embellishments.
Finally I have to make an announcement with regard to our wonderful Design Team. Sadly today we are losing two of our members, Shirley and Maria, as both ladies wish to pursue other areas of their life.
Glenda and I will miss their colourful and unique artwork and also their comradeship - they have been stalwarts of the team. We hope you will join us in wishing them well and we look forward to spotting some of their creative talents popping up on their own blogs. Goodbye ladies and thank you so much for all your hard work and contributions to this blog.
Subscribe to:
Posts (Atom)