Saturday, 31 October 2015
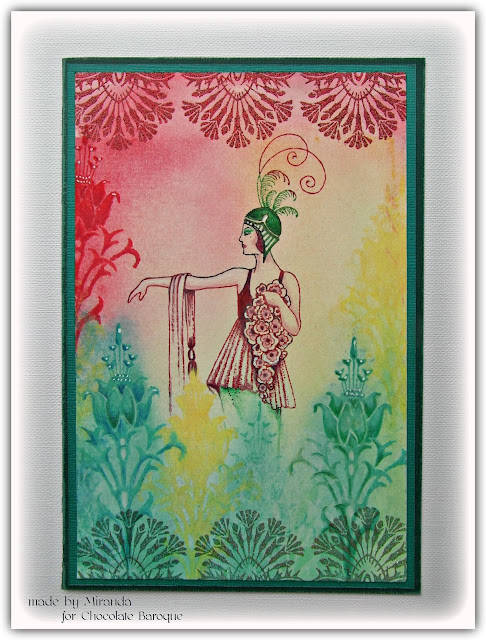
It's all about exquisity.........(by Miranda)
Friday, 30 October 2015
Exquisite Edges meet Owl Edges (posted by Claire)
Thursday, 29 October 2015
A Bunch of Flowers (by Lesley)
The first three are Daisy, Circle and Mesh Centre Flowerhead
and the second three are Daisy Ring, Swirl and Dotty Centre Flowerhead.
Of course you could collect all six in our money saving multi-buy
Wednesday, 28 October 2015
Guest Post - Harlequin Poppies by Brenda Weatherill
Tuesday, 27 October 2015
Exquisite Edges by Zoe
Good morning, I'm back again for my 3rd post this month featuring the lush new stamp sets today I used the Exquisite Edges set on Kraft card,
I stamped onto Kraft card using a glue that stays sticky and added gilding flakes and then gently scrubbed off the residue of flake to reveal the beautiful stamp design, I like how it looks quite shabby, I used the same technique on vellum to create my Butterfly from the stunning Patchwork Butterfly set, and coloured the back using Picked Raspberry Distress stain, I used the flourish from the Patchwork Butterfly set with Tea-dye Distress ink on the background and the sentiment from Words of Inspiration set using Versafine Onyx Black Inkpad.
Thank you so much for your kind comments, I have loved using these gorgeous stamp sets, have a great day xx Zoe xx
Monday, 26 October 2015
Exquisite Edges - Card by Florence
To make this card
Take a mask and Distress Ink and create a pattern on a piece of white coated card stock.
Stamp the Floral Edge and the Sentiment.
Make up the card as seen.
Florence x
Sunday, 25 October 2015
Colourful Edge Cards (by Debbie)
Saturday, 24 October 2015
Framed Exquisitly (by Julie)
Thursday, 22 October 2015
There's not mushroom inside! (by Lesley)
Wednesday, 21 October 2015
Guest Post - An Indian Summer by Brenda Weatherill
- I started by dabbing Distress Inkpads Mustard Seed and Broken China on to a craft sheet and spritzing liberally with water then dragging the reverse side of a piece of single sided cardstock through the wet inks.
- When dry, I use a heat gun to speed the process. I took the lids from two different sized pots of embossing powder and ‘inked’ the edges with the same two distress inks and randomly ‘stamped’ circles onto the inked cardstock. It’s a good idea to give another quick blast of the heat gun before moving on as distress ink can tae a little time to dry.
- Using a Versafine Black Inkpad I stamped the large flower from the stamp set, added Detail Clear Embossing Powder and heat set. Next I bleached out the colour from the flowers using household bleach and a fine paint brush.
- I coloured the bleached out flowers with Dylusions Lemon Zest, Pure Sunshine and Vibrant Turquoise. I then stamped the trailing Ivy from the June Fairy stamp set an also added a hint of Dylusions Vibrant Turquoise to the berries.
- After matting and layering on to co-ordinating cardstock I added a matching organza bow.


