Pin It button on image hover
Showing posts with label Nature's Paisley. Show all posts

Sunday, 21 February 2021

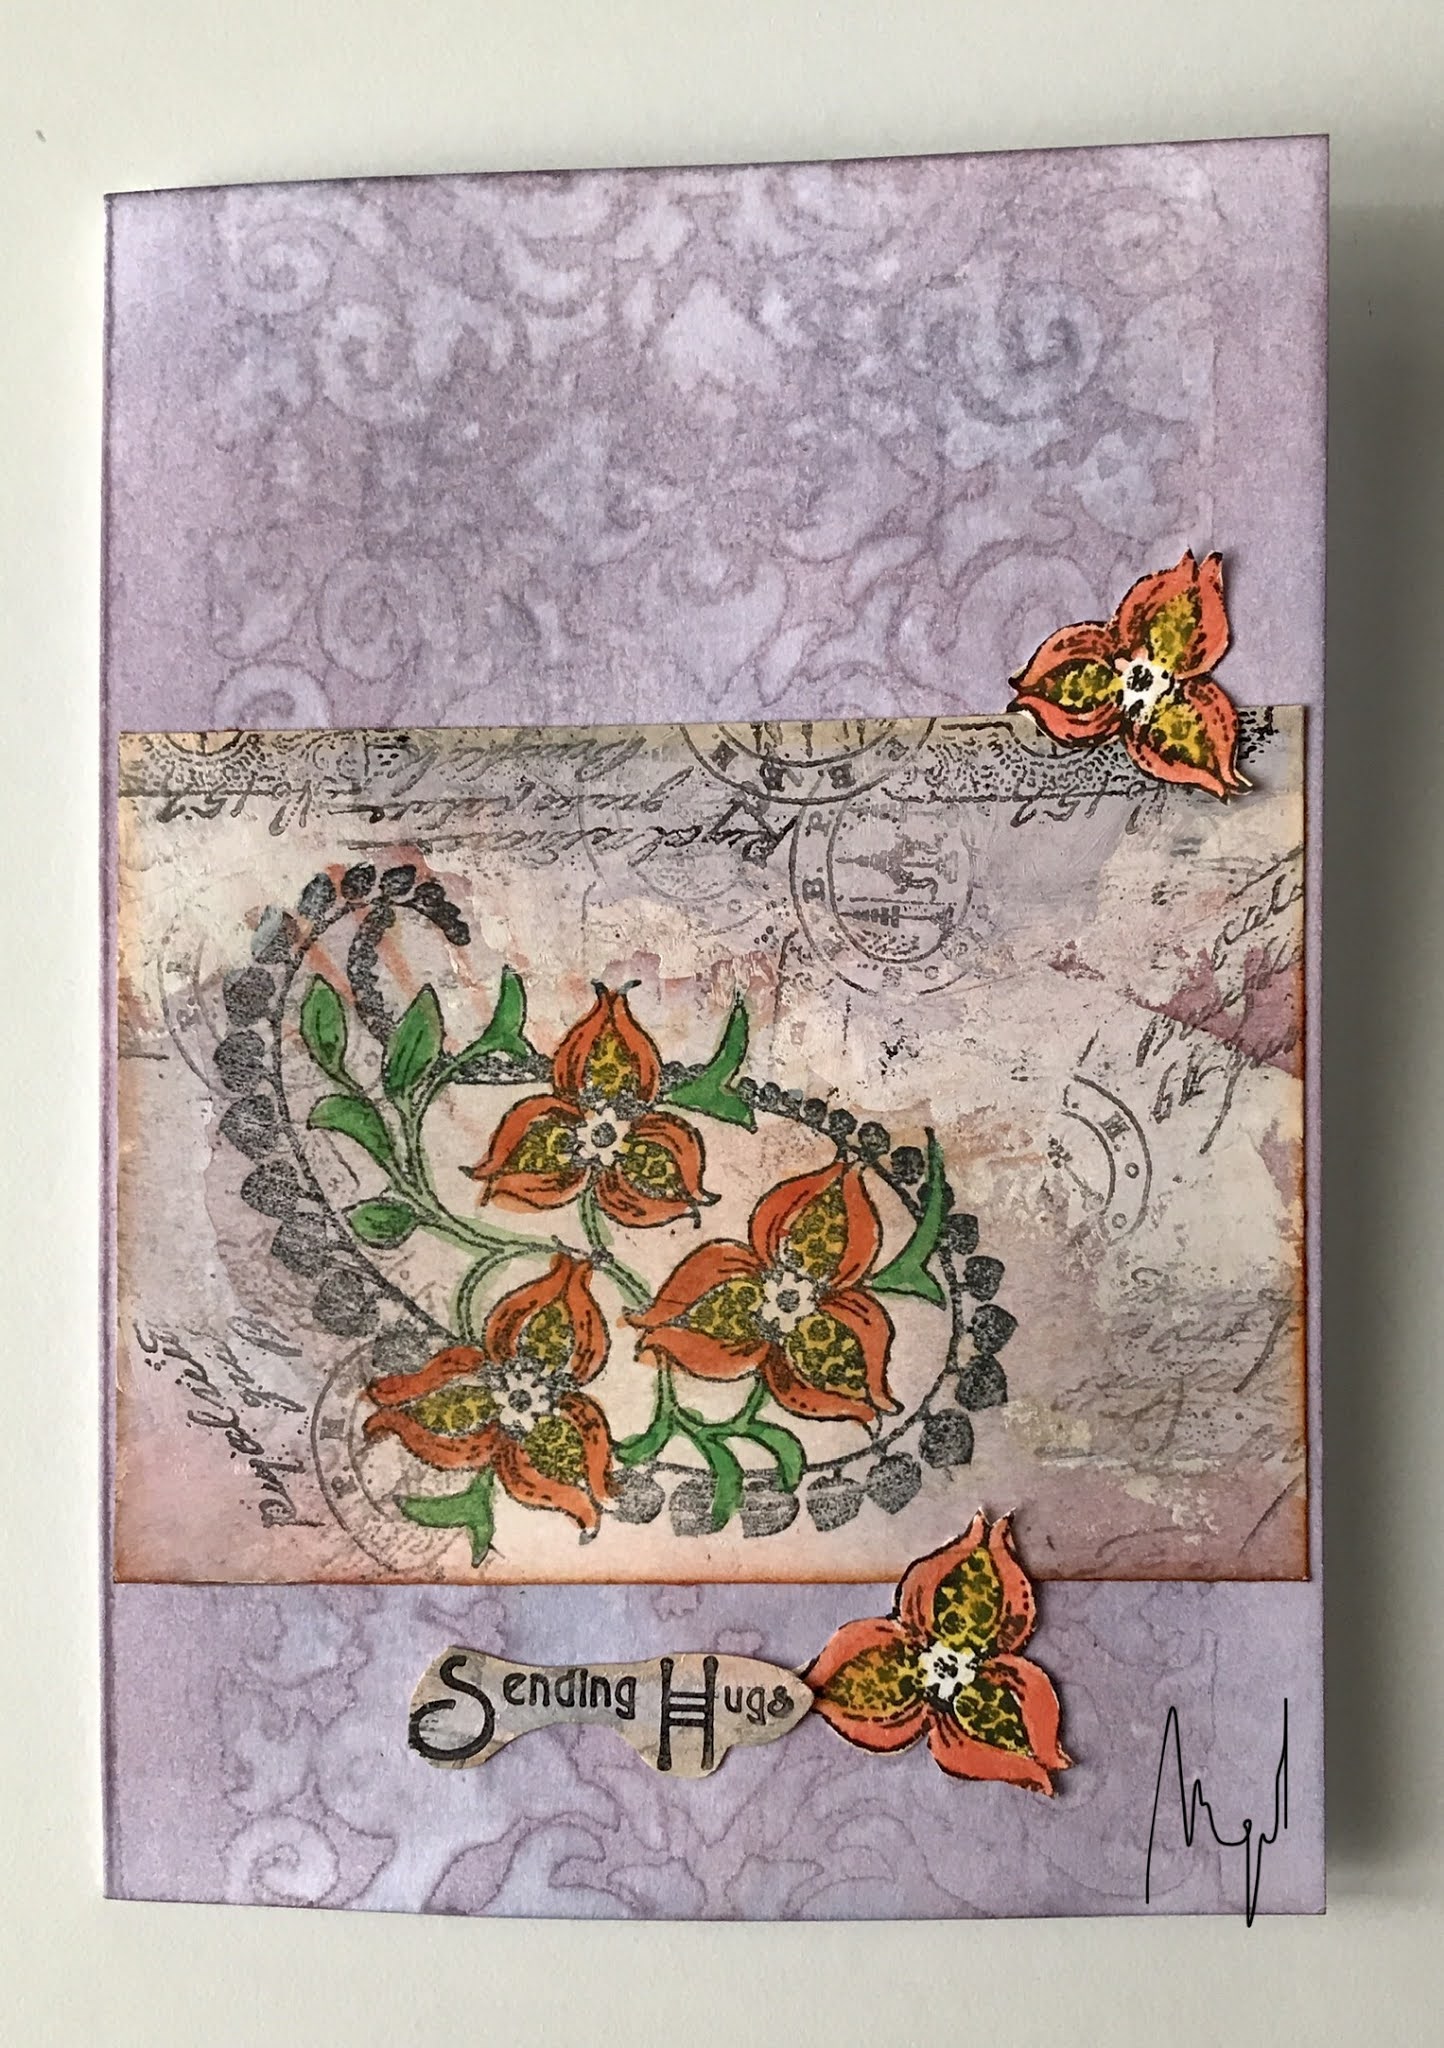
Two cards (by Magda)

 Hello girls,                                                                                                                                                  today I propose to you two cards thinking about spring

For my friend card   is an ochre wiped mat, on which I stamped Mackintosh Beauty, stretched                      the lines with a black marker and coloured the flower with watercolour pencils. For the stenciled  background I blended a very light Pine Needles Distress Ink Pad.  You can find the sentiment stamp in Amazing Mackintosh Words 


Sending Hugs card   the background is blendend with Distress Ink Pad  and stenciled with                        a baby wipe. The mat is a left over piece, on with is stamped the paisley of Nature's Paisley                       and the decoupage flowers, and all is coloured with watercolour pencils.  For the sentiment I used               Amazing Mackintosh Words 


Thank you for passing by, hugs
Magda


Wednesday, 26 September 2018

Golden Summer by Brenda


Morning to you all, Brenda here with a few more creations using the Eastern inspired stamps and stencils from Lesley's recent Hochanda shows. 

My starting point for the above card was a background of Distress Oxides, I then placed a large circle mask and built up the backdrop to my scene with DI's and Silhouette Palace 1 and Silhouette Palace 2 masks, taking off most of the ink from the sponge to achieve a softer finish. Next I stamped the Palace from Indian Textiles............I find my Timmy stamp platform so helpful with silhouette stamps as my dexterity is non too good, but with the platform I can over stamp to achieve a really deep impression. No idea why I resisted the idea for so long! Finally I stamped some leaves across the top using a stamp from Natures Paisley.


A fairly simple one here, another Distress Oxide background but much softer using only Squeezed Lemonade and a smidgen of Fossilised Amber, again I added some background stencilling with Silhouette Palace 1 and then stamped both of the Elephants from Indian Elephant and some trailing foliage using a stamp from June Fairy and added some dots with Liquid Pearls.


Some inky fun with this one, yet again Distress Oxides for the background followed by some stencilling using Useful Leaves and the word Summer from Seasonal Journey mask set and some random stamping using leaves from Natures Paisley. The large leaves are also from the same set, stamped and heat embossed with detail gold powder, cut out and fixed onto the base along with a opal embellishment. Finally I rubbed some gilding wax over the leaves and word.

Many thanks for your visits and kind comment which are always appreciated.


Thursday, 20 September 2018

Indian Delights (by Anne)


Good morning, today I am sharing a couple of projects created with the lovely Indian themed stamps.

My first is a shabby chic style card. Think vintage block printed sari silk and old documents.

Materials:
How it was done:
  1. Soft Form Relief Paste was spread over the stamp and left to dry overnight before peeling away. Extra colour was added with glaze pens and gilding wax.
  2. The card blank was repeat stamped with the paisley background and rainbow ink. Alcohol marker was used to emphasise the edges. Textured ribbon was glued down to create a border.
  3. The cartridge paper was stamped using Versafine and trimmed to fit the card front. The edges were distressed and curled using scissors then coloured with alcohol marker. The paper was then spritzed with inks before gluing to the card front.
  4. The embellishment was glued to the card front with 3D glue gel for added depth. Finished with PVA pearls.

My second project is a bright and cheery elephant scene. You know how I love colour and bling. I had a lot of fun with this one.

Materials:
How it was done:
  1. Soft Form Relief Paste was spread over the stamps and left to dry overnight before peeling away. Extra colour was added using pink and gold metallic plus black paints. Glitter glue and PVA pearls were added for extra bling (you know me!).
  2. Watercolour card was spritzed with water and coloured by dropping on pigment powders. Images were stamped with Versafine (third generation stamping was used to faintly stamp the buildings in the background). The flowers were coloured with metallic pen (taking care not to obliterate the stamp detail – the ink was very opaque).
  3. The card was edged with Versamark and embossed with sparkly powder (Yay, more bling).
  4. The embellishments were glued to the card front with 3D glue gel for added depth. Yellow puff paint was applied to the foreground and heated to puff up and add texture.
Sad News
I hope that you like my latest projects. This will be my last regular post for Chocolate Baroque for a while. I have been working with this wonderful Design Team for over 3 years now and I am very sad to be leaving. Nothing to worry about, I just have to give extra priority to other things at the moment. However, you will still see the odd post from me in the guest blogger spot and in the Facebook Group. I simply cannot tear myself away completely.

Thank you all for your support and lovely feedback over the years. Big huggles, Anne xxxx.

I am sure that you will all join us in wishing Anne all the very best in her future adventures, and we hope to see her back here from time to time as a Guest blogger. We will miss her colourful projects, as a regular feature here on the blog, but as she has said, she will keep in touch on the Facebook Group. Good Luck Anne!


Wednesday, 19 September 2018

mini journal (by Veronica)

 My apologies, but this is a long post, and picture heavy, so you may want to get a coffee first!

Usually I just play with new stamps and see what happens, but this time I had a new die to play with that created a mini book that I really wanted to try out - I had a slightly crazy idea of using it with the new Indian themed stamp sets  and trying to use all the stamps ........by the time I tried to take the photos, I was sure that it was crazy, but didn't have time to go with anything else for the tv shows.
Anyhow, here goes , and you can decide!

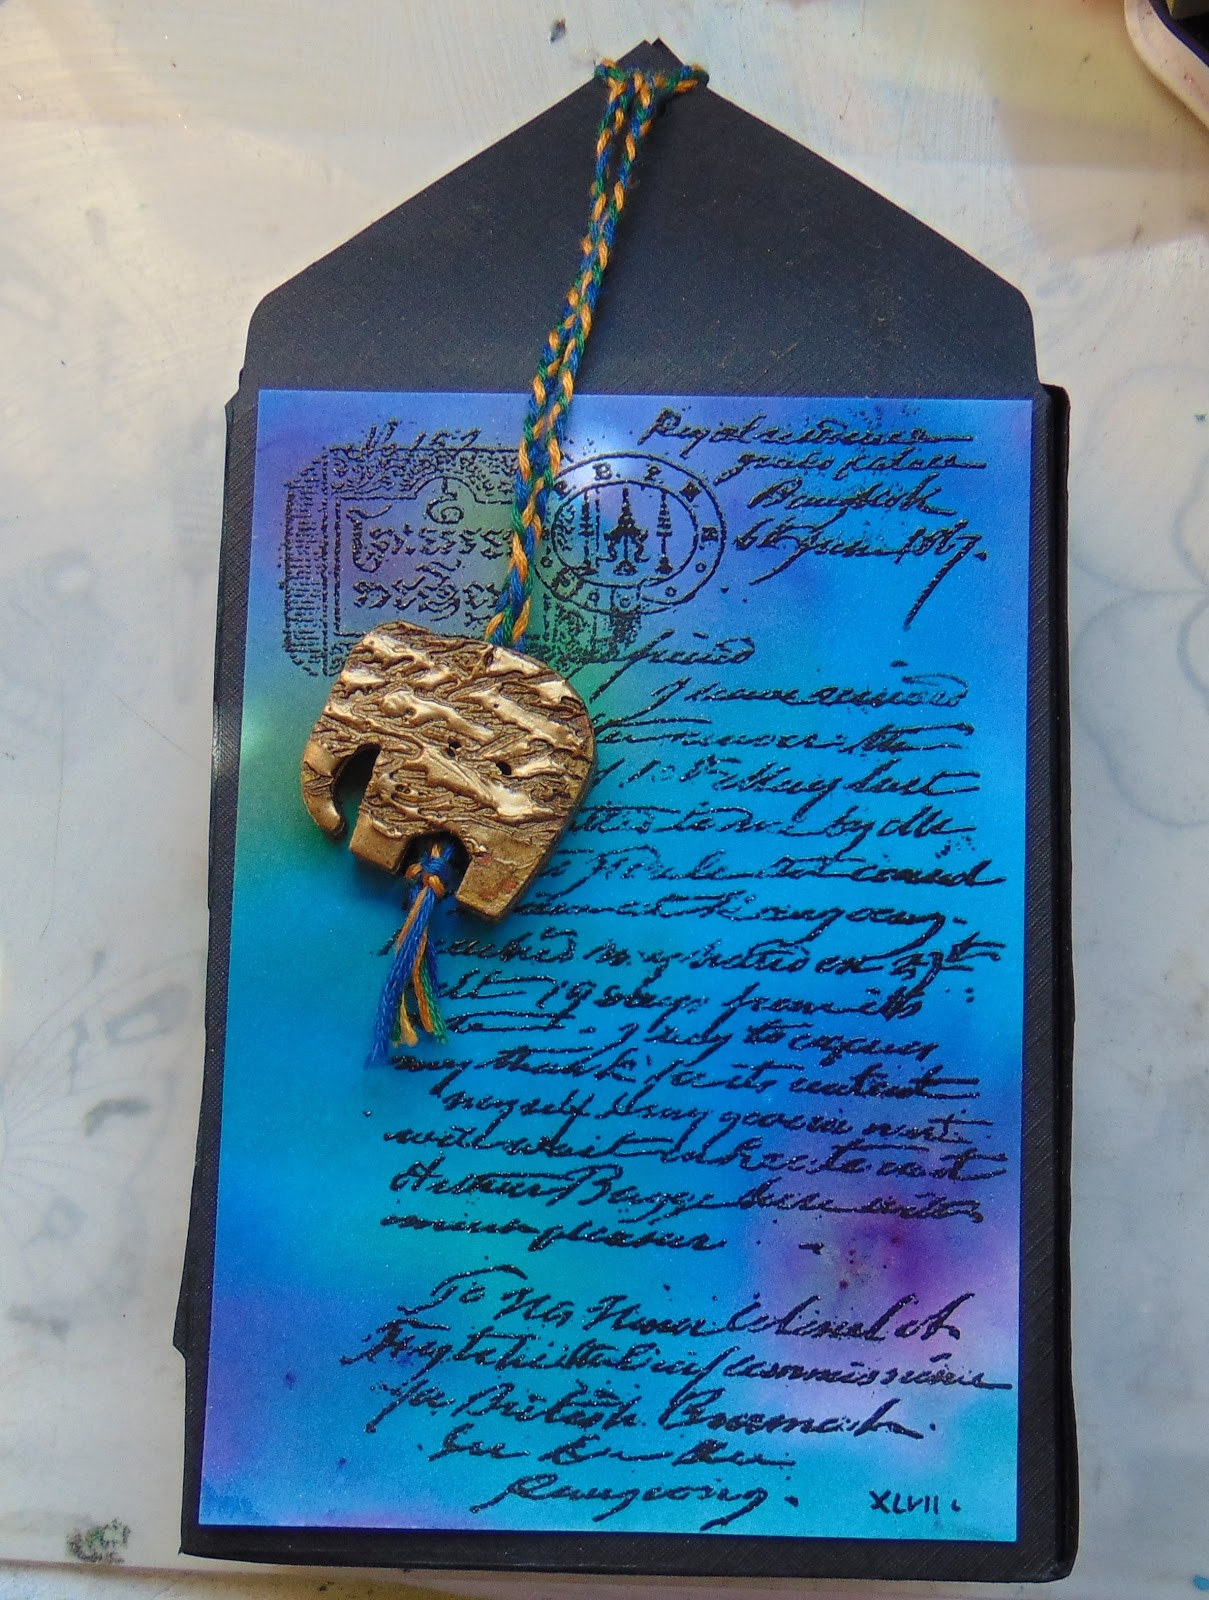
The first pic is of the slip case I made for the book, using the script stamp in black onto a brusho background. The fastening is a loop of plaited embroidery threads with embossed elephant buttons glued back to back over the ends.
 The cover from black card was simply stamped in versamark and gold embossed with the script stamp , and you can see the embroidery threads holding the inner pages in down the spine.
 the diecut pages were coloured as spreads before decorating, so I had to try to arrange them in colour groups before fastening them into the cover. most of the backgrounds were brusho, but some were distress inks.
Tjhe silhouette was stamped in grey versafine, elephant stamped onto white card and cut out after colouring using the Koh-i-noor paints
 Images gold embossed on both pages, strip of matching card added to create the pocket, and a strip of glitter netting added. Small tag stamped  and embossed in gold, coloured with distress inks
 Images again embossed in gold, coloured with pearlescent paints
 More gold embossing, gold is a colour that i associate with India for some reason, along with jewel colours
 Similar to first page on the left, but more of a lighter sky.
Feather stamp is from the I shall be your wings set, stamp covered with mica powders and then silver soft relief paste,. trimmed once dry and glued in place.
Pocket stamped with border stamp from indian textiles set , flower stamp on tag from same set.


The stamp on the right is an older single stamp that has a definite eastern theme, and I thought it fitted with the other sets. It was coloured with brusho used as watercolours


Wednesday, 12 September 2018

Ellie the Elephant by Brenda


Hello Peeps, Brenda here with another selection of my artwork from Lesley's Hochanda shows which featured the beautiful Eastern inspired stamps.

The Elephant shaped card above was cut from a mask I purchased a long while ago to make cards for our youngest Granddaughter who loves anything related to Elephants, she treasures a small pink Elephant she had as a baby named Ellie.......it must be the most travelled Elephant ever as it goes everywhere with her. 

I stencilled the background with Silhouette Palace 1, stamped the Elephant from Indian Elephant and coloured in with pencils, then stamped using Distress Markers direct to stamp flowers from Indian Elephant and Indian Textiles, cut them out and fixed across the top of the Elephant and added some pearl strings.


Here I have used the large Elephant from Paisley Elephant which I stamped and then masked so I could stamp the background with the script stamp from the same stamp set. After removing the mask I coloured the image with sparkle pens and randomly stamped around the edges with Natures Paisley. Finally I added some gold lace to the bottom, gold pearls to the Elephant and mounted into corrugated to which I had added some gold embossing.


I have to confess to really linking the Palace on the Indian Textiles stamp set, this time I used Versafine Toffee and stamped onto cream card which I first stamped with the script from Natures Paisley and added some stencilling using Silhouette Palace 1 using a sponge from which I dabbed off most of the the ink to achieve a soft finish. Then I used the edge of the border stamp from Indian Textiles across the top.

Myself and the team always appreciate your visits and kind comments.


Tuesday, 11 September 2018

Reflective Stamping (by Julie)

Hello, thanks for stopping by. Today I have a couple of cards to show you and for the first one I used a reflecting technique, which once you know the trick, is very easy.


For this design it is easier to start with the reflective image so ink up your solid Palace stamp from Indian Textile with Onyx Black Versafine and then take a brayer and roll over the image, width ways so the inky image has been transferred to the brayer. 
Decide where you want the reflection placed and then roll your Brayer onto the stamping card. You can then re-ink your palace stamp and stamp above your reflection.
If you do not have a brayer you can stamp your image onto acetate, place the design where you want the reflection and then push down on the back of the acetate to transfer the design.
I then stamped the leafy design around the edge using a decorative stamp from Natures Paisley. I then followed this by creating a circle stencil from copy paper with a circle die, so that I could apply Distress ink through to create the moon, both in the sky and the reflection. The background is created with Seedless Preserve and Hickory Smoke Distress inks and white paint pen was added to the water area.
The design was then mounted onto black card-stock before attaching to the front of the card.


My second card has been stamped with Paisley Elephant. The decorative fan was inked up with Red Versafine and stamped four times onto white card-stock before being cut out and arranged in an overlapping, four petal flower shape. 3D glue gel was used to adhere the petals to the card. 
The background was coloured with Distress inks and stamped with the little decorative paisley stamp.
 The sentiment was stamped to the top-right hand side of the design and the card was finished off with a red flat back gem in the centre of the flower.

Thank you for reading and please call back soon for daily Design Team inspiration.

Julie xx

Sunday, 9 September 2018

Elephant Canvas

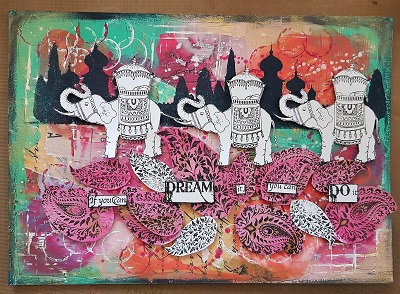
Hello there! Rachel here with the first of my indian elephant projects for September - I have chosen to focus this time on a 'canvas' that I made for the show. Sadly I don't have a step by step for you as the project ran away with me but I can give you details of how I made it!


To start with I covered the board in a variety of papers which were stuck down with glue and then I added acrylic paint using my fingers blending colours as I went along. Next I played with mark marking in one of the paint colours and also white. I made marks using bottle tops and also the side of an old credit card. I also added splatters of white paint. Once dry I got my stencils out and added the black paint through the Silhouette palace 1 stencil. I repeated this then got my indian-elephant-unmounted-rubber-stamp-sheet and my natures-paisleys rubber-stamp-sheet out. I stamped them onto white card and card coloured pink using inks. I cut these items out then placed them on the coloured background and stuck them down before adding words.
I do hope you have enjoyed reading how I made this piece and you have a wonderful day!

Big Hugs

Rachel xx