Pin It button on image hover
Showing posts with label Gerbera and Friends. Show all posts

Sunday, 29 May 2022

Quick Watercolour Stamping by Natalie


This card uses the Gerbera and Friends stamp set but instead of colouring the Gerbera image as a Gerbera, we can change it up into a sunflower. Sunflowers are on all our minds at the moment, so the sentiment of "peace" is apt. Cut out two in two different colours to give your sentiment a drop shadow. Now for the main technique...

Quick Watercolour Stamping

First Impression

You will need a stamp platform for this technique. Start with a piece of A6 card that can take a lot of water: watercolour card or mixed media card is great for this. Pop this into your platform "upside down" as we will be stamping off the edge. Align your Gerbera stamp so it sits halfway on the longest edge. Your stamp will remain mounted until all impressions have been made

Ink up the stamp petal area with warm yellow coloured dye ink, and spritz your stamp with water so you get a little puddling on the stamp. Stamp your image, and don't rush the impression. Lift up and using a clean damp brush feather the outside edge of your impression. If your card can't take too much water, you can heat set it at this stage. However, it is better to move onto the next impression...

Second Impression

This time we are going to ink up the centre lightly with brown/green ink. Again, mist the stamp with water, but be a little lighter this time so not all detail is lost. Stamp the image, again resting a moment in the downwards position so the brown and yellow can blend.

You can use a clean damp brush to blend out any harsh lines between the yellow and brown. Heat set the image thoroughly at this stage to keep your next impressions clean.

Third Impression

Stamp your whole image with a butterscotch toned dye ink or permanent ink. Heat set this impression if your image isn't immediately dry.

Fourth Impression

Ink up just the centre and some of the shading in brown ink. This will make the centre pop for the main petals.

You can now unmount the Gerbera stamp.

Finishing the image

Next, let's use the splatter stamp from the same set. Mount this into your platform or use a block. Ink up in the yellow and spritz. Stamp the image, then use a clean, damp brush to draw out the splurges on one side to give the feeling of movement. I was thinking like pollen, almost as if the flower is sneezing it out (I was having a bad hayfever day LOL).

Mount the piece onto the same colour card as the shadows of your sentiment. 

This clean and simple card is great for when you are in a rush with little time for colouring.


Saturday, 14 May 2022

brusho petals (by Veronica)

For my second batch of samples from the Chocolate Baroque shows in April on Create and Craft I have used stamps from gerbera and friends and dream petals as the main images

The first two are very similar, both using  backing sheets coloured with brusho powders sprayed with water. A separate sheet of card was coloured using green, turquoise and purple powders and the flower from dream petals was stamped 5 times in black versafine ink and fussy cut out. 

I chose 3 flowers to mount onto the bluey background which was trimmed to fit an 8" square card blank and edged with black by dragging across the ink pad before gluing on.

The greeny one was trimmed to fit a 7" square card blank and edged by using an alcohol marker pen in green before adding the 2 remaining flowers.


This one took a bit longer to do -  The flower was stamped first in black versafine ink and clear embossed  befoe painting with ko-i-nor water colour paints. The sentiment comes from be at peace. I then brushed distress ink around the flower, and added  random parts of the lattice stamp to add texture. I also used several worker stamps from older sets to add interest to the background.


The last one used the sunflowers stamped in bl;ack versafine ink onto a scrap of  leftover card with an inky splodgy background which I trimmed right down and edged with black ink before mounting on a white card blank. The sentiment was stamped in black in the corner to finish

Thursday, 12 May 2022

Delightful Flowers (by Sandra)

Hello I am sharing some more of my cards from the April show on Create and Craft.

My first card uses stamps from Gerbera and Friends.
First, I cut a piece of card 5.5x5.5". I used a cloud stencil and Distress Ink for the background. I then stamped the dandelion image in archival ink and added a sentiment from Birthday Words.  I made a 6x6" easel card base and  added a sentiment from Words to Dazzle and Sparkle as a stopper.


For my second card I used Floral Weave stamp set. I stamped in Versamark and embossed in gold. I mat and layered onto gold card and added some gold ribbon which I wrapped down the side of my card.

My last card today uses the Canary Bird Rose stamp set. This is a lovely open stamp, great for colouring. I used a stencil and Distress Ink for the background.  I then stamped onto some smooth card with Memento Ink and coloured with alcohol markers. I added a sentiment from Words to Dazzle and Sparkle and mat and layered onto gold card and then onto my 7x5 card base.


Thanks for looking
Sandra x

Tuesday, 10 May 2022

Two Projects, Two Ways (by Judith)

Hello everyone, I hope that you are keeping well. I have some projects to share with you today featuring stamps that we brought to you on last month's TV shows on Create and Craft. Both sets of projects feature the ideas in two different ways, showing how you can vary the project depending on what sort of look you would like to create.

My first project is a little plaque using the Canary Bird Rose stamp and some of the Black and White papers available on the website. I chose to use a blank piece of the papers to create my own patterned piece of paper and stamped the main image using black Archival ink. I added a sentiment from the stamp set, plus elements from Gerbera and Friends using grey Archival ink. I coloured the flower with pencils before adhering the paper to a painted panel using matte medium. 

Once the glue was dry, I sanded the edges, and added a bit of ink with a blending brush around the edges.


An alternative version was created by stamping the same flower image onto a patterned piece of the papers, and simply colouring it with pencils. I added the sentiment with black ink this time. I attached the paper to a panel as before and once the glue was dry I sanded the edges. I dry brushed some paint around the edges and added some stencilling for added interest.


I wanted to create a couple of masculine cards using the Sunny Sunflowers stamp set, and picked a selection of the leaves. They are really lovely designs and make a beautiful card by themselves, without the addition of the flowers. For my first card, I picked a selection of green inks, some VersafineClair, some Archival, and some Distress Oxide, whatever colours seemed to go together well. I stamped the images in first, second and third generation, and finally added a sentiment from the Words to Dazzle and Sparkle stamp set, using black ink. I stamped everything straight onto the card blank for a really quick card, and you could easily make a whole batch of these in an afternoon.

My variation was stamped onto a piece of kraft paper using Autumnal coloured inks, and I chose to stamp and emboss the sentiment to make it stand out a bit more.

I hope that you have enjoyed my projects as much as I enjoyed creating them. Thanks for stopping by,


Judith xx

Friday, 6 May 2022

No green inks were used in this card by Natalie


This card uses the Gerbera and Friends stamp set. Sometimes, you stumble upon colour combinations that interact in a very unexpected way. This was certainly the case for this project. I mixed the following Distress Inks for this card: Speckled Egg, Frayed Burlap and Brushed Corduroy. I was expecting to get blue with shades of brown, but when these inks blend, you get a beautiful muted green.

Start by stamping your main image directly onto your card base off to one side; use a permanent ink such as Archival by Ranger or Memento by Tsukineko. This will prevent the image interacting with your blending when you start to add other colours. The image is stamped in brown ink to give the stamp a softer feel than using black. This can be a really important step if you are planning to ink blend over your image. You can gently heat set this before continuing or leave your stamping for a while to fully dry.

Working directly on your card blank, and using a large paddle brush, blend Speckled Egg from the outside edge all the way around your folded card. Build the colour in layers so the outside edge shading is obvious without being on a white surface. Moving on to the Frayed Burlap, brush this in the same manner but in random places around the edge. Do the same with the Brushed Corduroy and hopefully you will see light areas of green appearing. This is where my surprise went wow and my design plan changed.

Mask a border, using masking or blending tape, masking film or similar product, approximately 1 inch from the card edge. Use a much stronger blend of the inks to get a stronger version of the green. Originally, I planned to use the area to the right of this border for the sentiment. This changed though as I started to experiment. 

Firstly, did the card change the blend; cue reaching for a piece of cartridge paper. Now, cartridge paper is quite tricky to ink blend on so use a magnetic platform of some description to avoid crinkled paper and inky fingers. Create a green blend that's softer than the border you've just created. Then, squidgy out a little ink or use a drop of refill and a fan brush with water to create a "flickable" ink. Splatter with the ink and clean water to texture your blend. Cut a strip to fit the right hand panel of your card once the paper is dry. Resist the urge to use a heat gun on the paper at all; it just won't take it well. Blot lightly with a soft kitchen towel.

Onto a spare piece of white card, stamp the little worker images using the same permanent ink as before, Cut into 3 squares and apply as shown.

I pondered adding a sentiment for a long time, but in the end decided a message would be better inside the card. I was thinking something along the lines of a little peace.

Thursday, 5 May 2022

Floral Delights (By Tracy Thompson)


Hello, hope you are well, I am here today to show you some creations I made for the shows in April.  For my first creation I did one of my favourite techniques just using two pencils of different degrees of hardness.  I call it Grey Scale, if that is a proper term or it's just something I made up I have no idea.  First I stamped my image called Life Is Wonderful,  then using pencils I shaded it, it's a subtle effect and quite effective.
I then matted and layered the image using black, grey and white card stock.

For my second card I went with the Gerbera & friends stamp set, using the Dandelion from the set. To start with I did the background using a blending brush and some ink, I faded the ink out into white space.  I stamped my main image, then using a single seed head apparently they are called a 'Pappus' I stamped them floating in the air as if they were carried away by the wind.  I highlighted my flowers and added glitter for some sparkle.  Then all that was left was to matt and layer it.


Thank you for looking, I will be back middle of the month with more creations for you.

Happy crafting

Tracy x

Wednesday, 4 May 2022

blown away

For my first post this month I chose to use the lovely dandelion stamps from the Gerbera and friends stamp plate

I used a  splodgy background from a previous session, which had just the right colours. The base card blank was 7" square, and the front was cut in half - the background piece was trimmed to make 2 pieces , one to fit the half card front and a narrower one to go on the inner.

The images were stamped using a white pigment ink pad - it's a fairly new ink pad, but gives a very muted image , so once the first images were dry I stamped again and white embossed them. Narrow black mats and a sentiment from say it vertically to finish.


 I couldn't resist another candle ,  images simply stamped in black versafine ink, torn out and fused on. It would have been easier to stamp all the images onto a single piece of tissue paper rather than doing them singly as I did - you live and learn!

Friday, 12 March 2021

Rose spotlight by Brenda


Morning everyone, hope you are all OK , I have a few shares from my samples from last month Hochanda TV shows.

As is the norm for me the first two follow an inky route, above Oxides added from acetate and dabbed away to give a soft finish followed by some stencilling using the squares from Strip Stencils and circles using the coffee stain from Make your Mark. Focally Briar Rose Butterfly coloured in and the Butterflies stamped again and decoupaged and a metal spotlight placed over the bud.  Onto some offcuts I stamped the numbers from Edgy Edges, tore the edges and fixed into place. Finally some washi tape. 


For this one I sprayed Oxide Sprays across the top of a pice of card, spritzed with water and held at an angle to persuade the colour to run down the page. I used worker stamps from Make your Mark and Gerbera and Friends to build up the background, quote from Words of Inspiration heat embossed in details gold EP, three Butterflies from Just Butterflies and metal embellishments for their Thorax.


A fairly simple one for my final share, papers from the 8x8 Designer Papers, stamped around the edges with Butterflies from Just Butterflies using Versafine Clair, Honeysuckle Butterfly stamped focally and coloured in with pencils.

Have a good weekend and many thanks for popping by today.

Monday, 11 January 2021

Tall Stories

Hello, I am sharing some of my cards today using Ephemera 1 and  Ephemera 2
I love ephemera, all the stories and memories that they hold.....

My first card was made during the first lockdown when Lesley started some Challenges over on the Facebook page. I do recommend you take a look as there have been some fabulous entries over the months. Certainly kept us motivated!


This card uses some pattern papers, die cuts and flowers to make a pretty 21st birthday card. I have highlighted the 21 with an inked bottle top.


For this card I used parts of ephemera and over stamped with the Tall Trees stamp set. I added the focal point from Gerbera and Friends.


This is known as a "W" shaped card and is a great way to use smaller stamps and quotes from Tall Trees, each becoming a little work of art in their own right.


My last card uses the main stamp from Tall Trees, a large bare tree. I have stamped it over a Distress Ink background which I added droplets of water for a snowy effect. I stamped and embossed the trees in white and cut into 3 equal parts and then glued onto a piece of dark card.


 Thanks for looking

Sandra x

Wednesday, 23 December 2020

More Stamping Delights (by Anne)


Good morning. This is the last of my guest posts for Chocolate Baroque this month. I had planned a completely different set of projects but just had designer block! Horrible when that happens, especially when working to a deadline. This happens to us all at times, particularly this year with all the added stresses.

After several days of wasted effort I just stopped working on my original plan, went away from my desk and tried to clear my head. I then went back and decided to just ‘go for it’ – no plan, no nothing. I just picked up stamps and got started. Finally ideas started to flow – phew. I find that this usually works for me, although it is not always easy to do – ha ha.

I hope that you enjoy my offerings. Everyone take care and enjoy Christmas as best you can. Spring will soon be here and I am hopeful for far better times to come soon. Big hugs Anne xxx.

Blue and White Mandala

This one is a quick and easy make using the lovely mandala style stamp.

Materials Used:

  • 15cm square white card blank, decorative die cut circle in blue card and scrap white stamping card
  • Palm Fan Silhouette stamp (Chocolate Baroque)
  • Versamark Inkpad
  • Dark blue embossing powder (WOW Earthtone Blueberry)
  • White pen

How it was done

  1. Faux stitching was added around the die cut circle to frame it. It was glued to the card front with 3D foam for added depth.
  2. The Mandala was stamped and embossed with blue powder, cut out and glued to the card front with 3D foam.

Dazzling Butterfly

Chocolate Baroque have so many wonderful butterfly stamps – love this one.

Materials used

How it was done

  1. A mix of the Distress Inks were used to blend the outer edges of the card blank (this mix closely matched my blue die cut circle).
  2. The blue card topper was stamped with Versamark and embossed with white powder.
  3. The butterfly was stamped with Memento, coloured with alcohol pens. It was then heat embossed with a layer of clear sparkly powder and cut out.
  4. Everything was stuck down and the card was finally finished with glitter glue and PVA pearls.

Hydrangea Card

When pushed for time I will often use some ready printed papers in the background. They can also help with inspiration at times too.

Materials used

How it was done

  1. The background paper was trimmed and edged with black marker. The base texture was stamped with black Versafine.
  2. The main image was stamped with blue Versafine, the card trimmed to approx. 9 X 13cm and edged with black marker. The floral section was stamped again with black Versafine. The stem was extended by drawing with black pen and the image cut out.
  3. The topper was then spritzed with water and Brusho powder dropped onto the wet card. When dry the monochrome Hydrangea was glued on top, curling the edges up slightly for dimension.

Floral Thank You Card

This one was a super quick make. Ideal if you have a last minute card to do.

Materials used

How it was done

  1. The watercolour card was spritzed with water and stamped using a mix of the Distress Inks. These bled out giving a lovely watercolour effect.
  2. When dry the image was overstamped with Versafine. Versafine was also used to stamp the border and sentiment.

Dreamy Elephant Card

I love the Indian themed stamps from Chocolate Baroque – definitely amongst my faves. To save a bit of time I again used a pre-printed background paper.

Materials used

How it was done

  1. The sentiment and base texture was stamped and embossed with copper powder.
  2. The flowers were stamped with Versafine. The background was then edged and embossed using the embossing pen and copper powder.
  3. The elephant was stamped onto white card with Versamark and embossed with gold powder. The image was then coloured with pencils and pens and cut out. The elephant was lightly shaped and glued down with 3D glue gel for dimension.


Wednesday, 16 December 2020

Gerbera Delights (by Anne)

 Hi everyone. I am delighted to be a guest designer for you this month. For my second set of projects I have had a play with the lovely new Gerbera and Friends stamps from Annabel. Love this set. Hope that these give you a few more ideas and fun playing with some of your stash.

I have also finally finished the last of my Christmas card batch making - phew. Why do I always leave them until the last minute! Ha ha.

Lots of hugs, Anne.

GERBERA AND FRIENDS

Materials List

  • Stamp sets (Chocolate Baroque): Gerbera and Friends (main images), Words to Dazzle & Sparkle (sentiments), Glorious (leaf stamp)
  • Card blanks and smooth card (sky blue, white or black)
  • Inkpads: Stazon (Jet Black), Versafine (Onyx Black), Distress Ink (Gathered Twigs), Versamark
  • Versamark embossing pen
  • Embossing powders: detail white and metallic gold
  • Mica powders: yellow gold, pink and purple
  • Water based inks: Turquoise, yellow, green, red and magenta (I used Spectrum Noir Aquatints)
  • Acrylic paint metallic pink (Starlight)
  • Acrylic mat medium (clear drying)
  • Colouring pencils (pink, green, yellow)
  • Alcohol in pens (pink, purple, yellow)
  • PVA pearls and Glossy Accents
  • Acetate and translucent shrink plastic
  • Decorative circle dies (Tonic)

Make a Wish Cards

I created a couple of cards using the lovely dandelion clocks. I remember as a child how we would blow the seeds from the flower heads whilst making a wish. Happy memories.

My card blank measured approx. 13 X 17.5cm. I trimmed my stamping card to 12 X 16.5cm and rounded off the corners.

I painted on the water based inks, blending them wet in wet (working from the top down). When dry I flicked with water and lifted out colour with tissue to add texture. I also applied a circle of water and lifted it out to create the moon.

The dandelions, sentiment and foreground texture were stamped with Versafine. I lifted out some of the colour from the seed head bases).

I also used Distress Ink to stamp more texture at the base and to blend around the card edges. Black alcohol ink pen was used to edge and frame the card before mounting.


My next card was more clean and simple. The card blank was 15cm square and the blue background mat was trimmed to 14.5cm.

I used dies to cut the decorative circle (approx. 14cm diameter) and circular centre (approx. 9cm). A white paper doily would also look good if you don’t have decorative dies.

The images were stamped with Versamark and embossed with white powder. I mounted with 3D foam for added dimension. Finally finished with PVA pearls.

Bright Gerbera Cards

I adore this huge Gerbera stamp and wanted to make something really bright and cheery.


My card blank was 15cm square. I trimmed black card to 14.5cm to create the background mount, and white stamping card to 13.5cm.

The card was painted with the yellow, red and magenta inks, blending them outward from the centre. Versafine was used to stamp the images.

Oh that Gerbera!

Again I used a 15cm square card blank and trimmed a black mat to 14.5cm. The background texture was stamped with Versamark and yellow/gold mica brushed over with a soft brush. Excess mica was removed with a microfiber cloth. Versamark was then applied around the edges which were embossed with metallic gold powder.

The sentiment and leaves were stamped and embossed onto black card. An embossing pen was used to edge the sentiment plate.

The Gerbera was stamped onto acetate and shrink plastic using Stazon which were then cut out.

The back of the shrink plastic was coloured with alcohol pens before shrinking with a heat gun. Coloured pencil was used to enhance the colour on the front before covering with Glossy Accents.

The back of the acetate image was coloured with mica powders mixed with mat medium. When dry the back was then painted with the metallic acrylic.

The photo really doesn’t do justice to the shine and mica sparkle on the Gerbera. Love this one.


LAST OF MY CHRISTMAS MAKES

Materials List

How it was done (including my boo boo)

I love these collage panel style stamps for creating quick and easy batch makes – one stamp does all the work for you. I have stamped and coloured these but they would look equally good without colouring or perhaps stamped and embossed with a pretty metallic powder. I like to use a stamping platform for batch making as it makes it easy to line up and repeat stamp in a production line.

Stamped with Majestic Blue Versafine and coloured with Distress Ink (Chipped Sapphire).

I just had to make a blue and white set. Those of you that know me will know that I love making these. However, I have been a little out of practice with my stamping and colouring this year and my first attempt was a flop – ha ha.  I have shown my blooper as I thought it may be helpful if you have struggled with colouring.

This was my first attempt – eeek! Initially I tried to colour with watercolour pen and attempted blending out with a damp brush. It wouldn’t work very well and my watercolour just sucked straight into the card. This really shows the importance of choosing the correct type of card for the techniques that you wish to use. For watercolouring you need a card that will hold the pigment without it bleeding out too much, but then release it again when water is applied to allow blending and shading. This brand of card used to work well but recent batches really have not worked as well so I suspect they have changed the ‘formulation’.

As my watercolour pens were not behaving well with my card I tried switching to Distress Ink. Applying to my mat, diluting out and picking up with a damp brush. Distress Inks are specifically formulated to stay wet longer and to blend more easily. It worked out much better on this card. The two flowers on the left were my quick trial with Chipped Sapphire Distress Ink.

Another mistake I made was to go in far too heavily with the colour. I was aiming for a softer colouring more suitable for the delicate flower petals. This is achieved by using a more diluted colour and gradually building up the layers and shading.

This shows the first stage of Distress Ink colouring using very dilute ink.

Deeper colour was then added to give shading. Working more heavily on the leaves and stems helped the delicate flowers to stand out more.

The edges of the card were distressed (using the edge of my scissors) to give a soft textured border before mounting onto the card blank. Lastly sparkly glitter glue was added to the flower stamens and around the edges. Cannot have Christmas without at least a little bling.

My next set were also coloured with Distress Inks. I went quite dark on the leaves to enhance the delicate flowers.


I was pleased with the delicate vintage look.


Next I coloured with soft pastel coloured alcohol ink pens.


Again my first attempt at colouring this batch was not really what I wanted. I felt that the flowers were a bit too much, too Summery and had lost their delicacy. Despite this I mounted this one as good enough.


I was happier with this colouring for the wintery theme. Coloured pencil details (outlines, leaf & petal veins) were added in to enhance the soft colouring.

Glad to have finally finished my Christmas cards – now to get them all written up and posted.

I will be back again next week with some more stamping play x.


Sunday, 29 November 2020

A peaceful, floral dream (by Rachel)

 Hello there - Rachel here today with a few more samples from the October shows - these stamps are just beautiful!


These two were done in the same way by stamping the flowers from Dream petals and Gerbera and friends inside some low tack tape. I then used watercolour pencils to colour the flowers in and finished the design with line stamp from Gerbera and friends.

This stamp set is so unusual - I love it! 


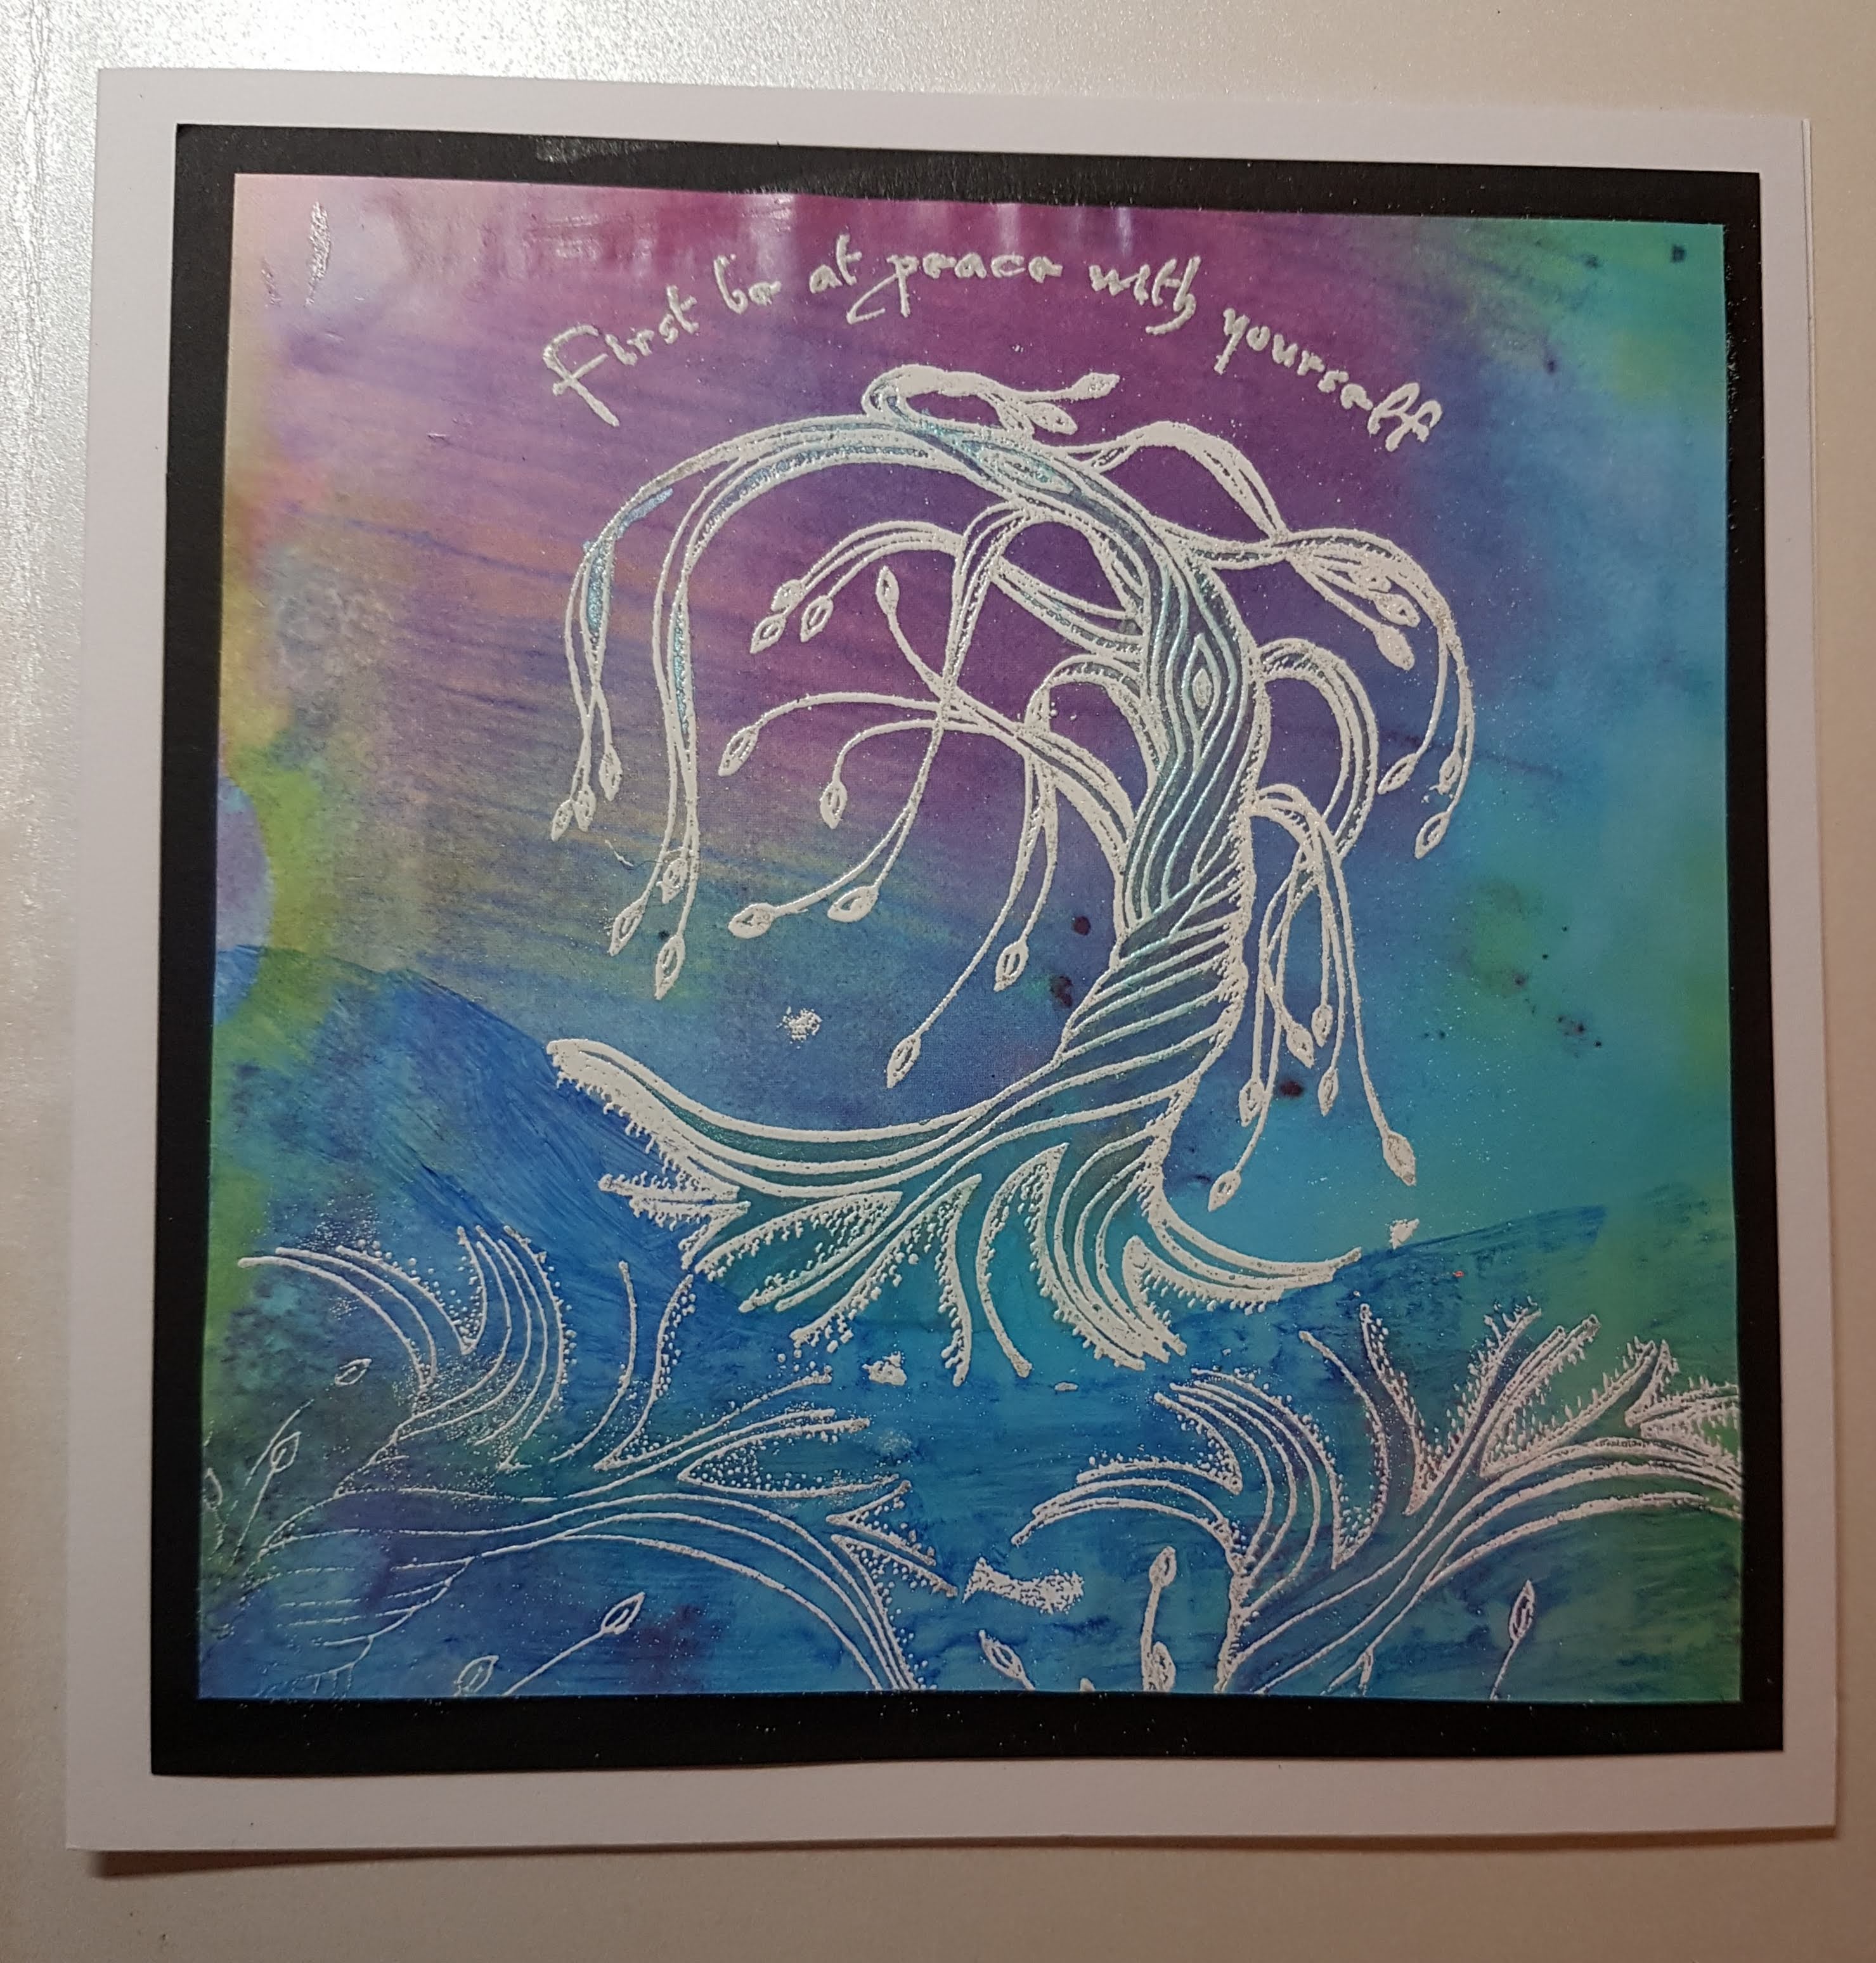
I stamped the tree then added the upside down trees below the inked in blue landscape. The background paper was one of Lesley's.

Hope you have found some inspiration here today - hugs rachel xx