Pin It button on image hover
Showing posts with label Underwater Kingdom. Show all posts

Friday, 21 February 2020

Above and Below by Penny

Hello everyone, I hope you're all warm, well and safe today.  With all the horrible weather we're having, the strong winds,the terrible flooding and all the damage to peoples homes I thought I'd share some bright and sunny projects with you.  These are some pages from a couple of calenders I made in 2018 as Christmas presents, having bought them from Chocolate Baroque.


Under The Sea.


The stamps I have used are Mermaid Queen and Underwater Kingdom sets, Distress Ink, Versafine ink, clear EP, pearlescent acrylics, alcohol pens and a stencil from my stash.

I stamped and embossed three images to create an underwater scene then coloured them all in using the paints and pens.  I masked the images then took a stencil from my stash and used blue DI to recreate the currents in the sea.


Sea Palace.

I have used stamps from the Seadragon and Underwater Kingdom sets, and the same products and tools as above.

I stamped and embossed some focal images then coloured them as before.  I then used the same stencil to create the background.  


Sunny Cove.


For this page I used stamps from the Seashore Scenes and Seaside Dreams sets, Versafine sepia ink, Clear EP, and Colouring pencils.

I stamped and embossed a scene  then added a border of shells either side.  I coloured everything with pencils.


Beachside Holiday.


This time I have just used stamps from the Seaside Dreams set,colouring pencils

I stamped and embossed the Beach Huts, and the borders, as before.  I then coloured the images with pencils.


Thank you for stopping by today, I hope my post has cheered up your day .  I shall be back next month with some more crafty fun, in the meantime stay safe.

Take care,


                             x x  Penny  xx

Sunday, 15 September 2019

Spring into Summer by Penny


Goodly morning peeps, I hope you are all well.  I'm back again with my second post this month and I've chosen four mini projects to share with you today.  Last year Chocolate Baroque added blank calendars (Blank 2019 Calendar/Planner) to their range and I decorated several for Christmas presents and one for myself.  

For the first project I have used stamps from the ButterflyDaisy Collage set, Distress Ink, purple Versafine ink, alcohol pens and a stencil from my stash.  I stamped a large collage image in the center of the picture area, then stamped a couple of daisies and butterflies.  I used alcohol pens to colour all the images.  I then used a stencil and DI to create the background.


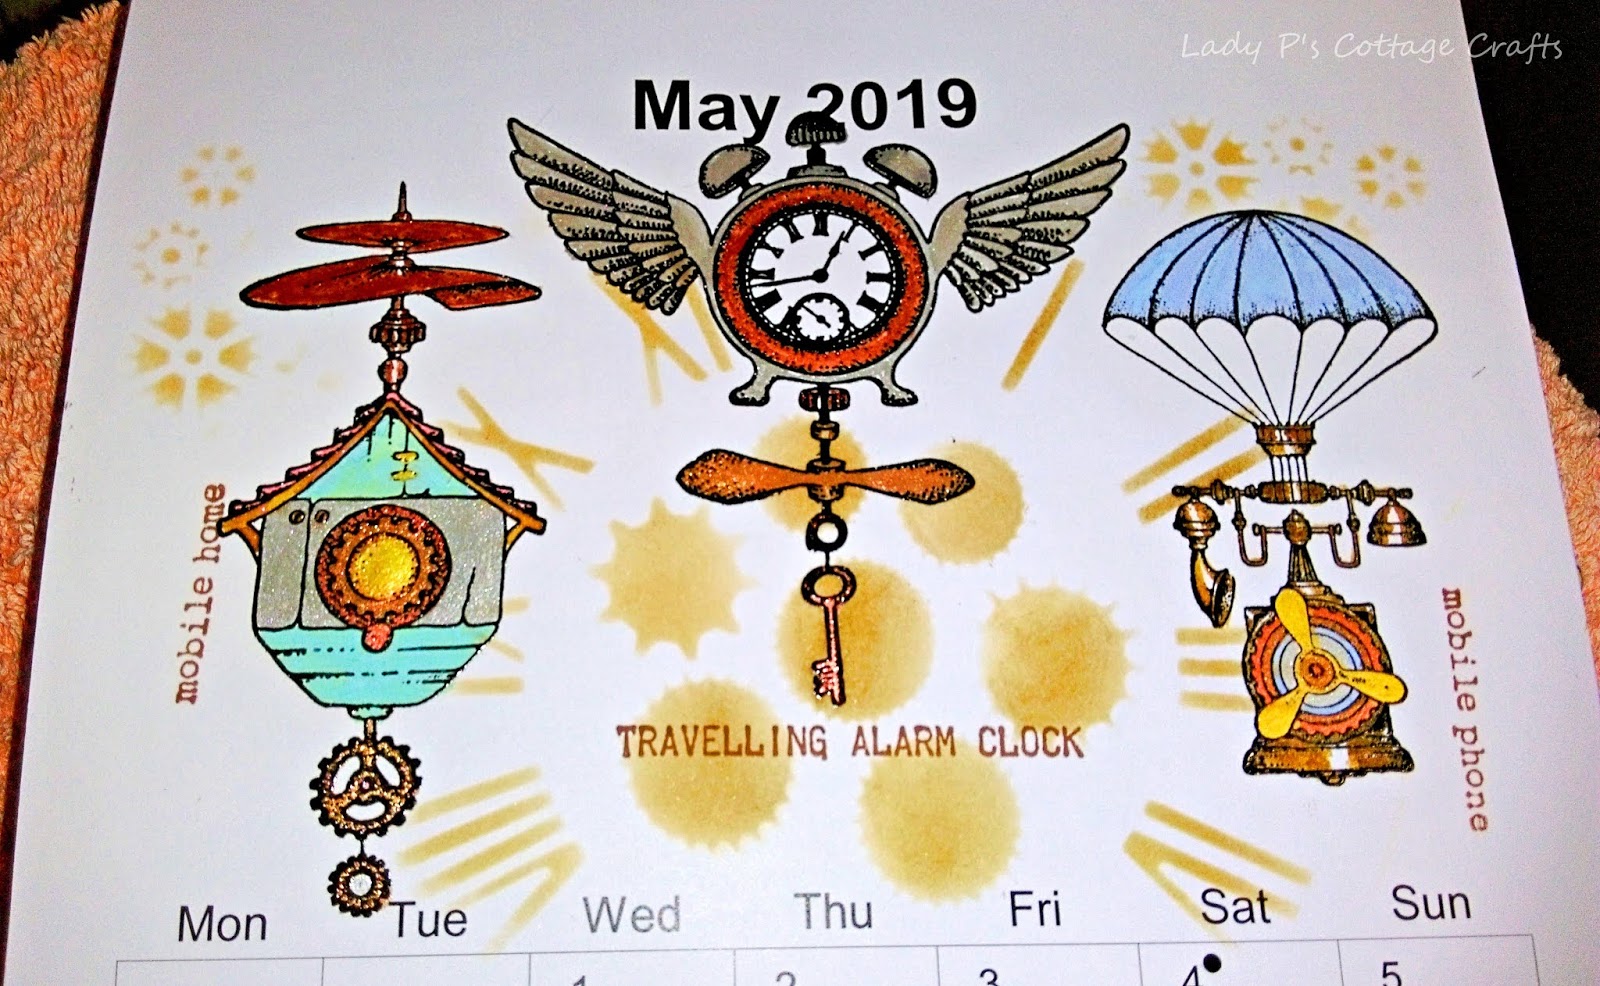
For this one I used stamps from the Steampunk Travel  and Steampunkery sets, metalic paints, Distress Inks, alcohol pens and a couple of masks from my stash.  I stamped several images using black Versafine and embossed them with clear powder.  I used paints, inks and pens to colour them, using metalic paints for the metal parts.  I then used the stencils with a DI to create a back ground.


This project uses stamps from the Underwater Kingdom and Seadragon sets, Distress Ink, Koh-I-Noor paints, black Versafine ink, clear EP and a stencil from my stash.    I began by stamping and embossing all the images and then painting them.  I took a stencil from my stash and applied DI through it to give the picture a watery background.


For this month I decided to go sunny and hot!  (Well I can dream can't I?)  I used stamps from the Indian Elephant and Paisley Elephant sets, Distress inks, black Versafine ink, clear EP and a gold pen.  I stamped and embossed the elephants first then masked them.  I then stamped and embossed the Palace silhouette image between the elephants, and stamped it again in second generation ink.  I then stamped a script image repeatedly across the page and used one of the worker stamps to fill any spaces in the background.  I used a black fine liner pen to ground the Palaces and the elephants then removed the masks and coloured in the elephants.


Thank you for dropping by today, I hope you have found my little collection enjoyable!  I'll be back again next month with more craftiness to share with you  :) 


                                 xx  Penny  xx

Wednesday, 9 November 2016

Underwater Wall Hanging (by Penny)

Hello everyone, it is with great pleasure that I am introducing a new member of our Guest Design Team on the Design Team Blog today.  Our newest member is Penny Butler, who has long been a staunch supporter of the blog, our Facebook group, and also our Challenge Blog. You can find beautiful examples of Penny's work on her own blog, Lady Penelope's FAB Crafty Blogspot. Before we take a look at Penny's first project, we are going to allow her to introduce herself to you:

Hi I'm Penny and I am very delighted and honoured to be asked to share some projects with you all. I've been crafting and drawing since childhood, art was always my favourite subject at school! I live in Somerset with my Husband and our cats, (mad cat lady alert!). We have four children and two lovely grandsons. I have been crafting as a hobby for over twenty years, dabbling in textiles, dress making, glass painting, beading, silk painting and more. About sixteen years ago I was introduced to card making and stamping - and that was it! Nowadays my main crafty passions are stamping, scrapbooking, mixed media and home decor - especially up-cycling! I don't really have a particularly crafty style, as I like all sorts, but I DO love colour! One of my projects involves using the first stamps I ever bought from Chocolate Baroque - Christmas Flourish. I hope that you enjoy the projects :)

It was lovely to get to know you a little better Penny, and without any further ado, here is Penny's first project for us, a piece of home decor made using stamps from the Underwater Kingdom and Seadragon stamp sets.

Penny writes:

I used a panel of greyboard as the base and painted it with white gesso. I used some acrylic paints in blue, green and silver, painting and blending them in stripes across the panel. The silver makes the other paints appear pearlescent. I then stamped and embossed some seaweed and the palace.

I masked the palace and brayered some texture over the whole panel using some crumpled paper. I used Brushos to paint the seaweed, rubbed off the mask and painted the palace. I mixed some silver paint with the Brushos to make them pearlescent. I stamped a sentiment randomly several times, stamped a couple of mermaids in second generation ink, then gave the panel a coat of varnish.

On a piece of white card I stamped and embossed the Sea Dragon and a few other images. I painted them in the same way and cut them out. I gave each image a coat of varnish, then adhered them to the panel. I punched a couple of holes and added some ribbon for hanging the panel.

I hope you enjoyed this project, thank you for visiting :)

Penny Butler.

Thanks so much for your inspirational project and detailed explanation Penny. We look forward to seeing another project from you next week.


Monday, 7 July 2014

Underwater Tangled Mermaid (posted by Claire)

Good morning, Claire here with my first sample made using the gorgeous new stamps Tangled Fragments. I've combined them with an old favourite, the beautiful mermaid from Underwater Kingdom


I began by stamping the mermaid with Memento Tuxedo Black and colouring her with Graph'It markers before masking her with some masking tissue. I stamped the lovely fragment in the background using a Waterfall Big & Juicy inkpad and then inked around the edges very lightly with distress inks (Tumbled Glass and Shabby Shutters). I  removed the masking tissue and added a shadow around the mermaid with my markers


The background was made with the Waterfall Big & Juicy inkpad, I swiped it over my craft mat and misted the ink with water before mopping up with a square of white card. I over stamped with the same inkpad, again using the beautiful fragment stamp. I used the excess ink on my craft mat to colour some seam binding ribbon.

I used some little pearls in the corners and added a sentiment from Loving Sentiments and popped on a little turtle charm to finish off.

Thanks for visiting today

Claire xx

Wednesday, 5 March 2014

Mermaid Landscape (posted by Claire)

Good morning, Claire here with  a card created using the beautiful new stamps 'Magical Landscapes', such a beautiful selection of images and although they'll work perfectly with all the lovely fairy stamps as soon as I saw this image I knew I wanted to use it with this mermaid from Underwater Kingdom


The background was made using distress inks, tumbled glass, shabby shutters, salty ocean and mowed lawn. I also used some of the ink from my craft mat to colour the ribbon. I overstamped the background with one of the stamps from Abstract Fragments and embossed with white embossing powder.

The image was stamped with Memento Tuxedo Black and coloured with Graph'It Markers, I added some 'waves' with a white sharpie pen and glitter. I also used the Crafters Workshop Tile Texture stencil with clear gel medium and once that was dry I inked with more Tumbled Glass and Broken China distress ink.


I've distressed all the edges with my craft knife and added shells, pearls and cheescloth from my stash to finish off.

I hope you're enjoying all the inspiration with this months gorgeous new stamps
Claire xx