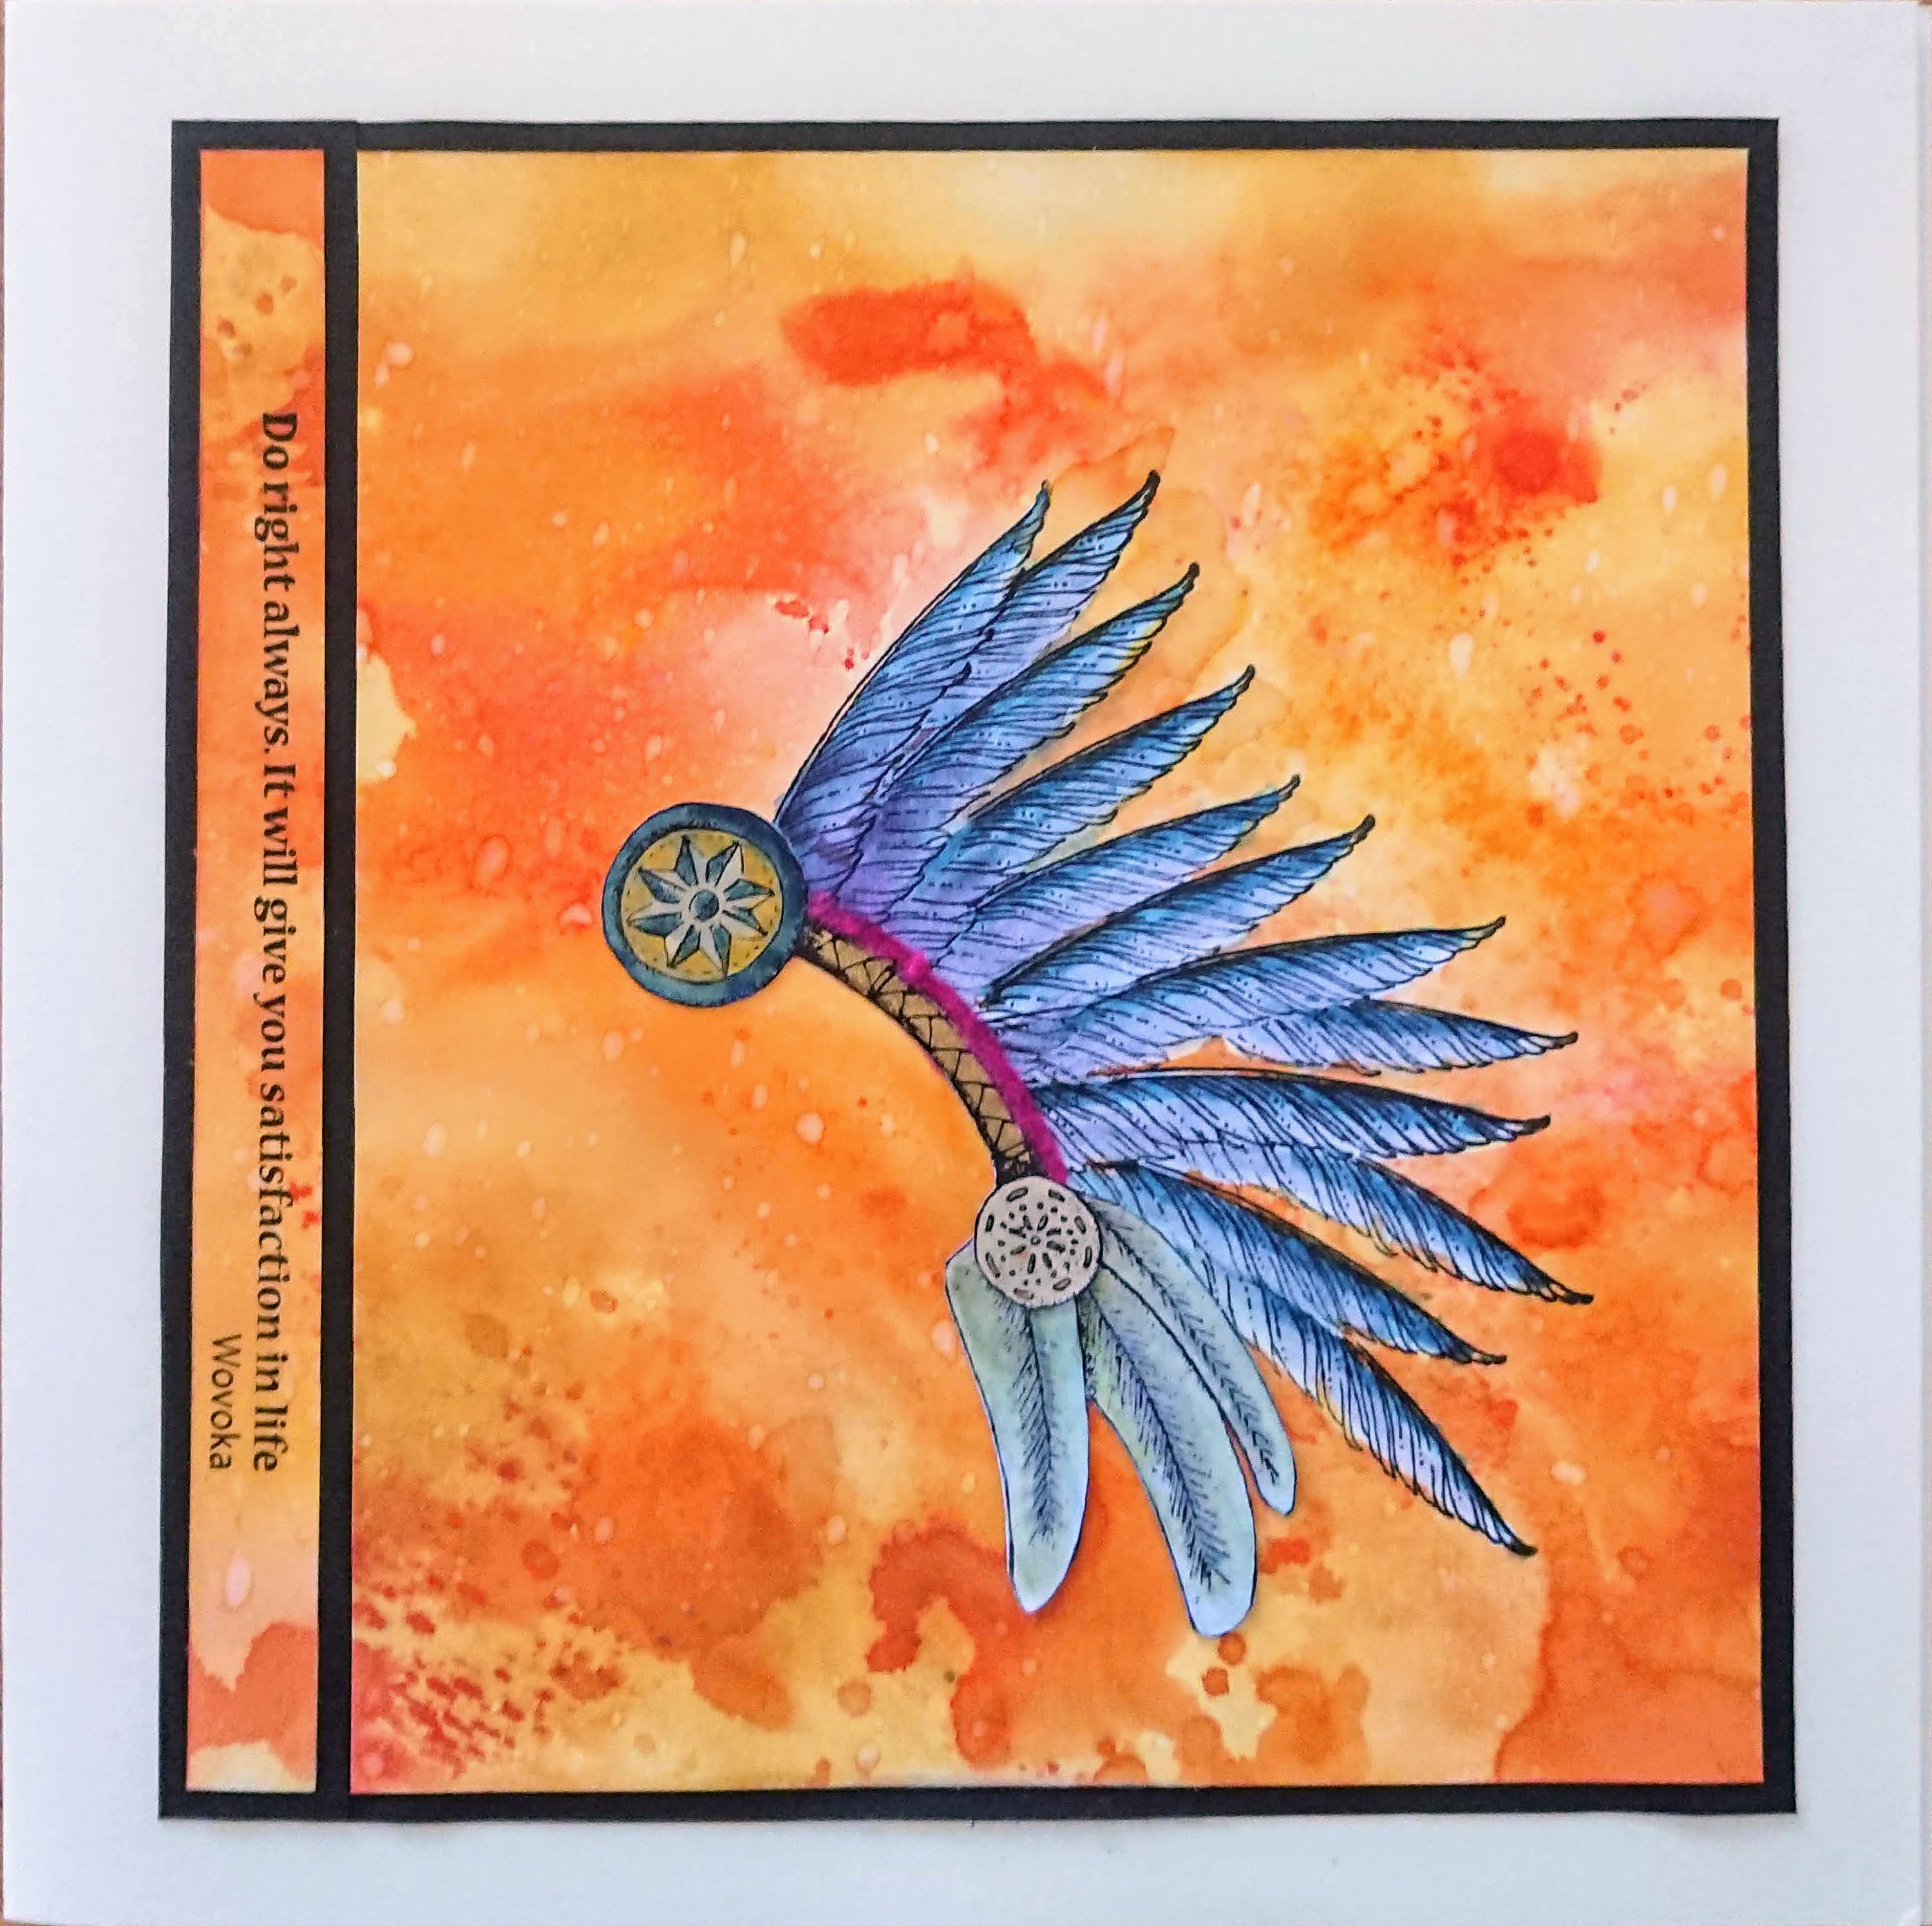
This is the front cover of an accordion booklet I made. There were 4 pages inside and each stamped image had a lovely sentiment with it. I coloured all the images with watercolour pencils.
Page 3
Page 4

For the accordian card I started by creating a masterboard using oxide ink and some of the worker stamps. I cut this up into 9cm by 13cm pieces and the stamped the images onto them that I wanted to use. I them restamped and fussy cut most of the images and coloured them in water colour pencils.
For my last post this month I have a concertina screen card to share, uising a blank from a kit I bought many years ago which folds down to DL size.
Hello everyone, I have a couple of projects to share with you showcasing the stamps featured on last month's TV shows on Hochanda.
My first project is a couple of acrylic tags. I stamped images from Hold On and Do Right Always using second generation stamping, to create a subtle background, onto some plain pieces from the Designer Papers 8"x8" - Chic Script. Next, I stamped the totem pole and peace pipe onto the backgrounds using a black ink, and added a sentiment. I coloured the images using Polycolour pencils from Koh-I-Noor. Watercolour pencils will NOT work for this project.
I covered the background with matte medium and adhered it to the acrylic tag. Once the glue was dry, I trimmed the piece, and added some yarn through the hole at the top.
My second project was a very quick and simple card. Rainbows have been very much on my mind lately, with everything that has been happening around us, and one of the sentiments on the Do Right Always stamp set was just perfect for this project. I took a sunburst stencil, any one would do, and chose seven different colours of Distress Ink. I applied them through the stencil to create a rainbow effect, and then simply stamped the sentiment using black ink.
It just goes to show how useful and versatile these stamp sets can be. I hope that you have found lots of inspiration among our posts this month, and will try some of our ideas out for yourself. Thanks for stopping by, and stay safe,
Judith xx

Hello everyone, I have a couple of projects to share with you showcasing the fabulous stamps from last month's TV shows on Hochanda. These lovely stamps hand drawn by Kim Moody for Chocolate Baroque are so useful, and I wanted to show that they could be used for a range of different occasions.
My first card was created using a background that I found when rummaging through my stash. I had used Distress Inks in shades of blue and green, and thought that it looked very cheery. I made a smaller piece of background very quickly to match, and stamped the frame and skin from Hold On, adding a little motif that I decoupaged from the dreamcatcher from Catching Dreams. The cacti stamped on the main background can be found on Hold on and Do Right Always, they make a lovely overall background softly coloured with pencils, as I have done on this card. I kept to a set colour palette throught the card, and the pop of red against the blue and green adds a lovely warmth to the design.
Although there is quite a lot of colouring on this card, it was relatively quick to complete, and I would certainly make this design again, varying the sentiment to suit the occasion.
My second card was created using an offcut of drawing cartridge. We often have these, and do not always know how to use them up. I again created a Distress Ink background, and stamped a row of cacti, adding a few lines with a fineliner pen to finish off the landscape. I coloured the cacti and the grass with pencils, added a quick bit of shading with a stencil for a sunset, and stamped the lovely sentiment from Hold On. I mounted the piece onto a kraft background for a quick and simple card.
I will be back later in the month with a few more projects to share with you. Thanks for stopping by,
Judith xx
I started with a piece of kraft card, about 5.5x7.5 inches, and stamped the totem, and the pipe twice using a brown dyebased inkpad. The dreamcatcher was stamped in black versafine clair and clear embossed, and then the sentiments in the black versafine .The dreamcatcher was coloured with watercolour paints.
Once everything was dry, I die cut the word from the image. The base black mat was cut to fit an A5 white card, then the kraft card layered on. I added foam pads to the cutout letters, then glued them in place slightly offset to give more of a 3D effect.