Pin It button on image hover

Monday 28 February 2022

Get well Lovely Lesley part 3 by Zoe

Good morning Lovelies, I’m back again with some older projects to share with you.

I’m not that great colouring in and I so envy those that take hours shading and getting the right light and shade, I just don’t  have the patience I’m afraid.
I like quick and simple, I love colour and I love water colour techniques as they don’t need to be perfect. Sums me up pretty well teehee!


Thank you for visiting today and I hope you have a wonderful day xx Zoe xx

Sunday 27 February 2022

A Trio of Lilies by Doreen

A Trio of Lilies

Hello everyone well here we are almost at the end of February such a short month I always find but that's probably because I usually find myself very busy what with one thing and another.

Today I will be sharing another DL set with you namely Lily not at all like any Lily I have ever seen but I really do think it is beautiful.


This may seem a little bright for some but I really felt they called for something a little different.
Firstly stamp out two of the large images onto Masking Tissue these need to be fussy cut and can be used more than once do not throw away the clear film as it will keep your mask safe. 
I used a half an A4 piece of card stamped two images of the Lily at a slight angle, cover these with your masks and stamp another Lily in the centre, peel away the masks. 
Stamp the smaller images and then the silhouette image to fill in the gaps this also adds depth to the card.
Colour using pens or pencils of your choice these were coloured using a vibrant selection from my Koi colouring Brush Pens.

Thank you for looking in Today 
Love Doreen 


Saturday 26 February 2022

Faux Box Frame Card by Natalie


Faux Box Frames: How to add depth without adding to your postage cost? By adding a little animation - the key here is hinges. Use a scoreboard for this one as accurate folding is key to a successful project.

You will need:

The Stamping

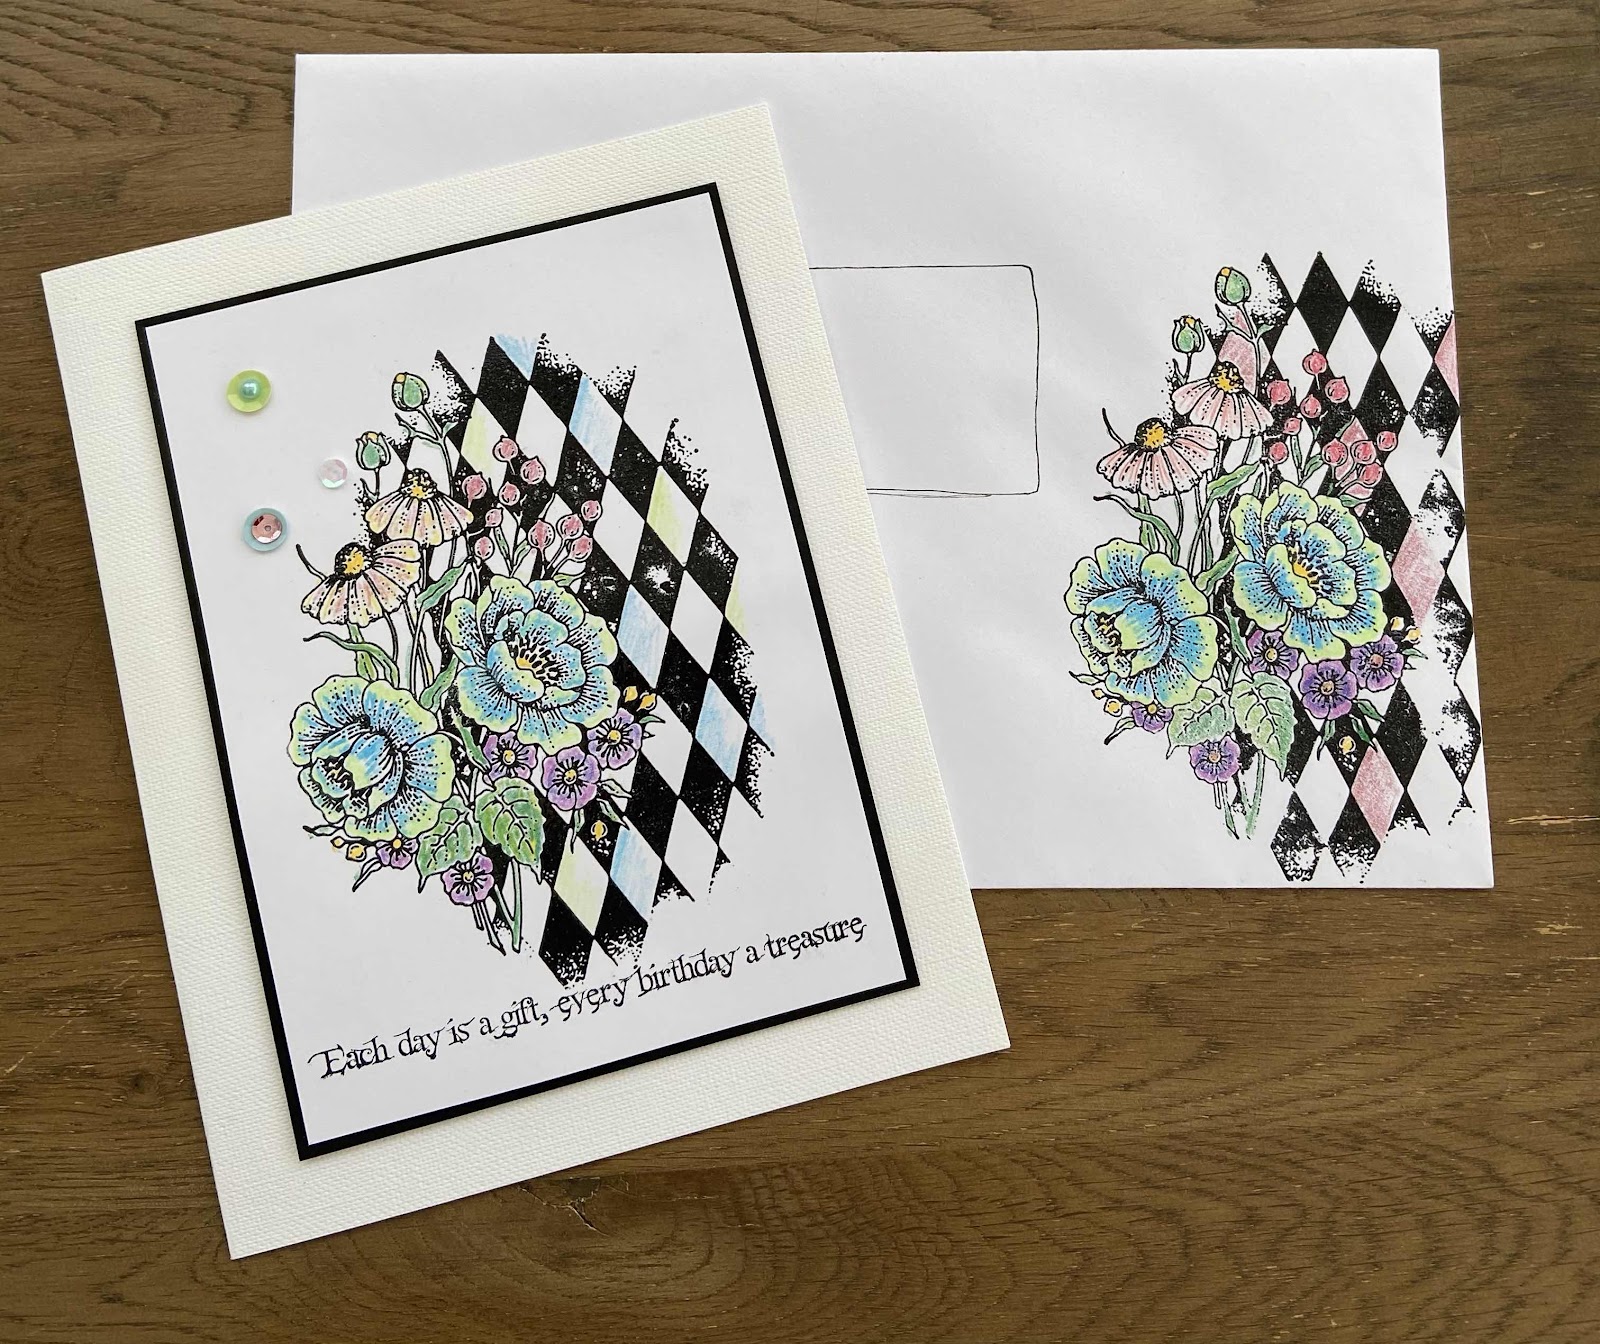
You need 5 basic stamp types for this layout: a circle stamp, a background stamp, a verse stamp, a worker stamp that matches your chosen background and a sentiment. This design is perfect for special cards so why not try florals, steampunk or a nature theme.

Working onto the shimmer card, stamp your largest circle from Make Your Mark. Also stamp this image onto your masking paper/film, cutting slightly inside the outline of the stamp. Place the mask onto your stamped image. Then, stamp over the top of the masked circle with the background stamp making sure the circle is aligned to the centre of your background.
Allow the ink time to set so you don't smudge the ink when blending. Using a blending brush and Distress Ink, blend outwards from the masked area to add a shaded border. If your stamping was slightly off, you can use this blending to track the eye. You should also add any colouring to your background elements at this point. Remove the masking paper/film and place this onto waxed paper or its backing sheet. Carefully, stamp your verse into the revealed circle panel.
Also stamp your 3 remaining designs using the hybrid ink. Use the same Distress Ink blending technique onto the worker stamp, this will tie the images together.
Set the sheet aside to totally dry while you focus on the card base.

Building the card base

Trim the Kraft card to your chosen size; I used A4 but that might be a little large for your needs. Score the card at 1" and 2" from each end; in smaller sizes make your first score at 0.25~0.5" and the second at 1.25"~1.5". The first scoreline is a mountain fold, while the second one is a valley fold; repeat this at the other end working from the outside in. Fold and burnish with a bone folder to make your folds crisp; burnish in places that won't be seen in the finished card. Work the folds well so they move easily.
Cut a frame from one of your coloured card sheets; this should measure the height of your Kraft card base and the width of your Kraft card when one side is folded and the other is open. The inside aperture should be the width between the first scoreline when the Kraft piece is in the same half folded position. Cut another frame that layers slightly inside the first; this is both decorative as well as reinforcing the front panel. If this frame still feels flimsy, then do reinforce the back of the frame with another piece of craft card.
Adhere the frame to the first and last panels of the Kraft piece using strong adhesive. Allow to set while trimming the stamped images.

Cutting up your stamping

Trim the background so it fits just inside the back panel of your card. If your background doesn't quite reach the edge of your panel, you can always add more ink blending to disguise the edges if you wish.
Fussy cut the worker image and trim the sentiment strip. Mount the sentiment strip onto a spare piece of the coloured card.
Assemble and adhere the pieces into your dried card blank.

While the project example shows Christmas, you can adapt this to so many of the fabulous Chocolate Baroque stamp sets.

Friday 25 February 2022

Foxy Bees (By Tracy Thompson)


Hello, this is my final post for this month, and I have decided to use one my favourite stamp sets Honey Bees.  So I started by laying down some subtle colour in blue and green for the background.  I stamped the foxgloves at various heights, and coloured with watercolour pencils. I did some highlighting with a gel pen, I added my bees colouring in the same way.  I added glitter to the wings and a sentiment.
Finally I did dots with a glue pen in and around the foxgloves and added some fine glitter.

Thank you for popping by
Happy crafting
Tracy x


Thursday 24 February 2022

heart flower (by Veronica)

I had a play with the leafy heart stamp from the Harlequin Rose stamp set, just to see if i could use it to create a wreath......short answer was no, it was just too large, but i could use it to create a sort of flower.

I used my stamping platform to stamp it four times onto  a 7" square piece of white card using black versafine ink, and once onto a spare piece of white card. All the images were coloured with watercolour pencils in autumnal shades, with the brighter colours used on the single image.

The single image was fussycut out and backed witha heartshaped piece of the same brown card used for the mat, then glued into the centre of the four images. I covered it with glossy accents to make it stand out a little more from the 'petals'
 

Wednesday 23 February 2022

Trees a Crowd (by Lorraine)

This tree is from the Trees a Crowd set, and it really lends itself to being a stand-alone focal point. It can cover all seasons, with the addition of leaves and blossoms in appropriate colours, but I decided to make it a Winter tree.

I found some grey paper in my stash which whilst having a faint grey stripe, I felt didn't distract too much from the image. Using Versafine Clair in Nocturne, and my trusty stamp press, I centred the image on a tall rectangular panel. It was then clear embossed using a detail powder. Having decided from which direction the snow should drift, I highlighted the branches with a white Signo pen. I'm never too confident about my shading, so I took my time, and was pretty pleased with the results!

This panel was then mounted onto a piece of white card, leaving a minimal border. The sentiment "I shall sit here peacefully and dream slowly" seemed to fit the bill. Again, this was stamped, embossed and mounted in a similar fashion. Lesley does such lovely sentiments and words in her stamp sets, so there is always something to suit the occasion.

To finish off, I adhered a band of the same grey just slightly down from the centre and positioned the tree and sentiment accordingly. Then, for a small pop of colour, a heart shaped gem found its way onto the corner, and because I love the completed card!


Tuesday 22 February 2022

Stamped Images onto Candles (by Sandra)

 Hello everyone.

Today, instead of showing a card I'm sharing how to add a stamped image onto a candle.

First, choose your stamps. I have used the two larger poppy seed heads from Sow the Seeds stamp set.


Stamp the image onto some white tissue paper with VersaMark ink and emboss in gold. I am using a white candle, if you are using a different colour candle use tissue paper of that colour. Just bear in mind that it is easier to colour on white!

Once it was embossed I cut around the edge. This doesn't have to be too accurate.

I also embossed the word "Nature" from the same set.

I coloured the stamped tissue with Distress Ink that I put onto my glass mat and spritzed with water. If the colour bleeds a little as it did in mine, just cut up to the embossed line. 

Place the stamped and coloured pieces onto the candle, (you can do the pieces individually) and then wrap some parchment paper or wax paper around and keep it pulled tight around the candle. Use a heat gun or hair dryer to melt the wax and absorb the tissue paper. As soon as you see the tissue disappear move onto the next bit. If you stay in one area too long the wax will start to ripple.

And here is the finished candle. Hope you will give it a go! 


Safety First - these are decorative Items and should not be lit once you have applied the tissue to them.

Thanks for looking

Sandra x

Monday 21 February 2022

Having Fun with Backgrounds (by Judith)

Hello everyone, I hope that you are all keeping well. I have a couple of projects to share with you today on an 'Anything Goes' theme. There are so many stamps to choose from in the Chocolate Baroque stamp collection that I had a hard time narrowing down my choices for my final blog post this month!

For my first card, I decided to make a useful Birthday card to add to my stash box, handy for when I need a card in a hurry. I took a piece of fabric and frayed the edges. I painted the fabric using watered down acrylic paint. Using Archival ink, I stamped an image from the Brocade Backgrounds stamp set. I stamped a sentiment from Loving Sentiments onto an inked die cut rectangle. To complete the card, I added some pretty pleated ribbon and some metallic card as a mount.


 For my second card, I had a left over background from a previous project created using Brushos. I stamped the large butterfly from Patchwork Butterfly in one corner. I masked the butterfly using masking tissue, and stamped images from Make your Mark and Numerology over the background, plus the sentiment from Patchwork Butterfly

Once I had built up the background sufficiently, I removed the Masking Tissue, and coloured the image with pencils. I added a couple of grey pencils around the edges of the butterfly to give a shadow and to create the feeling of depth.


I have really had fun dipping into my library of stamps this month, and hope that you have enjoyed my posts. Thanks for stopping by, take care,


Judith xx


Sunday 20 February 2022

Get well Lovely Lesley part 2 by Zoe

Good morning Lovelies and welcome to my second post of the month.

I hope you’re all keeping well and looking forward to the spring, I know I am.

So once again I’m showcasing some older projects, I hope you like them xx

As most of you know by now, I love making envelopes and so I have made a couple of ensembles, I love the colours on these, bright and cheerful and then more pastel. I couldn’t resist showing the mushroom again, I loved making it.


Thank you for visiting today I hope you have a wonderful day xx Zoe xx

Saturday 19 February 2022

The Lovely Breath of Spring by Doreen

The Lovely Breath of Spring

Hello to everyone here is the second of my posts this month a truly beautiful stamp it is the Breath of Spring DL set of stamps and obviously contains more than those featured in the photo below.  


Firstly I stamped the main image using Versafine Warm Breeze and Verdant, let dry. Once dry using a anti static pad  over card before stamping the corners using a juicy Versafine Clair Nocturne, then stamp the sentiment quickly before covering all the images with Clear  Embossing Powder, use a heat gun to set.

I used Koi Colouring Brush Pens to colour the image putting the colour down on a mat and picking it up with the blender pen to colour.


Thank you for popping in today

Love Doreen


Friday 18 February 2022

Imagination (by Magda) - Mosaic Flower, Mushroom House

 Hello,

I had to get free myself as if I were caged in a frame and looked out of a window. Suddenly my thoughts turn into imagination and materialize in this project.  

I stamped "Mosaic Flower"  with Archival Ink Jet Black, and colour it with watercolors. A thick coat of white gesso borders the image on which I put some self-adhesive mesh pieces and a label I created stamping the sentiment of "Mushroom House" on white cardstock. The little spots on the flowers are done by flicking with the brush white diluted gesso 


Thanks for passing by, hugs

Magda 

Thursday 17 February 2022

Mixed Media by the Sea by Natalie


You will need the Seashell Collage stamp set; this set is perfect for nautical projects with lots of shells hidden in the images.

This project uses no formal base but instead the structure becomes part of the layout. You could use lollipop sticks, wooden pieces or cut your own shapes using greyboard. The ones shown here are the latter. Start by building the "raft", place two vertical lollipop sticks slightly nearer than the width of your lollipop sticks. Using hot glue or gel medium, adhere your horizontal pieces fairly neatly but not perfect. With another lollipop stick, place an angled stick starting from ⅔ of the width at the bottom up towards the top right corner. Adhere this with more glue and allow the piece to set.

Gesso gives us a key for any paint we wish to apply; it's particularly important on greyboard to prevent your paint soaking in. White gesso is going to keep any colours you apply light and bright; black gesso is good for metallic colours and deeper/desaturated tones.

Dry brush on some acrylic paints; this will dry quickly but set it aside for now.

Onto some good quality stamping card, stamp your seagull and shell images using a beige or sand coloured ink pad. This adds to the aged weathered effect, but grey could also work too. Colour your image using shades of black, grey, brown and yellow ochre. Fussy cut out these elements rounding the bottom of the seagull image, this section can be hidden so don't worry too much about the path you take. Adhere the shell as a 3D wing using silicon glue or other 3D adhesive. Set this aside to set.

Moving back to our raft, apply a mix of gel medium and blue pigment. Gel medium dries clear, so your colours will darken as they dry, bear this in mind when mixing your pigments.In the sample above, the gel medium was sky blue coloured when applied. While the gel medium is still wet, apply a thick texture paste with chunky pieces. This mimics the froth of the water so it should be applied where your waves break. While this is still wet, embed in the seagull piece into the gel and texture paste. You can always add a little foam pad to the top of the seagull once dry.

Stamp your sentiment onto stamping card and blended over with Antique Linen Distress Ink. Cut into strips and edge with Walnut Stain Distress Ink. Finger curl the strips and apply using gel medium to your raft.

Once fully dry, grab a silver pen to dot on nails wherever the lollipops intersect. You can also add a little patina to add even more of a weathered finish.

Wednesday 16 February 2022

The Toadstool Garden (by Lorraine)

This is a beautiful stamp, which really lends itself to large format cards. There are so many possibilities - stamped in its entirety and coloured, decoupaged over various elements, or simply using elements from within the design.

For this example, I took a piece of cotton rag paper and coloured the background using a variety of Distress Oxide colours. I kept applying ink, then adding a spritz of water until I was happy with the result. I made sure that it was completely dry before stamping the image using my stamp press. As the surface is quite textured, this allowed me to stamp several times to get a good depth of image. I then embossed with fine detail clear powder - I find this enhances the image and provides a better outline for colouring.

I decided to pick out just a couple of details to use as focal points - the toadstools and the flowers seemed the obvious choice to me, but there is plenty of smaller detail which would also work well. I used my pencils to add colour and shading. I also applied some glitter, although this doesn't show too well on the picture.

I mounted the cotton rag onto black paper, with the edge deckled to mimic the rough edge, as I though it didn't suit a more formal square or rectangular mount. Finally, I used a strong adhesive to adhere it to a large card. The cotton rag tends to be quite absorbent, so a belt and braces approach works best to ensure that your masterpiece doesn't fall apart before it reaches your lucky recipient!


Tuesday 15 February 2022

Organic structures (by Miranda)


Hi crafty people,


Miranda here.....with another blogpost for you. I was so inspired(as many of you) by the talented Jo Ward that I had to give this a try.......I re-watched the demo on the Craft store channel and I loved it!

I tried to change it a bit so I also added a bit of myself too.....I love organic structures and it made me think of 'mother Earth' with colors of earth, water, greens and a bit of gold too......

I used my Daniel Smith watercolors and this time I played with the Primatek colors, based on minerals....all a bit muted tones ....I did not have the handy rulers Jo used but I just cut the paper with wavy edges so I had a positive and a negative.

I used the same  square bubble stamp but instead of a drawn circle I took the circle stamp from the 'Celestial set'.

I created more open areas between each 'bubble stamped area' so I could create a kind of 'rivers' in between. I used a waterproof fineliner to draw some lines in the blue and purple areas after I painted a thin line of gold paint. 


I have used the sentiment of the 'words of inspiration' set.


Thanks to Jo for inspiring me with this fun technique and hope you like my take on it! I sure will try this technique in other ways.......

Thanks for visiting and till next time,


Monday 14 February 2022

Metallic Rose (by Tracy Thompson)


Hello I'm back with another post showing you another fantastic stamp set, this time I have used Harlequin Rose.  This was one of the first stamps I bought from Chocolate Baroque and absolutely love it.  I love yellow roses, so went with that colour for this, I started with smooching DI squeezed lemonade over the image, then coloured the image and built up with various shades for depth.  I splattered with white and gold Posca pens.  I layered it onto a background I made with metallic paints from Chocolate Baroque, I just did a thin wash then sponged on thicker paint in three colours.
I love the effect of the paints and need to get them out more often.

Thank you for  popping by, see you at the end of the month with another creation.
Happy crafting
Tracy x

Sunday 13 February 2022

red roses

Carrying on the Valentine theme, some more samples this time using the main image from the Rose and thistle stamp set as well as the sentiment from words of love

The main image was stamped in black versafine ink and coloured with watercolour pencils, then torn out and edged with versafine ink. The background was sponged wiith distress inks in worn lipstick and peeled paint and parts of the stamp were randomly stamped in worn lipstick.. Sentiment stamped in versamark and gold embossed.

Same stamp stamped in grey versafine and part coloured with watercolour pencils. To make the coloured roses stand out more i added some elderly stickles with a brush and then covered the coloured areas with glossy accents. Once it was really dry i fussycut it out and added on to a distress oxide background. The diecut sentiment is from  rose stem script stamp set


My last card uses the main image from the rose stem script set stamped in versafine again and coloured with watercolour pencils, torn out aned added to torn mat of green card.  
The background was made with the rose stamp coloured with Koh-i-nor brush pens , randomly stamped then spritzed with water to make the colours run.
Sentiment from harlequin rose set stamped in black versafine ink


Saturday 12 February 2022

Pretty Birdcage (by Sandra)

Hello everyone. I'm sharing a card I have made using the Pretty Birdcage stamp set.

First I stamped the floral stamp randomly over the card base in purple archival ink.
I then stamped the main image onto some linen textured card with black archival ink.
I used my pencils to colour in.
Once I had finished colouring I used a small pair of scissors to "fussy" cut the stamped image.
I then mat and layered onto white and purple card.
I finished by adding a sentiment and sticking onto my card base with foam pads.


Thanks for looking

Sandra x

Friday 11 February 2022

Tall Grasses (by Judith)

Hello everyone, I hope that you are all keeping well. I have a project to share with you today, mixing and matching several favourite stamp sets. That's the beauty of Chocolate Baroque stamp sets, once you have them, they can be used with other sets from your collection.

I started this project by stamping a couple of bees from Honey Bee and masked them using Masking Tissue. I worked out where I needed them to be by placing a couple of the foliage stamps on my background, so that I knew how tall they would stand. I then covered my gelli plate with green and blue Distress Oxide Ink and placed my background smooth stamping paper over the top.

I stamped a phrase from Words of Gratitude using third generation stamping in a couple of the corners. I wanted the words to be visible, but not overpowering.

I used a couple of silhoutte grasses from Walk Tall, and various shades of Versafine Clair to create a grassy meadow, using first, second and third generation stamping. I chose shades of green and purple.

Finally, I removed the masks and coloured the bees with watercolour pencils. I added a touch of water using a waterbrush to blend the colour. A touch of grey pencil around the bees makes them look three dimensional, but they are flat on the page.

Thanks for stopping by, I will be back later in the month, with something else to share. Take care, Judith xx


Thursday 10 February 2022

Get well soon Lovely Lesley by Zoe

Good morning Lovelies and welcome to my first post this month.

As you all know our Lovely Lesley has been pretty poorly. I just want to take this opportunity wish her a speedy recovery and let her know that I’m thinking of her and David.

I haven’t had time this month to make new things for my blog post so I’m posting some of my older projects. You may remember them? And if you don’t  that’s great.

I love Poppies and I love letters, words and numbers in my backgrounds, I think they just add that “edgy” touch.


Thank you so much for spending your time visiting today.

Have a wonderful day xx Zoe xx 


Wednesday 9 February 2022

Woodland Dreams (by Lorraine)

Hello everyone, today sees the first of three posts by our Guest Design Team member Lorraine. She has created a card using the spotlight technique for your inspiration.

Lorraine writes:

 I decided to pull out one of my original Chocolate Baroque purchases from the Woodland Dreams set. There is so much detail in this one stamp that it ws possible to actually spotlight two areas, although it could carry one quite happily. Unfortunately, I can't recall the dimensions of the card, and it's been gifted now, so I can't check, but the design really dictates the base layer- the size of the mounts is at your discretion!

Smooth black and white card are essential to get the best results, as this technique called for lots of embossing. Liberal use of an anti-static bag also helps. Starting off with the black card, stamp the image using Versamark. I used a stamping platform to help get a good impression - it also provides you with the opportunity to reapply the ink if you miss a bit. Fortunately, the embossing ink shows up well on the black card. Once you're happy with your image, add your white embossing powder and heat set. I like the fine detail powders as they give a crisp result. Repeat the proces using black powder on white card.

When you have decided on the area you want to spotlight - in this case I chose the birds - cut the two corresponding circles from your white card. I actully used my Scan n Cut for this as I didn't have any circle dies of the right size. The circle on the left overlapped the card, so I layered up the the black and white mounts before actually affixing the spotlight circles. There are so many 'contact points' within the design that it does take a little patience to get it properly lined up, but I think the finished effect is worth it. I hope you agree!


Tuesday 8 February 2022

A French Heart For February by Doreen

A French Heart For February


Hello everyone and welcome to February, not sure I like what is happening with the weather at the moment but it's not something we can control so I won't dwell on it.

Today I would like to share a simple card with you using the beautiful French Heart which lends itself to some really easy decoupage.


 Firstly I stamped the full image using the Versafine Clair Fantasia, and then just a couple of extra images of the floral part of the stamp for colouring and fussy cutting to use for the decoupaging elements in this card.

For colouring I have used Chromaflow Pencils by Derwent bought for me by my Grandchildren for Christmas and I have to say I am really impressed with them. They are very easy to blend just using a paper stump.

Once coloured I used the Old Paper Distress Oxide just to take away the starkness of the white background. 

To mould and shape the leaves and the front floral image use a large ball tool and soft shaping mat, or any fairly firm foam to allow you to give your leaves and floral pieces their rounded shape. Apply to the card using a 3d glue medium of choice or foam pads if you prefer. 

As a finishing touch I added some clear glass gems.

Thank you for looking in today 

Love Doreen


Monday 7 February 2022

Happy Place (by Magda) - French Heart, On the Tiles, Words of Love

 Good Morning,

Valentine Day is coming and here below I have for you a quick Step by Step, as idea for your make.

1. Stamp "French Heart" directly on your page with Carnation Red Archival Ink  

2. Stamp it again on a White Cardstock, cut it exactly as a mask and put it on you red heart

3. Stamp all around "On the Tiles" background stamp with Archival Jet Black

4. Cut the leaves and stems of your mask (point2) as a decoupage and color them with a green watercolor and glue them on the first stamp 

5. Stamp the sentiment of "Word of Love", cut it in pieces and color the edges with the same green colour you used at point 4

6. Glue the sentiments as shown 

7. Highlight the red flower with some crystal glitter.


Sunday 6 February 2022

Unusual Tent Cards by Natalie Ballard

There is nothing more annoying than making a lovely top folding card... and then it slides off the shelf and lands on the floor. No matter how thick the card and how perfect the fold, they all seem to do it eventually. This is a solution to the problem with a difference: half stepper card, half tent card.


To make this card, you will need two long thin strips of card. Cut a piece of A4 card in half lengthways or use two top folding A6 portrait card blanks.

Scoring

With the first piece, score the card in half; fold and crease, burnishing the fold on the back of the card. This forms the right hand section of the card base. The left hand section starts with the same halfway score; but now we flip over the card to score either side of the centre scoreline by ½". We then fold each scoreline mountain in; creating an accordion style "w" fold. Burnish each fold on the reverse taking care to not emboss the other folds into either front or back panels.

Cutting

With the second piece of card (with the W fold), we are going to trim the front section to give a stepped appearance. From the back fold, draw a 45 degree angle downwards to the front fold. Then, draw a straight line from the front fold across the front panel. Trim using scissors or even a decorative edge blade if you wish.

Stamping

Don't assemble your card blank yet as we have a few more steps before we get that far. Firstly, stamp and colour your main panel: in the sample above, I used the Sacred Rubber Stamp Set and the square stamp to create a pinned front panel. As we haven't yet assembled our card base, now is the time to add any brad/eyelet attached elements to the right hand panel. The extra star point to one corner of the design makes it ideal for this kind of mounting to be featured. The colouring on this panel was done using blending tape and Distress inks; it relies on using a good quality black inked that won't react to having the Distress inks blended over the top. Always check this on a piece of scrap in the same material prior to working on your final panel.

Stamp your sentiment using the Oxide versions of the colours you used in your ink blending. Oxides typically stamp much better than their Distress cousins. Adhere this panel to the left hand panel and add any Washi tape, border stickers or ribbons to the front panel.

Stamp, colour and fussy cut a dragonfly and moth from the same stamp set. Adhere these to small acetate strips to allow them to "fly" above the card. Set these to one side for the moment.

Assembly

Adhere the open ends of the left hand panel using double-sided adhesive tape placed to the outside of the panels. Carefully, align and adhere the left panel to the inside back of the right. Use the grid on your cutting mat to help you. Close the left hand panel and hold the W fold shut. Adhere the front edge of the left panel into the rear of the front panel of the right. You can use a little wet glue if you wish; this will give you a little wiggle room.

Finally, add in the floating insects using double-sided adhesive. Trim the acetate pieces to your chosen height, and so your adhesive remains hidden.

As the card doesn't open fully, create a sentiment panel for the reverse of the card.

Here's another card featuring the same base design...


Saturday 5 February 2022

A Thistle Butterfly (By Tracy Thompson)


This is my first post for February, and I have picked one of my Favourite stamp sets Thistle Butterfly.  So I went for a layered up look on this one, I started by stamping the image onto a light smooching of Distress Oxides.  I coloured the image with Distress Inks and decoupaged the Butterflies, and around the edge I used some gilding wax.
I did three more layers Gilding each one around the edge after smoochimg with Oxide inks.  The final layer I stamped with Distress Ink in my all time favourite colour, Seedless Preserves using the Large Crackle Background.

I will be back later in the month with another creation made for you to see.
Happy crafting
Tracy x

Friday 4 February 2022

heartfelt (by Veronica)


For my first post this month I chose the  Harlequin Rose and Words of Love stamp sets - I thought they would be appropriate as Valentine's day is approaching......

The first one  is 7" square, the background is distress oxide inks  squeezed lemonade, peeled paint and salvaged patina sponged randomly and part images from the Rose Stem Script set and  words from Tall Trees set also used to overstamp.The sentiment is from Words of Love, stamped in black versafine and candy apple distress oxide inks. The main images were stamped onto spare card with verxafine ink, coloured with watercolour pencils and fussy cut out. If you snip  the leaves carefully you can weave two images together. I glued just the bottom halves onto the card, so the the centre pieces will stand up slightly


The second card is a very simplified version of the first, with red and black lines drawn with marker pens round the image and no sentiment - this is a 6"square card


Another  6" square version, again coloured with pencils this time trying to get a rainbow effect - in hindsight I think it would have been better to start the rainbow at one side of the image and not do individual leaves....

this was a single image, fussy cut round the edges of the design only and glued onto a distress oxide background. Background was stamped with the rose from Rose Stem Script coloured with marker pens and randomly stamped over the card, thne spritzed with water to blend the images. Distress oxide inks were then sponged over the dried card , sentiment added in black versafine and the wobbly lines drawn with a fineliner.


Thursday 3 February 2022

Dress Forms (by Sandra)


Hello everyone.
Today I thought I would do a little walkthrough of a card I have made.

First I stamped the three dress forms from the Haberdashery stamp set in brown archival ink onto some stamping card.


I then put a line of washi tape across the bottom quarter of my card as I wanted this area to stay white.  I used the markings on my glass mat to get it straight.
I used three colours of Distress Inks to colour the top part.

I stamped the bodice part of the dress forms onto some pattern papers and cut these out. (Sorry about the reflections - the joys of Velux windows!)


I die cut a lacy border and aged with Distress Inks and removed the washi tape.     


I glued all my pieces onto the card base.


I added smaller stamps to the background, a sentiment and a piece of ribbon. Also, I decided it needed a bit of pink Distress Ink.


Here it is finished and mat and layered onto a 8x8" card.
Thanks for looking
Sandra x
http://isthatthetime.blogspot.com/