Pin It button on image hover
Showing posts with label Floral Heart. Show all posts

Sunday, 9 February 2020

Valentine's Day (by Magda)

Hello girls,
We can't miss the appointment with our Valentine's Day without making appropriate projects.
I have for you some ideas :

Layered Tag :  stencil, Distress Ink Pad, Archival Jet Black,  Fluttering Hearts, A Heart full of Love


            Aquarelle Pencils, embellishment


Journaling Page :  stencil, Distress Ink Pad, Archival Jet Black, Floral Heart, Nouveau Lovebirds, Amazing Mackintosh Words


Thank you for reading my post today and Happy Valentine's Day
Magda

Wednesday, 22 May 2019

Under the Sea (by Pat)

Today sees the final post this month by our Guest Design Team member Pat. She has created a watery themed card to inspire you.

Pat writes:

Hi there everybody, this week I decided to go underwater, not literally though, the sea down here is still far too cold for that. I love the fun images found on the Steampunk fish sets- Steampunk Funky Fish and Steampunk Sea World, and I also used bubbles from the Floral Heart, Distress Inks and a white Posca Pen.


I started with the background using a piece of acrylic sheet to transfer the spritzed inks to the white card, building up the colour and drying in between the layers until I got the coverage I wanted. I then stamped the images, the bottom ones in green, and the seahorses and nautiluses in blue. In order to keep it uniform I extended the outlines of the seabed by using some green ink on the end of a pokey tool which worked quite well, as a black pen would have been too dark. I know strictly speaking you should heat emboss over Distress Inks if you are going to watercolour, but I didn't want hard lines, and in the few places where the lines were blurred a little I used a bit of coloured pencil to fill them in. I did on the other hand make sure that the waterbrush was just damp and not overly wet.

I finished by stamping the bubbles and darkened the edges with a bit more blue ink, and used the Posca Pen to add some white to some of the bubbles and the eyes of the seahorses and nautiluses.

Thank you for taking a look today, and as this is my last Guest Designer post for now I'll say cheerio, but will be back later in the year.

Best Wishes,

Pat x

Monday, 29 April 2019

Bubbles and Butterflies (by Judith)

Hello everyone, I have a couple of projects to share with you today, showcasing stamps featured in last month's TV shows on Hochanda.


For my first project, I wanted to compare the card that we brought to the show, a mixture of gloss and matt card, and to see how each surface worked with ink. I embossed an image from Punky Romance on both pieces of card using Versamark and white embossing powder, before creating a background, blending Versafine Clair Ink on the surface. I stamped another image from the same stamp set using Memento Ink in a deep purple shade over the top, taking care to rub away any ink that covered the white embossing.

It is not very easy from the photograph to tell the difference between the two surfaces. The glossy card (on the right) really shines, and takes the ink really well. The matt card (on the left), apart from the embossing, looks printed, it is so smooth. It depends which effect you prefer, I like them both. This card will be a staple product on the website in the future, just like our Drawing Cartridge and Textured Art card.

I embossed three butterflies onto vellum using the white embossing powder, and cut them out, adding them to the background to complete the card.

To create my second card, I created a wash over a piece of drawing cartridge, using blue watercolour ink. I added a bit of sea salt and left the background to dry. I stamped the heart image from A Heart Full of Love onto another piece of card using dark blue ink. I coloured the image using water based markers and added a bit of sparkle using a silver sparkle pen. Once the background was dry, I removed the salt and stamped around the edge with a bubble image from Floral Heart, adding highlights with the silver sparkle pen.

I hope that you have enjoyed our romantic inspiration this month, and we look forward to sharing our house and tree projects with you next month. Don't forget to look out for more TV shows in May too! Thanks for stopping by, Judith xx


Saturday, 27 April 2019

Amber Butterfly by Brenda


Hello Peeps, Brenda here again with my last post for April and today I have another collection of Steampunkery hearts and flowers starting with a rich amber offering. My starting point was an Oxide base piece over which I randomly stamped the harlequin from Punky Hearts using Verafine Clair, followed by Punky Romance using Versafinre black and around the edges the little accent worker stamp from Punky Hearts. Finally I stamped, coloured and cut out the Butterfly from Fluttering Hearts and placed focally.


I used a sun ray stencil and several colours of Distress Inks to create the background, rotating the stencil from a central point until I achieved a full circle around the page, it takes a little while but worth the effort for the finishes effect. I the stamped the heart from  Punky Hearts in the middle and a sentiment from A Heart Full of Love.


Using a brayer and Distress Inks I created a random background onto which I stamped the floral image from a A Heart Full of Love, stamping some off the page too balance out the piece. I then coloured in with pencils, if you don't use too much colour on the background there is no need to bleach out the colour before colouring in the flowers.


This one was quite time consuming but fun, I stamped various hearts from Floral Heart, Fluttering Hearts and Hearts Full of Love with Versafine and embossed with various colours of EP, cut out and fixed at an angle and placed a small twine bow on each. The sentiment is from Punky Romance and embossed with one of the EP's.

As always many thanks for your visit and I hope you have a lovely weekend.

Saturday, 20 April 2019

A heart full of love by Rachel

Hello there! Rachel here today with some more makes from the March shows! I have mostly used stamps from A Heart full of love stamp set but will indicate others where they crop up.


This first card uses stamps from a heart full of love - colouring  is in pencil. 


In this one I stamped the background first using versamark and heat setting with white embossing powder ... I added distress inks onto the background using stencil brushes then added some same colour stamping with stamps from a floral heart stamp set. Lastly I stamped the focal image and added it having fussy cut it first.


In this card stamped one image from a heart full of love 4 times to create a wreath. The colouring was in pencil and the bubbles from the floral heart set. 


This final one comes from the punky romance set - I love these timepiece flowers and couldn't resist making a meadow with them.

I hope this has given you some inspiration today!

Big hugs

Rachel x


Friday, 19 April 2019

Time Flies (by Magda)

As second post  for this month I am proposing for you a Male Card and 2 Bookmarks.

Step by Step:   Time flies card

1. Blend Distress Ink Pad old paper on a white cardstock
2. Let brown and green Brusho watercolor flow on it
3. Stamp the gear set and the flowers of Punky Romance, and randomly
    the sentiment of Steampunk Travel plate with Distress Ink Pad brushed corduroy
4. Highlight with a brown Aquarelle pencil  the shape of some stains.


Bookmarks :

1. Colour the bookmark with Distress Crayons of set 1 and set 2
2. Use baby wipe to blend the colours
3. Stamp with Versamark the set of  Fluttering Hearts and heat emboss  
I used the same technique for the second blue bookmark, but for this one I  just stamped in Jet Black  Archival  the little hearts of Fluttering Hearts and the sentiment of Floral Hearts 


I will be back next month with other ideas for you,  hugs
Magda


Friday, 12 April 2019

Hearts and Flowers (by Judith)

Hello everyone, I have a few projects to share with you from last month's TV shows on Hochanda, featuring the lovely heart stamps.

My first projects are three very quick cards, 4" square, using images from the Floral Heart stamp set. I stamped straight onto the card blanks to create a set of clean and simple cards that could be used as little notelets.


The first card uses three different colours of blue Memento ink and the bubble heart, around one of the sentiments which was stamped in black ink. I covered the card very quickly, simply stamping the heart in the different colours to create an all over background.


The second card was created by stamping the large heart, and then stamping the flower cluster down the side using four different colours. I then painted the flowers in the large heart using the four colours and added white highlights.


The third card was created by stamping the heart in second generation randomly over the background with red ink. I stamped the sentiment in black ink as before. Using a small white board circle from the Hearts and Circles pack, I added red ink before coating the circle with UTEE, heating it with my heat gun and stamping the same heart image into the hot embossing powder. I brushed some gold mica powder over the image to pick out the detail.

The following cards were shown as a demonstration on one of the TV shows last month. I created a Toile de Jouy background using the flower sprig from the A Heart Full of Love stamp set, stamping onto 160gsm Luxury Smooth paper I cut a smaller square of the paper to stamp the corresponding heart image. I coloured the heart with pencils, before matting both layers with coordinating card. I coloured a piece of ribbon with Distress Ink to get the ribbon to match the project exactly. I created a couple of colour options for the show, one pale, and one much brighter, to show that by changing the colours, you can create a very different effect. Apologies for the photo of the paler card, it has been given away now, so I cannot photograph it again.

I will be back later in the month with more projects to share with you, thanks for stopping by,

Judith xx

Monday, 8 April 2019

Pretty in Pink by Brenda


Good morning everyone, Brenda here to share a few of my samples from Lesley's recent Hochanda shows featuring the romantic steampunk stamps.

My first share above uses one of the most beautiful floral images from the new A Heart Full of Love stamp sheet. I used a brayer and Distress Inks to create background, I wanted a fairly random finish so went in different direction with three different coloured inks. I then used Versaine black to stamp the images in each corner and also onto three chipboard circles which I had also covered with the same DI's. The flowers are all coloured in with pencils and paints, the circles raised on foam pads and some liquid pearl dots.


Using Versafine Clair black I stamped the broken hearts from A Heart Full of Love onto acetate and placed card over and rubber to transfer the image, I did this four time and then stamped again in Clair red and matched them up, one was actually going in the opposite direction but I decided I quite like the variation........artistic licence. Next I used sentiments from the various sets in the show to stamp between the hearts.  


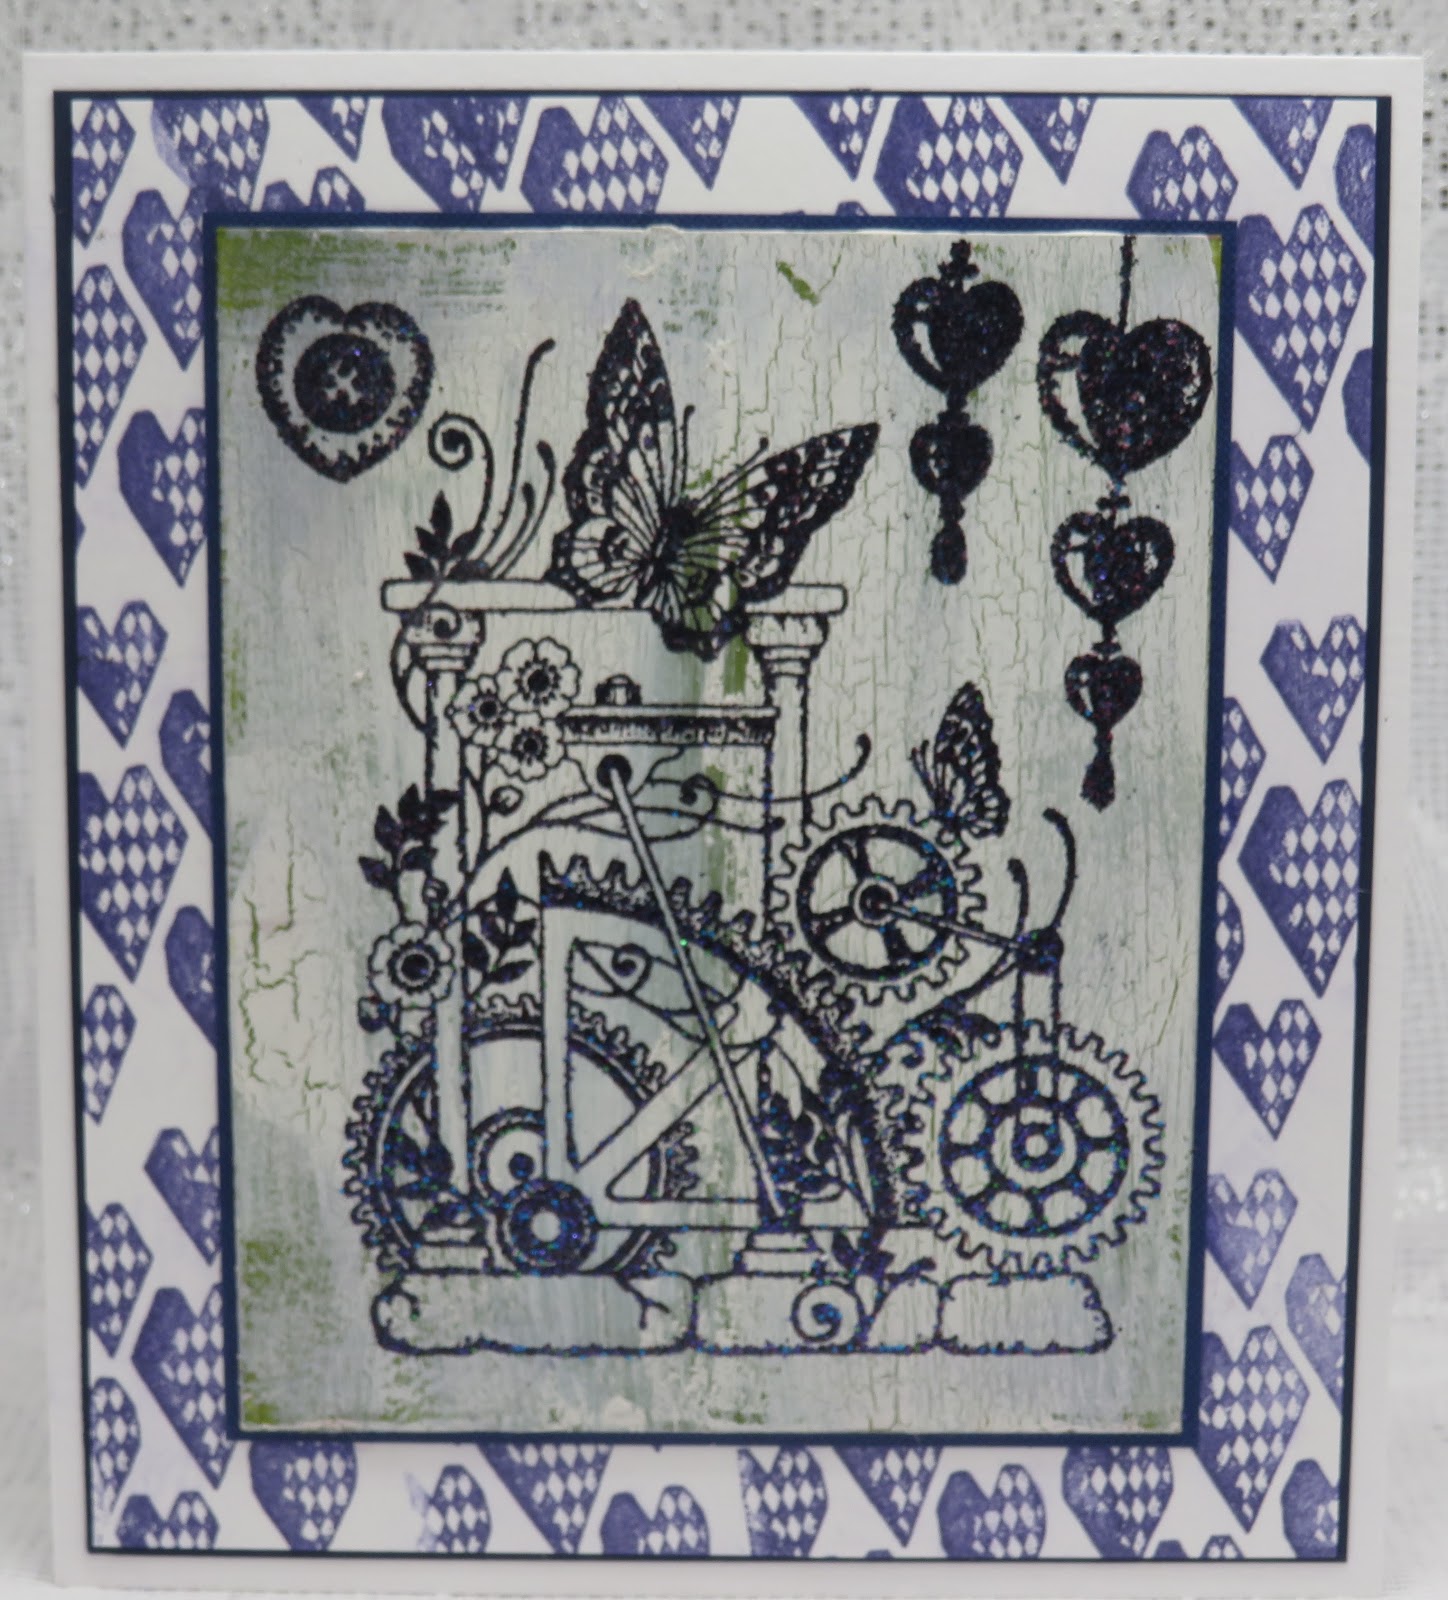
The background panel was created using the heart stamp from Punky Hearts and Versafine Clair ink. The base of the focal image is a 600gsm piece of cardstock painted with acrylic pain and covered with crackle glaze, sanded down and stamped with one of the stamps from Punky Romance using Versamark and heat embossed using cobalt blue sparkle EP. I also stamped some hearts from Punky Hearts across the top.


Lastly a small 7x7 canvas covered with black gesso, then stamped with the clocks from Punky Romance and heat embossed with detail copper EP twice to give more depth. Next I some interest to the corners with a stencils and texture paste and liberal coatings of copper gilding wax. The heart and bird are from Fluttering Hearts stamped and embossed with detail copper EP, fixed onto the canvas along with some Little Birdie flowers. sentiment and twine.

Have a good day and as always my thanks for popping into our blog today.


Sunday, 7 April 2019

Love is.... ( By Marga)

Hello everyone, hope you are all good. Today I want to show you two tags I have made.


The first tag I have made with Distress Oxide and I used the stamp set Floral Heart. I stamped the images with Versafine Onyx Black and I used a white gel pen for the edges and the accents.


The second tag I made also with Distress Oxide and I used the stamp set Fluttering Hearts. I stamped the image with Versafine Onyx Black and the background images with Distress Oxide and I used a white and black gelpen for the edges and the accents.

Hugs Marga

Friday, 5 April 2019

My Heart's All of a Flutter (By Julie)

Hello, today it is my turn to show a couple projects.
My first card is stamped with the brand new stamp set, A Heart Full of love.


To start with I stamped the floral corner design and coloured with Polychromus pencils. 
 Apply green and blue inks through a dotty stencil all over the background, but try to avoid the corner design and when dry take the sentiment from Floral Heart and stamp it in the bottom right corner. Cut your panel so that it fits your card blank, leaving approx. 1cm border all around the edge. To finish off, stamp the heart design, colour with the pencils, cut out and then mount in the centre with 3D glue gel.


My second card is stamped with both Punky Hearts and Fluttering Hearts. Both of these sets are brilliant and work so well together.
 I stamped the Butterfly Heart from Fluttering Hearts onto my card blank, starting with the image at the top, followed by the bottom image and then the left and finally the right image. You then need to make a mask. I did this by stamping onto copy paper and then folding the paper so that when I cut out the image I had two copies. Place your masks onto the top and right hand side images, ink up your Butterfly Heart, stamp onto scrap paper and then stamp onto your card, over the top of your masks. This is second generation stamping and you need to repeat this step until you have stamped in between all of the butterflies. Colour with Polychromus pencils.
Ink up the cluster of hearts from Punky Hearts, stamp around the background and finish off with Distress ink blended into the background.

Thanks for stopping by and please call again soon for more Design Team inspiration.

Julie xx