Hello everyone, I have a few more projects to share from last month's TV shows on Hochanda. This time, I have been looking at various surfaces and how the stamps could be used to decorate a project.
My first make is a card, using the Snowdrop Script stamp set, and I have chosen a simple colour scheme of pastel blue, reminiscent of the bluebells that I have chosen to stamp. I coloured a piece of drawing cartridge using Distress Ink, and then stamped the bluebells repeatedly, using blue ink in first and second generation stamping, to create a bluebell meadow. I coloured the images with Koh-I-Noor watercolour paints, using blue, green and purple.
I edged a whiteboard heart with blue ink, and again stamped a single bluebell image and painted it with the Koh-I-Noor paints. I added the word 'Bluebell' to finish.
I took another whiteboard heart and covered it with texture paste. I spritzed the large bird from Doodle Butterfly with water, and pressed it into the paste. I allowed the paste to dry completely, and them coloured the surface with beige coloured ink, adding a deeper colour into the bird image and around the edges with a dry brush. I also added some copper wax around the sides of the heart.
I used a piece of texture card for the background, and painted it using acrylic paint and tinting medium. I added a border from the same stamp set using Archival Ink.
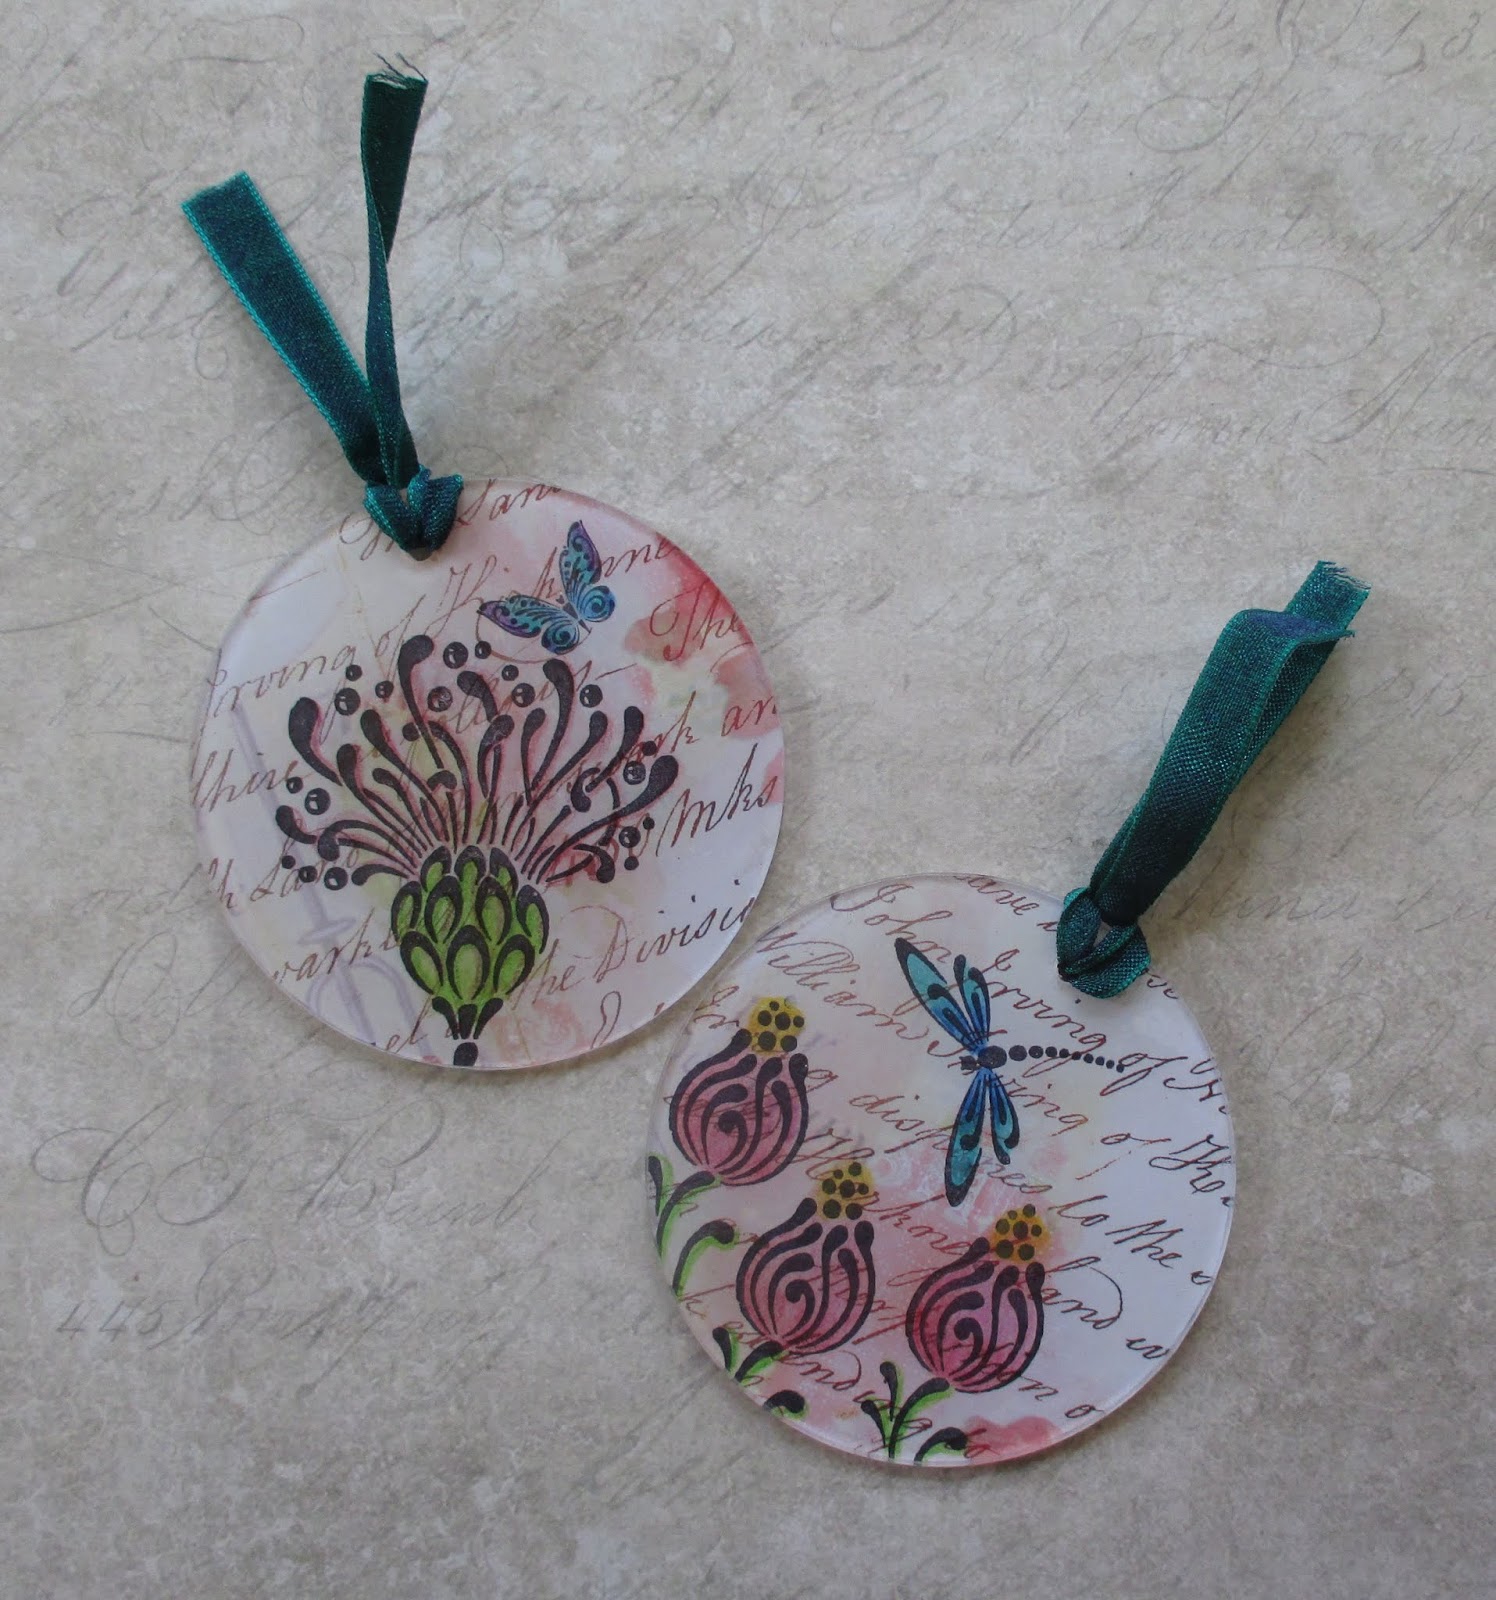
For my final project, I stamped a collection of flowers, butterflies and dragonflies from both Doodle Butterfly and Doodle Birds onto circles cut from Designer Papers 8" x 8"- Chic Script, which I then coloured with pencils. I adhered these to Circular Acrylic Tags, which would make really pretty additions to cards, or lovely gift tags. These were fairly quick to make and colour beautifully.
I hope that you will try out some of the ideas that the Design Team have given you this month with these fabulous stamps. Thanks for stopping by, see you next month!
Judith xx
Showing posts with label Snowdrop Script. Show all posts
Monday, 30 March 2020
Sunday, 22 March 2020
Doodle Delight (by Julie)
Today marks my last post for Chocolate Baroque as I make way for a shiny, new design team member. I have loved my time on the team, however it is time to move on, so I will get on with showing you my last three projects.
My first card is stamped with Doodle Bird and is a very clean and simple design.
I inked up the flower and rose head images with red and green dye ink and stamped around the card edge. Some of the images are lighter than others and that is because I stamped twice before re-ink the stamp. I added in the dragonfly and butterfly images and coloured the butterfly with polychromos pencils.
The card was finished off with a sentiment from Snowdrop Script before being mounted onto red card-stock.
My second card has been stamped with Doodle Butterfly Once all of the main images were stamped I applied Broken China Distress ink over the entire card before outlining the stamped images with a coloured fine liner pen. I then darkened the edge of the card with Hickory Smoke Distress ink before over stamping with the net image from Rustic Fragments and finishing off with white paint pen dots.
My last project was created on one of Chocolate Baroque's whiteboard tags. I inked up the letters from Edgey Edges with a red dye ink and stamped onto the left edge of the tag, before inking up the pattered image from the same stamp set, using a purple dye ink and stamping onto the right edge of the tag. I applied purple dye ink around the edges of the tag before outlining with a marker pen. Decorative twine was wound around the tag before stamping the bird (from Doodle Birds) onto spare card, cutting out and sticking onto the front of the tag with 3d foam pads along with the word "Journal"
Thanks for stopping by and please call back soon for more Design Team inspiration
Julie xx
Friday, 13 March 2020
Stamping on Black Card (by Judith)
Hello everyone, I have a few projects to share with you today using the stamps that we brought to you on last month's TV shows on Hochanda. All of the projects share a common technique; stamping on black card with acrylic paint, which suits these doodle style stamps really well.
For my first project, I painted a piece of sticky backed canvas with some paint, watered down slightly, blending the colours where they met. I dried this layer, and stamped a flower from Doodle Butterfly over the top using white acrylic paint, for a subtle effect. Once dry, I stamped some of the words found on Snowdrop Script and Edgy Edges, using Archival Ink. I added some doodle stems using green Archival Ink.
To create the flowers, I added white paint to the stamps, then added the other colours over the top, before stamping onto black card. I chose a mixture of blue and green paint over the white. I fussy cut the images, leaving a slight border, and adhered them to the tag shape, which I matted onto black card as well. Some coloured ric rac completed the tag.
For my second project, I coloured a whiteboard tag with green and blue ink before stamping the image from Edgy Edges using Teal ink over the top. I created two butterflies as before, and stamped the sentiment onto a strip of left over card, which I then cut into pieces before adding to the tag. Blue and green ribbon complete the tag.
This card feels a little on the busy side! However, I wanted to show you what you could do with these stamps, and you could certainly leave some of the elements out, or incorporate them all!
I started by colouring the background with Distress Inks, and adding overstamping with a mesh design from Rustic Fragments. I used a darker version of each colour from the background for a tone on tone effect. I edged the background with the top of the flower head using black ink for a decorative border.
I created the flowers and dragonflies in the same way as before, using green, yellow and pink paint on top of white paint.
Thanks for stopping by, I will be back later in the month with more projects to share with you.
Judith xx
For my first project, I painted a piece of sticky backed canvas with some paint, watered down slightly, blending the colours where they met. I dried this layer, and stamped a flower from Doodle Butterfly over the top using white acrylic paint, for a subtle effect. Once dry, I stamped some of the words found on Snowdrop Script and Edgy Edges, using Archival Ink. I added some doodle stems using green Archival Ink.
To create the flowers, I added white paint to the stamps, then added the other colours over the top, before stamping onto black card. I chose a mixture of blue and green paint over the white. I fussy cut the images, leaving a slight border, and adhered them to the tag shape, which I matted onto black card as well. Some coloured ric rac completed the tag.
For my second project, I coloured a whiteboard tag with green and blue ink before stamping the image from Edgy Edges using Teal ink over the top. I created two butterflies as before, and stamped the sentiment onto a strip of left over card, which I then cut into pieces before adding to the tag. Blue and green ribbon complete the tag.
This card feels a little on the busy side! However, I wanted to show you what you could do with these stamps, and you could certainly leave some of the elements out, or incorporate them all!
I started by colouring the background with Distress Inks, and adding overstamping with a mesh design from Rustic Fragments. I used a darker version of each colour from the background for a tone on tone effect. I edged the background with the top of the flower head using black ink for a decorative border.
I created the flowers and dragonflies in the same way as before, using green, yellow and pink paint on top of white paint.
Thanks for stopping by, I will be back later in the month with more projects to share with you.
Judith xx
Monday, 9 March 2020
A Butterfly in the Window by Brenda
Hello Peeps, Brenda here with a few shares from the creations I made for last months Hochanda shows which featured yet more beautiful stamps, some with a feel of Spring which should be bursting into life any day now....I hope.
I used a stencil to create the window on the top card with the stencil and sponged Distress Inks and with the stencil still in place I stamped one of the backgrounds from Rustic Fragements, then three Butterflies from Doodle Butterflies stamped onto card inked with the same DI's, cut out and decoupaged. Finally a sentiment to finish.
Distress Oxides again in the background applied with a brayer, then Snowdrop Script stamped four times graduating the height and the colour from the Snowdrops bleached out and a sentiment from the same set.
I used the flower head from Doodle Birds and added a stem using one of the worker stamps to create a stem, added a decoupaged Butterfly from Doodle Butterflies along with a sentiment stamped onto a piece of Aida. The background was created with acrylic paint, some over stamping with Distress Ink and bleach.
I have used the Doodle Bird set again here along with the bottom panel stamped with one of the images from Rustic Fragements, some ribbon and little Dragonflies from the Butterfly set.
I incorporated images from all sets in the shows on this one, once again Oxides for the background and Versafine Clair for all the stamping.
Have a lovely day everyone and many thanks for your visits and words of encouragement.

Saturday, 7 March 2020
Doodle Bird Shadow Stamping (by Julie)
The two cards I have for you today have been created from the Doodle Birds set.
I started the first card by applying liquid water colour ink to water colour card and spritzing with water. Once dry I inked up the flower and butterfly in a pale brown/beige dye ink and stamped onto my inky background. Once you have cleaned the ink from the stamps, re-ink with the red dye ink and stamp the flower image again, but be sure to off set the design so that the paler image can still be seen. Next you need to re-ink the butterfly with blue dye ink and over stamp the butterfly and as before, slightly off setting the image so that the paler image can still be seen.
Cut your water colour card to size and mount onto blue card-stock.
Ink up the small butterfly and flower design with Vintage Sepia Versafine ink and stamp around the edge of the craft card. Apply Old Paper Distress ink to the edges of the craft card and finish off with white, paint pen highlights.
This DL card uses the shadow stamping technique but in a slightly different way.
The background was created using the Direct to Paper Technique, which means I dragged Old Paper Distress ink pad across my card blank.
I then inked up the bird and feather images by dabbing light green dye ink onto the stamp and then going around the edge of the stamp with turquoise dye ink, before stamping onto the card blank.
Once I had stamped all of the coloured images I then cleaned my stamps and re-inked with Onyx Black Versafine and over stamped the bird and some of the feathers, being careful to off set the design.
The card was finished off with a sentiment from Snowdrop Script
Thanks for stopping by and please call back soon for more Design Team inspiration.
Julie xx
Thursday, 5 March 2020
Awesome Day by Rachel
Hello there! Rachel here for my first visit this month. I am bringing some of my samples from the February Hochanda shows. This first one was created using the Bluebell stamp from the snowdrop script set. I adore bluebells and go walking in the same area each year to see carpets of them. If I'm really lucky and time things well I also usually get to see baby owls!
To make this card I first created a very pale landscape using inks having first masked off a circle. Then I filled in the circle with yellow ink to create the sun. Next I repeat stamped those bluebells and coloured in using water colour pencils.
My next sample is my pot that I made using a stamp from the rustic fragments set. I stamped in an orange colour then overpainted inglazes of blues and greens - I was trying to achieve a rough ombre..... Once dry the pot was over glazed and fired.
My final card today involves a distress oxide background and a strip from the edgy edges stamp set. Very simple!
Hope you have wonderful day!
Hugs
Rachel xx
Friday, 25 January 2019
Just a Note (by Doreen)
Hello everyone, today sees the last post of this month from our Guest Team Design member Doreen. She has created a Spring time project for your inspiration.
Doreen writes:
At the weekend I noticed quite a few daffodils dotted around and about, which made me think of my Stepfather who loved Spring firstly with the snowdrops.....then the daffodils and of course followed by the beautiful bluebells. It just made me feel as if it is all a bit premature this year, probably something to do with the mild weather we have been experiencing, although the weather man says it's all about to change to a far chillier week ahead.
Products used in this project:
Stamp set: Snowdrop Script
Luxury Smooth Ivory Paper
Versafine Onyx Black inkpad
Inktense or watercolour pencils.... Koh-I-Noor are another favoured choice of mine.
Pearlised card from stash
With this post I have simply stamped, roughly coloured with Inktense pencils although any watercolour medium would work equally as well.
Activate the pencils with either water or a clear sparkle pen, I have chosen water for a simple effect.
When dry, mount onto a pearlised card then position to suit your preference.
Doreen writes:
At the weekend I noticed quite a few daffodils dotted around and about, which made me think of my Stepfather who loved Spring firstly with the snowdrops.....then the daffodils and of course followed by the beautiful bluebells. It just made me feel as if it is all a bit premature this year, probably something to do with the mild weather we have been experiencing, although the weather man says it's all about to change to a far chillier week ahead.
Products used in this project:
Stamp set: Snowdrop Script
Luxury Smooth Ivory Paper
Versafine Onyx Black inkpad
Inktense or watercolour pencils.... Koh-I-Noor are another favoured choice of mine.
Pearlised card from stash
With this post I have simply stamped, roughly coloured with Inktense pencils although any watercolour medium would work equally as well.
Activate the pencils with either water or a clear sparkle pen, I have chosen water for a simple effect.
When dry, mount onto a pearlised card then position to suit your preference.
Thank you for looking and leaving your comments,
love Doreen
Subscribe to:
Posts (Atom)