Pin It button on image hover

Sunday 31 October 2021

Stepping back in time part 3 by Zoe

Good morning Lovelies and welcome to my final post this month featuring some of my older favourite creations.

I was unable to make samples for last months shows unfortunately.

This was an interesting technique and such fun.
Starting off by just adding colours to the card, I used a blending tool and Distress inks but anything to get loads of colour would be fine, I then stamped the flowers and very carefully painted around the with Gesso, it tones down the colour without obliterating it completely, then second generation stamped the script using a grey ink, just to add more texture without taking the beauty of the flowers away.


This card I used a textured cardstock and a die to create a doily style layer for my Greyboard heart which had been sploshed about in Distress Oxide inks on a mat with water to create a marble type background.


Thank you so much for spending time and visiting today.

Happy crafting and see you next month xx Zoe xx 

Saturday 30 October 2021

Alliums in Blueprint (by Doreen)

 Alliums in Blueprint

Hello to you all, here we are and October is almost over, how scary is that ?

Today is my last post of the month and although this first sample may look tricky it's not as bad as it seems at first.

Using the Allium Blueprint and a Blue Inkpad of choice, Stazon may be a good choice as it dries very quickly and is unlikely to smudge.

Firstly I cut a square piece of white card 8"x 8" and marked the centre point on the north, south, east and west of the card, align the stamp with the points and stamp the four points and then fill in the gaps, the base of the stamps will overlap slightly but I didn't mind this although I did take the little pieces on either side off the stamp but if you prefer not to just remove the ink carefully with a damp cloth. I have used another blueprint stamp in the centre or you could just as easily replace it with a sentiment.

I mounted the topper onto a square piece of pearlescent card from my stash the same size as my base card. Trim the topper before adding to the base card, I always find this easier if I turn the topper away from me and cut along the matt card.

Simple but perfect card for men who will appreciate the Blueprint detail and it will look good in whatever colour you choose to use. 


A few more samples from this stamp set which no matter how you choose to use it will look good. 


It has been good to re-visit the Blueprint stamps this month, I hope you have enjoyed seeing them all.
Thank you for looking in 
Love Doreen

Friday 29 October 2021

Echinacea all the way - by Rachel

 Hello there. Rachel here today with my final set of inspiration from the September shows - this time using the Echinacea Blueprint set. In this first sample I used an MDF film strip stand that I bought in a previous show and gessoed it black. I then created the central portion by stamping the main image on card and colouring using water colour pencils.

In this final piece I stamped the backgound to the card using worker stamps then the main focus was stamped in versamark and heat set with white embossing powder before colouring in using water colour pencils. The layer in between was kraft card given the stamping and versamark/embossing powder treatment. 
Hope you've found some inspiration from my makes this month - I always enjoy making for the shows - the stamps are so intricate. Love them!
Have a great day!
Hugs
Rachel xx


Wednesday 27 October 2021

Winter Dawn (by Carole)

Hello everyone

My last project for this GDT slot is a Winter theme using the beautiful Winter Dawn stamp (UA6SP0525). I have used the other three quite a lot as they are very pretty images, but Winter Dawn has been neglected for some reason. 😃

So here she is. 

The frame is 25cm.one I had in my stash. Just right for the 15cm. heart to fit in the centre.

The heart is a good quality birch wood which has been sanded to a lovely smooth finish. This is suitable for stamping directly onto the wood without prepping it first, using a suitable inkpad.

Some inkpads will bleed, which you don't want. I have used Versafine Blue on mine and it is useful to use a drier pad rather than a squidgy new one 😃. Stazon works well too.

The image has been coloured with watercolour pencils and white gel pen, for the flakes.

It is edged with tiny beads to finish it.

The background sheet has the was resist technique again, (see last week's post), and then overstamped with snowflakes which have been white embossed.

The edging is finished with little pearls.

I hope you have enjoyed this project and revisit this lovely series of stamps.Happy crafting to you all and thank you fr visiting Chocolate Baroque's blog.

Carole 😀

Monday 25 October 2021

A Lightbulb Moment (Tracy Thompson)

 Hello again, I'm here with my final post of the month with creations I made for September;s show on The Craft Store.


For this creation I created a background piece by randomly stamping the bulb and the lupin, I coloured the Lupins with inks and glittered the highlights in the bulb.  I then took the main image from the stamp set Lupin Blueprint and coloured it with inks, I took the sentiment from the set and layered it up and placed it on the main image in the corner.


Now for this next card I tried something a little bit different, instead of colouring with markers or inks I coloured with glitters.  So To start I took a piece of card so use as a base to adhere to the card blank, using a glue pen I drew a line around the edge then glittered in purple.  I did the same again and glittered in green.  I stamped my main image from the Allium Blueprint set, and on the blueprint drawing part I shaded it in grey.  I then using a glue pen again coloured in the Allium, stems and leaves and in the same glitters as used around the edge coloured the image.  I'm just sorry all the sparkle doesn't show on the picture.

Thank you for taking the time to look at my post
Happy crafting
Tracy x


Sunday 24 October 2021

floral blueprints (by Veronica)

For my last post this month I have a set of  very simple DL cards using the main images from each of the blueprint sets featured in last month's tv show. All the base cards are of  a dark silver card, and the images stamped on white card with black versafine ink.

The flowers were coloured with  koh-i-noor  pencils and blending solution, and the sentiments were stamped onto spare white card. The sentiment on the echinacea card is from life is so much better.


Saturday 23 October 2021

Floral Blueprints

Hello, I am sharing  some more of my Blueprint cards from the September show on The Craft Store.
The stamps that I am using are from Echinacea Blueprint and Lupin Blueprint.

On my first card I made a background using Distress Inks which I then sprinkled with water and blotted to lift the ink. I then stamped around the edges with some of the smaller stamps to create a border. I stamped the main image onto some card, again I used Distress Inks to make a background and I coloured the flowers with water colour pens.  I used oval shaped dies to cut out the Echinacea image and layered onto black.


My next card is very simple. I had a small piece of script paper which I layered onto some black card.
I stamped the smaller echinacea flower onto some cream card and coloured with a silver sparkly pen. I added a piece of ribbon around the lower part of the card and mat and layered this onto some black card and then onto the script layer.


My last card uses the Lupin Blueprint set. I made a background by using Versafine Clair on the Inky Plate. I then used one of the stamps to frame the edge of the card. I used my stamping platform to stamp the main image of the lupin and lightbulb, coloured with water colour pens and then stamped the image again to make it look nice and clear.


Thanks for looking
Sandra x


Friday 22 October 2021

Stamping on Coloured Surfaces (by Judith)

Hello everyone, I hope that you are keeping well. I have a couple of projects to share with you today showcasing the stamps from last month's shows on The Craft Store.

For my first card, I decided to stamp the main image from the Chrysanthemum Blueprint stamp set onto a piece of die cut grey card. I coloured the image with pencils, choosing a palette of mostly orange and yellow to pop against the grey background. Even the green was a zingy yellowy green hue to stand out against the grey. I added lots of white highlights to lift the image.

I created a background using grey Distress Ink on Drawing Cartridge, which was not too fussy, and left lots of white areas. I felt that this worked well for the darker coloured topper in this instance. As with a lot of my cards, I did not add a sentiment, as I quite often add one when I send a card. This card would be useful for lots of different occasions.


My second card also features a coloured background for the focal image; this time I decided to stamp on kraft card. I stamped the main image from the Allium Blueprint stamp set using Versafine Onyx Black Ink, and coloured it with pencils, as before. I used a tea dyed background, and stamped one of the smaller allium heads using a plum coloured ink. Both layers of card were edged with the plum coloured ink before attaching them to the base card.

Thanks for stopping by, take care,


Judith xx


Thursday 21 October 2021

Stepping back in time by Zoe

Good morning Lovelies and welcome to my post.

I’m showcasing some of my older creations as unfortunately I was unable to make samples for last months shows.

A trio of Bookmarks.

A Calendar Page


Thank you so much for spending your time visiting today.

Have a wonderful day xx Zoe xx


Wednesday 20 October 2021

Wax Paper Technique (by Carole)

Hello again.

Hope you are enjoying your crafting with the beautiful new stamps which were featured on The Craft Store recently.

My sample this time uses a pretty stamp from the Butterfly Poppy Collage set and an older technique which seems to have gone out of favour or been forgotten! 😊

I stamped the butterfly panel from Butterfly Poppy Collage and then stamped it again and embossed with clear embossing powder. This was torn and cut out to add a bit of depth.

The white panel behind was embossed with a diamond folder to mirror the stamp diamonds. Unfortunately this not showing in the photo.

The background is done with the wax paper technique which is simple to do and can give interesting results.

My card has the wax paper scrunched up, but you can put it through in an embossing folder to get different patterns.

I scrunched the wax paper, smoothed it out and ironed it onto my piece of card. Use a piece of copy paper on top to iron. Please don't use your main iron in case the wax seeps through the paper onto the iron!

The pattern from the wax will act as a resist so that when you ink over, the pattern 'pops'.

I like this technique as it is quick and simple and the wax paper can be manipulated to get different patterns.

I hope you have liked this.

See you next week

Carole.


Tuesday 19 October 2021

Enchanting Echinacea

Enchanting Echinacea 

Hello all, today I will be sharing samples of the Echinacea Blueprint stamp set. The Echinacea has to be one of my favourite plants so pretty and they do last a lot longer than you would think if you deadhead them regularly.

For this first sample I made a mask of the heart and cut the Masking Tissue the same size as the topper which really helped when making both the heart itself and for masking the outside when using the stencil to make 'sunrays' inside of the heart, these masks can be kept for future use and will be used many times more yet.

I used Distress Inkpads to colour and Promarkers to add extra detail.


Here are a few more samples for you the Echinacea is a very easy flower to cut out so although you may not like fussy cutting this is not too fussy.


Thank you for looking in today, take care

Love Doreen


Monday 18 October 2021

Floral architecture by Rachel

 Hello there! Rachel here today with some more floral architecture for you from the September shows. In this first sampe I used both the chrysanthemum and the allium sets along with flitterglu, foil and mica powders - all done on black card - I stamped the images in flitterglu then put the stamps straight into water before adding the flake and the mica powders to the glue.


In this second card I used some of the hexagons I bought from Lesley on the August shows and created my card using the Chrysanthemum set of stamps. I used stamped images in the background and overcoloured in ink, I then added more hexagons using a stencil from the August shows. For the hexagon images I coloured them in using water colour pencils.

Hope you have a great day.
Hugs Rachel x


Sunday 17 October 2021

A lightbulb moment by Brenda


Happy Sunday everyone, a couple more of my sample from the September TV shows. Above an Oxide Spray background and added texture using a stencil and paste. The focal Lupin Blueprint stamped onto the base and then a second time cutting out the whole image and arranged over a die cut circle. The work bulb in the set was then stamped several times with first and second generation stamped and the hanging cords drawn in with a black fine line pen. The image is stamped onto black card, embossed with details white EP and the edges roughly torn, fixed in place along with some washi tape and two index clips. A matching envelope to compliment the card.


A tag using Chrysanthemum Blueprint. I covered CB black and white DP’s to cover a chipboard tag sanding and inking the edges. The stairway and bloom were stamped onto this using Versafine Clair  and white paint used to fill in the stairway element. I then stamped he blooms and leaves a second time onto white card, cut out and paper pieced, finishing with an organdie bow.

have a good week.

Saturday 16 October 2021

Time to bloom again (by Magda) - Serenity, Birthday Words

 Welcome back to my second post of October

I think after a dark period each of us in our own way want to bloom again like a water lily. This is why I create this Journaling page and a Card.

I used the lovely Serenity and Birthday Words plate stamps of Chocolate Baroque, stencil, Distress Ink Pad, Archival Jet Black and watercolor pencils


Serenity has so many nice stamps in the same plate. 
Thanks for reading my post and don't miss the appointment of next month. Hugs 
Magda

Friday 15 October 2021

Lupins And Chrysanthemums (Tracy Thompson)

 Hello Blogging friends, I'm back today with my second post for this month with two more creations I created for September's show on The Craft Store.


For my first creation I masked of the centre of the card, then using ink sprayed with water I dabbed my card into the ink creating this marbled effect.  When dry I created a line down each side of the ink in glitter.  I stamped the main image, Lupin Blueprint and fussy cut it out, I coloured it in using inks as watercolours, I placed it in the centre panel using foam pads.   I stamped my sentiment in two parts which is from the Sentiment set called Life Is So Much Better.


For my second creation I thought I'd show you this gift bag, I created a background piece of card as my base, this was done by inking up a piece of card with two shades of ink sprayed with water for a nice muted effect.  From the stamp set Butterfly Mind I randomly stamped a butterfly in a shade of blue to match the background.  I stamped the main image from Chrysanthemum Blueprint on a piece of card, I edged it in ink and then coloured it in pencils, highlighting in white gel pen.  I adhered my image to the background piece, then added a piece of cotton lace across the whole piece before placing it onto the gift bag.

I will see you again towards the end of the month with my final post for October.
Thanks for looking
Happy crafting
Tracy x


Thursday 14 October 2021

greyscale (by Veronica)


 two more samples to show today using the lupin and chrysanthemum blueprint stamps from the September show.

I had a couple of pieces of grey card left over from previous cards, and decided to see how they worked with the koh-i-noor pencils and the blending solution.

For both versions I stamped the main image in black and clear embossed it before randomly stamping smaller images in grey ink round it to make a background.

For the lupin card just used the white and yellow pencils to colour the image, then added a touch of green to the flower centres and used the blending solution to spread the yellow over the light bulb. The sentiment was stamped onto spare white card.

The chrysanthemum flower was coloured with red, orange and yellow pencils blended together, and the leaves with 2 shades of green and a yellow, also blended with a little white added to the banister railing.

Both were matted onto white and black card before adding to a card blank.
 

Wednesday 13 October 2021

Beautiful Book Cover (by Carole)

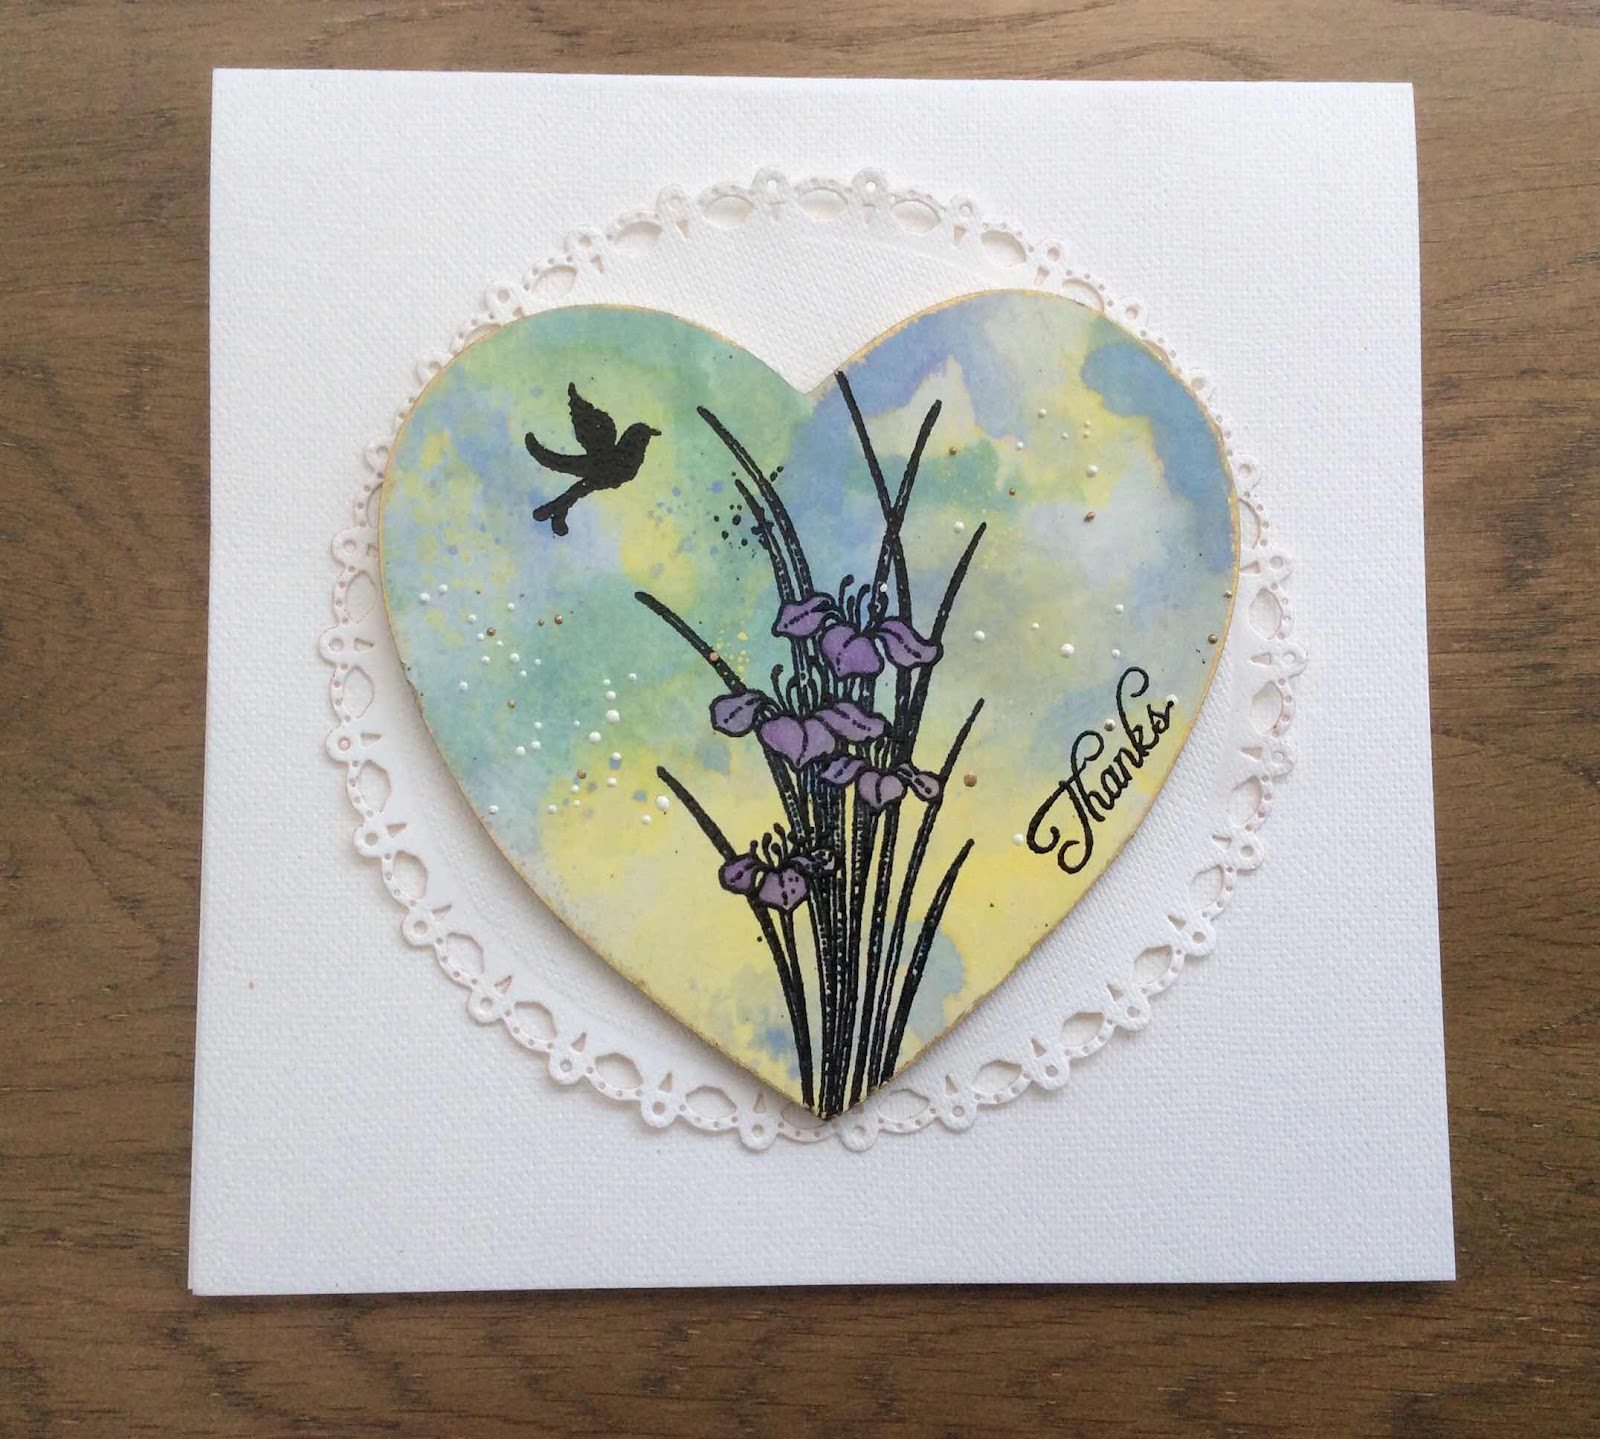
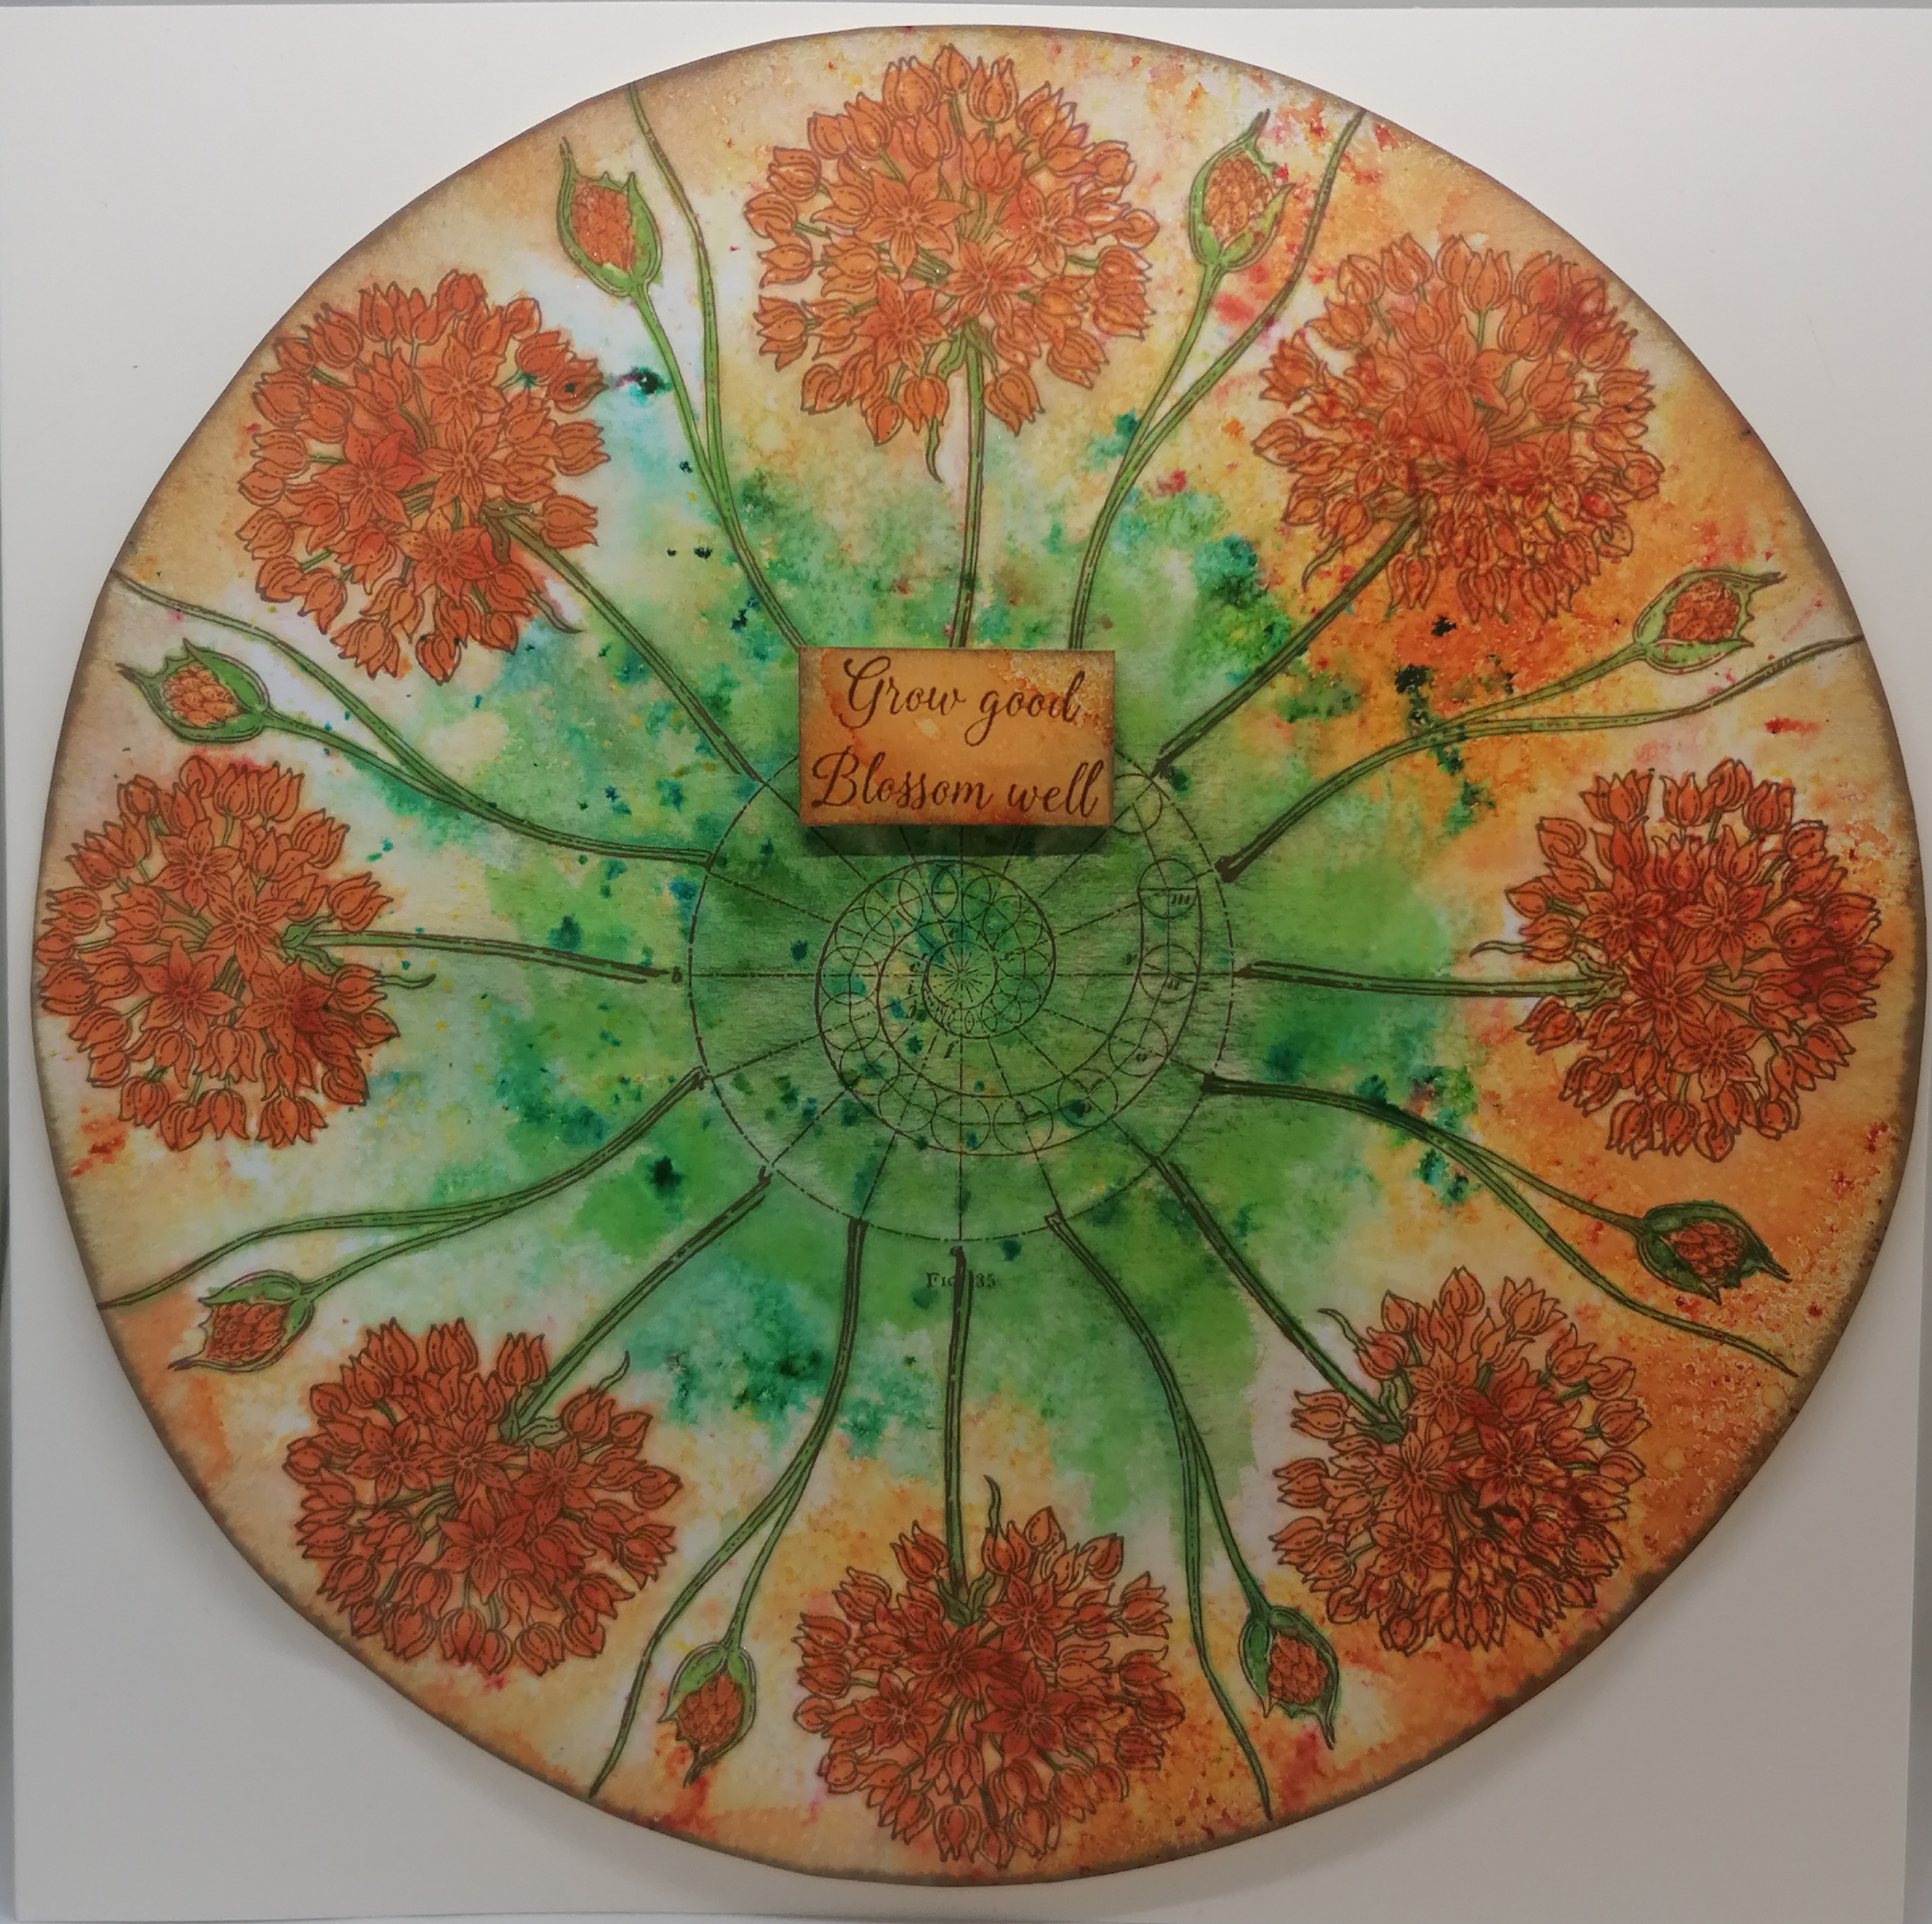
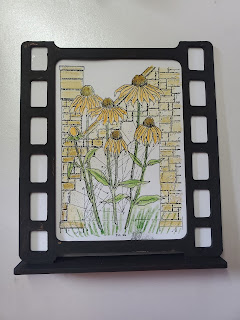
Hello everyone, our regular Guest Design Team member Carole is back with us this month, she will be sharing some inspirational projects with us for the next three weeks. The first is a beautiful book cover. 

Carole writes:

Hello everyone.

I am pleased to be back for this GDT spot again.. hope you like what I have to show you.

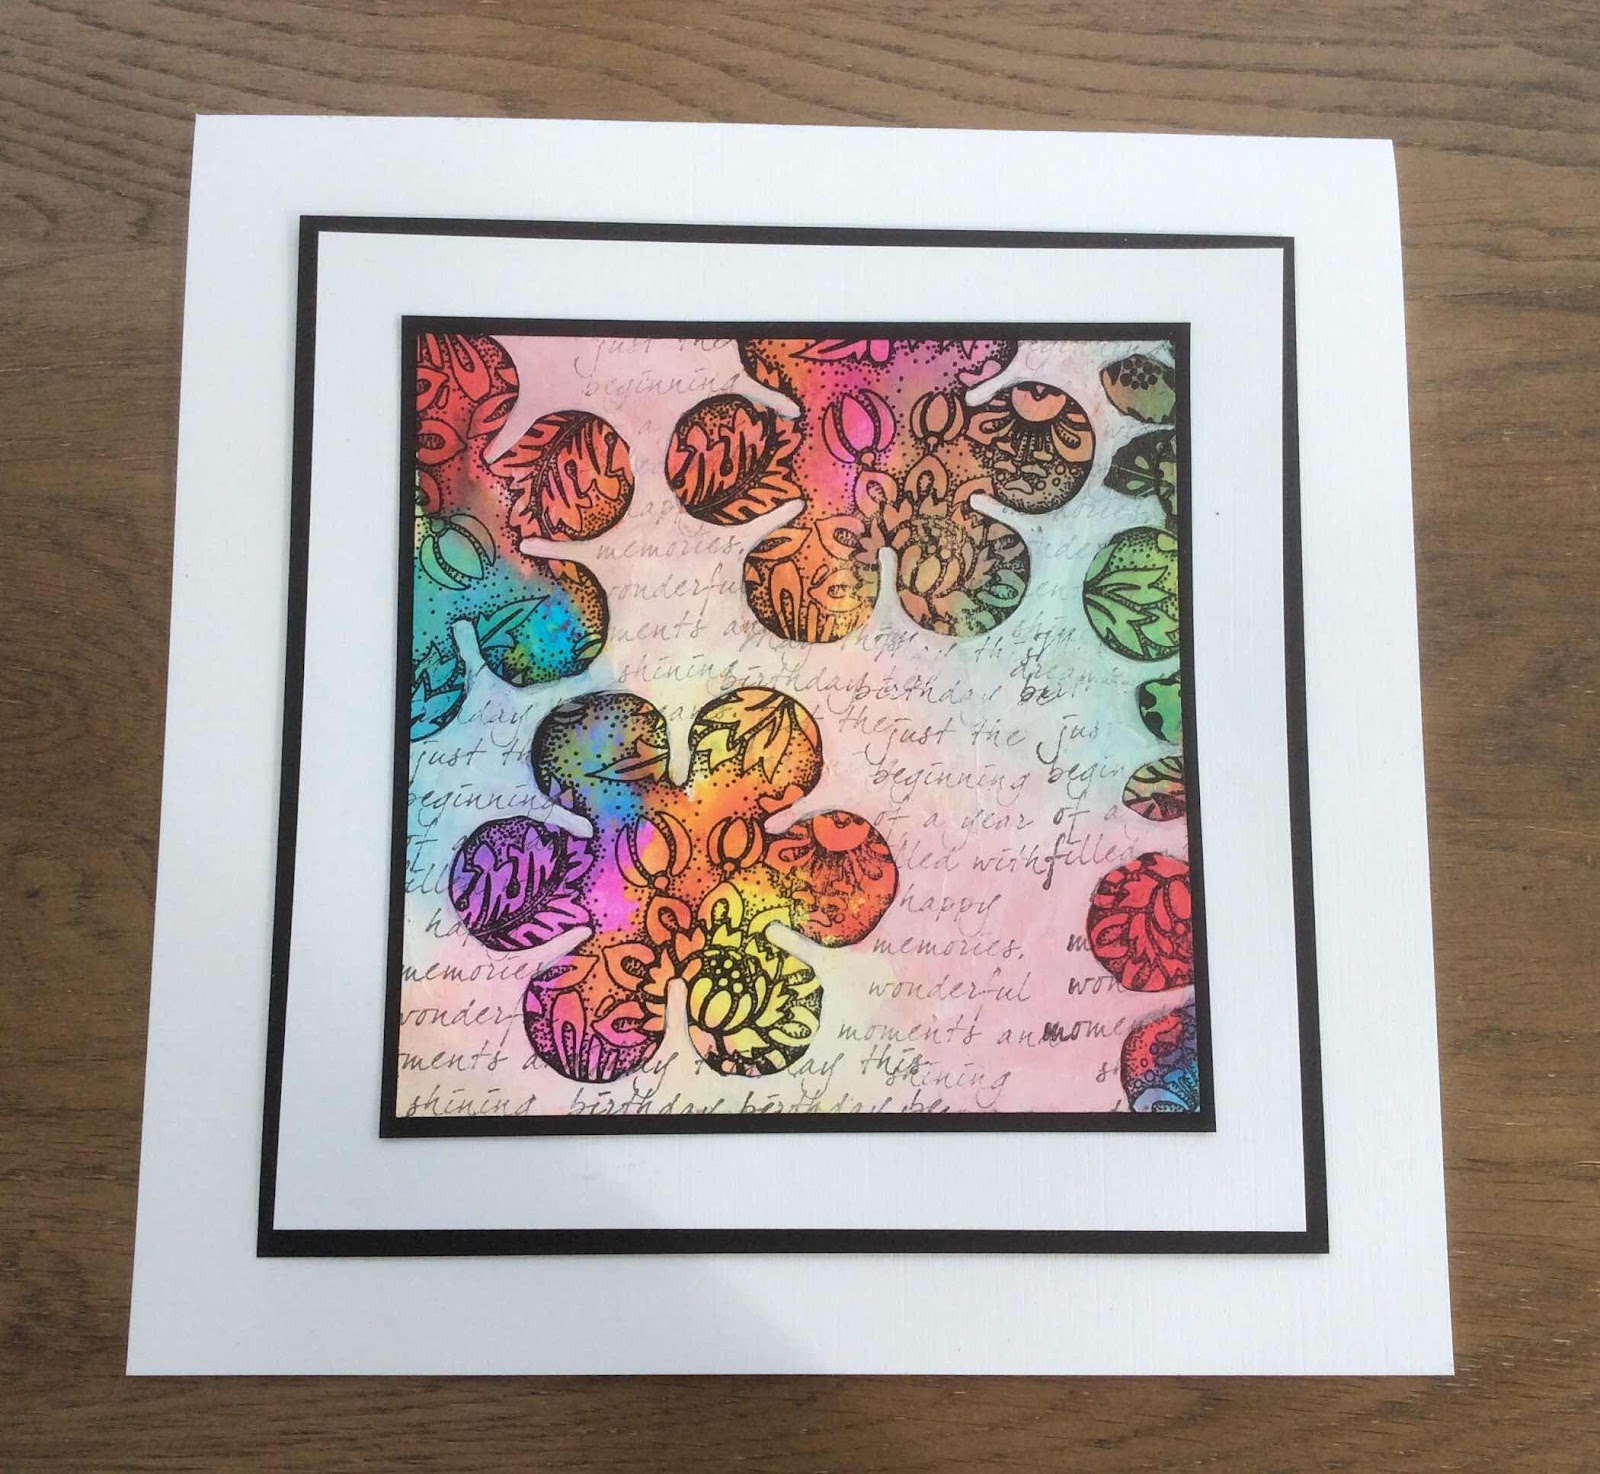
For my first project I decided to cover my sample book, something I have wanted to do for ages! I keep a visual record of the stamps I receive for Chocolate Baroque samples in an A4 book and then cross reference this to my storage boxes. It has been looking decidedly tatty for ages as it is well used. Most of the initial time was taken up deciding on a plan and colours and what stamps to use. Always a tough one, but got there eventually, and tried to keep out of my comfort zone for colour. 

So here it is.

Once I had cut the paper to size, I clear embossed some leaves then coloured over them with Wild Honey Distress Ink, to emphasise the embossed areas.

This was overstamped with a selection of stamps from various sets.

The flowers were stamped with Versafine Sepia and cut out, as were some of the butterflies. These were coloured with Aged Mahogany Distress Ink, Dried Marigold and watercolour pencils, then stuck down.


I haven't decided on the back yet, but it will probably be a simpler design.

Once everything was stuck down securely I sprayed it with a matt sealant. Hopefully this will protect it as it is well used.

Thank you for looking. I was pleased with the result in the end. At least it's easy to find being bright yellow!😊

Hope you like it and enjoy covering a book yourselves.

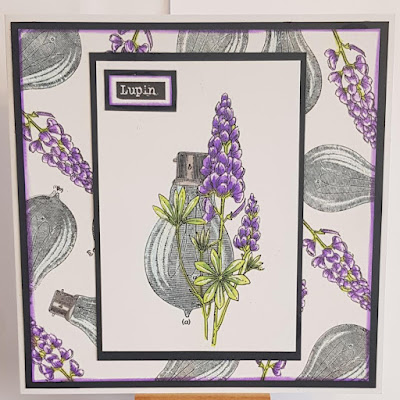
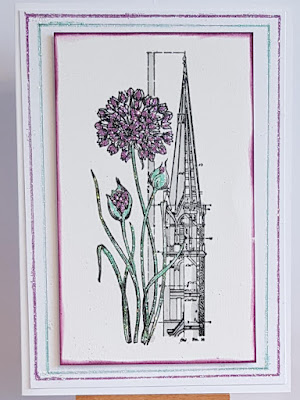
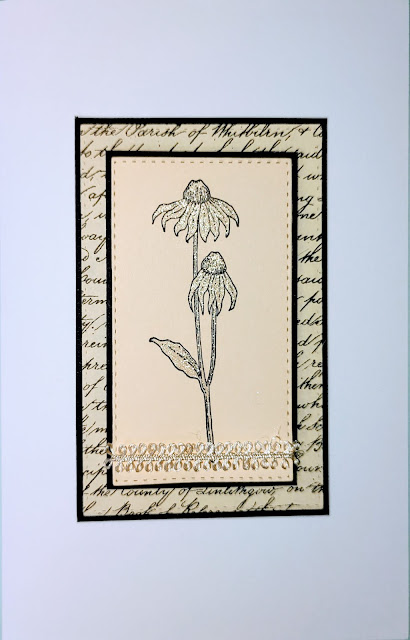
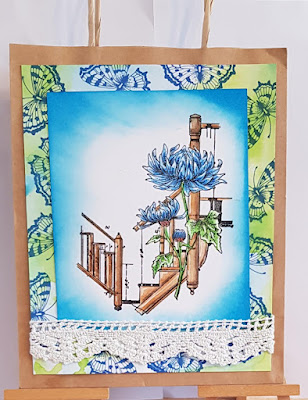
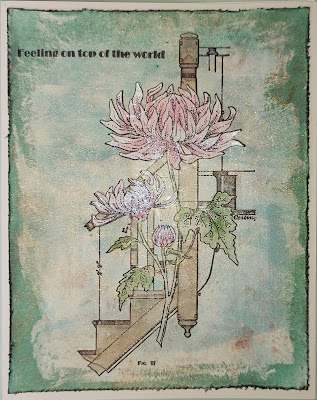
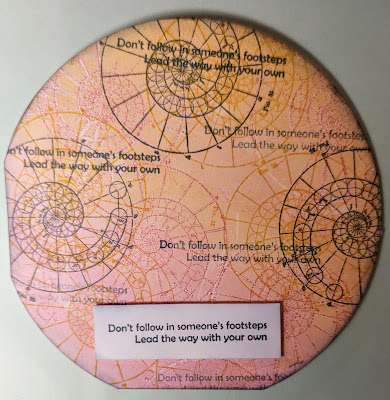
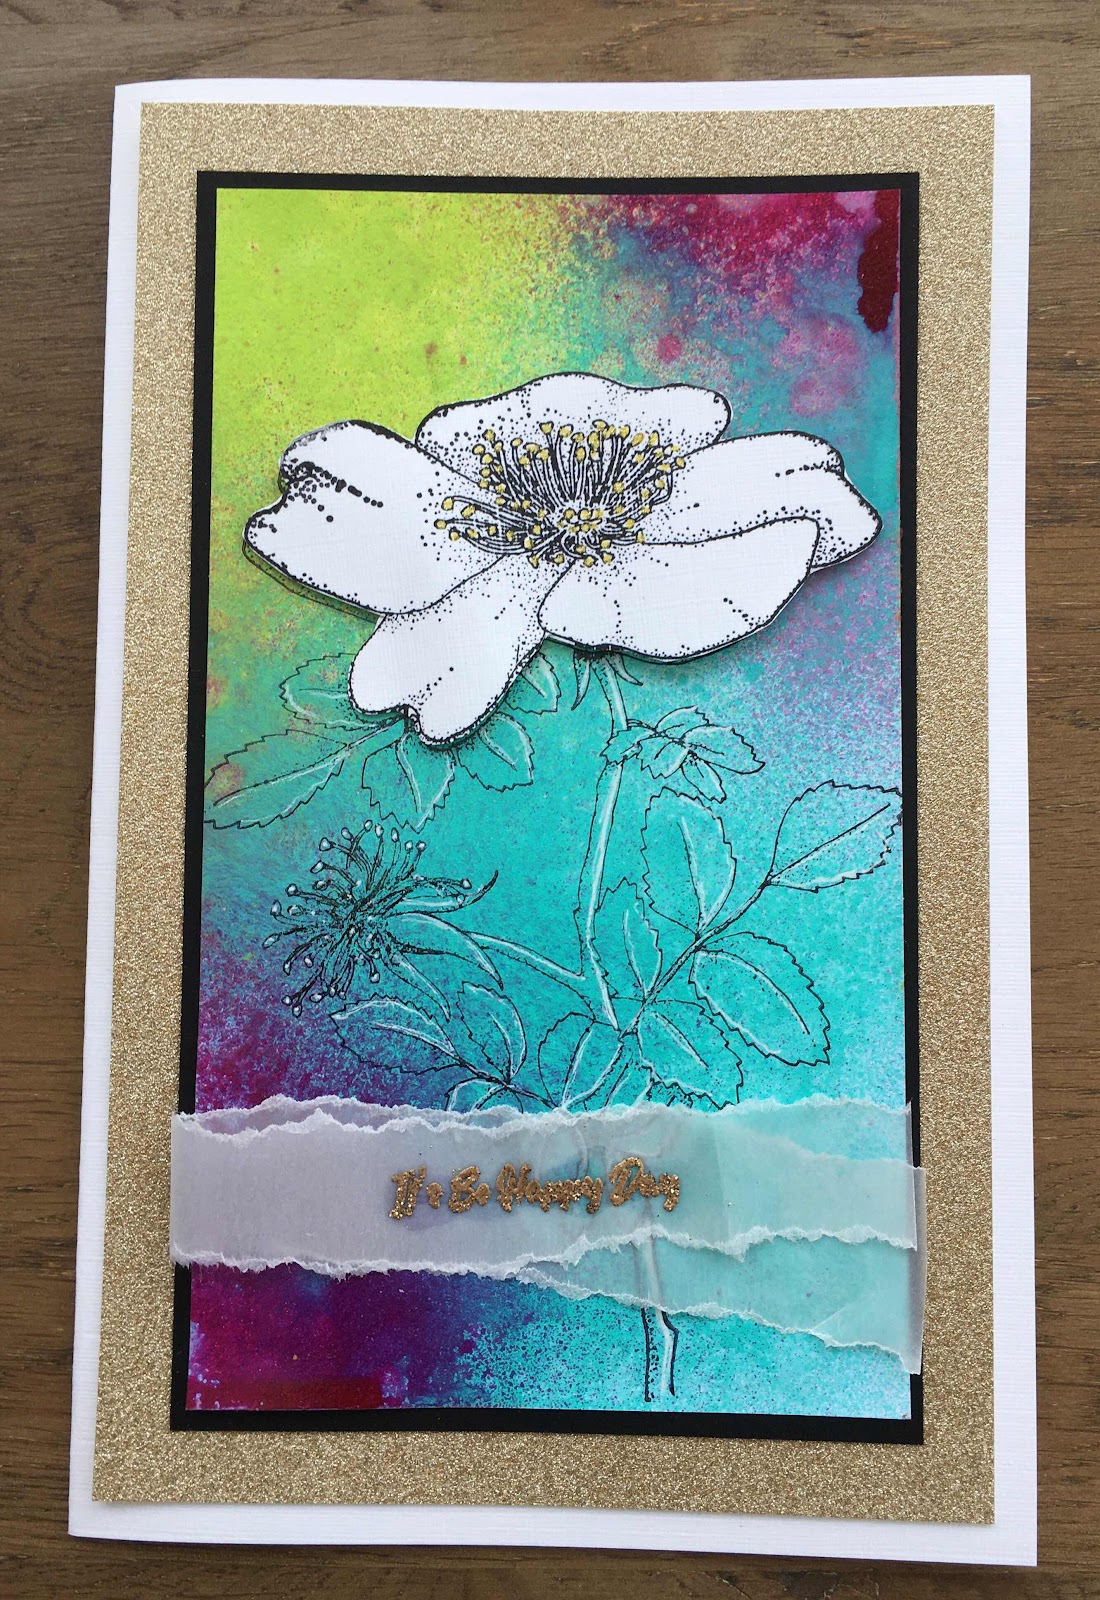
Stamps used: Essence of Nature, Floral Perfumery, Honeysuckle Butterfly and various other grasses and sentiments from different sets.

Colours used: Wild Honey, Aged Mahogany, Dried Marigold, Weathered Wood to add to the edges.

Back next week for a different sample.

Happy Crafting

Carole


Tuesday 12 October 2021

One Step at a Time (by Sandra)


Hello, I am sharing some more of my cards from the September show on The Craft Store.

The stamps I am using are from Chrysanthemum Blueprints.

For my first card I used a piece of card which I put a rough coat of gesso over. Once this was dry I blended some Distress Ink over the top. I stamped this lovely main image of the staircase and chrysanthemum and coloured the staircase and leaves with Distress Markers. I stamped the image again onto some card, coloured the flowers and fussy cut them out and layered over the top. I distressed and blended some ink around the edges of the card.


For my next card I used my cutting machine to make a circle card. I then used my 6” round Gelli plate to make a background with Distress Inks and stamping the Fibonacci circle onto the plate and taking the print. Once it was dry, I stamped  over the background in black.  I finished by adding the sentiment and blending around the edges.


Thanks for looking

Sandra x

Monday 11 October 2021

Blueprint Notelets (by Judith)

Hello everyone, I hope that you are keeping well. I have a quick and easy project to share with you today in the form of a set of notelet cards that I created for last month's TV show on The Craft Store, using the Blueprint stamp sets. 

I made four different cards, but the principle was the same for each card. I used a piece of textured card cut to size, slightly larger than a square acrylic block. I coloured the acrylic block with Distress Ink, and lightly spritzed it with water, before stamping the block onto the piece of textured card. I lifted the block away from the card, and left the background to dry. If it was very wet, I tipped the card to let some of the water droplets run, creating more texture on the background.

Once the background was dry, I used the same colour of Distress Ink as the background, to stamp words from one of the the Blueprint stamp plates over the background, and chose one of the little worker floral stamps to stamp in the bottom left hand corner, using Versafine Onyx Black Ink. I added the number on the stamp plate as well. Here we have the image from Allium Blueprint against a pretty Teal coloured background.


I chose Chrysanthemum Blueprint for my second card and a zingy green Distress Ink. I coloured the floral images with pencils, choosing colours on the opposite side of the colour wheel to the backgrounds for a pop of colour.

Lupin Blueprint was the choice for card number three with a soft orange background. The flowers are so pretty on this stamp set.

My last card was created using Echinacea Blueprint and a pale green background. To complete the cards, I drew around the edges using a fineliner pen, creating a border. Each one was slightly different, but you could draw them all the same, it is not important.

These cards were really fun to make, and would be useful for so many purposes. I hope you will try something similar. They would make a lovely gift, or be handy when you need a card in a hurry.

Thanks for stopping by, Take care,


Judith xx

Sunday 10 October 2021

Stepping back in time part 2 by Zoe

Good morning Lovelies and welcome to my second post for this month.

I’m featuring some older creations of mine as I was unable to make samples for last months show unfortunately.

Same stamp, two completely different looks.


Thank you so much for spending your time visiting today.

Have a wonderful day xx Zoe xx