Pin It button on image hover
Showing posts with label Steampunkery. Show all posts

Friday, 3 June 2022

Word Play by Sandra


Hello, I am sharing some of my cards from the May shows on Create and Craft.
These feature the wonderful Slim Word Strip 1 stamp set. 
This set contains 3 word strips and a solid background. Great for cards and journals alike.

My first card used the TRAVEL word strip.
I made a background using distress inks and then stamped the Dirigible  and Penny Farthing from Steampunkery.  Once it was all dry I masked the two stamped images with masking tissue.  I then  stamped the Slim Word Strip over the background, moving the strip so that different words could be seen over the card. I removed the masking tissue and layered onto a 7x5 base card.


For my second card I used the solid background stamp with Distress Inks which I spritzed with water before stamping onto watercolour card. I then stamped with the NATURE words. I used a die to cut out a slot and then used a couple of coins and some foam pads to attach the butterfly. I used foam pads to adhere the card to the base as it needs a bit of space for the butterfly "spinner" to work.  I loved seeing the butterfly spin around and was so glad to see it survived the post and worked on the TV too!


 Thanks for looking

Sandra x

Saturday, 16 January 2021

Take Flight - by Magda

 Hello,

shall we take a good flight into the new year ? Well, I start wishing to everybody a Happy New Year with this journaling page.

The step by step will help you if you like to create a similar page 

1. On a gessoed page, spinkle  Distress Acrylic Paint  Stormy Sky with a cotton buds for the sky 


2. For the ground blend more green shades  of Distress Acrylic Paint


3. Stamp with Archival jet black different hot air balloons of Steampunkery into the sky

4. Scribble with a wooden stick white Acrylic to emphasize the air and the moving clouds


5. Stamp in black the sentiment Take Flight of Steampunkery

6. Stencil the numbers 2021 and fill them with Distress Paint Abandoned Coral using a wooden stick


7. Blend dark green and brown  of Distress Acrylic Paint on the foreground and stamp in black partially and randomly the lace of  Steampunkery


I hope you will now have a go and post your creations, hugs

Magda

Sunday, 15 September 2019

Spring into Summer by Penny


Goodly morning peeps, I hope you are all well.  I'm back again with my second post this month and I've chosen four mini projects to share with you today.  Last year Chocolate Baroque added blank calendars (Blank 2019 Calendar/Planner) to their range and I decorated several for Christmas presents and one for myself.  

For the first project I have used stamps from the ButterflyDaisy Collage set, Distress Ink, purple Versafine ink, alcohol pens and a stencil from my stash.  I stamped a large collage image in the center of the picture area, then stamped a couple of daisies and butterflies.  I used alcohol pens to colour all the images.  I then used a stencil and DI to create the background.


For this one I used stamps from the Steampunk Travel  and Steampunkery sets, metalic paints, Distress Inks, alcohol pens and a couple of masks from my stash.  I stamped several images using black Versafine and embossed them with clear powder.  I used paints, inks and pens to colour them, using metalic paints for the metal parts.  I then used the stencils with a DI to create a back ground.


This project uses stamps from the Underwater Kingdom and Seadragon sets, Distress Ink, Koh-I-Noor paints, black Versafine ink, clear EP and a stencil from my stash.    I began by stamping and embossing all the images and then painting them.  I took a stencil from my stash and applied DI through it to give the picture a watery background.


For this month I decided to go sunny and hot!  (Well I can dream can't I?)  I used stamps from the Indian Elephant and Paisley Elephant sets, Distress inks, black Versafine ink, clear EP and a gold pen.  I stamped and embossed the elephants first then masked them.  I then stamped and embossed the Palace silhouette image between the elephants, and stamped it again in second generation ink.  I then stamped a script image repeatedly across the page and used one of the worker stamps to fill any spaces in the background.  I used a black fine liner pen to ground the Palaces and the elephants then removed the masks and coloured in the elephants.


Thank you for dropping by today, I hope you have found my little collection enjoyable!  I'll be back again next month with more craftiness to share with you  :) 


                                 xx  Penny  xx

Wednesday, 8 May 2019

Steampunk Balloon (by Pat)

Hello everyone, our Guest Design Team member Pat is sharing three projects with us this month. Today she has created a Steampunk style card in shades of blue.

Pat writes:

Hi everyone, it's great to be back here again with another three posts this month. I can't believe I am now into my second year and I am thoroughly enjoying being part of the Guest Design Team. If you are anything like me, making a man's card always seems much more difficult, so I decided to address this and start my month with one.

I used Steampunkery for the main image, and Paisley Elephant for the sentiment, Distress Inks, a grey permanent ink, clear gloss embossing powder, silver mica powder, a piece of acrylic and a waterbrush.


I started with the background using three blue inks and laid them on to the piece of acrylic and spritzed with water, then pressed the inky acrylic on to my white card. Using the acrylic allows you to place the colours more specifically, and I didn't want them to be more central leaving the outer edges fairly white. I added more colour, drying in between, until I was happy with the result.

I then stamped the airship using the permanent ink and heat embossed, then coloured it with the waterbrush using two blues and a purple ink. I then mixed some mica powder with a little bit of water and painted the propeller shaft, which in the light is nice and shiny, though unfortunately it never shows up well in a photo.

I finished the background by adding the words in second generation blue ink and also stamped the little parachute keys using the same ink, and coloured with a turquoise blue to tone in with the rest of the card. I stamped a sentiment straight on to the balloon, again using the blue ink, and finally mounted it on to a piece of blue card and added it to a square white base card.

Thank you for joining me today, and I look forward to returning next week with my second post.

Best Wishes,

Pat x

Friday, 28 December 2018

'Tis the Season to be Steampunk (by Deborah)

Hello everyone, a final post this month from our Guest Design Team member Deborah. She has chosen some steampunk inspiration for you today, and this would make a great masculine card.

Deborah writes:

Hello everyone and welcome to my last piece of 2018, which is something less Christmassy. Well I thought you'd probably appreciate a bit of a break from all the Christmas cards, even though it's presented in a Christmas style. Well it is still the season after all.

So for this card I went steampunk, which believe it or not is one of my favourite styles even if I haven't used it much lately. The stamps I used are from Steampunkery which is a fabulous set. I used a mix of inks for the card on top of which I added a burlap topper. I stamped the hat image onto white card which is then mounted onto burlap. For the cogs, I used the beetle stamp from which I cut the cogs, layered the up and stuck them on. All the images were painted with watercolours, and there you have it!


So for this card I went steam punk, which believe it or not is one of my favourite styles even if I haven’t used it much lately. The stamps I used are from Steampunky  which is a fabulous set. I used a mix of inks for the card on top of which I added a burlap topper. I stamped the hat image onto white card which is then mounted onto the burlap. For the cogs, I used the beetle stamp from which  I cut the cogs,  layered them up and stuck them on. All the images were painted with watercolours. And there you have it!
 
Wishing each and everyone one of you a fabulous New Year hugs Debs xxx


Monday, 17 December 2018

Black Ice Technique (by Pat)

Hello everyone, our Guest Design Team member Pat is back today, sharing a card with an interesting technique for you to try. She has kindly written detailed instructions, so why not give it a go?

Pat writes:

Hi everybody.

This week's card is a masculine make for a change using the Steampunkery set of stamps and with a technique called Black Ice.

I started with the image mat using a piece of gold cardstock. For this technique you need to use a permanent black inkpad which you lightly brush across the surface of the card, angling it to catch the edge with a bit more ink, moving in one direction, then turning the card and doing the same in the opposite direction. It is a good idea to use a piece of repositionable tape or temporary glue on the bottom to hold it steady whilst you do this so that you get nice straight lines of streaks across the surface of the card. I did also brush the ink pad a little more over all of the edges to darken them.

When dry, I stamped the clock image and some of the words also using the black permanent ink. I used a stamp positioner for this as it helps to get a good crisp outline on this shiny surface. Otherwise with a steady hand, press straight down and lift up, holding the card still as you lift is the way to go, plus perhaps talc or something similar brushed onto the surface helps to stop the stamp slipping on contact.

Allow a good amount of drying time before adding some embossing ink, again just brushing the surface very lightly using the weight of the pad to do it, so that the ink does not entirely cover the card, and then heat emboss with clear embossing powder. This gives a nice shiny look but with a slightly uneven finish too, as the embossing powder does not entirely cover the surface.

For the background layer, I used a masculine type embossing folder, and painted the edges with gold mica powder mixed with water using a waterbrush. I then added both layers to my 6" square white card and added a balack sentiment strip and heat embossed the sentiment with gold embossing powder.

I will be back again next week with my last card for this month and I hope you will join me then.

Best Wishes,

Pat x

Wednesday, 25 April 2018

Steampunk Arch (by Nikki)

Hello everyone, it's time for the last post this month from our Guest Design Team member Nikki. She has made a fabulous steampunk themed mixed media piece for us this week.

Morning everyone, I've got my third make for you today, and wanted to use the brilliant 
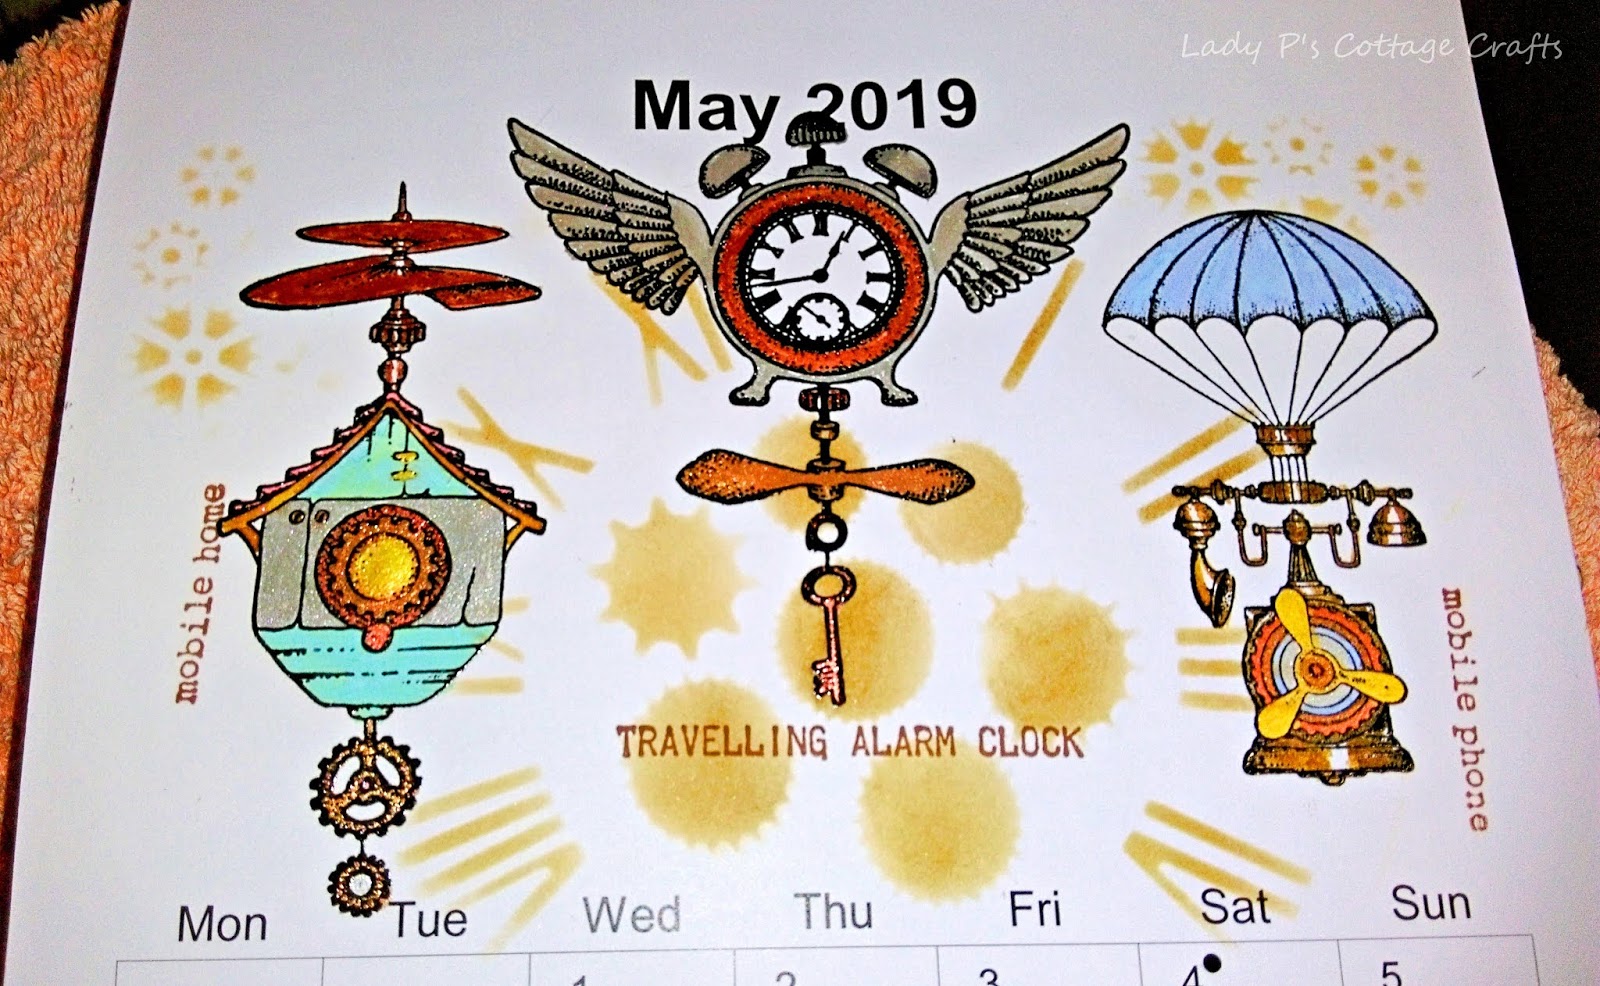
Steampunkery stamp set.

I took a little MDF arch, and painted it with chalk paint in dark grey, crackle medium, and a cream top coat. Next I gave it a wash, (watered down acrylic), of pthalo turquoise and quinacridone gold. The background was stamped with the cogs from the Steampunk Butterfly stamp set. (This is my new favourite stamp).

I painted some greyboard cogs, and part of a clock I had left over from another project, in raw umber and pyrrole orange to make them look rusty. It's a very easy rust colour with just two paints!

I stamped the beetle from Steampunkery twice onto Velvet card, and coloured the images with prussian blue hue and quinacridone gold acrylic paint in washes, to simulate watercolour. On top was a coat of watered down copper acrylic, to give a shimmer. I cut out the clock, beetle shell and wings from one of the images, and layered up, putting the wings behind the main image, and the shell and clock on top. The shell and clock were covered with a triple thick glaze to give shine and depth.

I stamped the Time Flies sentiment, and aged this with acrylic paint. It was edged in Copper and glued to the cogs. I hadn't used the Velvet Card for stamping and painting before, and I am seriously impressed at the way that it took paint, even watered down, without pilling and rubbing off. I will definitely be using this card in the future.!

I hope you like my little arch, I'm a bit in love with this stamp set. (Well, most of them really!)

Thank you for stopping by and joining me here, hope to 'see' you again soon.

Best Wishes,

Nikki K. xxx

Nikki will be back with us later in the year, but you can check out her blog here.

Thursday, 14 December 2017

Imagination Meets Reality (by Anne)


Good morning. This one is another of my recent samples for the Steampunk shows. I used Soft Form Relief Paste to create the 3D embellishment, the lovely lace with cogs stamp to create the border and stamped onto a pretty floral paper from Crafty Individuals. I thought that the sentiment ‘imagination meets reality’ was fitting.

I mounted everything onto a ‘recycled’ 8 X 8 inch card which was a previous sample that had gone badly wrong. Rather than throw it away I just covered up what was originally there. No-one would ever know – ooops I just told you – tee hee hee.

Materials:
How it was done:
  1. The background paper on my ‘recycled’ card was created using the shaving foam technique. This is a fun method for making pretty marble effect papers. Shaving foam is spread onto a shallow tray and inks dropped onto the surface. Paper is then lowered onto the surface to pick up the ink. Versamark was then sponged through the leaf stencil and heat embossed with pearl powder. Distress Ink was then blended over the top, the embossed areas repelling the colour. A ribbon band was drawn on with pen. This was then mounted onto and 8 X 8 card. Faux stitching was added around the edges using a piercing tool and drawing with a fine tipped black pen. PVA pearls were then added to the corners.
  2. The lacy border and sentiment were stamped with Versafine onto the decorative floral paper, then mounted onto black card to frame. I had a spare scrap of this paper from another project so cut out the daisy and shaped it to add dimension and decoupaged it up onto the background.
  3. The beetle stamp was coated with StazOn Ink, then a thin layer of Relief Paste and left to dry overnight before peeling away. It was then trimmed to neaten up and glued to the card.

Tuesday, 28 November 2017

Cycling Steampunk Style (by Judith)

Hello everyone, I have a couple of cycling themed cards to share with you today, using the stamps featured on last month's Steampunk shows on Hochanda.

To create my first card, I stamped the penny farthing image from the Steampunkery stamp set, and then masked the image using masking tissue. I created a series of hills using Distress Ink, and added some trees from the Tall Trees stamp set, using dark green Versafine Ink. I added a bit of pencil shading to 'ground' the smaller trees. I used blue Distress Ink to create the sky, masking off a circle for the sun. I stamped the sentiment from the Punky Expressions stamp set, and added some birds from the Landscape Edges stamp set.

I removed the mask and coloured the penny farthing with pencils. Finally, I matted the background onto a large black card blank.


For my second card, I wanted to create a collaged feel, using lots of stamping to build up backgrounds. I started by using a patterned Crafty Individuals tag, and added some images from the Eccentric Edwardian stamp set in muted colours. I also added the gentleman on the bike as the focal image, using darker ink.

I made a larger background in toning colours on a piece of kraft card, picking the same images that I had used on the tag to create the background. I picked a grey card to mat the background, as it was a colour running through the tag. I added a cheery tan ribbon to the tag, and stamped a sentiment from the Punky Expressions stamp set onto a small piece of scrap card.

I hope that you have enjoyed my Steampunk inspiration this month, and that you will try some of the ideas for yourselves. Thanks for stopping by, Judith xx

Sunday, 26 November 2017

Time Flies by Brenda


Hello again, I am back with some more of my Steampunk shares from last months Hochanda shows.

The starting point for the card at the top was an embossed background with lots of gilding waxes added. The Scarab Beetle (and as we have horses there are a good few of these, also known as Dung Beetles, if one cares to search !!)from the Steampunkery set has been stamped several times using Vesamark Toffee, lightly coloured, gilding waxes added then placed over the base piece. Several of the sentiments from the new Punky Words have seen stamped and cut out to intersperse between the Beetles.


Like so many of us crafters I reach for my Oxide inks time and again, it's hard to remember life before them although they are relatively new, on this one I used Spiced Marmalade, Fossilised Amber and Twisted Citron. Using Versafine Toffee and masking off parts of the images I stamped clocks from Steampunkery and Steampunk Travel around the edges of the piece and using the same ink the three large images from the same stamp sets. The sentiment is from Birthday Words and a piece of ribbon and buckle tied across the top.


The background of this piece has been painted with Actylic paints and the DI Tea Dye and a stencil used to add some circles. Various elements from Key to my Dreams and Punky Words have been stamped with Versafine Blue on both the background and focal panel and some seam binding and a tassel to embellish.

As always my thanks for your visit today.


Monday, 20 November 2017

Take Flight (by Magda)

"Take Flight" with an air-balloon and dream, or if you like, give an interpretation to my Journaling page.
Here below I have listed the items that I used for this project:

1. White Gesso  for the undercoat
2.  Blend Distress Ink Pad in green, blue, yellow and brown shades
3.  Stamp with Versafine Onyx Black  on Tissue Paper the poppy from the Poppy Meadow plate set  
     and the small air-balloon from the Steampunk Travel plate set
4.  Place the stamped tissue paper and more pieces of tissue paper randomly on the page, covering all
     the page again with  White Gesso and let it dry completely
5.  Apply Soft Form Relief Paste on Specimens Stencil  and let it dry
6.  Use Distress Ink Pad in green, blue, yellow and brown shades directly with the pad on the page
      and blend where necessary
7.  Colour the poppy stamp with Faber-Castell Art Grip Aquarelle pencils
8.   Stamp with Versafine Onyx Black the air-balloon from the Steampunkery stamp set, colour it with Faber-  
      Castell Art Grip Aquarelle pencils and cut it out
9.   Glue the image on the background with Glue n'seal
10.  Stamp "Take Flight" from the  Steampunkery stamp set


I hope, that you not only could really relax and dream looking at my page, but you could be inspired and "take flight" on the page, I am here to help. Thank you.

Magda


Sunday, 19 November 2017

Airship Pirate Steampunk Card (by Anne)

Good morning. Today I am sharing one of my recent samples created for the Steampunk shows recently on Hochanda. I used a few of my dies to create this nautical themed card. I hope that you like it x.


Materials:
  • Steampunkery and Punky Expressions stamp sets
  • 8 X 8 inch white card blank; white, blue and brown kraft card; recycled acetate from packaging
  • Versamark and Distress Ink (Vintage Photo)#
  • WOW embossing powders (white plus mix of Copper and Gold Rich)
  • Koh-I-Noor Charcoals (White)
  • Glitter and glaze pens (red)
  • Dies to cut a circle frame (approx. 16cm diameter), steampunk cogs and nautical themed embellishments
How it was made:
  1. I trimmed the blue card to fit the card front and leave a small white border. The sentiment and airship were stamped with Versamark and heat embossed with the white powder.
  2. The circle porthole frame was cut from Kraft card. A piece of acetate was cut to fit behind.
  3. The cogs and wheel were cut from Kraft card and coloured with gold embossing powder or red glaze pen. The gulls were cut from white card.
  4. The scene was built up and coloured using the white charcoals. A little red glitter pen was added to the boat and a small die cut gull stuck down. The frame was glued over the top using 3D shaker foam. Note: you could add some sprinkles or glitter for added fun.
  5. The scroll was created from a rectangle, rolling the ends around a paint brush to curl. A little Distress Ink was added to the edges to age. The die cut embellishments were used to decorate.

Wednesday, 15 November 2017

A Punky Baroque Chest (by Penny)

I hope you enjoyed last week's post from Penny with her fabulous steampunk airship card.  This week sees her continuing on the theme with a fabulous piece of home decor. Sit back and be inspired.


Hello everyone, Penny here with the second of my Guest Designer posts.  This is a little chest of drawers that I created for the recent CB Steampunk Shows, and as I LOVE Steampunk this was a joy to make!  


I used stamps from the Eccentric Edwardian, Steampunkery and Key to My Dreams sets; gilding waxes, black gesso, Aztec Paints, embossing powders, an embossing folder, paper clay and wooden embellishments from my stash.


I painted a small chest of drawers with black gesso and added gilding waxes to the edges of the drawer fronts and the handles.  I then embossed two sheets of black card in a folder and added gilding waxes to create a sheet metal effect.  I stamped and embossed some more black card for the drawer fronts, having cut each piece to fit first.  I then painted the panels and cut holes in the centers to put the handles through. I cut the sheet metal card into panels to fit the outside of the frame, leaving enough of a margin to fold over each side, making them look neat.  I added some waste from die cutting cogs as 'rivets', having gilded them first for a metallic effect.  


I created the embellishments for the top; some were stamped and embossed onto card, some were made with paper clay, and I painted a wooden frame from my stash.  I arranged the embellishments on the top of the chest and attached them with strong glue.


These little chests are great for keeping all sorts of bits and bobs in on a desk or side table, and they make great presents!  Thank you for taking the time to read my post, I'll be back next week with my third and last project.


Penny  xx  


Having seen this beautiful box in real life I know it would be so admired and would make a fantastic gift to treasure. 

Thank you once again Penny for your stunning creation and if you want to see more amazingprojects from one of our talented DT then please drop back again tomorrow.
 

Tuesday, 14 November 2017

Time flies (posted by Claire)

Good morning, Claire here with a couple of projects made for Lesley's shows on Hochanda last month. I'm a bit late with my post due to pesky windows updates so sorry for the delay!  I love Steampunk and there are so many fabulous designs to choose from.


For this card I used an embossing folder to create the background and highlighted the embossing with gold, copper and silver gilding wax. I stamped the image, from Steampunkery on black card with versamark ink and embossed with gold embossing powder. I painted the image with metallic acrylic paints and cut the image out before popping it on 3d foam pads to give a bit of dimension. I also stamped and embossed the sentiment from the same set with gold embossing powder.


I recycled this bag charm using a bit of shrink plastic. I'd made the charm a few years ago but it was looking a bit dull and sad. I loved the beads and charms to I decided to give it a new lease of life by making some charms from shrink plastic. I took some translucent shrink plastic and stamped the images, again from steampunkery with metallic Stazon ink. I punched holes using my Crop-o-dile (largest hole) and then cut the charms out. I applied heat with my heat gun and flattened the charms with an acrylic block while they were still hot. I just used a few jump rings to add them to the bag charm.

Thanks for visiting today
Claire xx

Saturday, 11 November 2017

Fly away by Brenda


A very good morning Peeps, I hope you are ready for another collection of Steampunk samples from Lesley's recent shows on Hochanda.

Now I will be the first to admit that I really struggled this this theme, it's not something I have ever tackled before, but of course that's the challenge to extend ourselves outside our comfort zone which for me is floral feminine and fantasy.

For the card at the top I create a background with Oxide Inks Picked Raspberry and Peacock Feathers, a stencil and regular DI's. Using black Archival ink I stamped the large flying machine from Steampunkery, two small hot air balloons from the same set set and verse from Steampunk Travel and the same DI's to add some colour to the balloons plus a few scattered sequins.


For this one I used an embossing folder and gilding waxes to create the background, then stamped a sentiment from the new Punky Expressions set on a strip of DP, stamped the Penny Farthing from Steampunkery using Versamark and detail copper embossing powder, cut out and placed on the sentiment strip along with some raffia.


Another Oxide ink background overstamped with one of the images from Key to my Dreams, I used second and third generation stamping using DI's to create a subtle effect. Next I stamped three keys from the same stamp set with versamark and detail copper embossing powder, cut them all out and fixed with a chain embellishment I found in my stash to the small winged clock in the Steampunkery set. The sentiment is also from Key to my Dreams.


My final share uses stamps from Steampunk TravelSteampunk Travel and Punky Words, all stamped with Versafine Blue onto squares of cardstock shaded with DI's and matted onto coordinating cardstock. This style is a great way to use up snippets of card so always worth keeping those offcuts.

Hope you all have a good day and my thanks for popping in today.


Thursday, 9 November 2017

Steam Punk Eccentricities (by Julie)


Hi there, I hope you managed to catch one of Lesley's recent Steam Punk shows on Hochanda. If you did you may have seen these cards on the show. 
I have to confess to loving all things Steam Punk. I love the surreal feel Steam Punk gives as well as the stamps being very useful to make male cards, which lets face it we all tend to struggle with.


My first card is created with the Eccentric Edwardian. I love these stamps and would buy the set just for the very useful script stamps.
The background to my card is coloured with Antique Linen, Old Paper and Walnut Stain Distress inks and then over-stamped with the male images using Sepia Versafine. The large script design to the top left of the card was stamped and then embossed with a copper embossing powder and I inked up the smaller script stamp with Sepia Versafine to fill the gaps. The cyclist was stamped onto separate card and coloured with Distress inks as before. I cut around the wheel slightly and then placed my metal, circular die underneath the wheel to cut out the rest of the design before mounting onto the centre of the card with foam pads. The sentiment is from Punky Expressions.


My second project is a gift box and frame card. I have cut both the box and frame on my electric cutting machine, however templates for similar boxes and frames can be found in an internet search.
The gift box is coloured with Squeezed Lemonade Distress ink and then over-stamped with the Air Ship and Boat from Steampunkery. I darkened the edges with Hickory Smoke Distress ink and dry brushed white Gesso over the top to create the clouds. Once the image was dry I glued the box into place.
For the frame I coloured the background with Squeezed Lemonade Distress ink and then overs-stamped with images from Steampunk Travel. I then sponged on Hickory Smoke Distress ink and then dabbed the excess off with a wet wipe.
The central panel of the frame is coloured with Brusho inks and once dry I sponged on Hickory Smoke Distress ink. 
The winged clock is from Steampunkery as before. Here I pressed the stamp into white clay and cut out using a craft knife. I then baked it according to the instructions before colouring with alcohol inks and gold gilding wax. 
Once everything was dry I glued the frame into place and added wire and beads to the back of the clock before gluing into place with 3d glue gel.

Many thanks for looking and please call back soon to see daily inspiration from the Design Team.

Julie xx

Wednesday, 8 November 2017

Setting Sail (by Penny)

I am delighted to welcome Penny back as guest designer for this month and I am sure you will find her first project a real wow.  So here we go, enjoy.


Hi there everyone, Penny here and it is my pleasure to bring you three GDT posts this month.  I'm starting with one of my samples from the fabulous Steampunk shows!  I have used stamps from Steampunkery and Steampunk Travel sets, Distress inks, Sepia Versafine ink, copper and clear EPs.


I began by stamping and embossing the Airship onto white card, then masking it.  I then created a blue colourwash background with Distress Inks.  When dry I added some fluffy clouds with the whitecharcoal and smudged them a little.  I also added some 'cresting waves' along the bottom of the panel in the same way.


I removed the mask and coloured the Airship with Distress Inks before matting the panel onto dark card.  I took a white base card and stamped several words to form a border, then blended ink around the edges.  I then attached the panel to the card.


I stamped and embossed the winged cog several times onto acetate then coloured them on the reverse side with alcohol pens.  To make them pop I painted them with white gesso then cut them out and attached them to the card.  I stamped the verse onto a piece of ivory card in Sepia ink and embossed it with clear EP.  I tore the edges and brushed a little gold marker pen over them to give an aged effect then attached it to the card.  


This design is quite a simple one for me, but the focal stamp and verse are so beautiful that they needed little else.  I hope you've enjoyed this little project, I'll be back next week with another!   

Penny  xx

A real cracking start don't you think. Gorgeous card Penny thank you so much, we can't wait to see what you have planned for us next week.

Until then thank you for popping in and don't forget there is a new project from one our our talented team every day so please join us again soon.