Pin It button on image hover

Sunday 31 May 2020

Floral plans part 2 by Zoe

Good morning Lovelies and welcome to my second post of the month.

I hope you’re keeping well, as I’ve scheduled this post I’ll assume we are still in lockdown, although they were talking about lifting some of the restrictions. Hopefully this hasn’t impacted too severely on you.

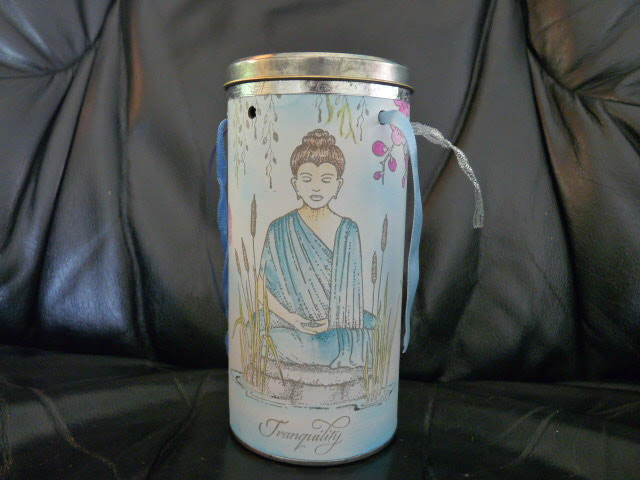
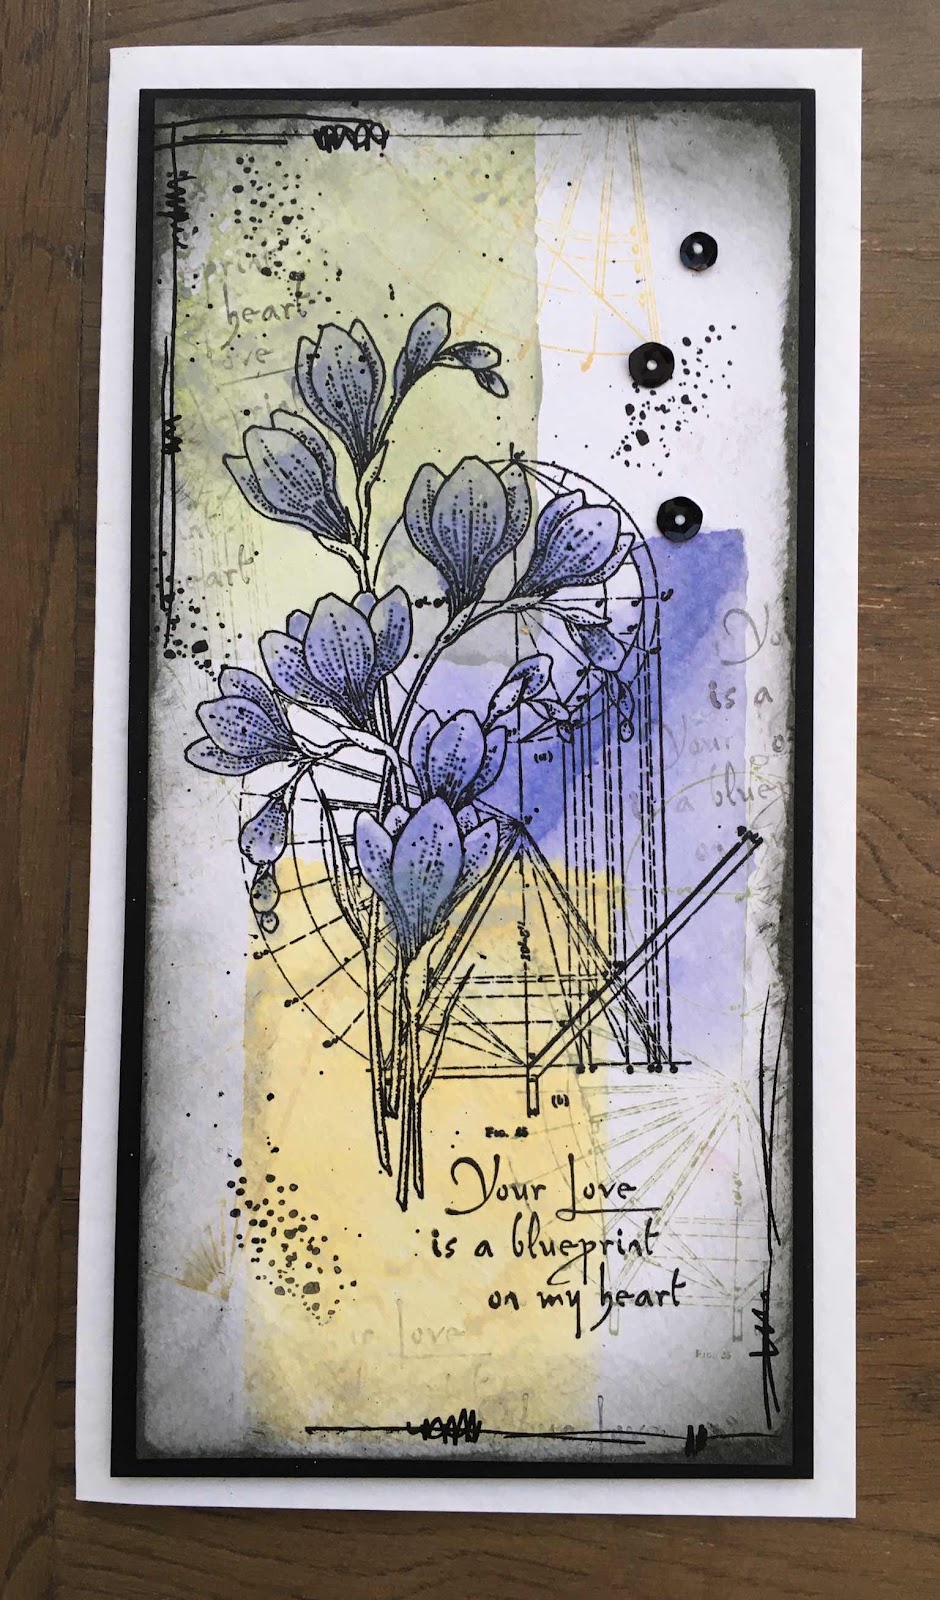
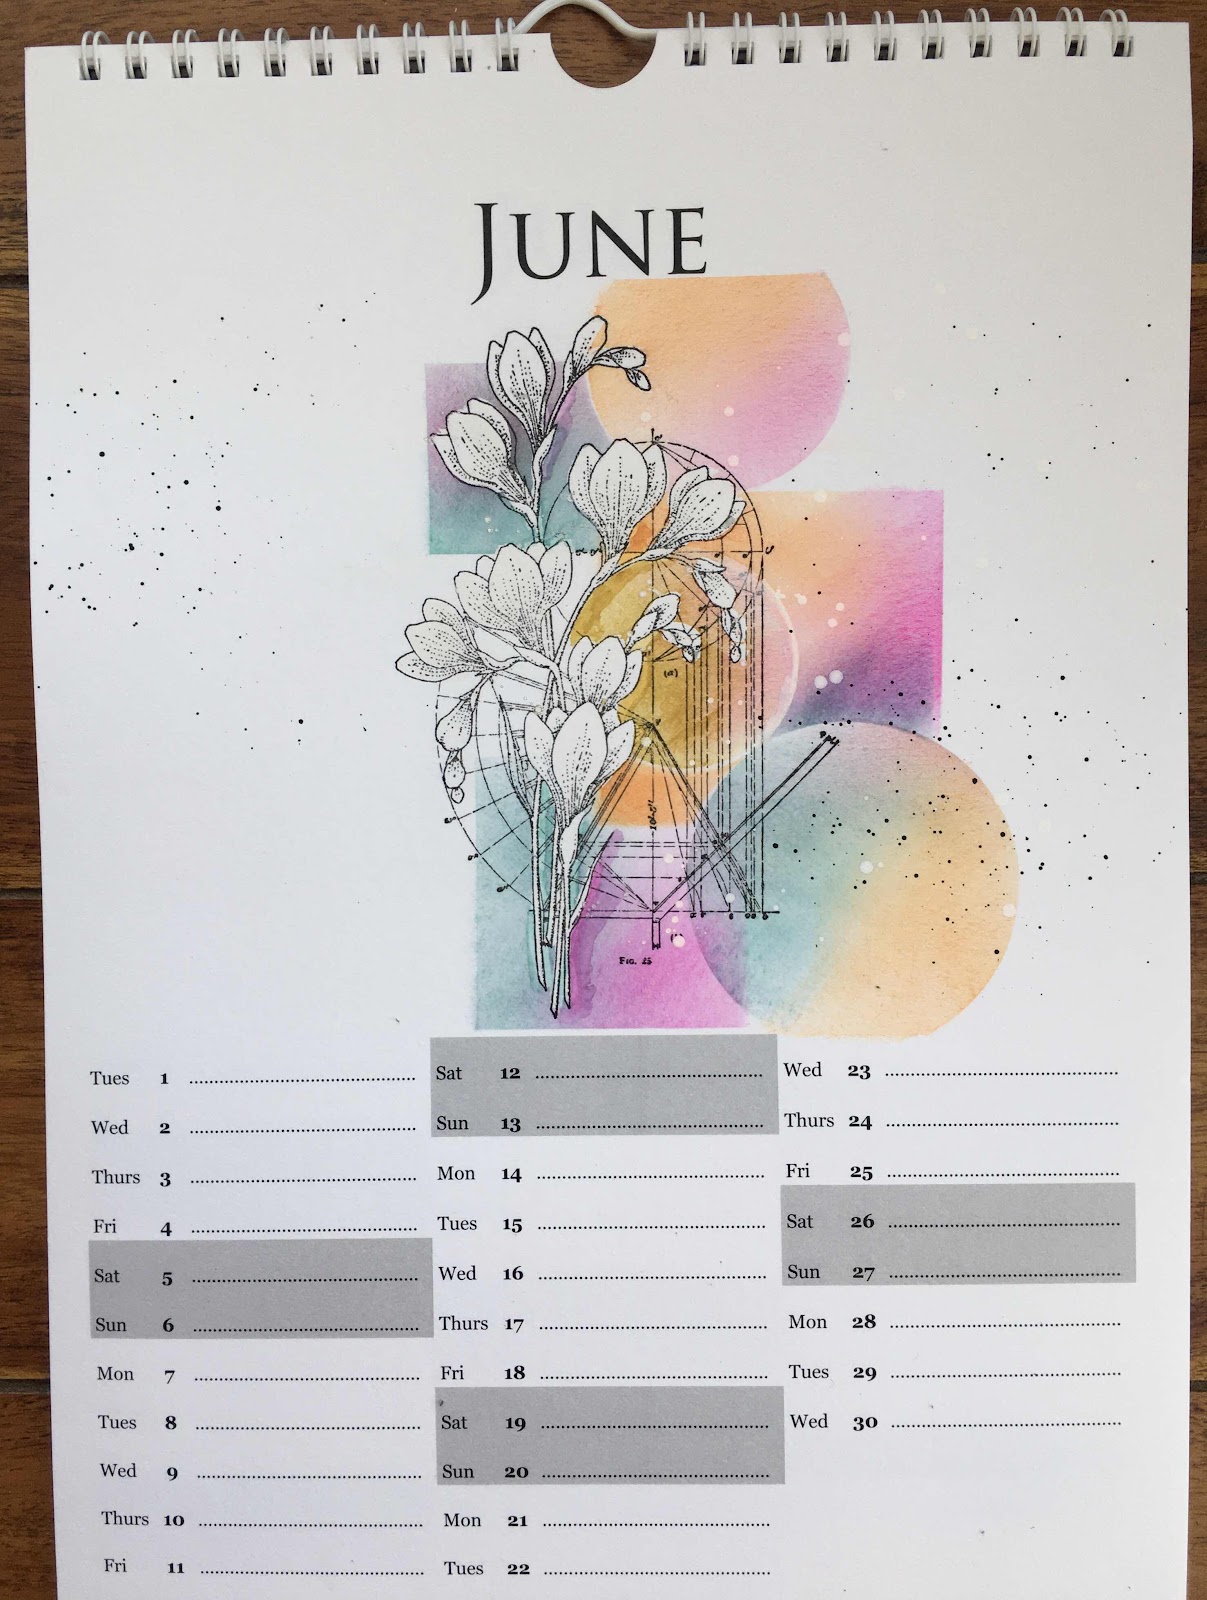
So back to my post, I love these Blueprint Floral Stamps, they are so different and versatile, I love the fact that you have the flowers without the drawings behind if you want, they are also fab for decoupaging if you want.

So my Calendar page wasn’t on the show of course as it’s still a work in progress, I created by stamping the main image and masking it, then using the square and circle Stencils that featured on another show I lightly inked through using water base dye ink pad in different colours, I used paint marker pens to add some speckles over the background, I think it just lifts the design.

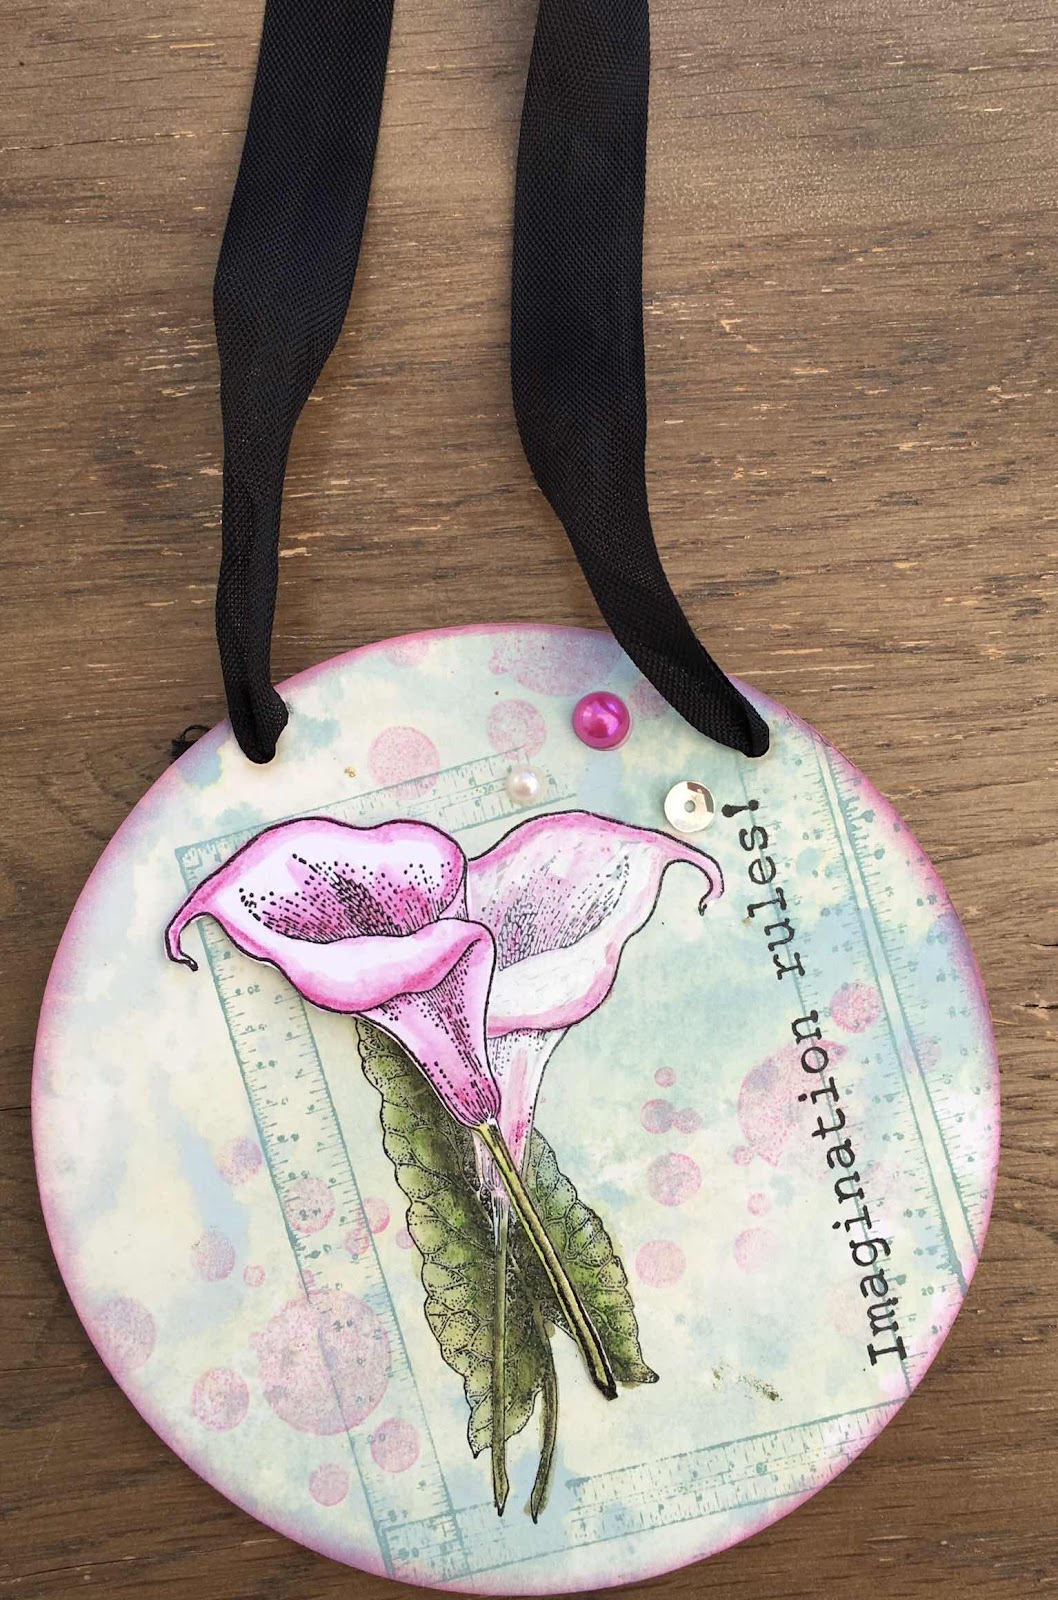
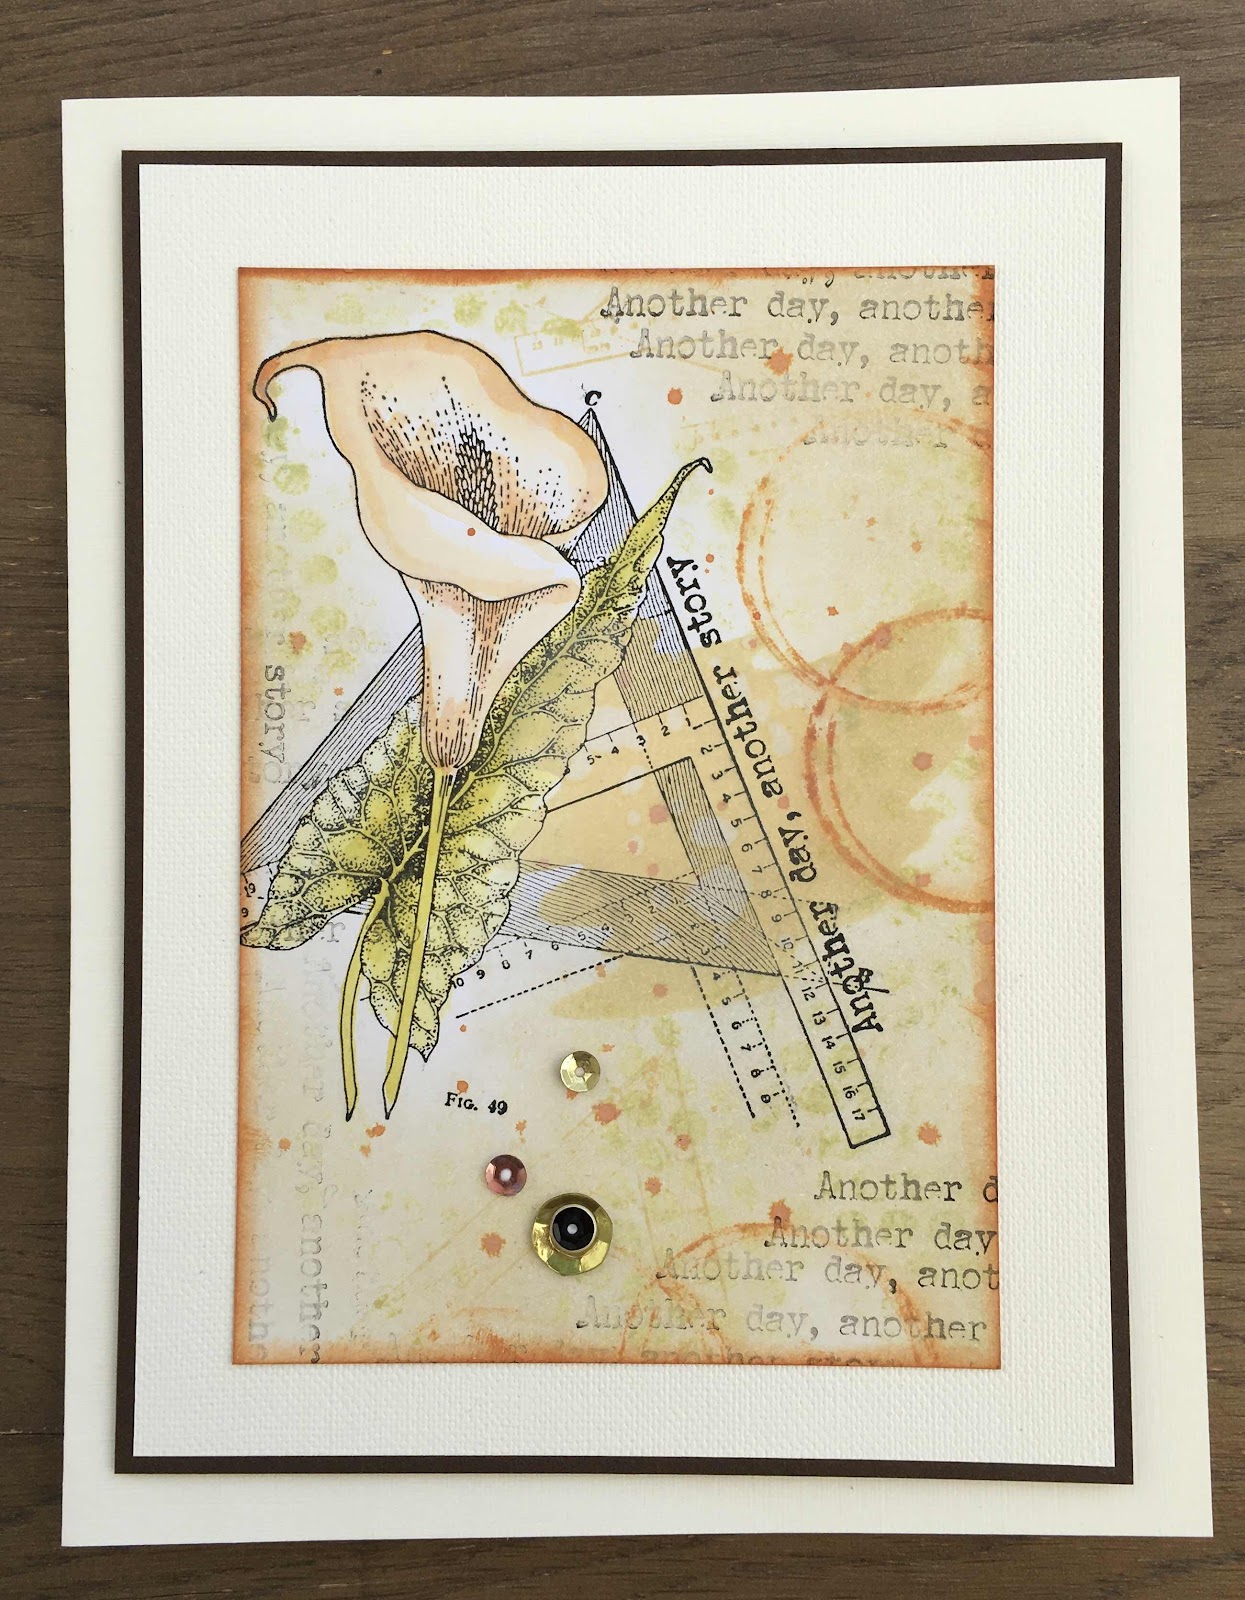
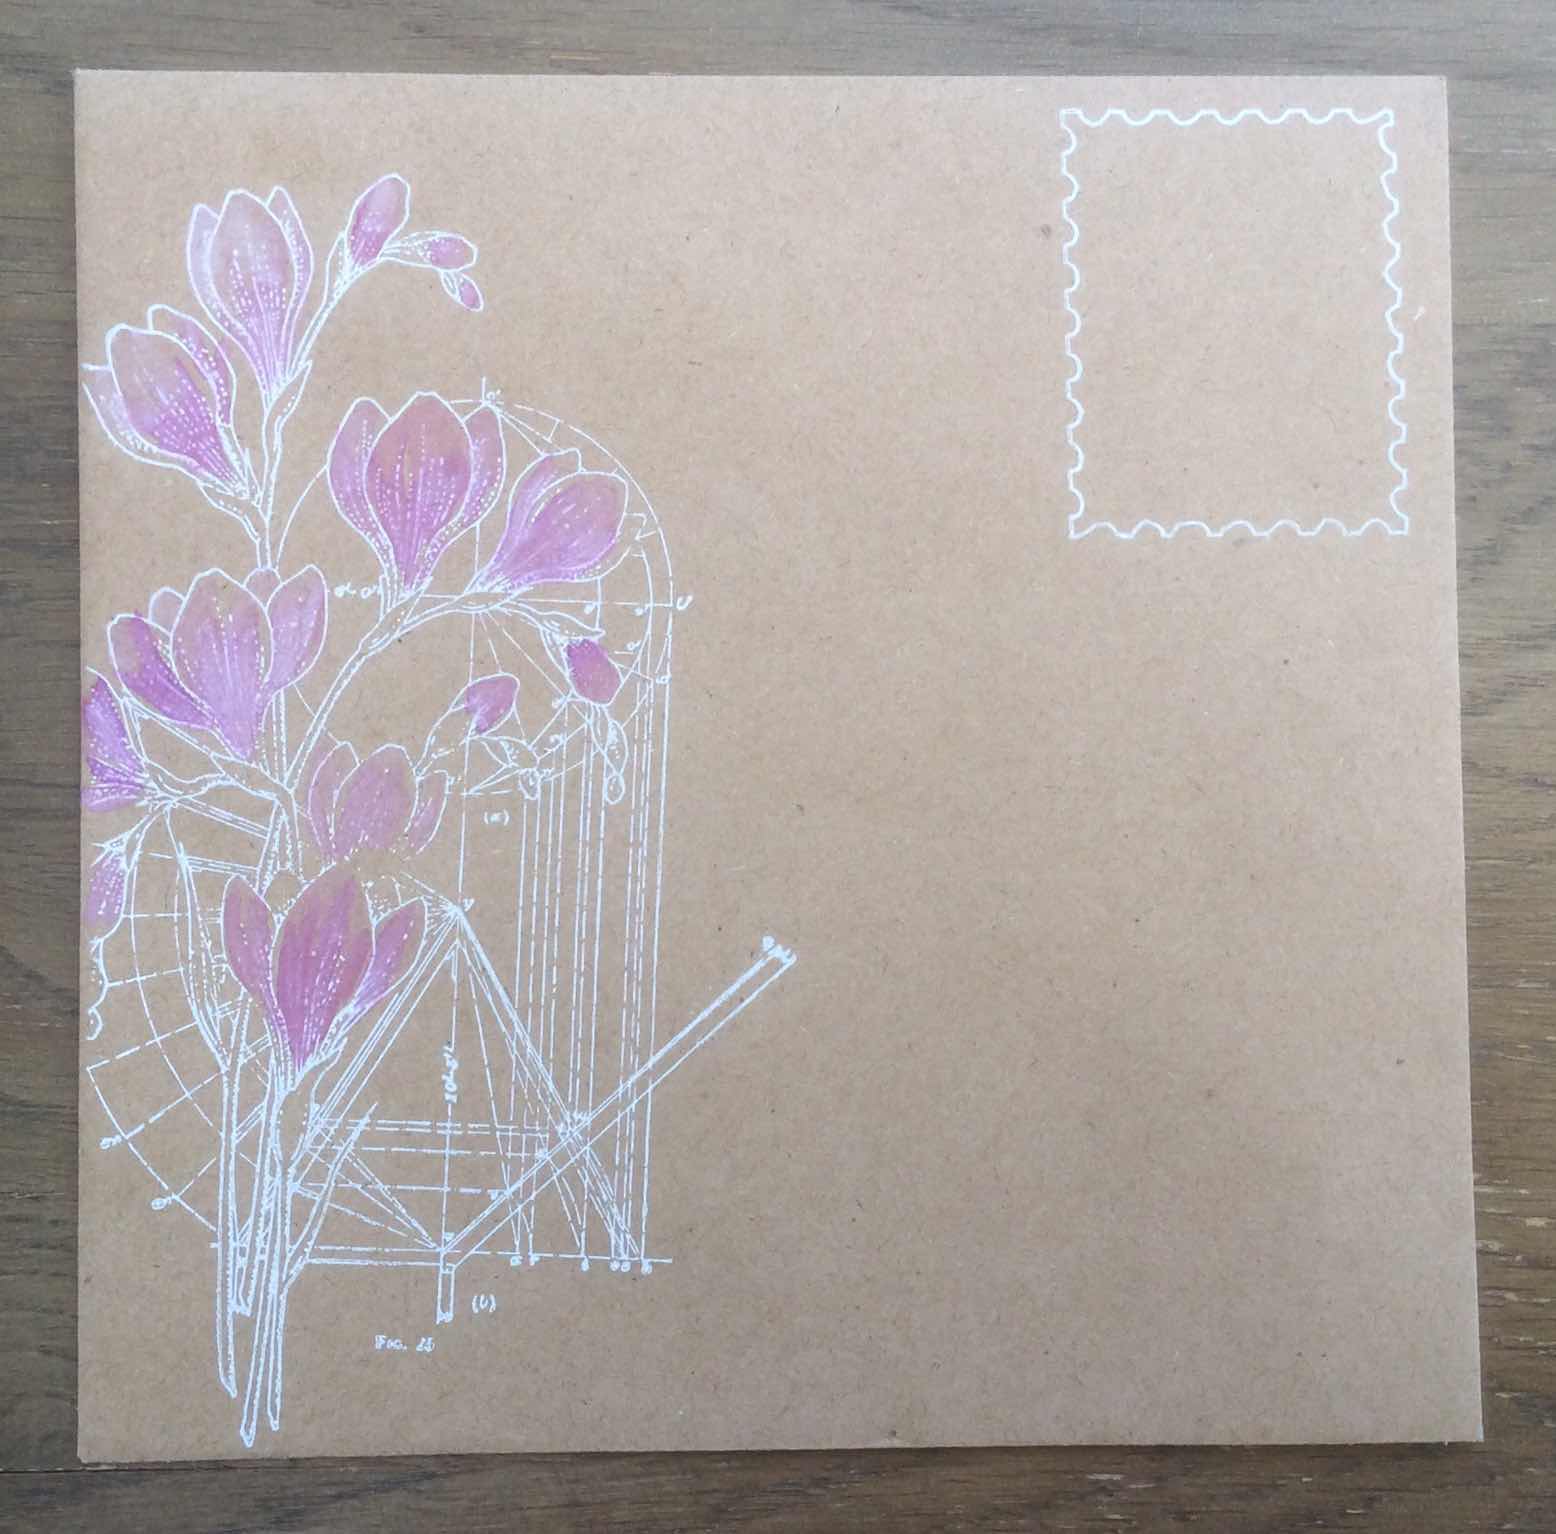
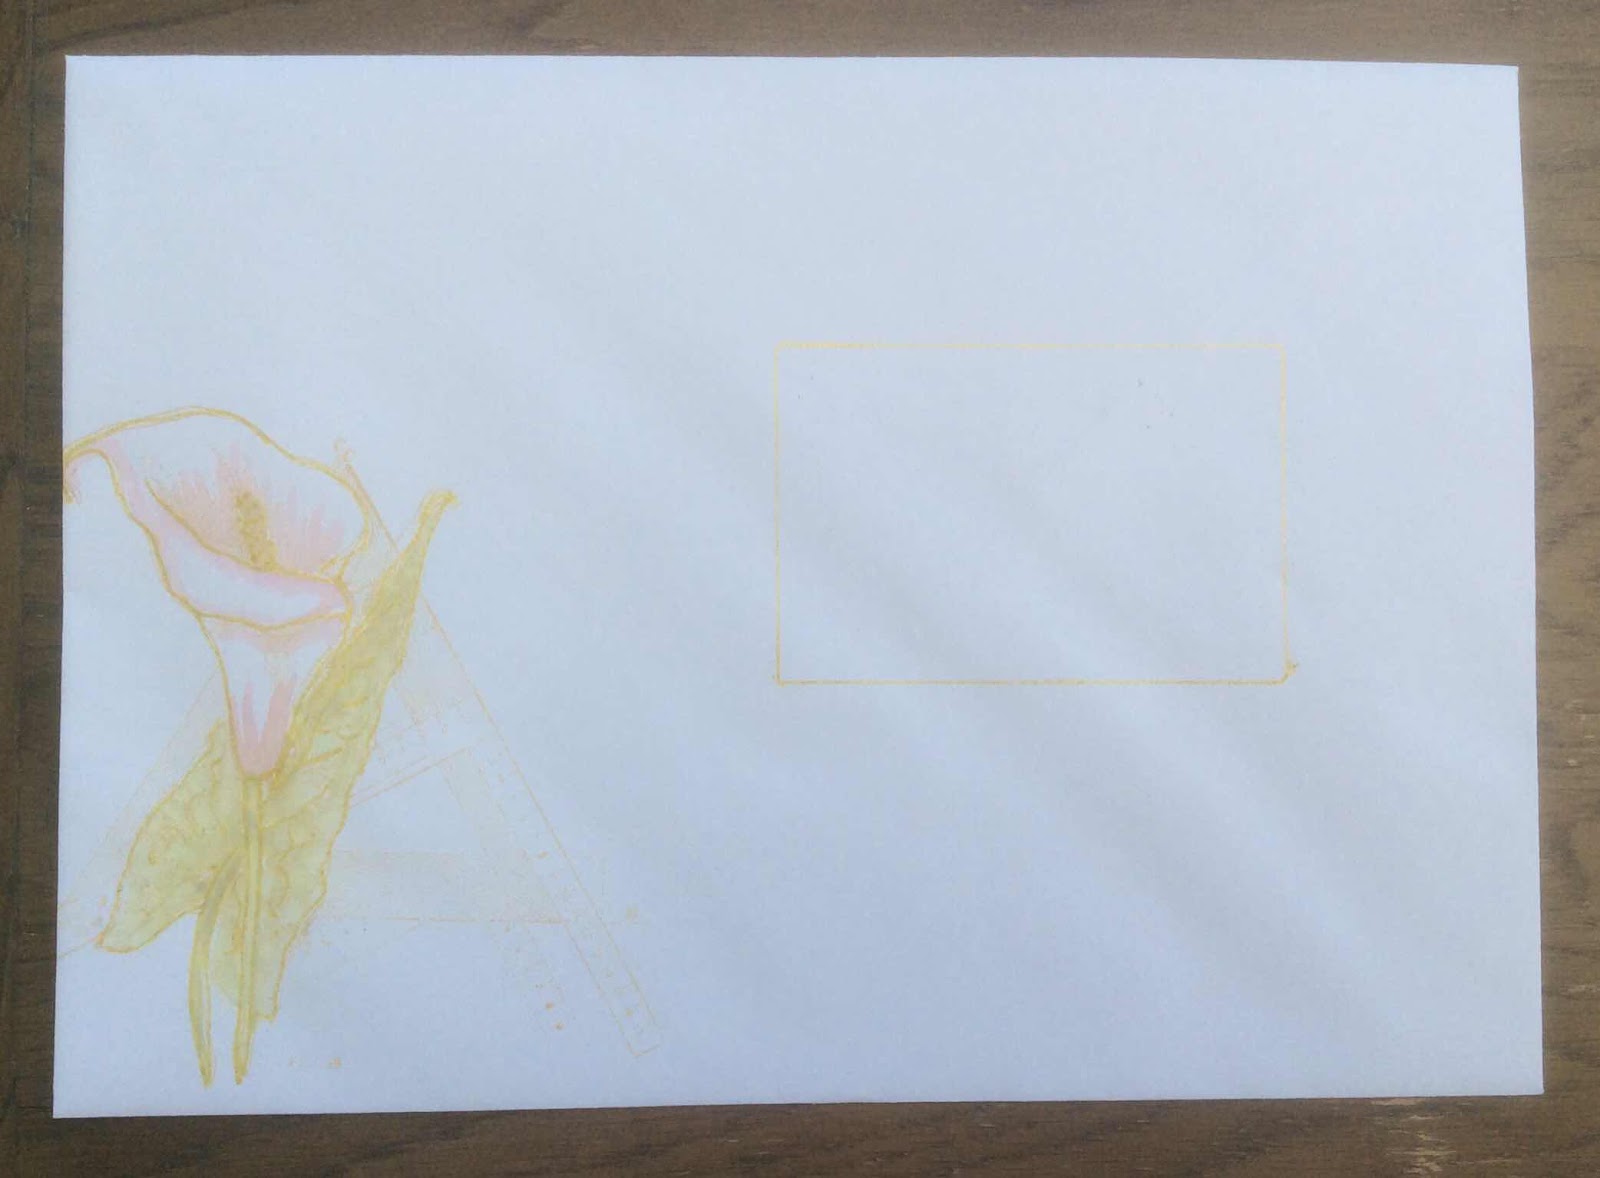
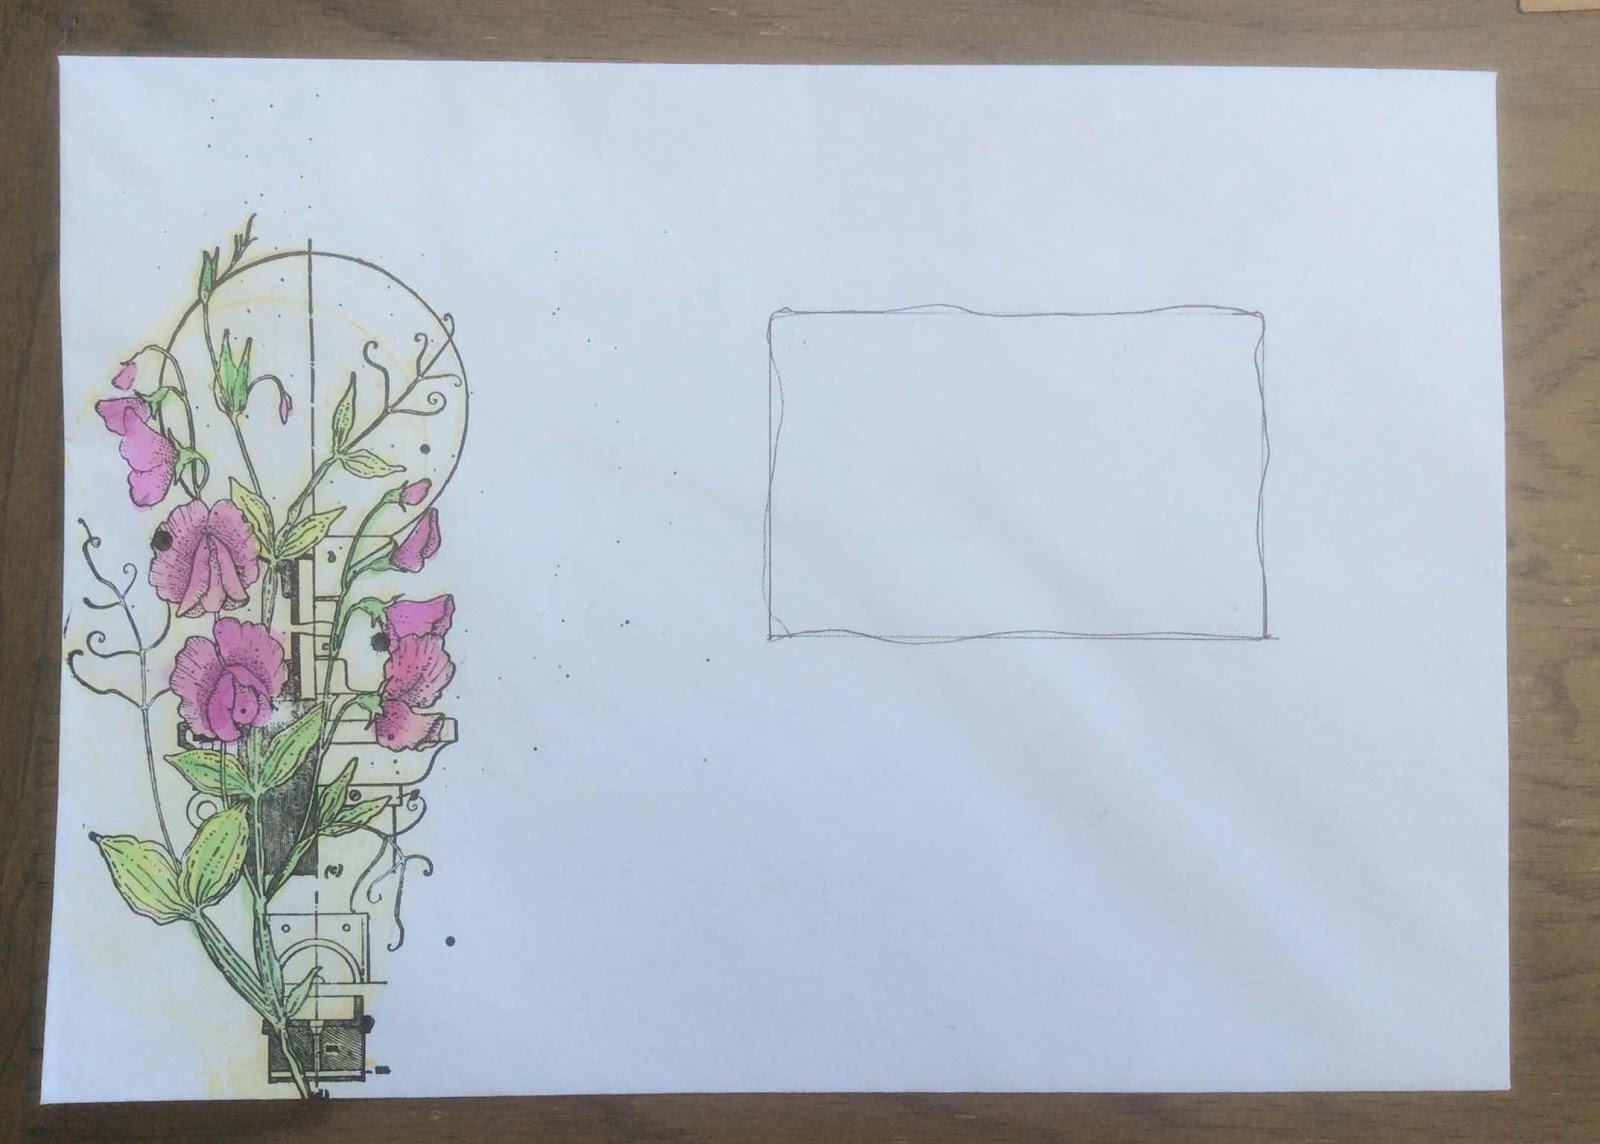
So I’ve become the “Envelope Queen” as Lesley calls me on the shows hahaha! (Love you Lesley) so I cant produce samples without adding the odd obligatory Envelope now.

My first one I used Antique Linen Distress Oxide inkpad to stamp the flower, I coloured in using a water brush and Distress Oxides.

I used Watercolour marker pens to colour my other envelope.


Thank you so much once again for visiting and leaving your comments.

Stay safe, keep well xx Zoe xx

Saturday 30 May 2020

Cornflower Blue by Brenda


Good morning everyone. I hope you are all remaining safe and well and coping during these strange times, today should have been our eldest Granddaughters wedding, then COVID-19 came along, who could have foresaw such change in our lives. But there's always craft!!

Today I have a few more cards using the Blueprint stamps, starting with a blue and yellow creation, it's a colour palette I always enjoy working with. A Distress Oxide background created simply by dabbing ink onto a piece of acetate, spritzing with water and placing over the card giving a gentle rub on the back to release the ink. Then repeat the same process with the second colour, but this time bending the acetate to make contact with the card to get the colour exactly where you want it. 

Some stencilling using Strip Stencils and Wild Cornflower Blueprint Sketch stamped in Versafine Clair blue.


I used the smaller flowers from  all four sets here Freesia BlueprintSweet Pea BlueprintWild Cornflower Blueprint and Cala Lily Blueprinth stamping around the edges of the card and colouring in with pencils. I then used several of the sentiments from the same stamp sets and cut a circle to place in the middle.


Finally a soft yellow Distress Oxide background with a little pink as well, stamping around the edges with elements from Wild Cornflower Blueprint and then Sweet Pea Blueprint focally and coloured with pencils.

My thanks as always for your visit today.

Wednesday 27 May 2020

Autumn Notice Board (by Carole)

Hello everyone, today sees the last project this month from our Guest Design Team member Carole Cann, she has made a brilliant project to inspire you and will be back later in the year.

Carole writes:

Hello everyone.

This is my last project for this GDT session. Hope you like the idea.

I have found this item very useful in my household, for leaving quick messages for my husband and vice versa.
Sttamps used: Mellow Fruitfulness and Autumn Poppy
Distress Inks, Versafine, laminator, Whiteboard pen.


I coloured my backgrounds with different yellows, oranges and red, then spritzed it so the colours bled and left a speckled pattern.

The top section was stamped with black and clear embossed to give it more depth.
Some areas were then coloured with water colour pencils and highlighted with white pen.
I then cut it to the required size and trimmed the other two sheets similarly.

These were then overstamped with various designs on the sheet with Smokey Grey Versafine. If you want it bolder then use black.

Once completed they were laminated too. I used my old Cropodile to put the rings on and joined them all together with wire loops.
You could tie them together with fine ribbon, which would look pretty too.
I didn't have any jump rings big enough, so I wrapped my wire around the handle of a paint brush to make oval jump rings.
The back of the sheets were decorated too.

You can write on this with the whiteboard pen and then rub it off easily when finished with the message.

Hope you have enjoyed my projects as much as I enjoy looking at what you are all making, and happy crafting.

Stay safe,

Carole.

Monday 25 May 2020

Mica Powder and Rice Paper (by Sandra)


Hello
I'm sharing a couple of projects with you today.

My first uses the Cala Lily Blueprint set. I stamped the image onto some black, glossy card with VersaMark and then gently brushed on different coloured mica powders with a small, soft brush. Once all the ink was covered I was able to buff with a soft tissue.


My second piece, I stamped one of the images from the Freesia Blueprint set onto rice paper.  I coloured the flowers and added some crackle from Echoes of Italy. I then used gel medium to adhere the rice paper to a wooden block. Once it was dry I added some Distress Ink to the edges.


Thanks for looking and stay safe,
Sandra x

Saturday 23 May 2020

Blueprint and butterfly Accordion by Rachel

Hello there! Its Rachel here today and I want to share two cards from the April shows with you today. You may have seen the second one on fb before the show but I thought I would show it here anyway.

The first card is the main event...its a 6 panael accordion card. To make this I added distress oxides and water  to my craft mat and made a large (A3) masterboard using a mop up technique. Once dry I cut this into 6 pieces each measuring 9cm by 13cm. There was plenty of card left over to be used another time. Each of these 6 pieces I then stamped an image on and coloured using water colour pencils. I also added some sentiments.


Here are the main 4 panels...


And the two panels that formed the back of the crd leaving room to write on two blank panels. The accordion itself was made by cutting an A3 piece of card in half along the short edge. This card was then folded in half and each half was folded in half again. 


This last card was made by simply inking through a stencil and then adding the stamped images on top - colouring was again by watercolour pencils.

I hope you have enjoyed reading about my samples.

Stay safe,

rachel xx

Friday 22 May 2020

Feeling Gratitude (by Magda)

Hello,
my second post of this month is a layered Journaling Page, that brings in evidence two Chocolate Baroque stamps.
You can hardly see the first pink-brown background with the blue flowers and orange dots, the second layer of gesso with green swirls will give a nice light under the craft tag.


I stenciled the tag with light green flowers, scored the tag and blended with Distress Ink pad Walnut Stain , at last I stenciled again with white.


The decoupage "A Heart full of love" is coloured with watercolored pencils.
The sentiment on the project is in the plate Words of Gratitude  is stamped with Archival Black jet on a white cardstock coloured with Distresss Ink Pad Mustard Seed 
Glue all the pieces on the page.


As a quick idea here two ATC changing the colour but using with the same stamp Essence of Nature Words to Dazzle and Sparkle and stencil 


I hope you enjoyed my projects this time too,  hugs
Magda  

Wednesday 20 May 2020

A Gift For A Friend (by Carole)

Today sees the second post from our Guest Design Team member Carole. She has created two delightful projects to inspire you.

Carole writes:

Hello everyone.

It is my slot as Guest Designer again and today I have two projects for you using the Tranquility set of stamps, a lovely oriental style theme.

The first one is a ribbon holder, which I have found useful. If you like the idea you could have a different one for each colour way. They would look very pretty sitting on the shelf.


I have used an empty cardboard container and cut a piece of card to wrap around it. This was then decorated with various stamps from the set coloured and stuck onto the cylinder.
The top edge was decorated with silver foil over the strong, red double sided tape.
Holes were then punched around the edge with my punch.

The heart would make a lovely accompaniment for the ribbon holder, if giving as a gift.


Products used: Tranquility stamp set, 12cm heart, black paint, Versamark inkpad, silver embossing powder, beads and card to back.
The heart was painted black and left to dry thoroughly.
I swiped it over with an antistatic bag, particularly important as I was using metallic powder and this has a tendency to pick up every finger print on the project!
The images were then stamped and silver embossed. As my heart was wooden, I needed to be aware and hold it with a clip, I usually use a peg for this, as the wood gets surprisingly hot.
I then wiped the inkpad around the edge and embossed.
The flowers were coloured with Mica powders, to add a slight shimmer.
The heart was then mounted onto a background colour, mine was card, but felt is good too.
The beads were then stuck around the edge.
This is a lovely gift for a friend if you can bear to part with it. Mine cheers me up every time I look at it.

Hope you have enjoyed my project. 
See you next time for something completely different. 
Bye for now and thank you for visiting.
Happy Crafting.
                                                                             Carole

Tuesday 19 May 2020

concertina blueprints

 My turn today to show you something different using the lovely blueprint sets of stamps - I wanted to try to use as many of the stamps as I could and combine them with my current passion for concertina cards.

I started by using a sheet of 12x12 white card, and cut it into 4" wide strips. The background was created using splodges of peeled paint and broken china distress inks on to a craft mat, spraying with water and dragging the card through it. Needed repeating several times to cover all the card (well, mostly, i didn't worry about the blank bits)


Once it was all dry, I scored the strips at 4" intervals to create the pages, and cut one strip down to 2 panels to use to fix the other strips together 


Then I stamped some of the  smaller technical images randomly using mostly the blue ink, but a few with the green. I also used some of the stamps from make your mark as well.   


The main images were stamped using black versafine ink and clear embossed, then coloured with watercolour pencils or watercolour paints.
Some extra images were decoupaged , and sentiments added as well.


 Hopefully you are all managing ok so far, and keeping well and safe - and sunshine does help to make me at least feel better , so I wish you all have sunshine to brighten your days.


Sunday 17 May 2020

Map of Happiness and A Blue Print by Penny

Morning peeps, I hope this one finds you all fit and well.  Today it's my turn to try and inspire you with a couple of my samples from last months tv shows.  

Map of Happiness.


For this card I have used stamps from the Wild Cornflower Blueprint, Make Your Mark, Haberdashery and Small Graph Paper sets; Distress Inks, sepia Versafine ink, and a stencil.


I took a piece of Drawing Cartridge  and stamped several images with Versafine ink,  I wanted to create a card with a masculine feel.  I used Distress ink to watercolour the images, stamped a sentiment then added ink around the edges of the card.


 On a piece of Kraft card I stamped the graph paper image and matted the focal panel onto it.  I  took a white base card and used DI through a stencil to colour it, then I attached the focal panel to the base card.  To complete the design I added a couple of images from the Make Your Mark set.


A Blue Print.

This time I have used stamps from the Wild Cornflower Blueprint set; black Versafine ink, watercolour pencils and a colour spray from my stash.


I took a piece of Drawing Cartridge and stamped a couple of images in Versafine ink.  I then masked the images and spritzed blue ink to create the background.  I removed the masks and watercoloured the images.


 I added a sentiment and blended ink around the edges before matting the panel onto blue card and attaching it to a white base card.


Thank you for dropping by today I hope you've enjoyed my post.  I'll be back again next month with some more crafty fun to share with you.

Until then take care and stay safe,


                             x x  Penny  x x 

Saturday 16 May 2020

A Thought for You (by Judith)

Hello everyone, how are you all? I hope that you are keeping well during the lockdown, and taking good care of yourselves, especially if you need to look after other people at this time, or if you are feeling that life is getting a bit too much at the moment. Take time out for you if you can, and give yourselves a bit of TLC, a bit of time to craft, or simply to unwind doing whatever you enjoy doing for a little while.

I have made a card to send you a bit of cheer in my blog post today, to let whoever is reading the post know that I am thinking about YOU, and hoping that you are okay.

I have taken a piece of Textured Art card, which I coloured with Distress Inks and water. I then stamped the large Fritillary stamp from Happy Flower's Day three times, masking the first image before I stamped the image twice again. I coloured the image with Koh-I-Noor watercolour pencils, and added some water with a brush. I used lots of different colours on the flower, to create a blended final colour, which is a bit more natural than colouring with just one colour. I added some grey for shadows around the stalks and underneath the flowers.

A sentiment from the same stamp set completes the card.

Take care, stay safe, and thanks for stopping by,

Judith xx

Thursday 14 May 2020

Floral plans by Zoe

Good morning Lovelies, I hope you’re keeping well and safe. 

So here we are still in lockdown, who’d have thought it huh? I hope you’re all managing ok? Life’s not too different for me apart from my husband now being furloughed, he was still working up until 1st May, so we are now adjusting, I’m quite enjoying having him around.

So onto my first post this month, featuring those amazing Blueprint Florals.

 I was so pleased they were making another appearance on Hochanda, the first time they were featured I was unable to make any samples.

So here are few I made for last months shows.

I’ve incorporated the Stencils and other stamps from other shows in the backgrounds of a couple of my cards. I used Distress Oxides on the backgrounds apart from the envelope, all of the projects were coloured in using Watercolour markers.


Thank you so much for taking the time to visit and comment, I very much appreciate it.

Stay safe and well xx Zoe xx

Wednesday 13 May 2020

Four Fold Cards (by Carole)

Hello everyone, today sees the first of three posts this month from our Guest Design Team member Carole Cann. Carole has designed a series of beautiful folded cards for your inspiration. 

Carole writes:

Hello everyone.
It is my turn again to show some samples as a guest designer. I always look forward to this and hope you like my three, very different projects.
I have used stamps that were highlighted last year as it is very easy to put them away in your stash and forget about them.
I have started off with a lovely four fold design. I really like this folded card as you can get an interesting finished project.
I decided to do a men's card, using the Eccentric Edwardian set, Steampunk Travel and Punky Expressions. Very good standbys for a men's card.


Make a master sheet for the background paper. Mine was made by just pressing Distress Inkpads onto the card, I usually use two colours, in this case Pumice and Wild Honey.
Spritz the background with water and leave to dry. The inks will bleed slightly and blend with each other.
The elements were stamped with Versafine black and one of the other colours.
The gentleman was stamped onto the card, but the very top of his head was masked so that the hat would sit properly. The hat was on a separate piece of card and cut out.
Finally I used a piece of metal, stamped with Stazon and embossed it to create an embelishment on the front.
Below are two other cards that I have done using this design. One was shown on Hochanda many months ago, but I thought it was worth another viewing for those of you who may not have seen it. The other was a birthday card for a friend using blue as the background.


Love this colour combination.
See you next week with something different.
Thank you for visiting and happy crafting.
Carole

Over on my blog cchotchpotch.blogspot.com there is another sample that I made for my daughter, using Chocolate Baroque stamps and stamps from an Alice in Wonderland range from another company. The flowers went so well with the other stamps I thought to have them as soon as I saw them. I hope you agree.

Monday 11 May 2020

Lily triptych by Brenda


Hello everyone, I hope you are all well and safe.

I have some more cards to share using the Blueprint Sketch collection of stamps and my first uses the beautiful Cala Lily Blueprint. I created a triptych style base card using a scoreboard and border die, Distress Oxides on the panels and random stamping using elements from Rustic Fragments, the stamping the focal elements with Versafine Clair and adding some colour with watercolour pencils. The Butterfly on the front is Patchwork Butterfly.


The background on this one is brayered acrylic paint, Freesia Blueprint stamped focally and white picket fence Distress Marker used to colour it. I used the lattice from Rustic Fragments around he edge stamping with gesso to achieve a textured finish.


The Magnolia from Happy Flower Day has been stamped onto a Gelli Plate background and the main bloom stamped a second time, coloured and decoupaged.

Enjoy your day and thank you for your visit.