Pin It button on image hover
Showing posts with label Canary Bird Rose. Show all posts

Wednesday, 22 June 2022

Canary Bird Rose (by Carole)

Hello fellow crafters.

My final contribution for this month, for the Chocolate Baroque GDT slot, uses the very pretty Canary Bird Rose stamp.

It is stamped and then I cut an oval around it. Half of this was cut away.

The flower was coloured with water colour pencils and Distress Inks.

The background uses an embossing folder covered with Versamark and then put through the embossing machine with a piece of card. Pearlescent powders were then brushed over the design. This is a lovely method which I haven't used for ages.

The background was then sprayed with cheap hairspray to seal it.

The message is from The Folk Art Garden set.

Hope you have enjoyed the samples I have shown you.

Please visit my Pinterest board to see other Chocolate Baroque samples that I have made: https://www.pinterest.co.uk/carolecann/_saved/

Many thanks for visiting.

Happy crafting until next time.

Carole 😍


Monday, 30 May 2022

Clean and Fresh by Doreen

 Clean and Fresh


Hello again, well here we are at the end of another month already, where does the time go ??

Today I would like to share a far softer kind of card from me using the Canary Bird Rose Stamp such a pretty stamp used by itself it looks perfect just stamped on its own.

Using the Versafine Clair Nocturne I stamped the image onto a smooth piece of white card waited for it to dry before colouring it with the Clean Colour Brush Pens.
Then mounted onto black card before putting onto a white card blank.

Fairly quick to make depending on how long you take on the colouring, then below is another version a bit grungier but just showing how good the stamp looks no matter how you decide to use it.


Thanks for looking in today and until next month take care and enjoy the late evenings with the beautiful sunsets.

Love Doreen 


Friday, 27 May 2022

show catch-up (by veronica)


My third post this month for Chocolate Baroque is a bit of a mixture, catching up on other stamps featured in the April show on Create and Craft.

The  canary bird rose stamp is lovely to colour in, but I just used bleach to take the colour out. The background was from a batch made using the inky plate and distress inks with some added stencilling- the leaves and stem were coloured with pencils 

Another inky plate background for the tree from be at peace, with a reflection below it created using acetate, coloured with pencils again. the sentiment was stamped on an offcut of the background piece, cut out and edged with black ink
Another inky plate background, with the open weave  background stamped in grey first, then the floral weave stamp coloured with felt tip marker pens stamped twice to build up the colour - I used a stamping platform for this.

Sentiment on a scrap of the background and a black mat.

 The final card used the flower from life is wonderful stamped in black ink onto a sponged background. The flower was coloured with pencils and the butterfly with shimmer paints. The flower head was stamped onto spare card, painted with watercolours ,fussy cut out and glued over the original image.  Random parts of the open weave stamp were stamped on the background using a green distress ink and then I doodled round the edges with a fineliner pen. The sentiment was stamped onto spare card, cut out , more doodled edges.


Thursday, 12 May 2022

Delightful Flowers (by Sandra)

Hello I am sharing some more of my cards from the April show on Create and Craft.

My first card uses stamps from Gerbera and Friends.
First, I cut a piece of card 5.5x5.5". I used a cloud stencil and Distress Ink for the background. I then stamped the dandelion image in archival ink and added a sentiment from Birthday Words.  I made a 6x6" easel card base and  added a sentiment from Words to Dazzle and Sparkle as a stopper.


For my second card I used Floral Weave stamp set. I stamped in Versamark and embossed in gold. I mat and layered onto gold card and added some gold ribbon which I wrapped down the side of my card.

My last card today uses the Canary Bird Rose stamp set. This is a lovely open stamp, great for colouring. I used a stencil and Distress Ink for the background.  I then stamped onto some smooth card with Memento Ink and coloured with alcohol markers. I added a sentiment from Words to Dazzle and Sparkle and mat and layered onto gold card and then onto my 7x5 card base.


Thanks for looking
Sandra x

Tuesday, 10 May 2022

Two Projects, Two Ways (by Judith)

Hello everyone, I hope that you are keeping well. I have some projects to share with you today featuring stamps that we brought to you on last month's TV shows on Create and Craft. Both sets of projects feature the ideas in two different ways, showing how you can vary the project depending on what sort of look you would like to create.

My first project is a little plaque using the Canary Bird Rose stamp and some of the Black and White papers available on the website. I chose to use a blank piece of the papers to create my own patterned piece of paper and stamped the main image using black Archival ink. I added a sentiment from the stamp set, plus elements from Gerbera and Friends using grey Archival ink. I coloured the flower with pencils before adhering the paper to a painted panel using matte medium. 

Once the glue was dry, I sanded the edges, and added a bit of ink with a blending brush around the edges.


An alternative version was created by stamping the same flower image onto a patterned piece of the papers, and simply colouring it with pencils. I added the sentiment with black ink this time. I attached the paper to a panel as before and once the glue was dry I sanded the edges. I dry brushed some paint around the edges and added some stencilling for added interest.


I wanted to create a couple of masculine cards using the Sunny Sunflowers stamp set, and picked a selection of the leaves. They are really lovely designs and make a beautiful card by themselves, without the addition of the flowers. For my first card, I picked a selection of green inks, some VersafineClair, some Archival, and some Distress Oxide, whatever colours seemed to go together well. I stamped the images in first, second and third generation, and finally added a sentiment from the Words to Dazzle and Sparkle stamp set, using black ink. I stamped everything straight onto the card blank for a really quick card, and you could easily make a whole batch of these in an afternoon.

My variation was stamped onto a piece of kraft paper using Autumnal coloured inks, and I chose to stamp and emboss the sentiment to make it stand out a bit more.

I hope that you have enjoyed my projects as much as I enjoyed creating them. Thanks for stopping by,


Judith xx

Wednesday, 27 January 2021

Black Tag (by Christine)

It's my final turn on the blog for January - I really hope you have enjoyed perusing what I have shared.

I did go ahead with the black tag and embossing as I promised in my last blog. I decided on white embossing powder so that the images would stand out against the black. I stamped part of an image on white board using Versafine Clair Nocturne and then used watercolours as my colouring medium. I triple embossed the white board for added sheen.

I stamped out a sentiment and added it to the tag, using a little owl from my stash to hold it in place. I used a white gel pen and silver Liquid Pearls to add some decoration to the tag itself. Some butterflies from my stash finished off the piece. I think this will go in to my journal with some notes so that I can replicate it another time.

As I am writing this the sun has come out and the snow is disapperaring rapidly - let's hope that Spring is well and truly on its way. Please take care of yourself and be safe.

Silhouette Grasses

Canary Bird Rose


Happy Crafting!

Christine

xx 

Saturday, 28 November 2020

In the Pink by Brenda

Morning Peeps, some more cards today from last months Hochanda shows. And first up is one using Life is Wonderful, well part of it that is as I masked the image so I was left with just the flowers.

The background is oxides applied with acetate as I wanted a softer finish, random stamping using worker stamps from Gerbera and Friends and sentiment from Dream Petals. I coloured the flowers with Distress Markers, stamped the seed head from the Gerbra set three times, cut out and placed down the side with paper clips. A torn strip from an old book, some doodling around the edges and the little Dragonfly from the same set as the focal element.


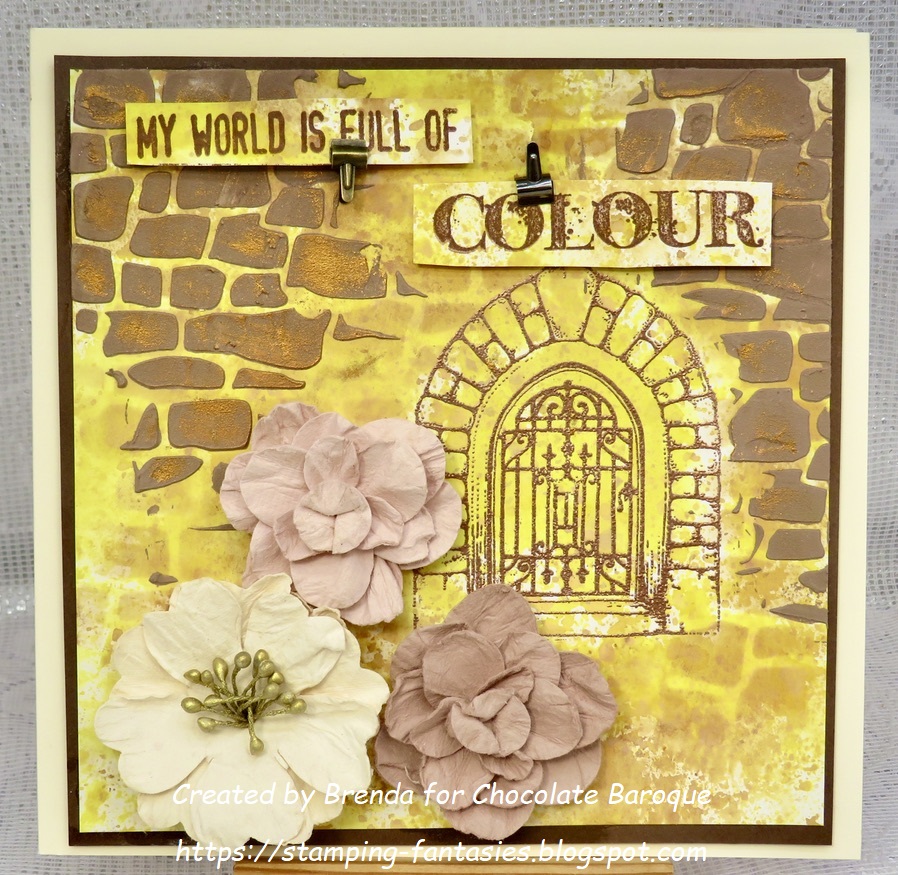
Inks, texture paste, stencilling, gilding wax and anything else I could lay my hands on to build up around the arch door from Echoes of Italy which I heat embossed with details copper EP. Finally some Little Birdie flowers. The sentiment is from Artistic Affirmations.


A focal circle created with the Gelli Plate, acrylic paints and Brushos, the seed heads from Gerbera and Friends stamped with Versafine Clair and sentiment from Canary Bird Rose.

Happy weekend everyone.

Tuesday, 24 November 2020

canary bird

Today I am sharing samples using  three new designs by Dawn. The first is the lovely canary bird rose, a wonderful image to colour in, I used watercolour pencils. the background was using distress inks and brushes with the leaves of the flower randomly stamped 

My second sample uses the big dream petals flower stamped in blue ink onto a distress ink background and coloured by dragging the ink out with a damp brush. The sentiment stamped round the flower is from the third set


The main image from the third set is a lovely twisted tree, which i stamped with versamrk ink onto black card and gold embossed it before painting with metallic mica paints,


Thursday, 19 November 2020

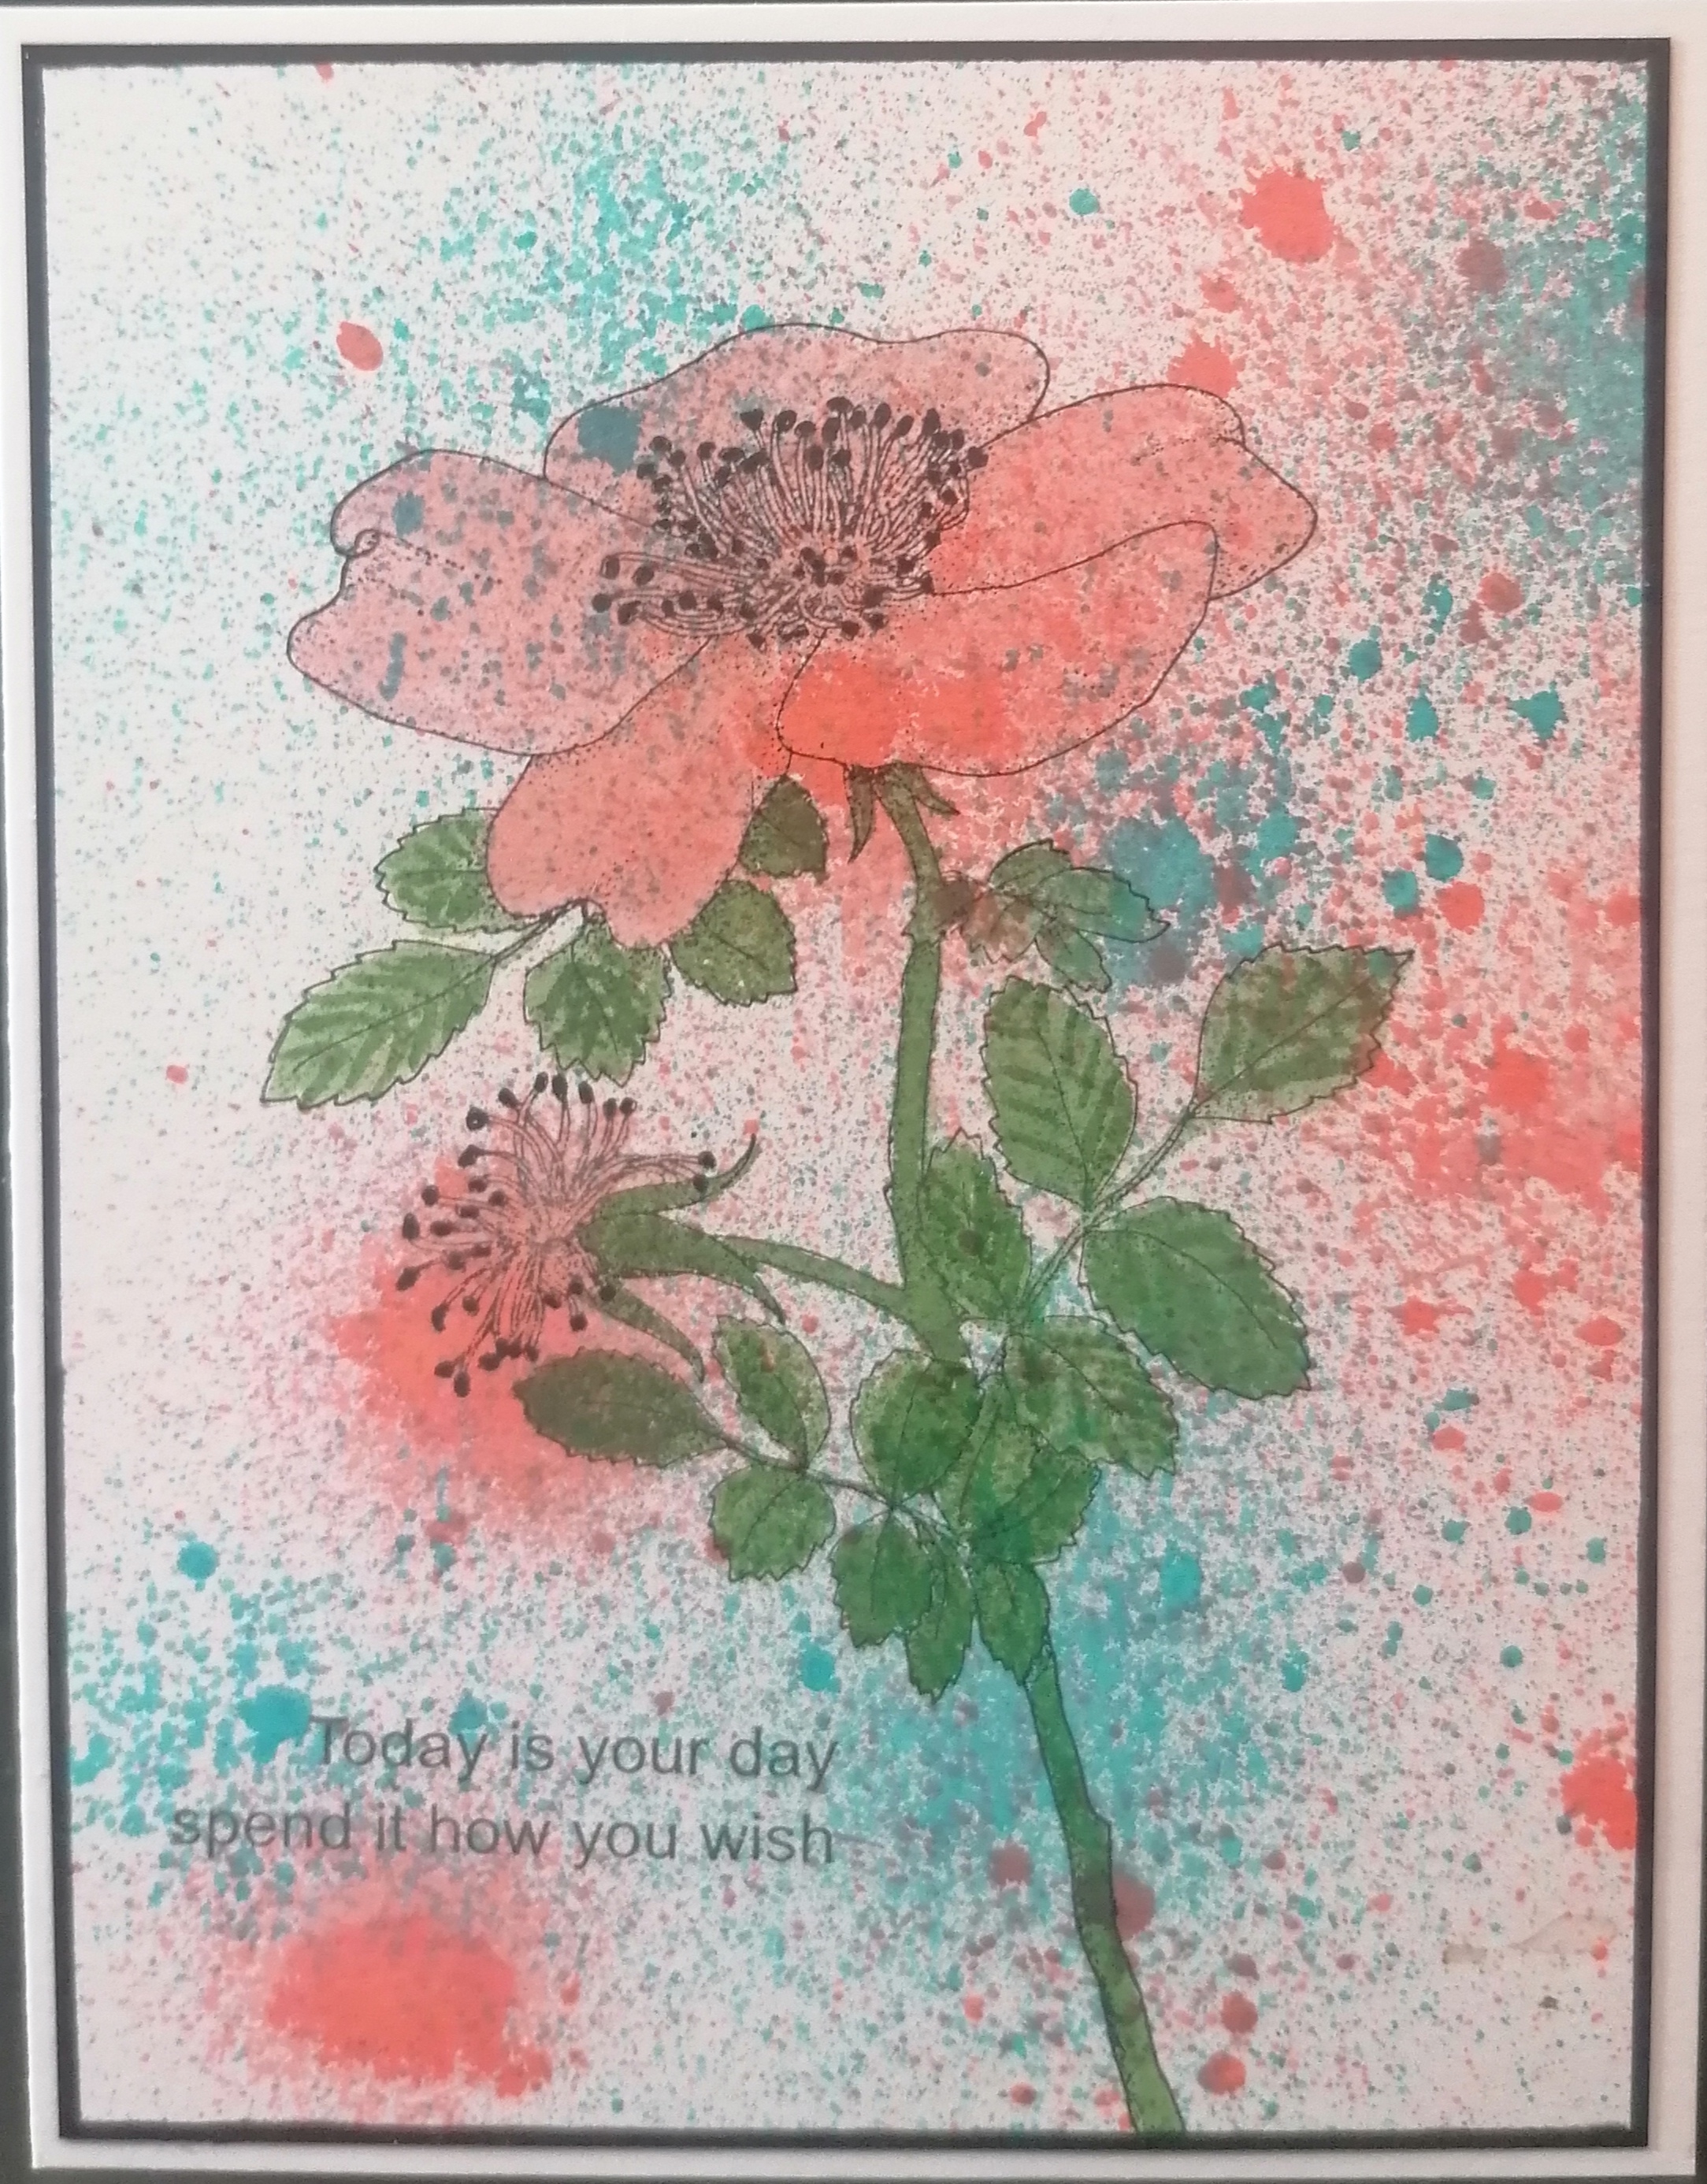
Today is Your Day by Brenda


Hello everyone, I have a few more shares from my samples from last months Hochanda shows.

This beautiful bloom called Canary Bird Rose was probably my favourite from the stamps on the shows as it's so versatile. After stencilling some spots onto the background using Strip Stencils I stamped the flower head onto an offcut inked with Crackling Campfire Oxide and cut out and placed into a die cut circle. Next I used the same colour inks to stamp some background interest using the worker stamps from Gerbera and Friends. A sentiment from Canary Bird Rose placed into a ring sourced in the greenhouse.......I think hubby uses them for his cucumbers! 


A misty oxide background and images from Silhouette Grasses stamped randomly, some flicks of white pen and sentiment from Artistic Affirmations.


Finally a bright and sunny creation using the big Sunflower from Gerbera and Friends, stamped with Versafine Clair and cut out twice to decoupage, some die cut leaves and a rarity for me some DP in coordinating colours. A sentiment from Dream Petals and Dragonfly from Life is Wonderful.

Have a good Thursday and thanks for your visit.


Saturday, 14 November 2020

Paint Your Dreams


Hello
I am sharing some more of my cards I made for the October Hochanda show.

I am using stamps by a new designer for Chocolate Baroque called Dawn and the sets of stamps are called Be at Peace, Canary Bird Rose, Dream Petals and Life is Wonderful.


My first card features the beautiful tree from the Be at Peace set. I stamped with black Versafine and coloured with water colour pencils. I used an 8x8 card base and cut an aperture out of the centre. I put my stamped image behind the aperture and using my stamping platform, I lined up the sentiment to fit. To finish off I used a glue pen and added some sparkle to the leaves with glitter.


My second card uses the Canary Bird Rose set. I stamped in Black Archival and coloured with water colour pencils. I then used a stencil in the background.


My next card uses the Dream Petals set. This is the Canary Bird Rose flower, but looking down into it. By changing the colours it makes a great Poppy and Anemone! I created a background with inks and stencils and the comb stamp from Gerbera and Friends I stamped the flower onto some self adhesive canvas. for a different texture.


My last card today uses stamps from Life is Wonderful. These have a lovely tropical feel, with the big butterfly and flowers. I stamped in Memento ink and used alcohol markers to colour.


Thanks for looking

Sandra x


Friday, 13 November 2020

Splats and Flowers (by Judith)

Hello everyone, I am back to share a few more projects with you using some of the fabulous stamps that were showcased on last month's TV shows on Hochanda.

For my first two cards, I have used the large gerbera stamp from Gerbera and Friends, drawn by the very talented Annabel.

To create my first project, I used a small round gelli plate and added colour using yellow Versafine Clair ink. I added texture with some bubble wrap, before stamping the gelli plate onto the background. I repeated this process until I had filled the background. I stamped over the top of each circle using the gerbera stamp and dark brown Archival Ink. I used the same ink to stamp onto white shrink plastic, and coloured the image with pencils, before I puched a hole at the top of the image and cut it out. I shrunk the image using a heat gun, and flattened it while it was still hot, using an acrylic block.

I stamped the sentiment onto some yellow ribbon, again using the Archival Ink, and once it was completely dry, attached the ribbon to the background. I attached the shrink plastic image to the ribbon using a couple of jump rings.

To create my second card, I added colour to the background using a roller, and then stamped the splatter stamp over the top. I stamped the gerbera images onto scrap card alrrady coloured with blue and purple Distress Ink, and cut them out. I have decoupaged the images, so that the inner sections have been stamped and cut out again for extra depth. I added shading with pencils to create more shadow on both flowers just beyond this central area too. Before I attached the flowers to the background, I selected a  design from the Silhouette Grasses stamp set, and stamped that behind where the flowers were going to be placed. I used the flowers as a guide to help decide where to stamp, and used a lovely plum shade of Versafine Clair ink in first and second generation stamping.

I used a spare piece of the purple card left over from the flowers to stamp the sentiment, and roughly tore the edges, to allow the white edges to show.

My next two projects were created using the Canary Bird Rose stamp. I have really enjoyed creating backgrounds using these two stamps particularly, from the Gerbera and Friends stamp set during this period. As in the previous card, I used a roller to lay colour onto the background, and then I used the splatter stamp and the lines stamp, to create a collage effect. These really are such useful stamps.

I stamped the Canary Bird Rose onto a whiteboard heart using brown ink, and then edged the heart using a green Distress Ink. I coloured the image with pencils.

 My final project was created using kraft card. I stamped the image and sentiment using brown ink, and coloured the entire image using a white pencil. I then coloured over the white pencil with the colours that I wanted to add, creating a very soft look. Finally, I added some white splatters using some white paint.

I hope that you will try out some of my ideas. Thanks so much for stopping by. Stay safe and take care,


Judith xx

Monday, 9 November 2020

Fantastic florals (by Rachel)

 Hello there! Rachel here with some inspiration from the shows in October. This first one uses the stsmp called Canary Bird Rose. I think the stamp name influenced my colouring of the image done in watercolours. I thin fussycut the image and added it to a black and white background. I think this stamp will get a lot of use!


In making this canvas I used the dream petal stamp and stamped it on card and coloured it with translucent paints before fussy cutting. I added this to a circular canvas painted black that I had already decorated with flitterglu stamped images from the Gerbera and friends set which I covered with gilding flakes. I also stamped the centre of the flowers in flitterglu and added flake to them before adding to the painted florals.


In this last sample I used the Life is wonderful stamp set and the circular stencil set. Colouring was in a combination of translucent paints and watercolour pencils. 


I hope this has given you food for thought!

Big hugs

Rachel xx