Hello everyone, I am sharing my last post for this month, and once again, hoping that you are all safe and well.
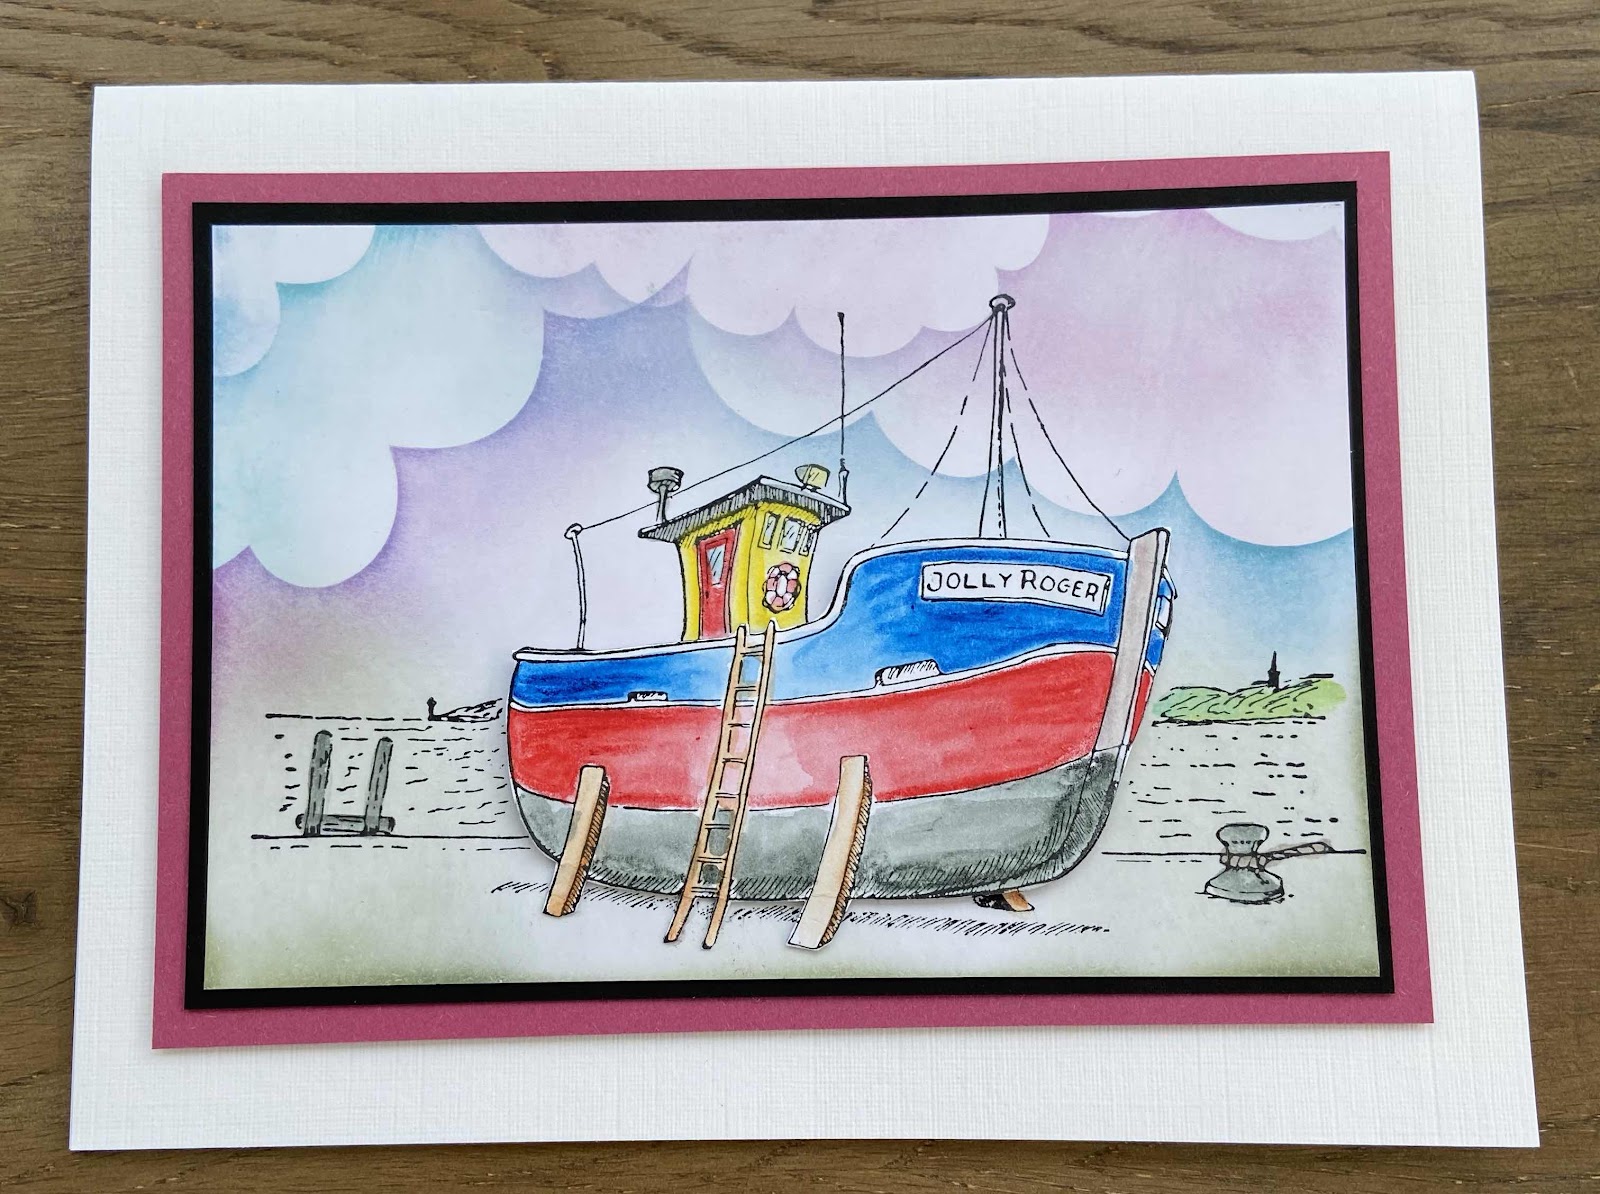
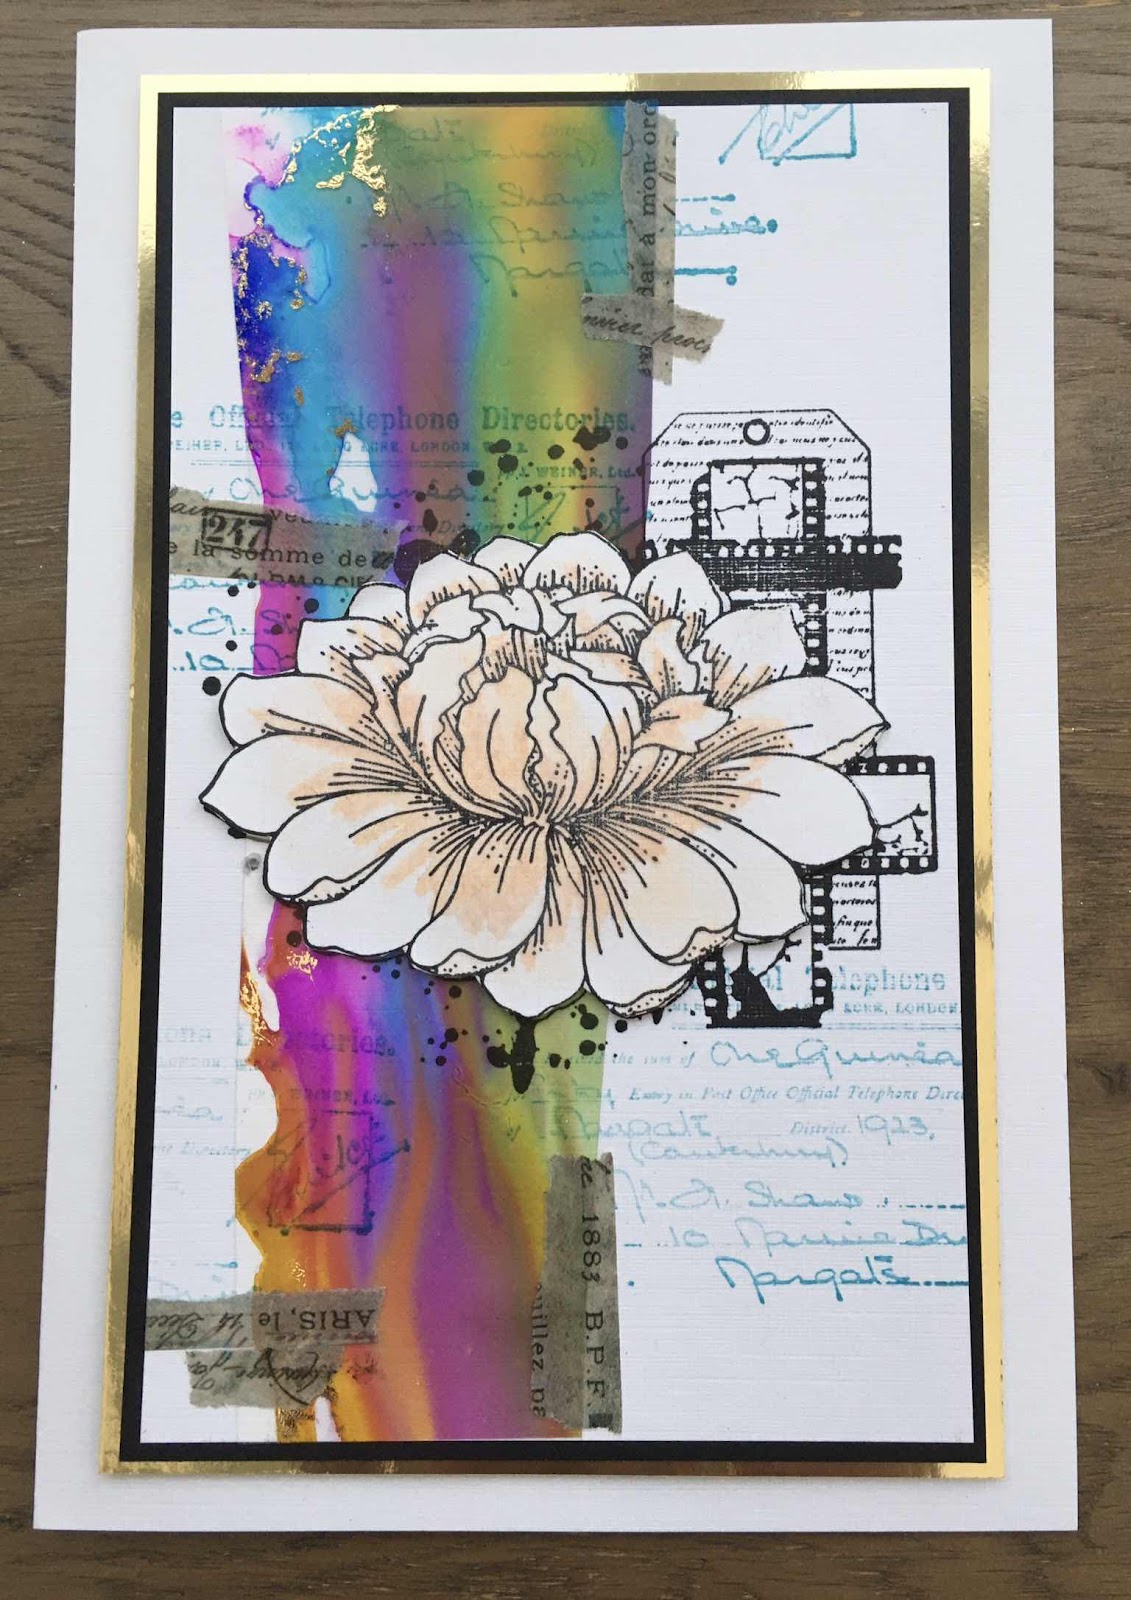
My first card was created using a stamp from last month's TV shows on Hochanda, Floral Grunge, and I have mixed it with a few other images to create a card that could be used for lots of different occasions. The sentiment I felt was particularly apt for now when lots of people could do with a hug, but we cannot give them one.
I started my card by stamping the main image onto Drawing Cartridge using Versafine Clair ink. I masked the flower head and then stamped and embossed the film strip from Butterfly Mind. I used the same colour ink, but added clear embossing powder over the top. I added a few extra splodges with a stamp from the same stamp set around the flower head and then removed the mask. I coloured the image using Polycolour pencils, before replacing the mask, and adding more splodges of colour with Distress Oxides to tone in with the colours that I chose to colour the flower head. The sentiment is from Amazing Mackintosh Words.

I am also sharing some older cards that I made using some of Kim Moody's stamps, that were also featured on last month's shows. Sadly I did not have a chance to make any fresh samples with these fabulous stamps, but I thought you might like to see some of these again...
A street made from all of the houses, using a bit of masking, and I added some treees from Trees a Crowd in the background. This was such fun to make!

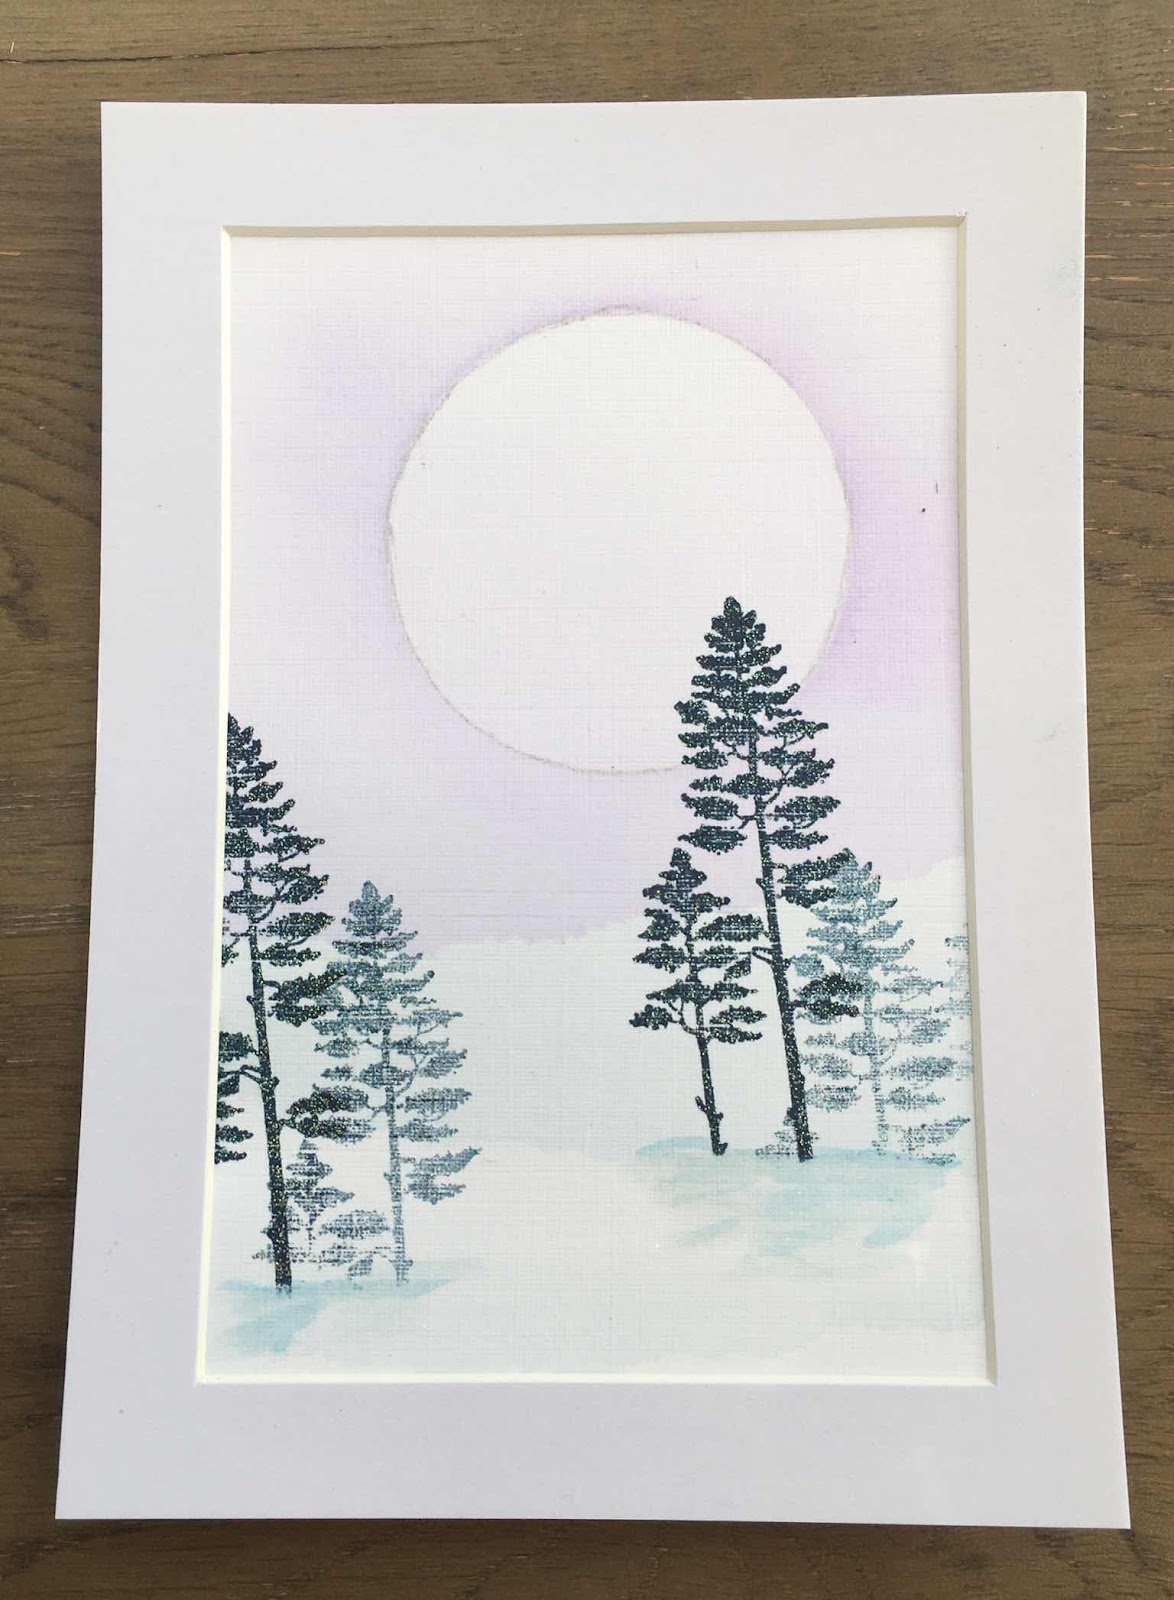
A moving day, who would not like to get away from it all and live in such a picturesque spot? We live near the forest and love taking long walks in the woods.

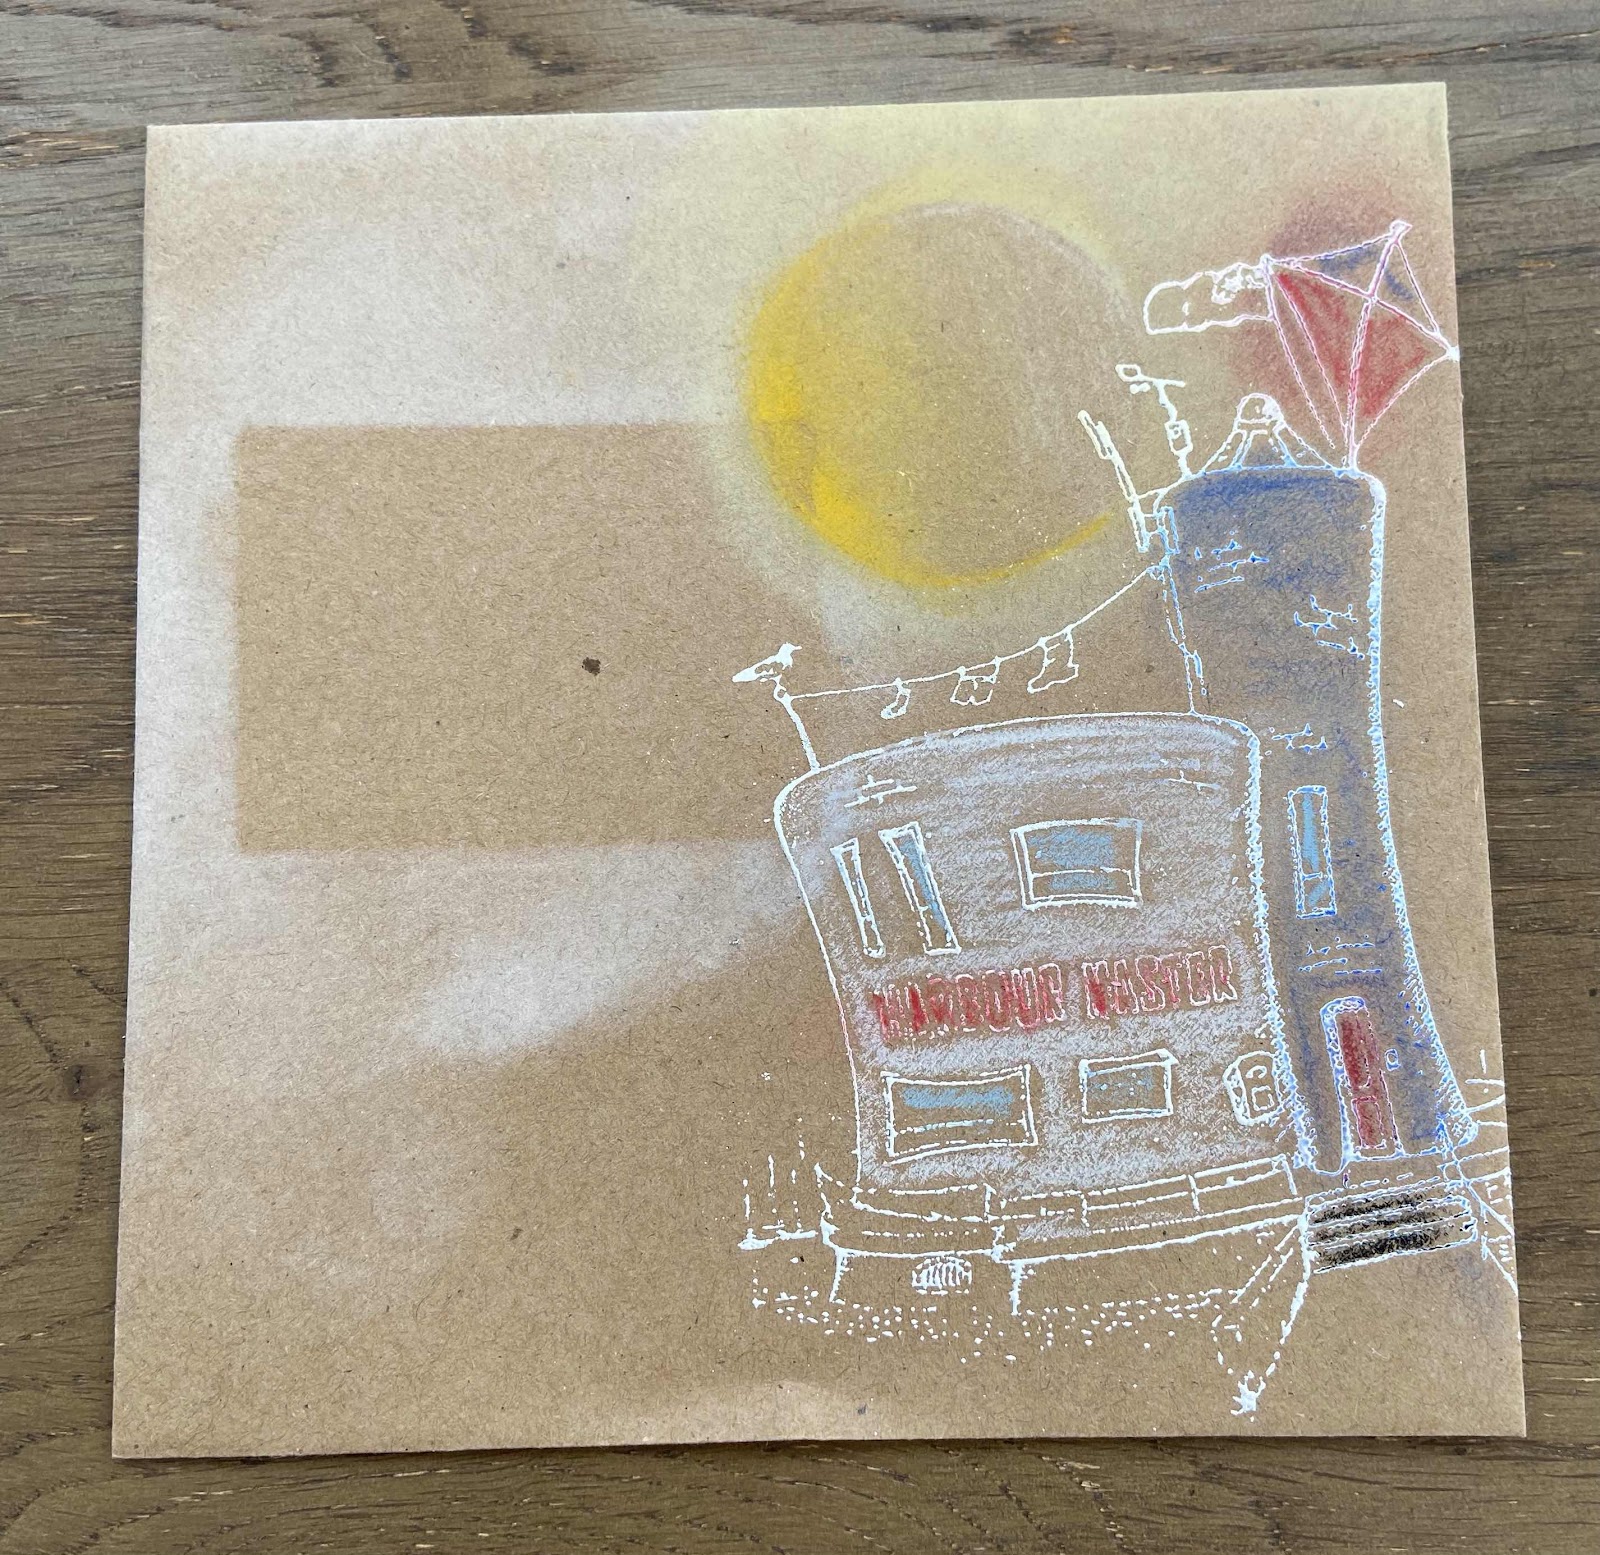
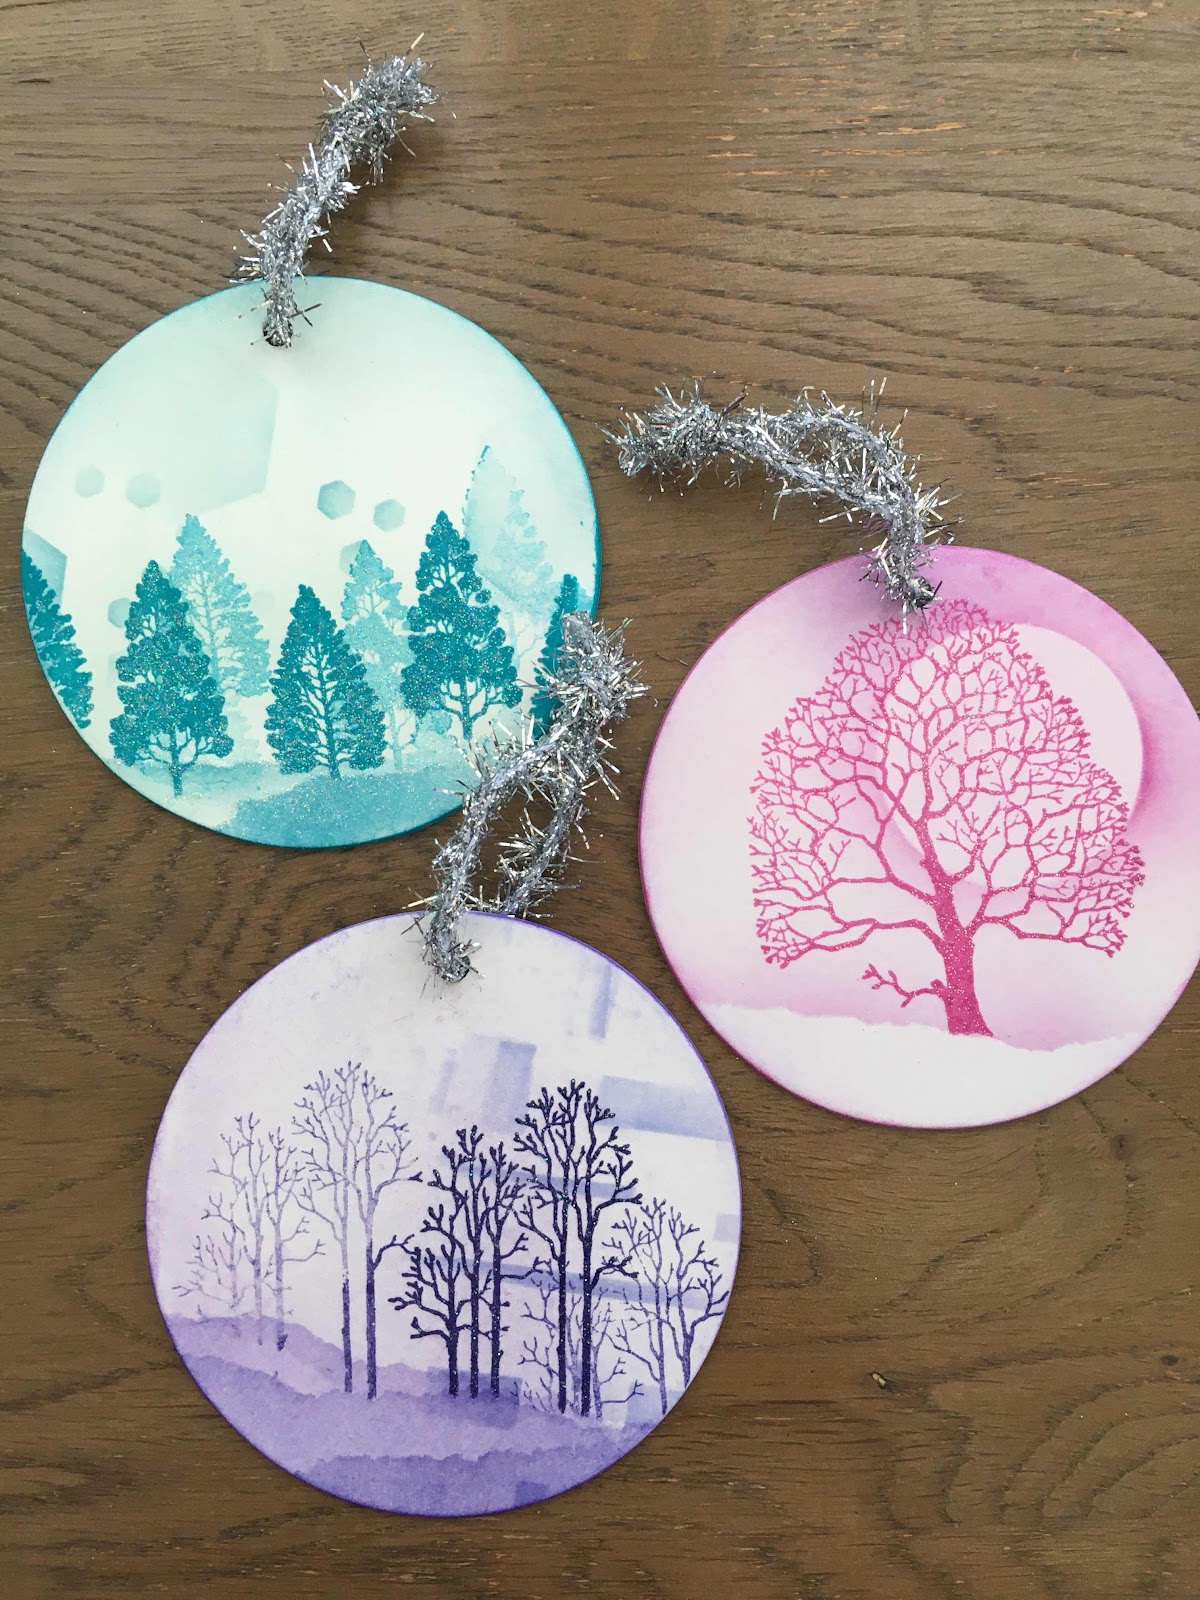
White embossing on kraft always looks so effective, especially painted with Koh-I-Noor paints.

This almost spooky version of the Posh House was another favourite sample that I enjoyed putting together with the trees.

I will be back next month with some projects from our One Day Special shows. Thanks so much for stopping by. Take care and stay safe,
Judith xx