Saturday, 28 November 2020
In the Pink by Brenda
Monday, 23 November 2020
Echoes of Italy
Hello
I am sharing some more samples from the Hochanda show in October
These feature the wonderful Echoes of Italy, Wisteria Lane and Silhouette Grasses stamp sets.
These lovely stamps bring back memories of holidays spent in Italy, hoping it won't be too long before we can go on our travels again....
All my cards have been coloured with watercolour pencils and Distress Inks. I have stamped the images with Versafine Onyx Black.
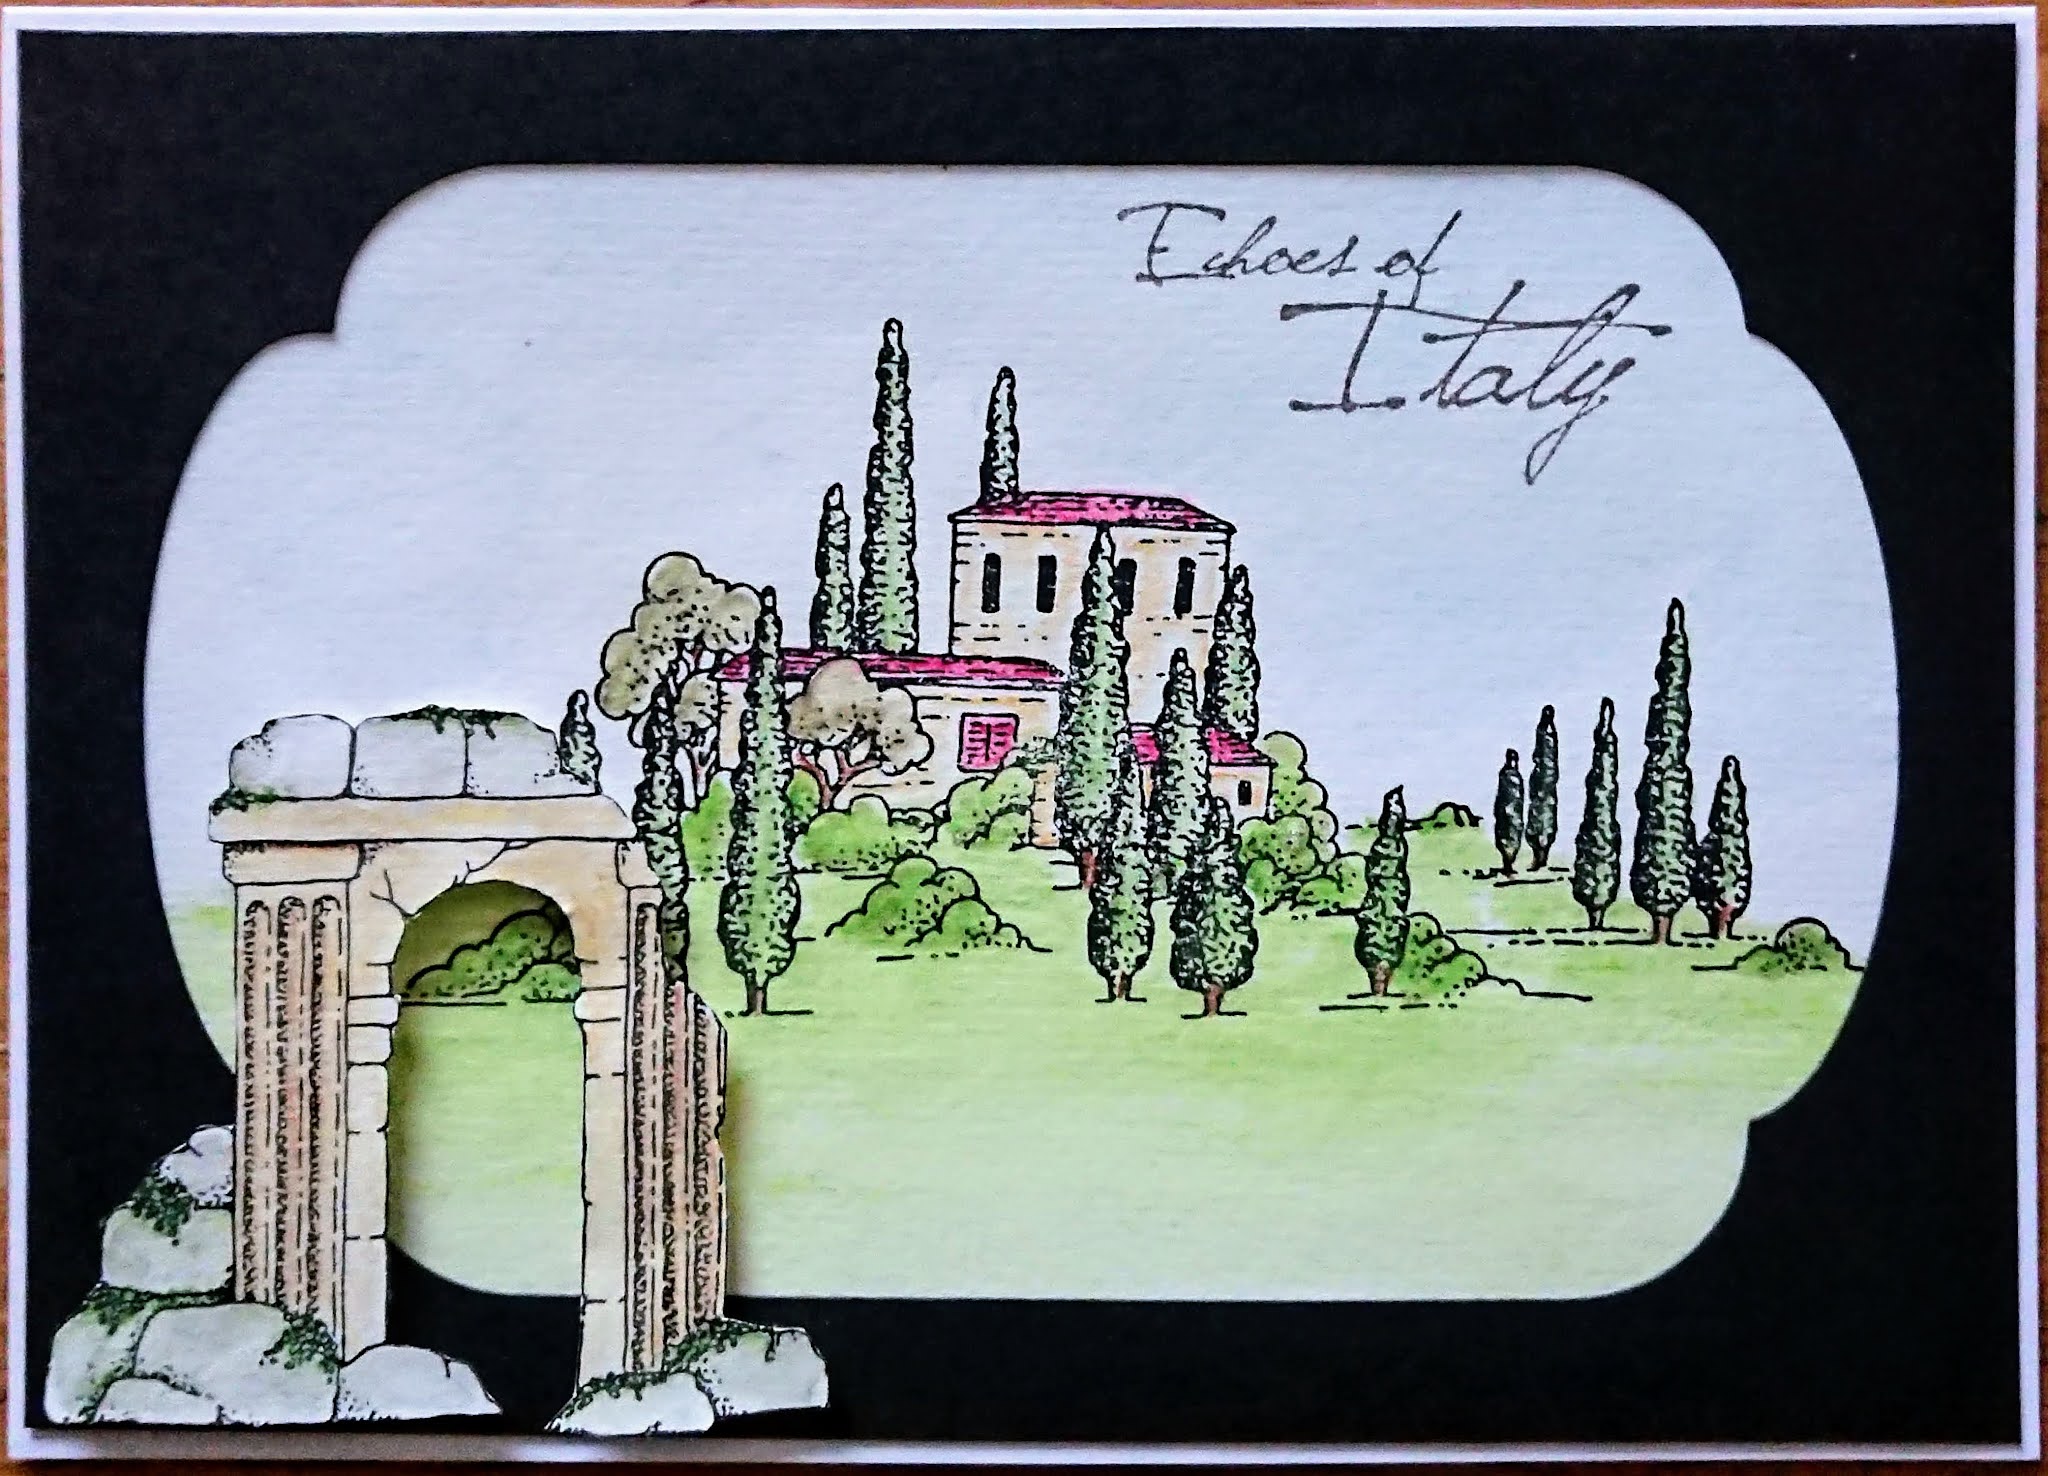
My first card uses the Doorway and Crackle stamps. I think it looks like the entrance to an old house, full of treasures inside! I've added some of the Silhouette Grasses to the entrance.
Thanks for looking
Sandra x
Friday, 20 November 2020
Italian dream (By Rachel)
Hello there - Rachel here today with some of my italian samples from the afternoon shows in October. I adore these stamps - I have a bit of a thing about Italy and have been fortunate to spend a little time there - mostly in the North. Fabulous country. I was obviously overjoyed when Lesley said she was bringing these stamps to the October shows!
In all samples I used the Echoes of Italy stamp set - its a stunner! In this first one I used one border stamp to make a frame using gilding flakes and did a bit of watercolouring with one of the main images - not quite an italian masterpiece but I was pleased with it!
Saturday, 7 November 2020
Santa Maria by Brenda
Wednesday, 4 November 2020
paint your dreams
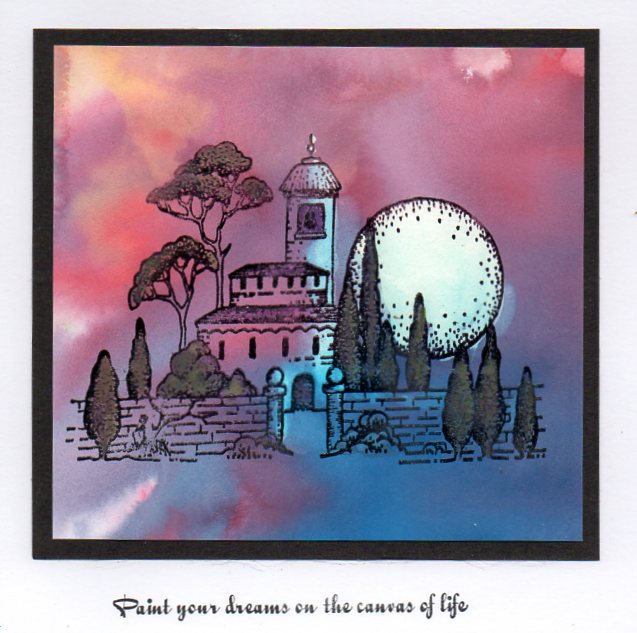
Today I have two cards to share using my favourite brusho powders and stamps from echoes of Italy. I created a few background sheets using the brusho powders, and chose two that looked atmospheric to stamp the villas onto using black versafine ink and clear embossing powder
I thought the first one looked like a sunset, so coloured the trees using watercolour pencils and then bleached out the moon and highlights on the building using bleach. A black mat and the sentiment from the dream petals set to finish.The second background reminded me of fields of lavender, so i stamped the villa on what passes for a horizon - I didn't quite manage to line the stamp up with the white area for a path to the villa though....more bleach to whiten the buildings and edges rubbed on a black inkpad to finish
Monday, 25 May 2020
Mica Powder and Rice Paper (by Sandra)
Thanks for looking and stay safe,
Sandra x
Friday, 1 November 2019
Ephemera and Flowers
I am sharing my projects from the Hochanda October show with you. This show featured the wonderful Baroque Ephemera stamp sets 1 and 2
With my first card I used a slotted die in which I could keep all my "memories". I used the tickets, train sticker and receipts stamps. I aged them with Distress Inks.
My last two cards are from Floral Grunge and Movie Strip Collage.
Both cards were made by spritzing Distress Inks on a craft mat and then stamping with Archival. I then colourd the images with the same colours I had used for the backgrounds.
Thanks so much for looking
Sandra xx
Monday, 9 September 2019
Stylised Houses
I am sharing some of the cards I made for the August show on Hochanda with the Bookmark Stylised House Collection.
My first card features the Turret House stamps.
I stamped and embossed with white embossing powder. I coloured on kraft card with soft pastels in rainbow colours to match the sentiment. I also added some gold to the turrets. The backgroud is sprinkled with Brushos.
The last card I am sharing today I used all the house stamps from the collection and did a lot of masking! I think these stamps really lend themselves to scene building.
Thanks for looking, I'll be back soon with some more cards to share.
Sandra x
Monday, 29 July 2019
Two Floral Projects (by Sandra)
My first is a card made with the Pretty Poppies stamp set.
I started with a 6" x 6" piece of cream card and stamped the gorgeous poppies twice with Archival Ink, varying the height a little. I then coloured them with pencils and added a blending solution to soften the edges. I blended Tea Dye Distress Ink around the edges of the card and used the same colour with the crackle stamp from Echoes of Italy stamp set to give an aged feel to the card. I added the sentiment and mat and layered with blue and black card onto an 8" x 8" cream card.
My second is a mixed media piece.
I started with an 8" x 8" canvas board and brayered blue, green and beige acrylic paints randomly onto it. I then stamped the tall cog flowers from Punky Flowers onto the canvas and embossed with copper embossing powder. I stamped the flower heads from the same set with Memento Ink onto some smooth card and coloured with alcohol pens. I fussy cut these out and then added more embossing powders to give a verdigris look. I added two little birds, the birdhouse and sentiment from Steampunk Birds stamp set. I finished with a few metal cogs. I think this one will be decorating my craft room!
Thanks for looking,
Sandra.
Sunday, 22 July 2018
In the secret garden by Brenda
Thursday, 7 December 2017
Imagine by Brenda
Sunday, 21 August 2016
Italian Summer (by Judith)
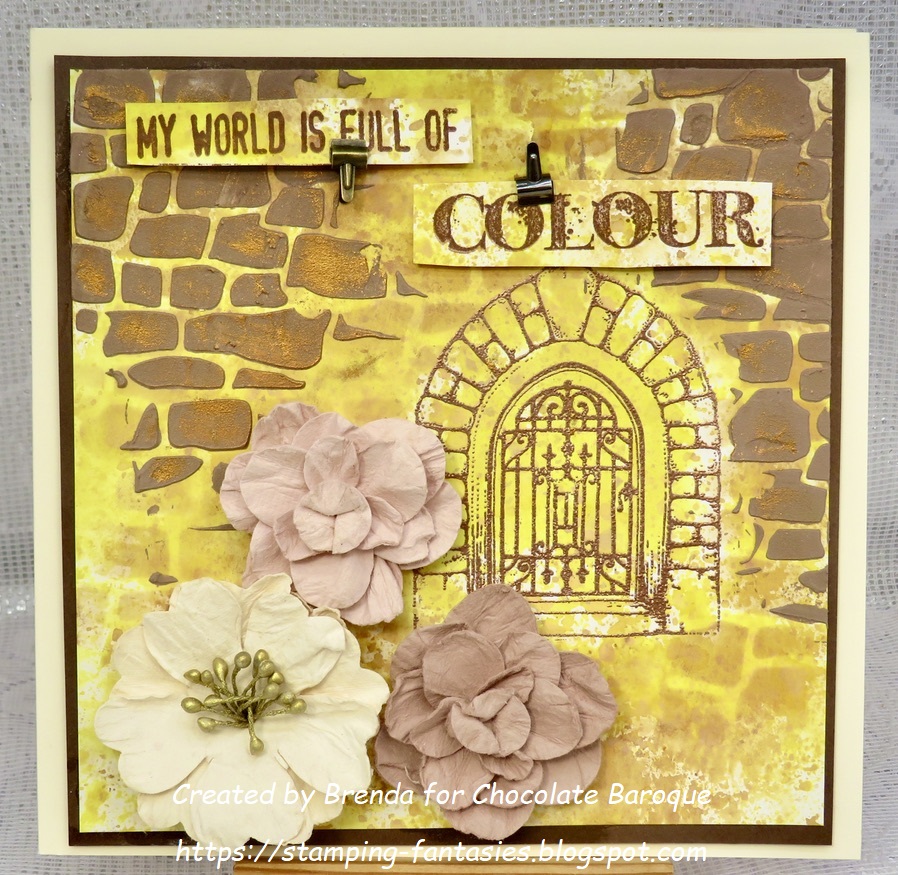
I started my design by covering my gelli plate with Fossilized Amber Distress Ink, using a brayer, and then laying a piece of smooth card over the top. This is a really quick way of creating a coloured background. I added a crackle finish, using the large crackle stamp from the Echoes of Italy stamp plate, using second generation stamping. I used the large decorative design along the bottom to create a border, and then edged the background with Wild Honey Distress Ink to add some shading.
I stamped the main image onto a rectangular panel, and coloured it with water based markers and a water brush. I drew a few birds by hand with a permanent fine tipped marker. I stamped the sentiment onto a smaller panel, and added a bit of colour to the background using a blending foam. All of the panels were matted onto dark brown card before I assembled the card.
Thanks for stopping by, Judith xx
Saturday, 30 April 2016
An old rose (by Miranda)
Saturday, 24 January 2015
Valentine Rose (posted by Judith)
I began my project by stamping and masking the punky rose on a piece of smooth watercolour paper. I then covered the background with a stencil, and using a light brown inkpad, I coloured through the stencil. With the stencil still in place, I stamped the crackle stamp from the Echoes of Italy stamp set all over the background, using a darker brown ink. I stamped the image onto scrap paper each time first, so that I got a lighter image. This is called 'second generation stamping', as I did not want the ink to be too dark. Once the ink was dry, and with the stencil still in place, I brushed a layer of acrylic wax over the top, and allowed this to dry.
I removed the stencil, and covered the rest of the background with a soft lilac, and then added a darker colour around the edges. The wax acts as a resist, protecting the area that was covered earlier. I buffed the wax areas, to remove any of the lilac ink, and the contrast between the two areas became much sharper.
I removed the mask from the rose, and coloured the image using co-ordinating dye ink stamped onto an acrylic block, which I picked up with a waterbrush. I picked out the 'metal' areas of the rose using a gold pen. I added a die cut sentiment, and matted the project onto green card.
Thanks for stopping by, Judith xx
Saturday, 10 January 2015
A good heart (by Lesley)
- Trim approximately 2" off the short edge of an A4 piece of white card and fold in half.
- Mask off a strip down the front of the card, setting it slightly off centre.
- Ink up the crackle stamp from the Echoes of Italy stamp set using Peacock Feathers Distress ink and stamp randomly over the masked strip.
- On a piece of 160gsm card colour an area large enough for the image you wish to use with a bright red alcohol marker.
- When dry stamp the heart from Punky Hearts with Versamark. Emboss with a turquoise embossing powder. Cut out and set aside.
- Using the offcut from the card stamp the sentiment from Amazing Birthday with Peacock Feathers. Trim to suit and run the inkpad around the edges.
- Add 3d foam to both the heart and the sentiment strip and assemble as illustrated.