Pin It button on image hover
Showing posts with label Versamark. Show all posts

Tuesday, 27 September 2022

Don't you just love Versatility ? (by Doreen)

 Don't you just love Versatility ?

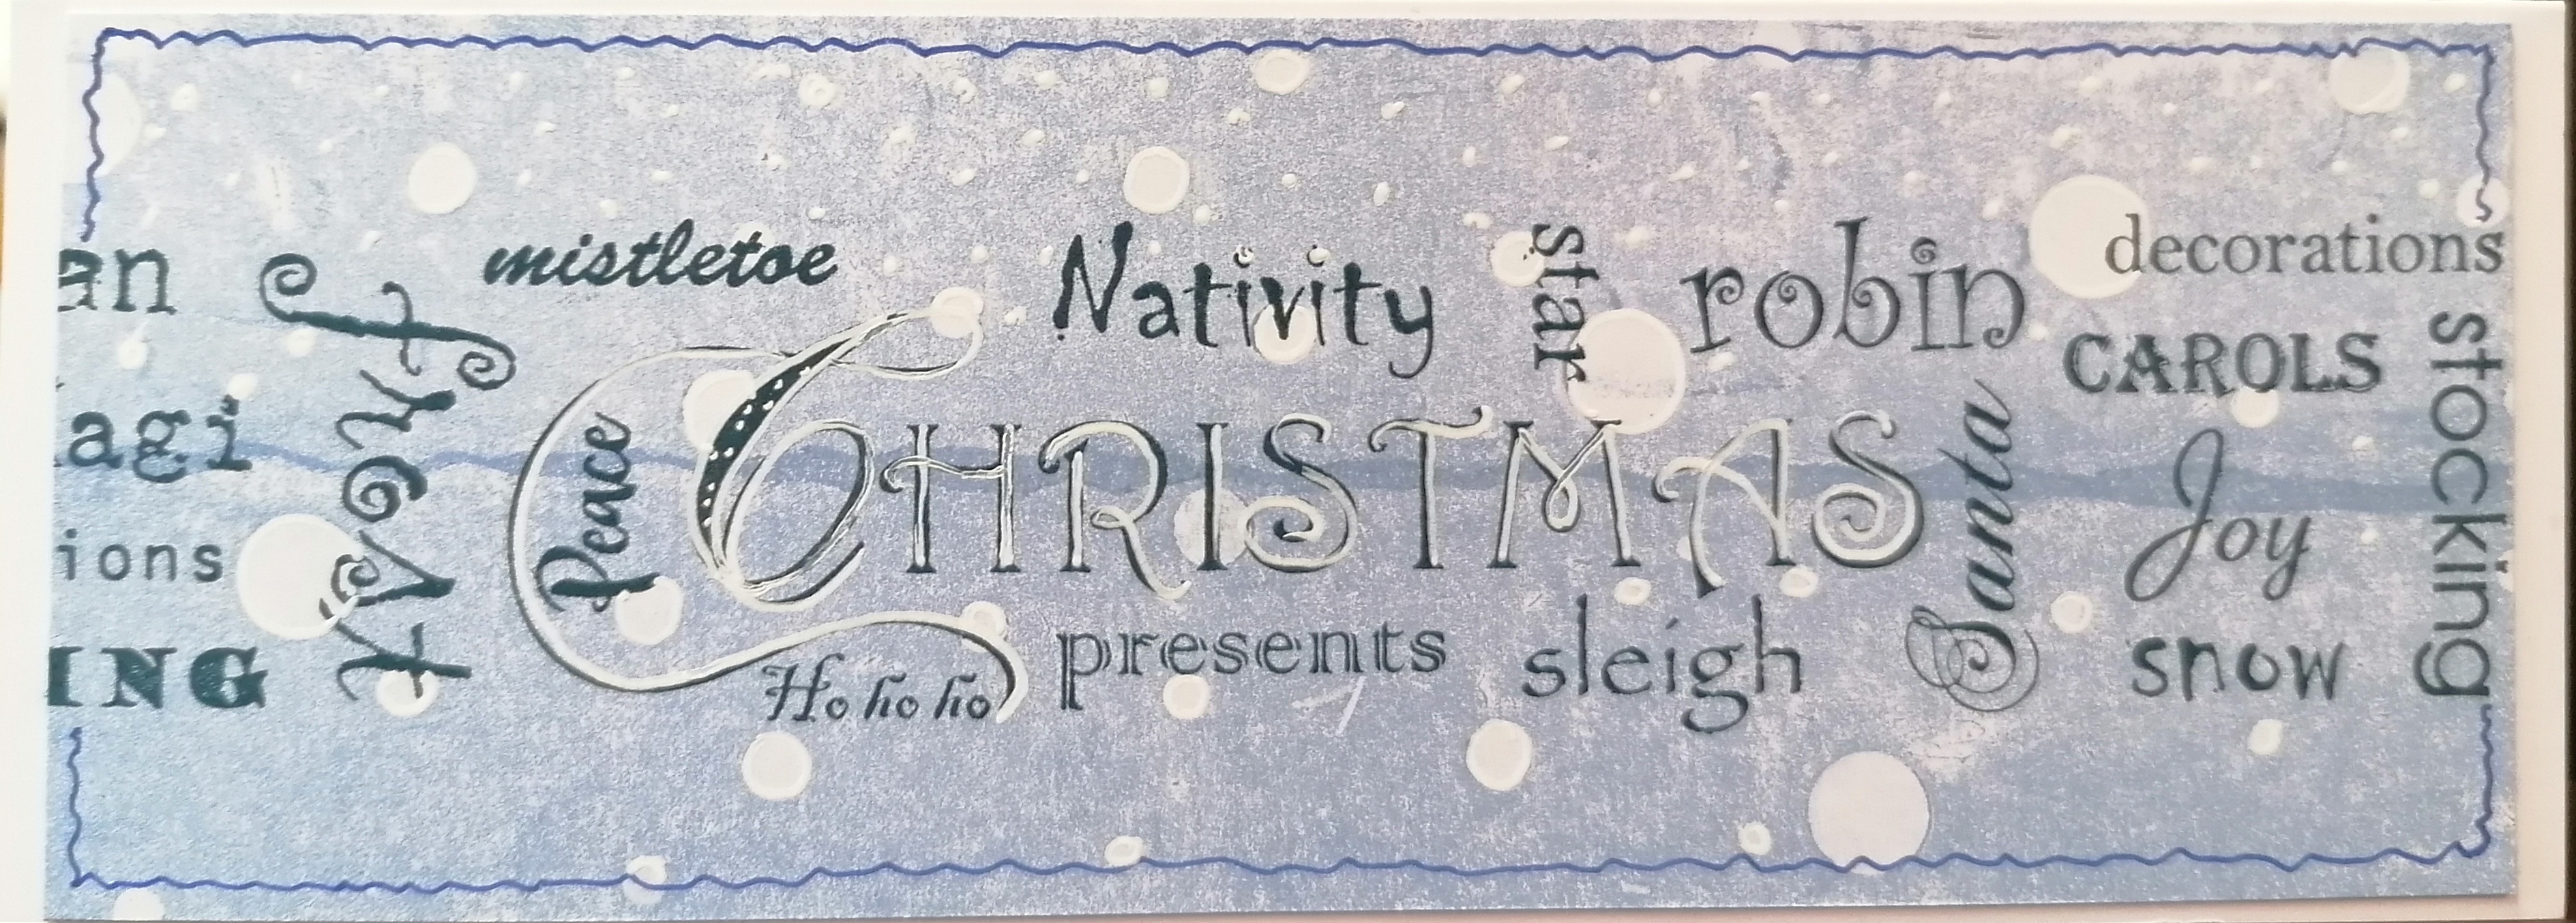
Hello everyone, for todays blogpost I have included several different makes, all from the same wonderful set of stamps along with a couple of other stamps from other sets.

The stamp set is one of the brilliantly designed word strip sets A4 Slim Word Strip 2 the other sets used are Rejoice! and A Tomte Christmas. I have used several different techniques which I am fairly certain you are familiar with they are Distress Inks applied with blending brushes mainly either to use on their own or through stencils or to colour Chocolate Baroque Black and White printed DL card. Versafine Clair Inkpads are also used throughout in Black, Dark Blue, Versamark with White Embossing powder.



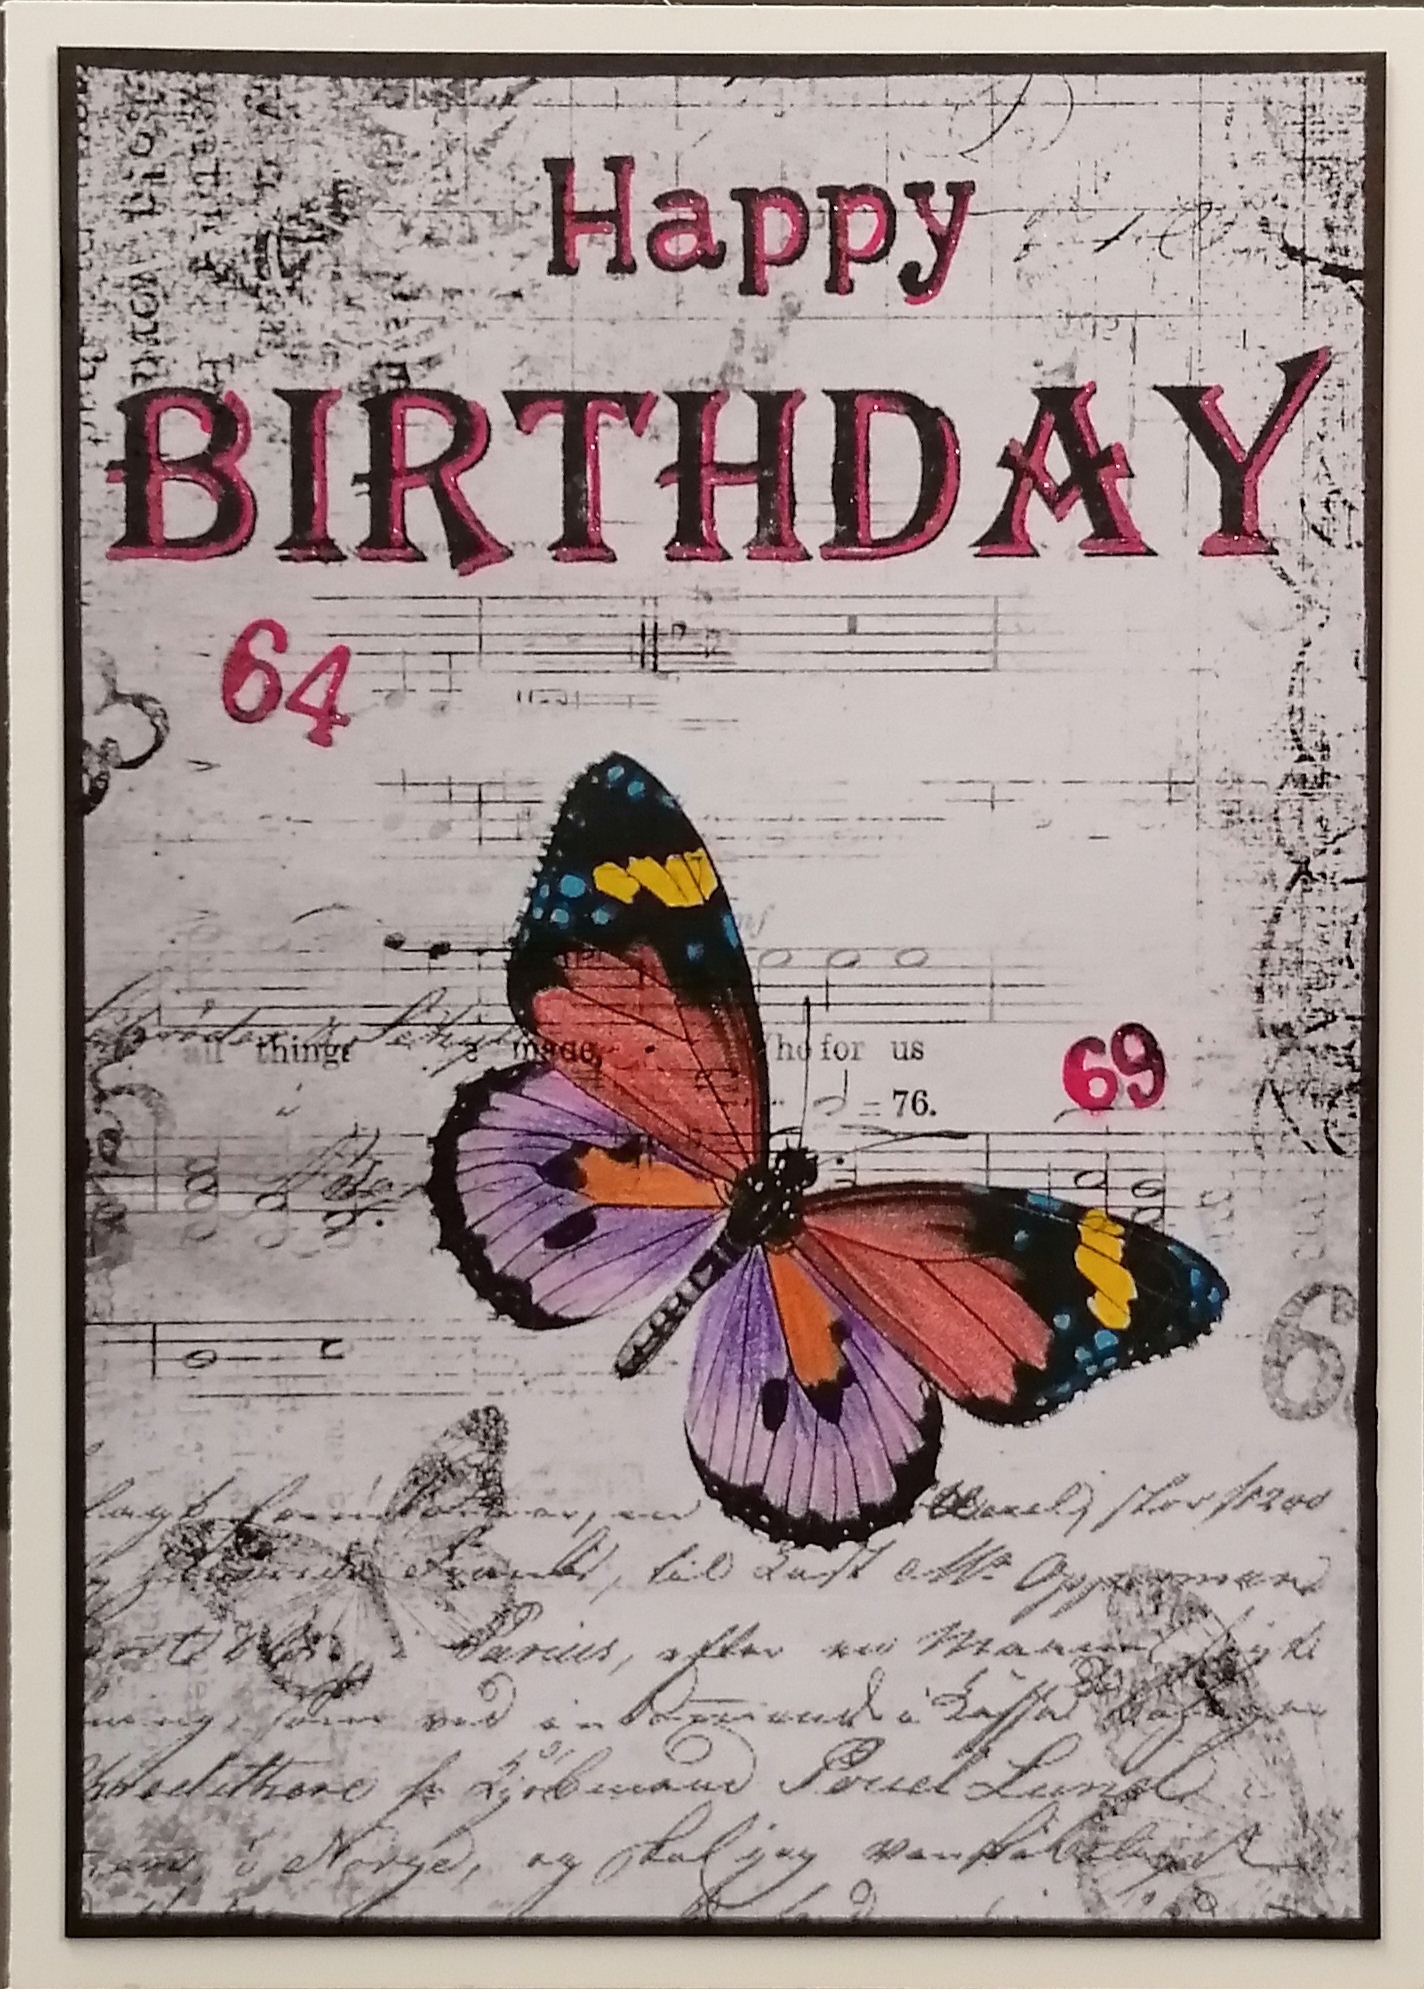


If you have any questions on any of the above card do not hesitate to ask.

Thank you for looking in today

Love Doreen


Saturday, 8 January 2022

The Versatility of Damask by Doreen

The Versatility of Damask 

Firstly I would like to wish everyone a Happy New Year, I do hope you all enjoyed a good Christmas too.

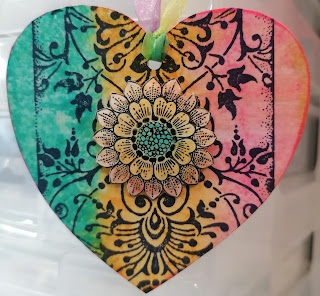
My first projects today use the Damask Panel perfect for using in its own right or as a background which is how I chose to use this background which I have taken from my stash of Brusho pieces. I also used one of the many beautiful butterflies from the Chocolate Baroque selection.

I stamped the butterfly using a Versafine Clair Nocturne inkpad and then covered the whole of the stamp in Versamark the colour comes from Salvaged Patina and Kitsch Flamingo embossing glazes sprinkled onto the Versamark and heat embossed.


The second is a heart shaped sample using Distress Inkpads on an acrylic block which is spritzed with a little water and a swiping action straight across the Damask Panel onto the  background. Then I stamped the Song Thrush onto  a piece of card and painted using the same Distress Inkpad colours used for the background, then I fussy cut the large flower to decorate the Panel. Shape the flower and apply using Silicone Glue Gel to apply to the heart. Use a light varnish or spray to give a sheen and then put ribbon through hole to hang.


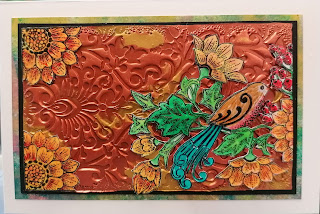
The final sample shows a background using a Soft Form Copper and a Gold Relief Paste applied directly to the stamp and left to dry overnight. I also used the Song Thrush to decorate this card just cutting out desired elements and applying to the background using a strong PVA glue.


Thank you for looking in today

Love Doreen

Tuesday, 23 November 2021

Beautiful (by Doreen)

 Beautiful

Beauty is in the Eyes  I absolutely fell in love with this stamp the moment I saw it, so very versatile and lends itself to no end of ideas. The first of mine today is a fan which I bought a month or so ago.

I used acrylic paints and stamped on them using Versafine and Versamark and White Embossing Powder. The Red and White Dots are also Acrylic Paint using a flat ended cocktail stick, the lipstick was applied with a very fine paintbrush.


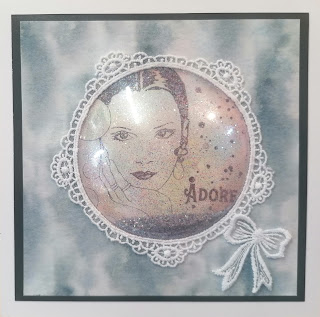
This card incorporates the use of a circle dome and some lacy odds and ends from my stash. Although I did use an antistatic bag to help the glitter not to coat the dome it didn't really work out that way but now I quite like the affect it gives, lets just call that a happy accident. I stamped the image using a Stazon Gothic Purple Inkpad.


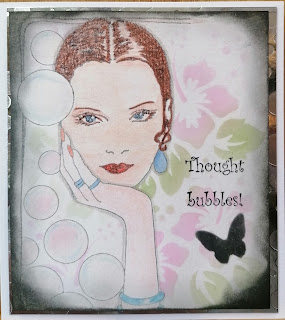
This card uses a really old stencil from my stash for the background and inkpads, plus some watercolour pencils to colour the image which I activated using a shimmer spray instead of water.


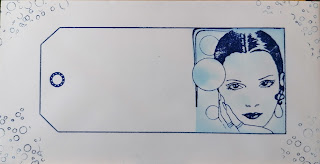
A very simple envelope, made using the  Tagtastic stamp and a section of the the Beauty is in the eyes leaving a section of the tag to allow the name and address to be written in, be sure to use an inkpad that will withstand a rainfall as poor postie can't be held responsible for the weather. I would love a stamped envelope to drop onto my doormat I would open it carefully and keep it and perhaps make a bookmark with it.


Thank you for looking in today 

Love Doreen xx 
Saturday, 9 October 2021

Rainbow Chrysanthemums

Rainbow Chrysanthemums 

Hello everyone and welcome to October .... a way in now I know but where the months are going since July I really don't know. 

Today I would like to share some of my makes from the September shows, firstly the Chrysanthemum Blueprint. Using a tag from my stash I painted the tag with White Gesso and then once dry colour randomly with Distress Inkpads of choice using either blending sponges or brushes. Stamp using VersaMark and Black Embossing Powder.

Use a black marker around the edges of the tag and Clear Gems to decorate and finish with a piece of ribbon.


Here are a few more of my September samples using the same stamp set.


Thank you for looking in today 

Love Doreen


Sunday, 19 September 2021

Heaven and Earth

Heaven and Earth 


Today I will be sharing some of my samples from last months newly launched designs by the talented Fiona Randall there are two A4 sets and to choose a favourite is nigh on impossible,


The first of my samples is using the Celestial Set, using Alcohol Inks and a Lift Out Inkpad which quite literally does as the name suggests.
Using Yupo and a selection of Alcohol Inks I used 3 different shades of blue. 
Ink up the stamp of choice with the Lift Out Inkpad as you would with any other Inkpad and stamp onto the prepared and dry Alcohol Ink background. Lift off after a few seconds which will have allowed the Inkpad to do its work. Do not waste what you have lifted from the background stamp it onto a spare piece of card or into a journal. Two for the price of one, that can't be bad can it ?? 


The next photo is from the Sacred Set using the same technique but a different colourway.


For another look you can also use Versamark and White Embossing Powder on the Heavyweight Yupo but add the heat in short bursts as because the Yupo is basically a plastic paper it tends to buckle if too much heat is applied to it.


These are fairly quick and addictive techniques but very effective, I hope you have enjoyed looking today.

Love Doreen


Sunday, 1 November 2015

Floral Aperture Card using the Circle Centre Flowerhead (by Anne)

WOW! I just love the new Flowerhead stamps. They are fabulous when mixed & matched together, but just one single stamp is enough to make a stunning project on its own. I hope that you like my first project.


Materials:

  • White card blank 14.5cm square, purple card and smooth white stamping card
  • Inkpads: Dye based (turquoise, purple and light green) and Versamark
  • Alcohol pens (turquoise, blue, purple, pink and black)
  • White acrylic pen
  • Clear glitter glue
  • Embossing powder (white with silver glitter)
  • Dies or circle cutter

 How to make it:

  1. Cut a circular aperture approx. 9cm diameter into the card front. Cut a 10cm circle from the stamping card. Cut the purple card to approx. 13.5cm square and cut a circle aperture approx. 10cm diameter.
  2. Stamp the flower onto the circular mat using graduated ink colours; green in the centre, then turquoise and then purple for the outer edge of the stamp. Colour with alcohol pens and mount inside the card aligning with the aperture on the card front. I have coloured the background surrounding the stamp with purple alcohol ink, but you could colour and cut out your flower and mount onto a purple background.
  3. Stamp the sentiment onto the purple front mat with Versamark and heat emboss. Draw a wiggly line with white pen to create the frame. Stick to the card front.
  4. Finally, finish with a bit of glitter glue in the flower centre for added sparkle.
Now off to create some more projects with these gorgeous stamps!

Anne x.

Sunday, 23 November 2014

A Burst of Colour by Doreen

Hello to you all, I am back again sharing another sample made from the new stamps that have just been released for November .

I have used three of the stamps from the Autumn Edges sheet for this card.
I started by making my background blending yellow and red Panpastels onto some textured card .

The toadstools have been white embossed with Versamark and I stamped the trees with brown Archival ink.


Monday, 17 November 2014

Autumn Edges - 10 minute Cards By Florence

Hi everyone

Thank you for your visits and kind comments left on the posts.
We always love to hear from you.

Today I would like to share with you two quick and easy cards made using the new Autumn Edges Rubber Stamps.  These stamps are so beautiful and are perfect if you make cards in a clean and simple style or if you are new to stamping these would be a great set to start you on your stamping adventure.


I used one of my own backing papers for this project but any pretty papers or pages out of an old book or magazine will work in the same way.

I stamped my image and sentiment on to the backing paper using Archival Ink and trimmed it to size. The Happy Birthday sentiment I have used is from the Birthday Words set.

I then mat and layered my card as seen.

For my second card


I used a piece of the same backing paper and trimmed it to size.

I stamped the mushrooms using Archival Ink and colored them using water color crayons and a damp paint brush.
I find it easier to color the image with the crayons and then just smooth and blend the colors with a damp brush.

I stamped the spotty pattern using one of the stamps from The Harlequin Fragments set and VersaMark ink.  I then dusted over the stamped pattern image with some chalks using a small piece of cotton wool.   

I stamped the sentiment using one of the stamps from The Essence of Nature Set and Archival Ink.

I made up my card as seen just adding some embossed lines at the side.

Thank you for looking.

Happy Stamping
Florence xx


Saturday, 13 September 2014

A Christmas Plaque by (Doreen)

Hello to you all, I am sharing another couple of samples made from the new stamps that have just been released for September  I have made a plaque using one of the stamps from the "Santa Baby"stamp sheet
I first gave this a coat of gesso, when dry gave a thin coat of red and white acrylics leaving it white where I wanted to place my stamp... The image has then been coloured with Distress inks. I then stamped the sentiment from the Christmas Sentiments set and bauble and coloured this,Last of all I edged the plaque with white acrylic to frame it.xxx


I have also made a card using the Christmas tree from the Santa Baby stamp sheet 
I first of all stamped both the tree and sentiment with Versamark onto blue coredinations card and gold embossed them both. 
They were then matted onto gold card and mounted onto my backing card which was made using a Gelly Plate,I finished off with a bow made of twine.

Thursday, 4 September 2014

A Craft Christmas By (Doreen)

Hello to you all, I am sharing a sample made from the new stamps that have just been released for September over at Chocolate Baroque. My card uses a couple of the stamps from the Holly Bells stamp sheet...I started by stamping my tree, snowflake and sentiment onto craft card with Versamark and white embosed them. They were then matted onto white card  The sentiment is from the Christmas Magic Set

Tuesday, 3 June 2014

Moonlight Butterflies by Doreen

Hello to you all, I am sharing a card today made using the beautiful stamps from the new June release
I have used stamps from the "Briar Rose Butterfly" stamp sheet.
There are so many stamps on these sheets .


I started by masking out the moon and sponging my background with Faded Jeans and Frayed Burlap distress inks. I then inked up my stamps first with Frayed Burlap made sure this was dry then stamped again just under the first stamps with Versamark and white embossed them. 
My butterflies were stamped, then coloured with Rusty Hinge and Faded Jeans distress inks, they were then cut out and decoupaged to add some dimension.
 I added the sentiment which is from the "Birthday words Unmounted set..xxx

Friday, 2 May 2014

Flapper Girl by Doreen

Hello to you all, today I am sharing a card made with one of the gorgeous new releases.

I have stamped this Fabulous Flapper Girl with Onyx Black Versafine onto white card and then coloured in with distress inks and matted onto red card. 
For my background I have used Versamark through an embossing folder and sprinkled with gold embossing powder and heat embossed. I matted this onto red and gold card.
 The sentiment from the Birthday Words stamp sheet has been Gold embossed too.