Hello everyone, today sees the return of Christine with her second blog post this month. She has created something for everyone this time with a range of cards and techniques.
Christine writes:
Hello everyone, I'm back with my second blog post for March.
I used
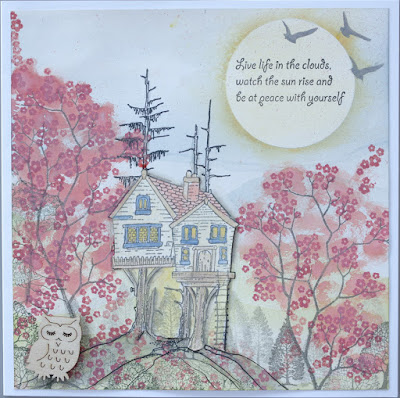
Drawing Cartridge for this first project since I intended to use a fair amount of water through the process. I started off by tearing some paper and, using different shades of Distress Oxides, created the hills and the sky. I masked off an area on the sky for the sun.
The next stage was to stamp trees from the
Trees a Crowd set. I used Smokey Grey from the Versafine Clair range as I did not want them to be too prominent; to that end, I also used second and third generation stamping to build up depth.
I then chose Fired Brick Distress Ink and used a tree and texture brush to add colour to the two large trees and then the same ink using a couple of the very small flower stamps from the
Orchard Design a Tree sheet to add detail.
The main feature is the lovely
Tree House which I stamped directly onto the card with black ink and then separately on white card which I then fussy cut minus the top branches. I added colours that I thought would blend well on the fussy cut and then adhered it to the main images. I added grey watercolour pencil aroumd the house to give it some shadow and depth.
I had kept the mask on the sun area so added some yellow Disress Ink and carefully swept it around the edges. When the mask was removed, I added a little yellow to blend the colour. The sentiment is from the
Tree House stamp set.
I added some birds via stencil in my stash and the little MDF owl just finished off the piece.
I went for a clean and simple look for this piece. I cut three pieces of square card, each about an inch bgger than the next and temporarily centred them together. I chose two stamps from the
Autumn Hedgerow set and stamped them evenly across the cards. I then cut black mats for each of the three white cards, allowing a narrow border on each one. I then adhered the white cards onto the mats ensuring the stamped images were as exact as possible.
The focal stamp is called
Shared Beauty. I used Versafine Satin Red for all of the stamping. I used a circle die to cut it out and the next larger die to cut out a black mat. The mat is adhered to the smallest square and the circle image raised for dimension.
This could be a card or it could be framed. I am not yet sure!
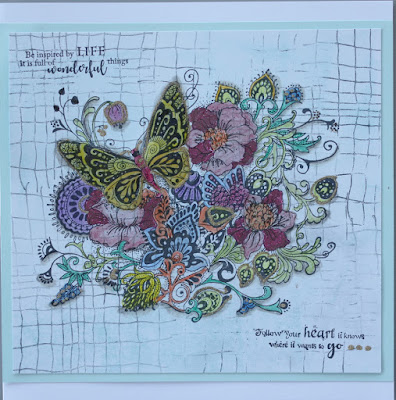
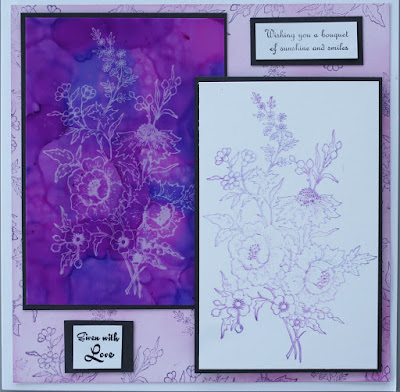
My last card today used alcohol inks and a lifting ink. First order of the day was to cover
Yupo Paper with alcohol inks- I used three in the pink/plum spectrum. Once the inks were totally dry, I used the beautiful large flower stamp from the
Celebration Bouquet set, covered it with lifting ink, and then stamped it straight on to the Yupo paper. A soft cloth rubbed fairly firmly over the stamped area revealed the image below. The ink was still on the stamp of course and I added it to some cartridge paper. The resulting image gives a lovely watercolour effect.
I created the background paper using Seedless Preserves Distress Oxide Ink and the same stamp with Dusty Concord Distress Oxide Ink. The sentiments are from the same stamp set.
I hope you enjoy looking through these.
Happy Crafting!
Christine.


