

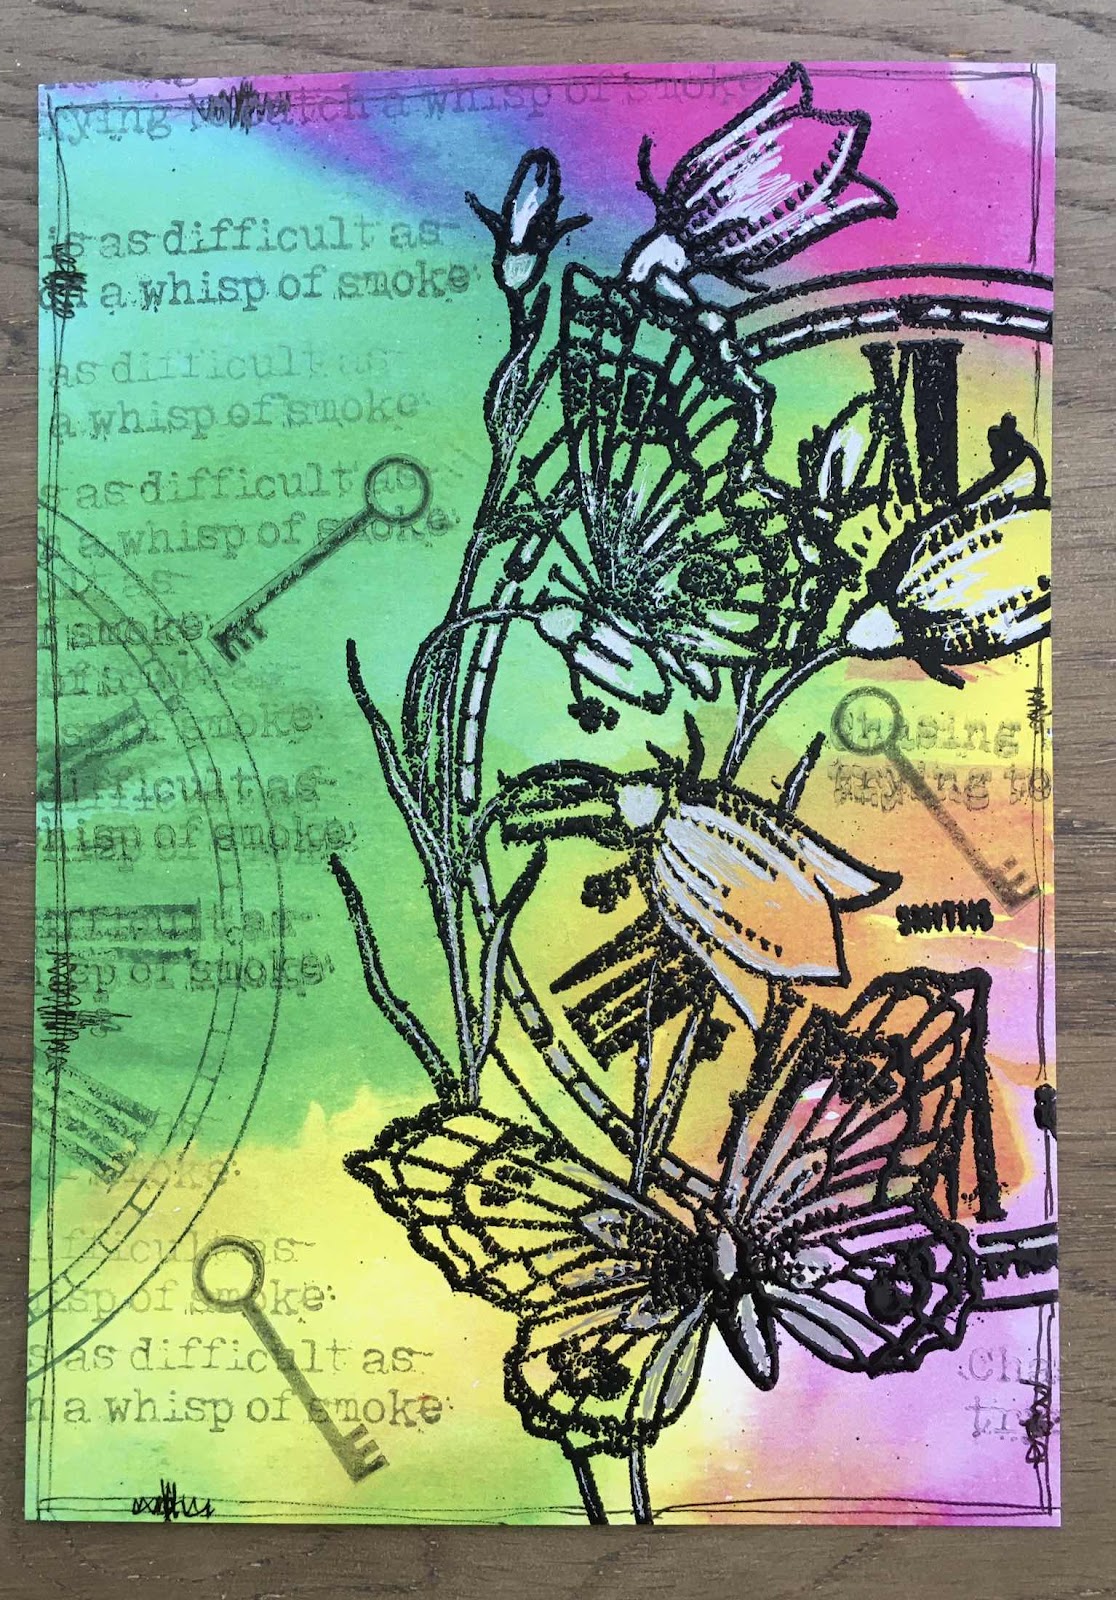
This one came together in the wee small hours when I was unable to sleep, the idea was there so I decided to get to it.....as you do! Again Oxides for he background and worker stamps stamped in the same colours. I stamped Stroom Clock onto the inked base and then twice more onto a pice coloured with the same inks and cut out just the strooms which I build up around the focal element. Some white highlighting, metal clock hands and index clips.......yes the obsession with them has reached me.......and finally sentiments from the same set.
As always, many thanks for your kind visit.

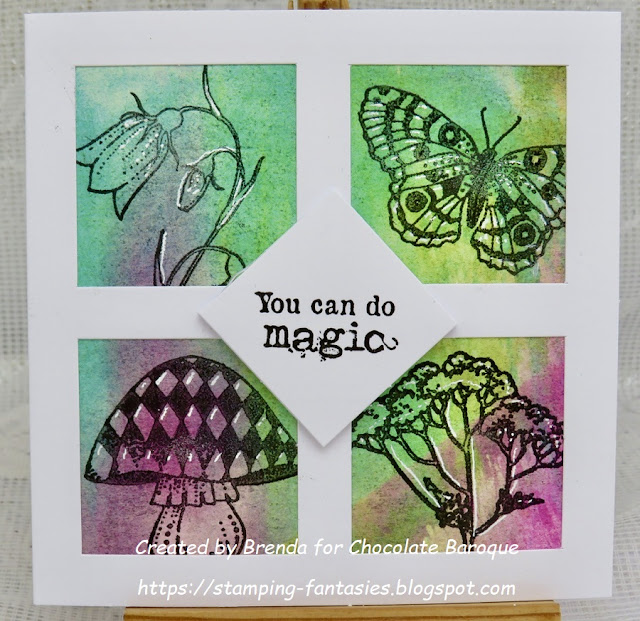
I have used the Seriously Gorgeous Postcards here to show what a quick and easy card you can make with them. The aperture card is a pre-cut one and I used elements from Stroom Clock, Parsley Clock and Floral Clock to stamp onto the postcards using Stayzon, added some white highlighter and fixed into the apertures. Finally I used one of the popped out squares to stamp the sentiment to place in the middle.

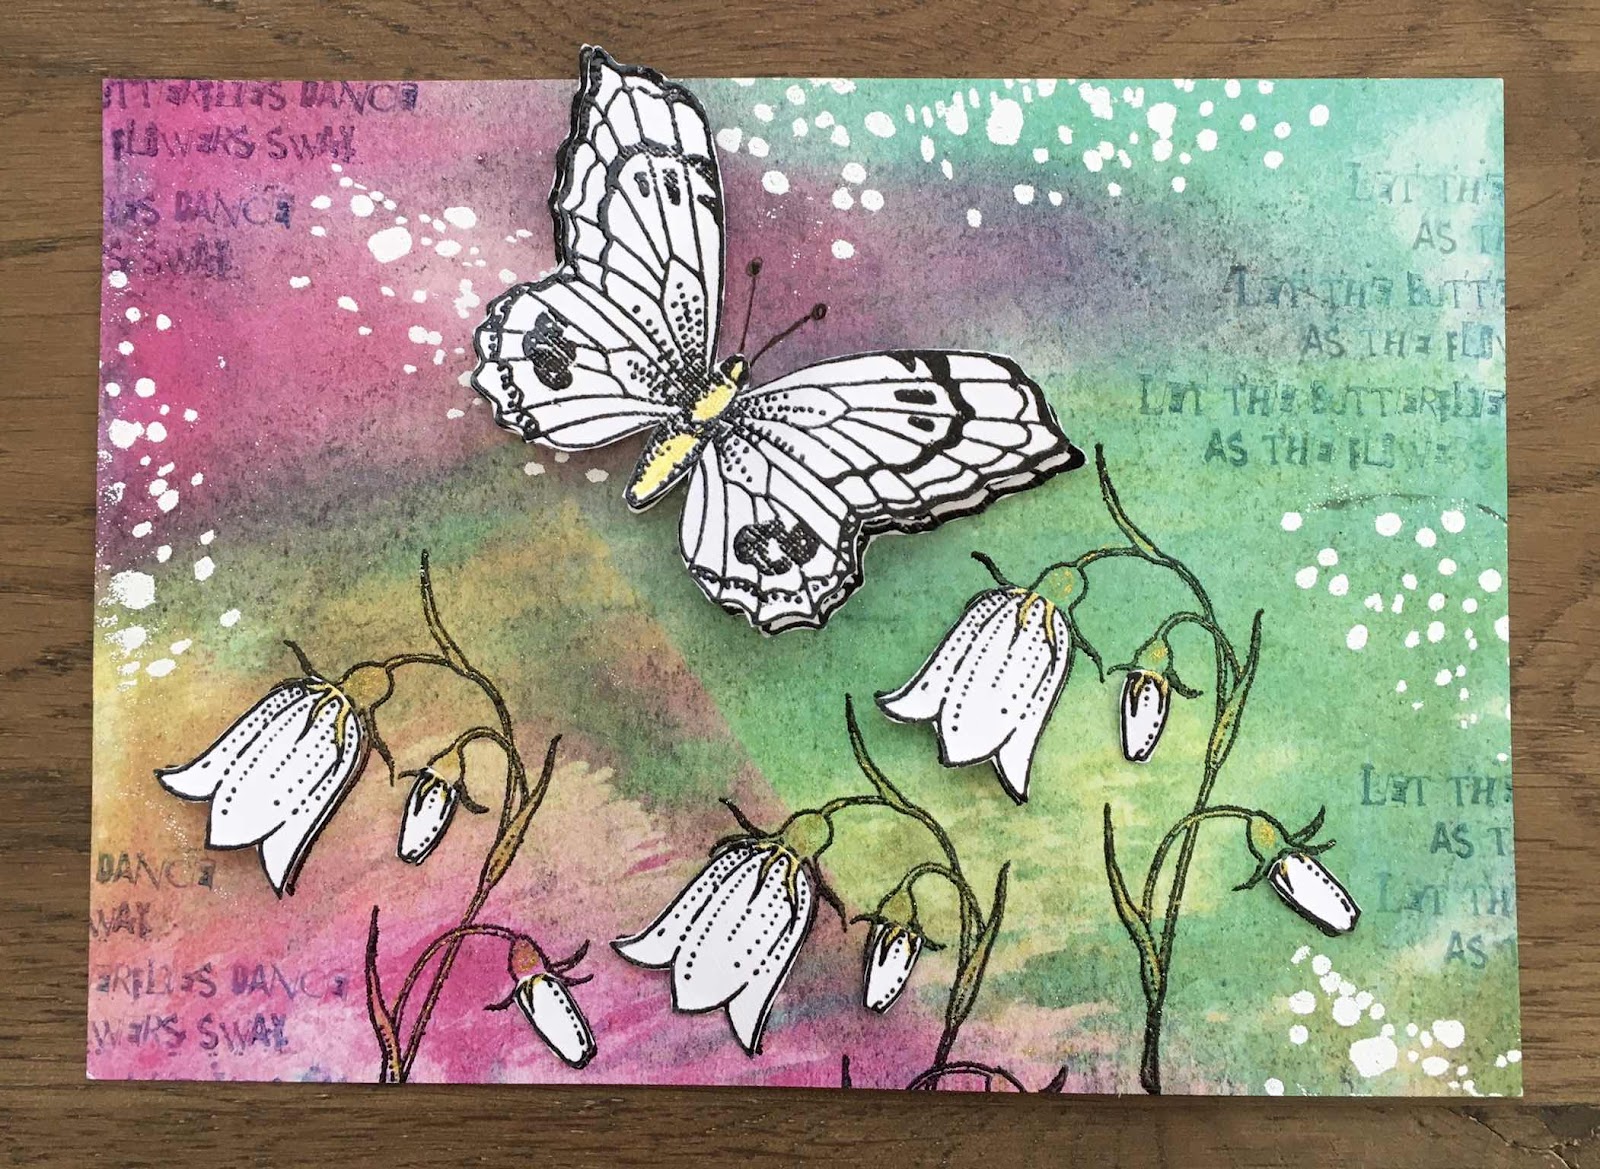
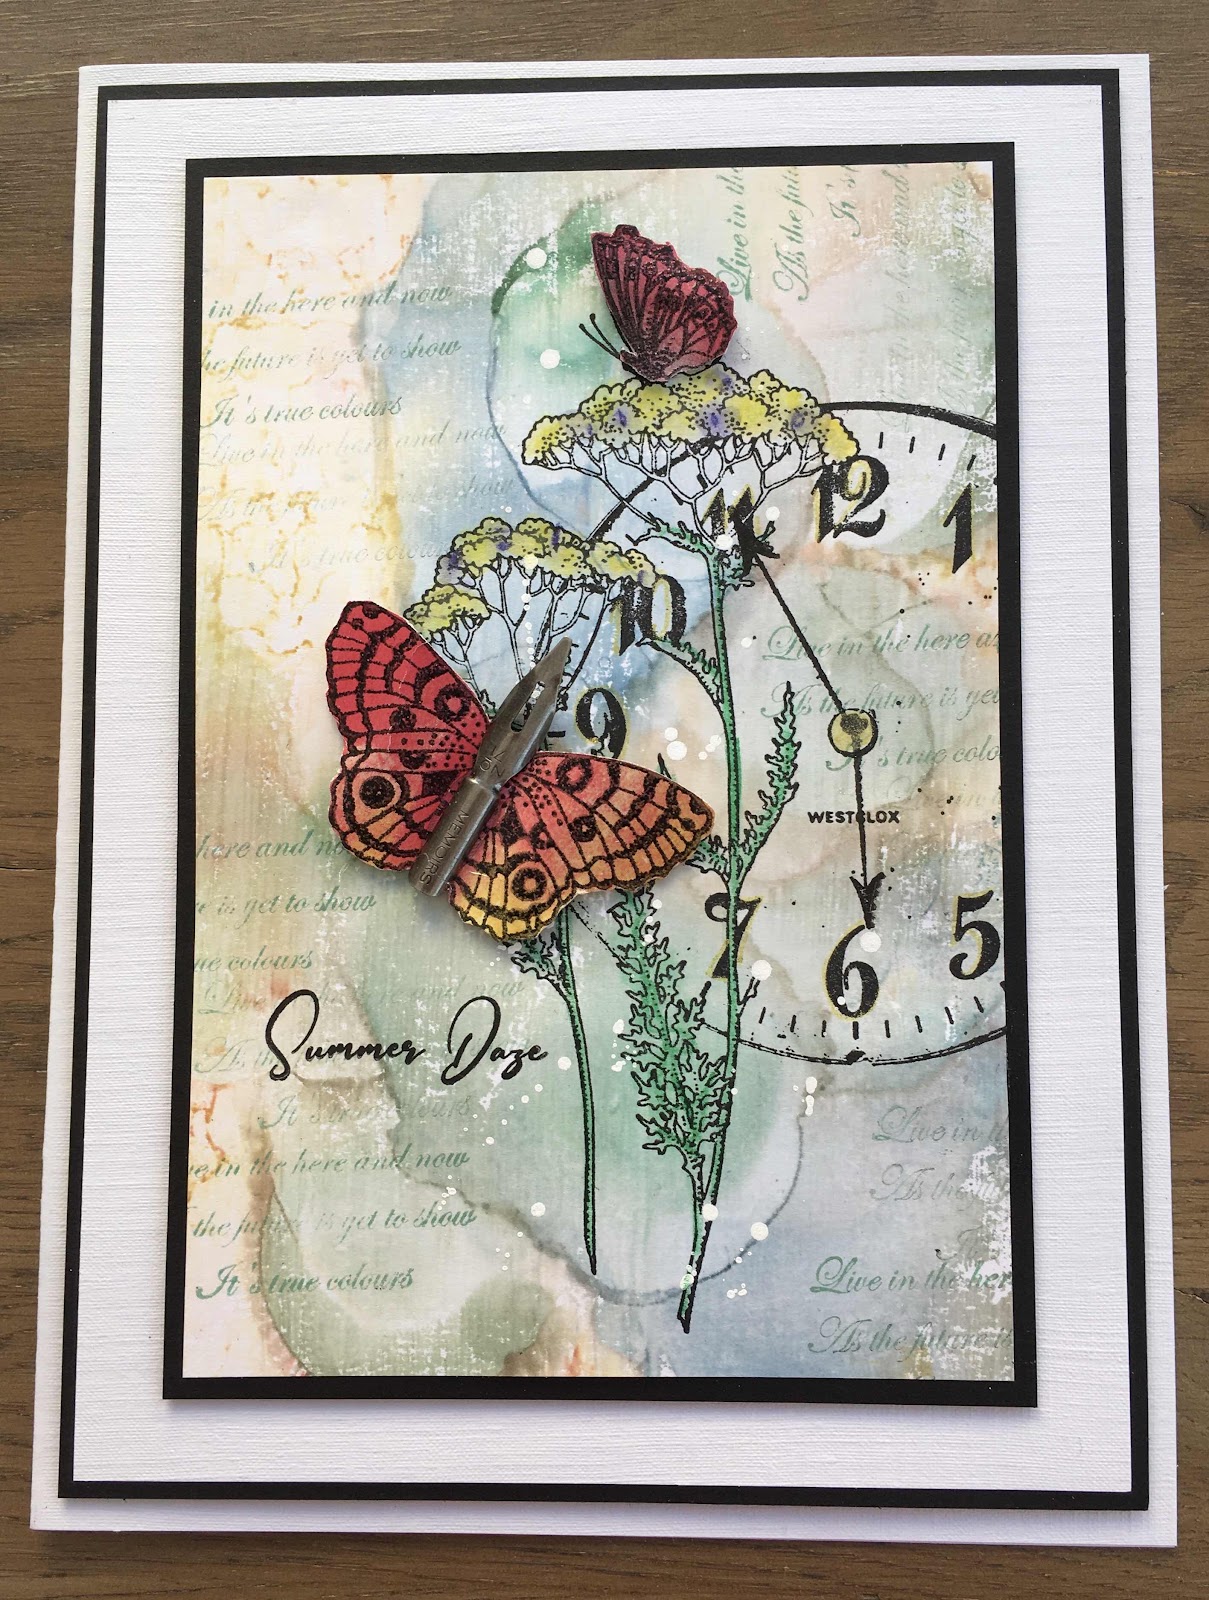
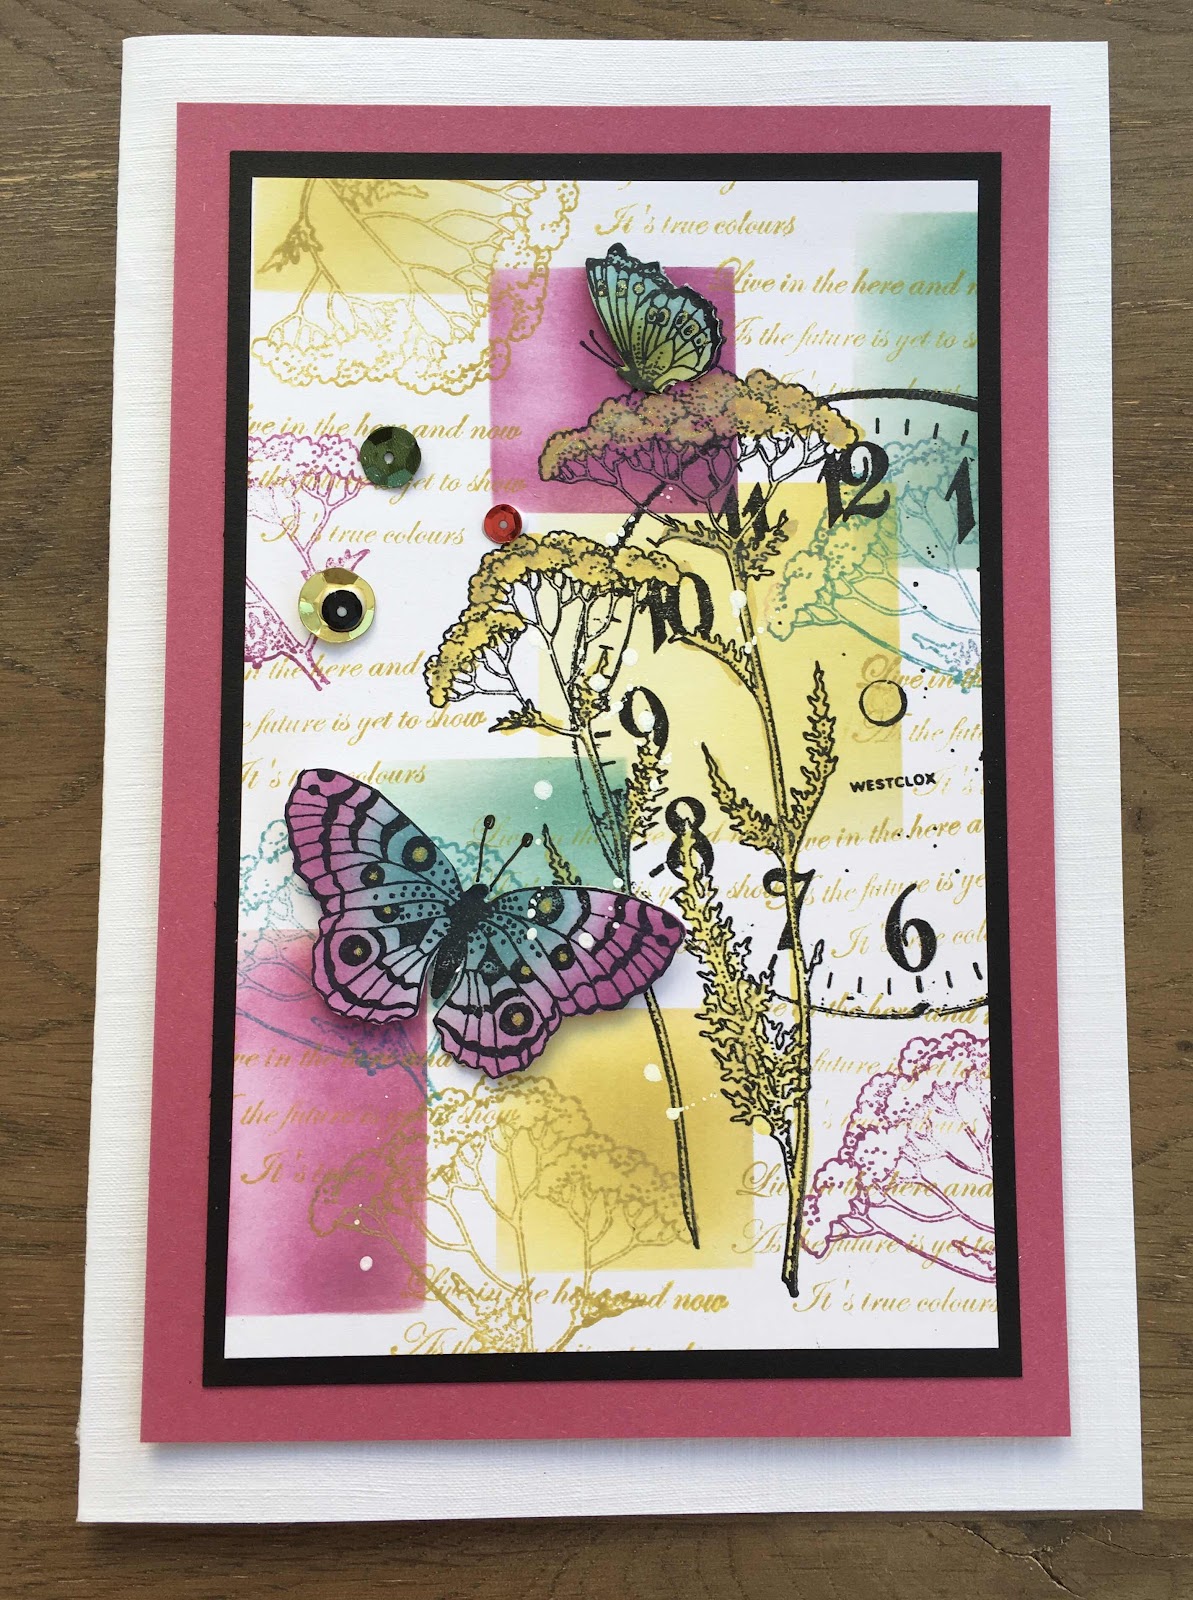
A brayered background of Oxides, one of the worker stamps from Stroom Clock stamped down the centre and Floral Clock stamped with Versfine Black and then coloured with Distess Markers some little die cut circles and a Shrink Plastic Butterfly.
As always, many thanks for your kind visit.


