
Hello everyone, I hope that you are keeping well. I have some cards to share with you today showcasing some of the wonderful stamps that we brought to the TV shows last month on Create and Craft. If you watched the shows, you will have heard the story behind some of these images, and how they came to be created. From Nature 1 was an incredibly beautiful stamp set, created from leaves collected around where David and Lesley work. I offered to send some leaves to Lesley from my garden in Norfolk, as I have some interesting leaves which are unusual, and would make fabulous stamps. So, I packed them up in resealable bags, and sent them to Lesley. The leaves were in pretty good shape when she received them, and therefore, From Nature 2 was created. I did craze Lesley to add a particular leaf to the stamp set, but they are all so versatile, and I had great fun creating my projects with them.
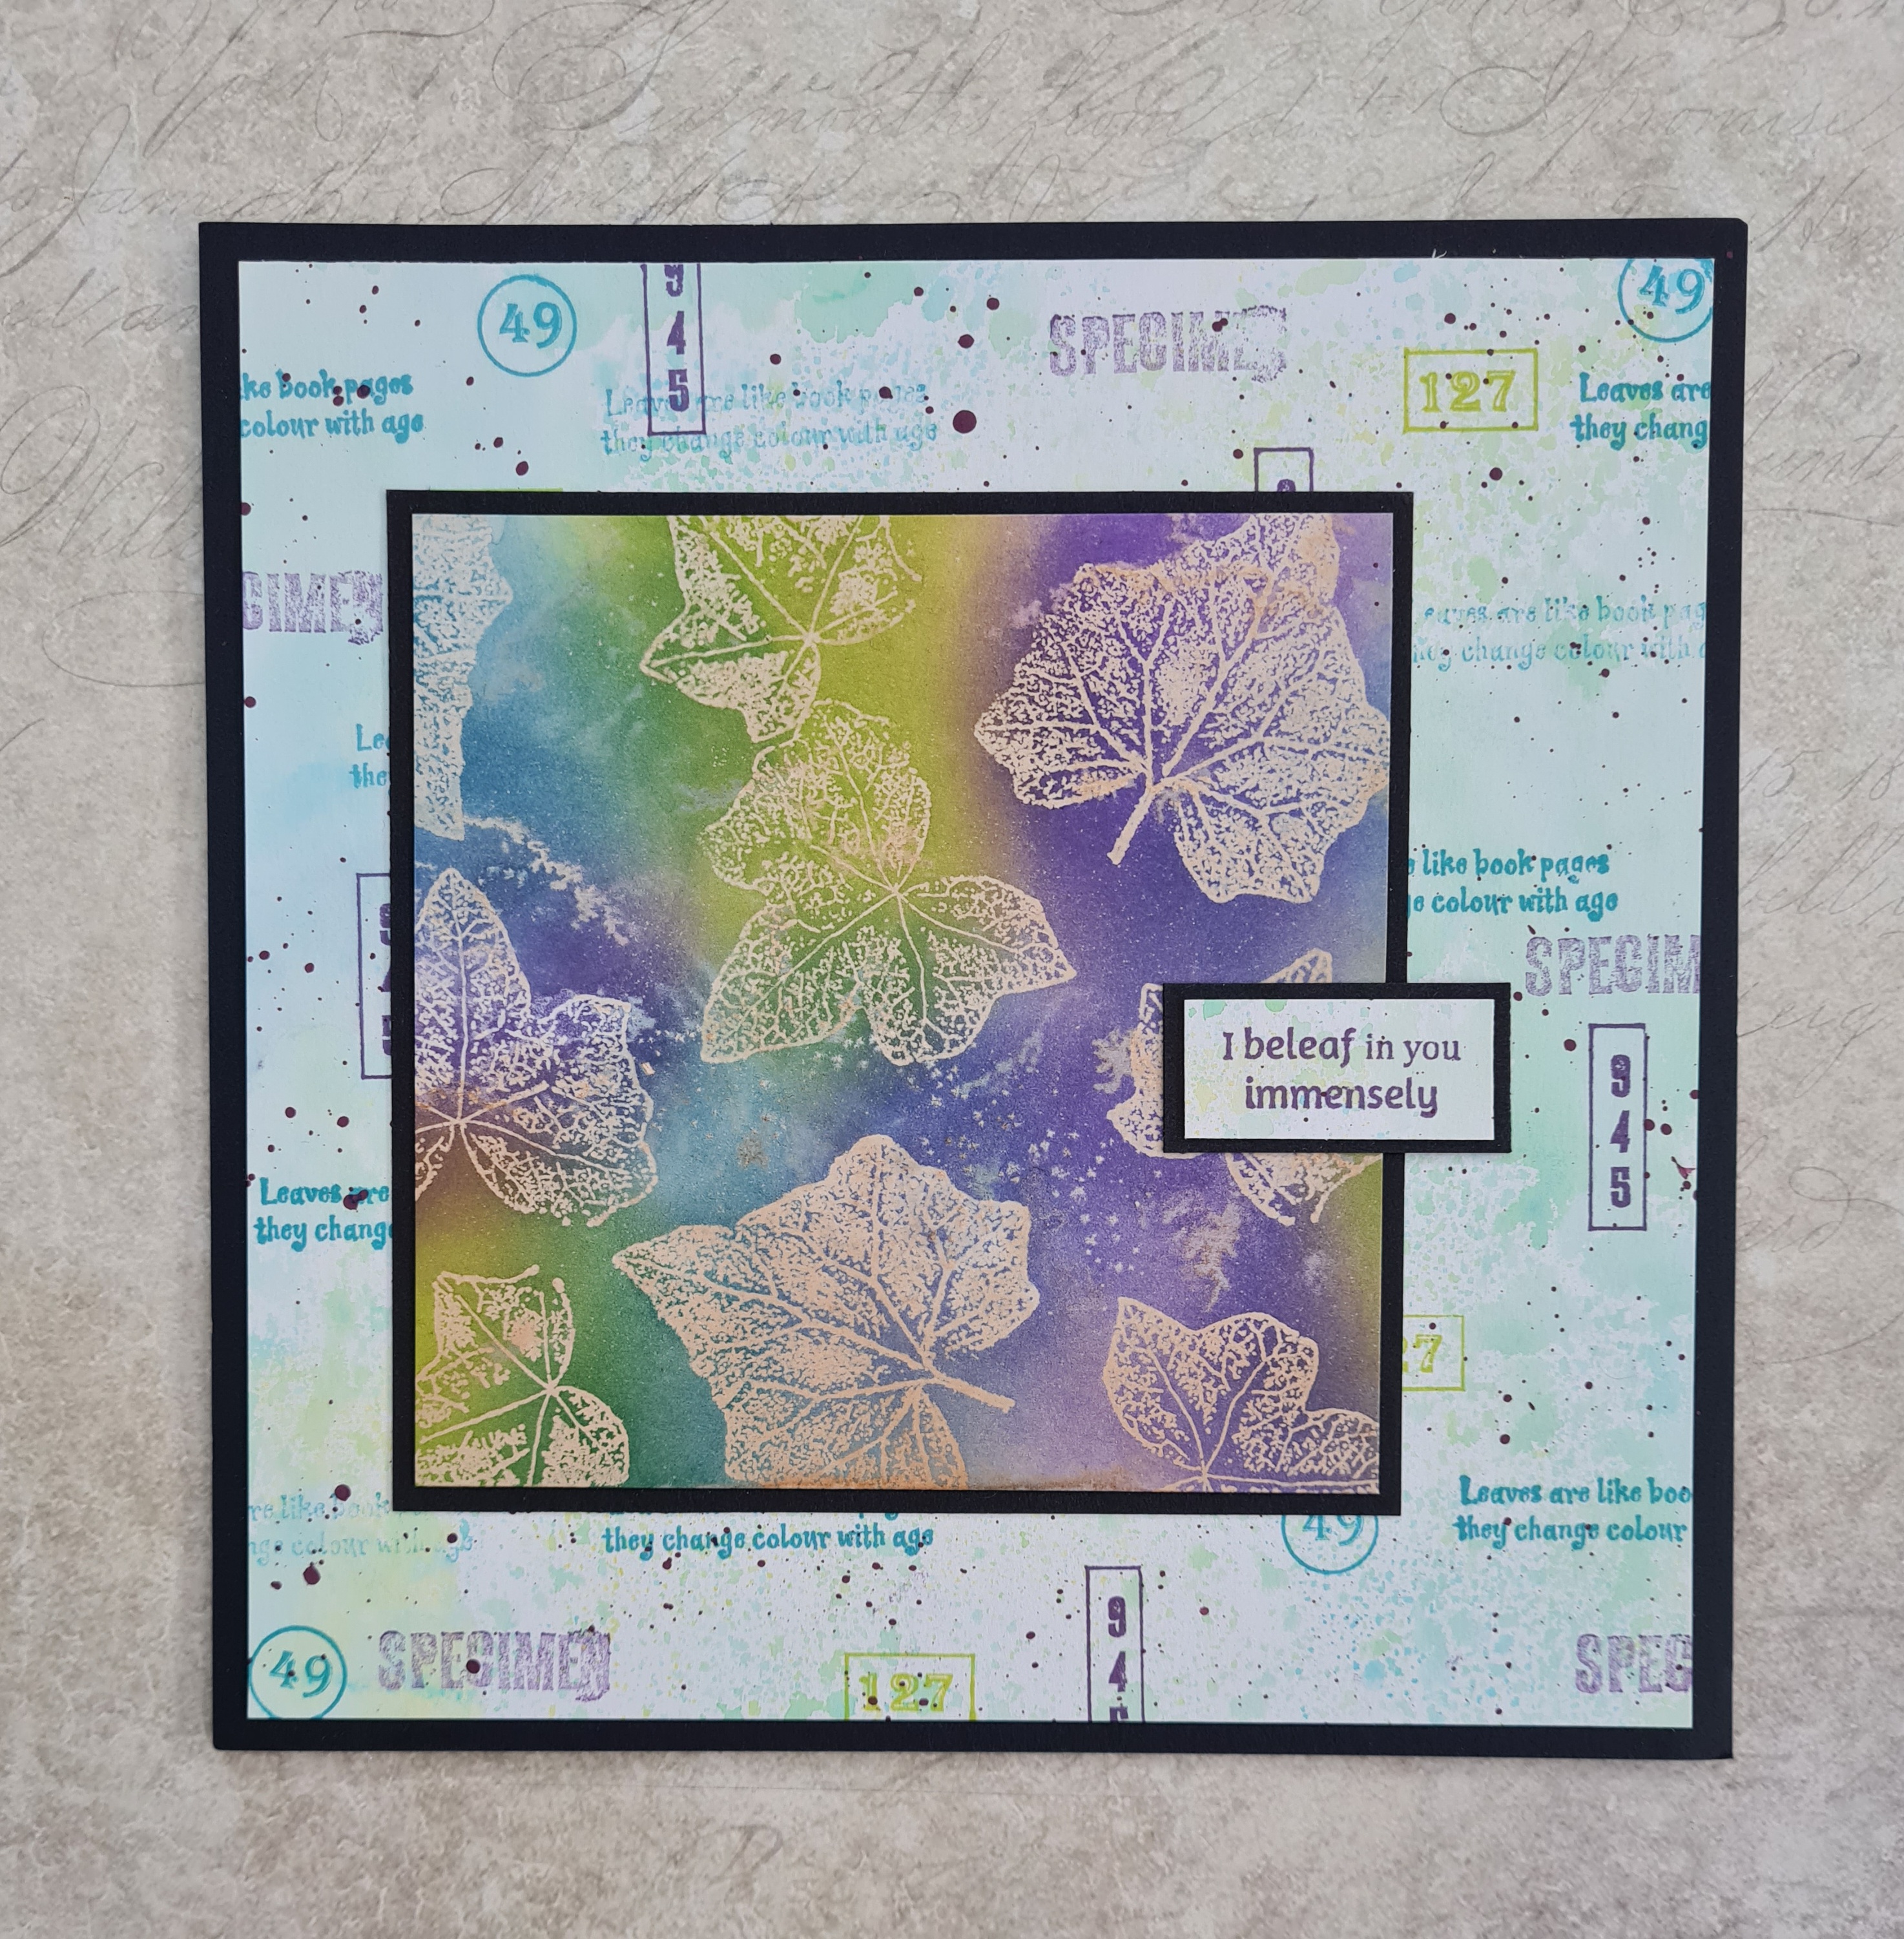
For my first card, I created a Distress Ink background, and stamped some of the various words and sentiments over the top. I chose colours that would tone in with the focal part of my card, using Versafine Clair Inks. I used a small spare piece of this background card for a sentiment too.
To create my topper, I covered a piece of Drawing Cartridge with cold tea, and added sea salt to the background while it was still wet. I left the background to dry naturally, and then brushed the salt away. The salt leaves great markings on the background. I stamped and embossed the three sizes of ivy leaf onto the background. You can use clear or white embossing powder, it doesn't matter, although white embossing powder will enable you to see where you are embossing more easily. I then added Distress Ink all over the top of the background.
I placed some copy paper over the background, and then ironed the embossing powder off the design. I kept checking that the embossing powder had all gone, replacing the piece of paper each time I checked. You can use brown paper if you prefer. By taking away the embossing powder, you get a completely flat surface, this is called a 'faux batik' effect, it looks like the batik material that originates from Indonesia, which is created by using wax as a resist when dyeing fabric. I also felt that by using the tea dye behind the Distress Ink, the irregularities looked like the background had been sun bleached, as if I had created a cyanotype effect.

My second project features the stunning Plume Poppy leaf, or Macleaya Cordata if you prefer the latin name. I used an actual leaf to create the background, using a technique that my lovely friend Elaine, an ex-Design Team member, taught me. To create the topper, I simply stamped and embossed the leaf, and added colour using Distress Inks, water and a brush. A few splatters of brown ink, and one of the smaller stamps from the set complete the design.

For my final card, I chose to use the Smoke Bush or Cotinus leaves, there are two on the stamp set. I arranged them in clusters, just as you would see them on the bush, and coloured them with pencils. For the larger background, I simply stamped them with a plum coloured ink. Both backgrounds are simple Distress Ink backgrounds, and I have edged both layers with a plum coloured ink to avoid using extra card to mat and layer.

I hope that you have enjoyed the story behind these stamps and will try out some of the ideas that I have shared with you. Thanks so much for stopping by, take care,
Judith xx
No comments:
Post a Comment
Thanks so much for leaving a comment - it brings a little ray of sunshine into our day when we know our work is appreciated!