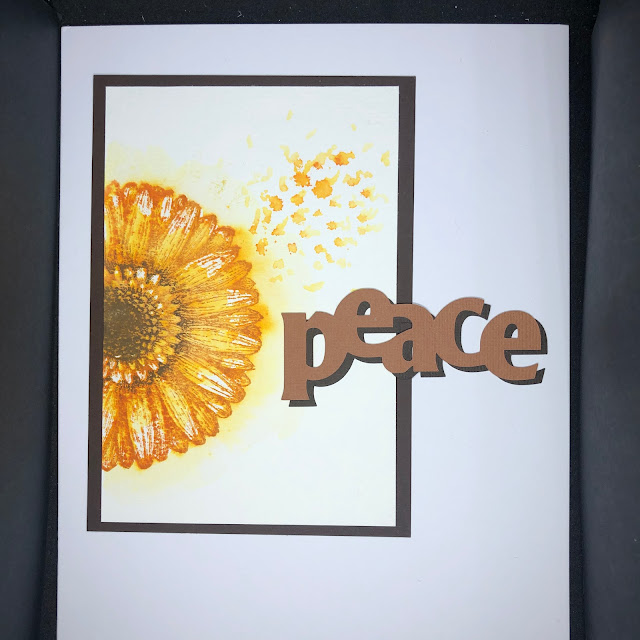
This card uses the Gerbera and Friends stamp set but instead of colouring the Gerbera image as a Gerbera, we can change it up into a sunflower. Sunflowers are on all our minds at the moment, so the sentiment of "peace" is apt. Cut out two in two different colours to give your sentiment a drop shadow. Now for the main technique...
Quick Watercolour Stamping
First Impression
You will need a stamp platform for this technique. Start with a piece of A6 card that can take a lot of water: watercolour card or mixed media card is great for this. Pop this into your platform "upside down" as we will be stamping off the edge. Align your Gerbera stamp so it sits halfway on the longest edge. Your stamp will remain mounted until all impressions have been made
Ink up the stamp petal area with warm yellow coloured dye ink, and spritz your stamp with water so you get a little puddling on the stamp. Stamp your image, and don't rush the impression. Lift up and using a clean damp brush feather the outside edge of your impression. If your card can't take too much water, you can heat set it at this stage. However, it is better to move onto the next impression...
Second Impression
This time we are going to ink up the centre lightly with brown/green ink. Again, mist the stamp with water, but be a little lighter this time so not all detail is lost. Stamp the image, again resting a moment in the downwards position so the brown and yellow can blend.
You can use a clean damp brush to blend out any harsh lines between the yellow and brown. Heat set the image thoroughly at this stage to keep your next impressions clean.
Third Impression
Stamp your whole image with a butterscotch toned dye ink or permanent ink. Heat set this impression if your image isn't immediately dry.
Fourth Impression
Ink up just the centre and some of the shading in brown ink. This will make the centre pop for the main petals.
You can now unmount the Gerbera stamp.
Finishing the image
Next, let's use the splatter stamp from the same set. Mount this into your platform or use a block. Ink up in the yellow and spritz. Stamp the image, then use a clean, damp brush to draw out the splurges on one side to give the feeling of movement. I was thinking like pollen, almost as if the flower is sneezing it out (I was having a bad hayfever day LOL).
Mount the piece onto the same colour card as the shadows of your sentiment.
This clean and simple card is great for when you are in a rush with little time for colouring.


This sunflower is gorgeous and thank you for your detailed 'how to', and it just shows that a gerbera can be a sunflower with the right colours and design. x
ReplyDelete