Pin It button on image hover

Wednesday, 14 January 2015

Guest post - Well Framed by Julie Smith

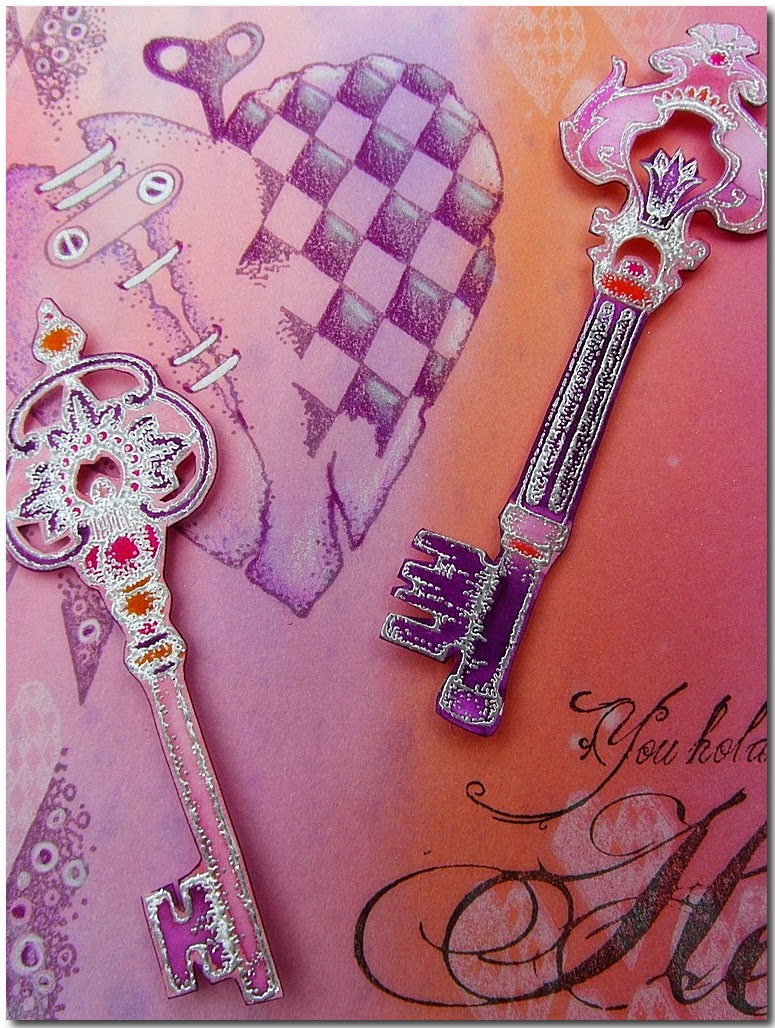
I would like you to welcome our first guest for the New Year, Julie Smith. Julie has some fabulous projects to share with you over the next three weeks using our romantic new steampunk hearts. So sit back and enjoy her first contribution made using the Punky Hearts stamp set


As soon as I received these stamps I was so pleased as it is the type of set I would buy, then, my excitement turned to anxiety as I wondered what I could create that would be worthy of a Design Team post. After much thought I decided to up-cycle a very cheap picture frame from the local super market.

  • I used a melt pot to pour UTEE over the frame before stamping into it with the swirly heart and the cluster of hearts stamps. If you don't have a melt pot then embossing powder heated using a heat gun straight onto the picture frame would work just as well. 
  • In between the embossed areas I added coloured micro beads glued into place with Glossy Accents along with brown jute that I colored with an alcohol pen. 
  • I stamped the clockwork heart into black Cloud Clay and when it was dry I wiped over DecoArt Metallic Lustre in gold and attached to the frame with silicon glue.
  • The picture was stamped and coloured with watercolour pencils and when it was dry I went over it with a couple of coats of Colourcraft Acrylic Wax. When that was dry I gave it a buff with an old cloth which I think has given it a softer look.
Well, my first post is now complete, thank you for looking and I hope to be back again soon with another project.

Love the idea of up-cycling Julie this is a great addition to any home decor or it would make a brilliant gift. I hope you will take some time to leave a comment for Julie and if you want to see more of her work please check out her blog, Julie's Crafty Bits


Tuesday, 13 January 2015

A Bird for all Seasons and Ophelia the Mermaid? (by Judith)

Hello everyone, I hope that you are enjoying the range of projects from the Design Team this month. I have chosen to use some of the new individual cling mounted stamps Song Thrush and Ophelia for my projects for you today.

For my first project, I wanted to show the diversity of this lovely stamp, and how it could be used to create cards all year round, so I have made a Christmas card. I started by embossing the image three times, using white embossing powder on some green scrapbook paper, and colouring the image with pencils. I decoupaged the flowers and bird. I layered the image onto kraft card, using some dark red card as a mat for contrast. I also added some holly die cuts, and some more stamping, using a berry stamp from the Woodland Dreams stamp set which I also coloured with pencils. I tucked some flowers from a spare image under the main frame, along with the holly die cuts. I added some shading around the edge of the kraft background, using Festive Berries Distress Ink. Finally, I added a sentiment taken from the Warm Christmas Greetings clear stamp set.


For my second sample, I stamped Ophelia onto a piece of heavy weight cartridge paper, and then masked the image. I coloured the background by blending three different colours of Distress Inks randomly all over the page. I stamped an image from the Texture Fragments stamp set onto opposite corners, using one of the same colours of Distress Ink. I then flicked water onto the other areas of the page and dried it with a heat gun, to emphasise the watermarks.

I stamped and embossed a seaweed image along the bottom of the page, from the Underwater stamp set,  using a blue/green metallic powder. I then added some flowers which I had cut out and coloured with pencils from the Song Thrush Silhouette image. It just goes to show that you can add flowers to just about anything! Finally, I coloured Ophelia using pencils, and matted the project using toning coloured card.

Thanks for stopping by, Judith xx

Monday, 12 January 2015

Pink Punky Hearts (by Miranda)


Hello there,

Today it's my turn to show you some creations made with the new lovely Fluttering hearts and Punky hearts! And as always a joy to work with the new designs. I have used the very traditional pink colors for the ' love' theme. I have combined the Punky hearts with one of my favorite sheets ' Key to my dreams'. I have made a background with Distress paints and lots of water misting on a heavy watercolor paper. On the background I have also used one of the fragments of the Tangled fragments sheet. The stamping is done wit Memento Dye and Memento de Luxe inks. The keys are embossed with Wow silver embossing powder and coloured with water based markers.
The text ' You hold the key to my heart'  is a combination from two sheets. You can find the first part on the Key to my dreams' sheet and the second one ' heart' on the ' Artistic Expressions' . Maybe just an idea to do some mixing and matching with words sometimes. 


I don't do it often but this time I've made a special inside for my card. You can find the tutorial/video here. So I had more space to fill in with the new stamps. I had some left over pieces made with similar colors and coloured the images with color pencils.


Now on to the 2nd card, also very pink and bright!
This background is made using fluid inks , water misting and salt. The balloon is embossed with Wow gold embossing powder and coloured with water based markers. 


I hope you did enjoy my take on these stamps and maybe you are inspired to get out the inks and stamps and have a play. If you have any questions about the cards please ask!
Thanks for your visit and I enjoy reading the comments, till next time,


Sunday, 11 January 2015

Love, Clean & Simple! (by Maria)

Hello everyone, I hope you are fine and I wish you a lot of love!
I have some more samples to show you, this time I made some clean and simple cards with the new stampset. We don't have always so much time, but still it's so nice to give a card that we made ourselves.

 
I used some silver embossing powder and Versamark to stamp the images on black cardstock. I stamped the heart on white paper with blue Memento Ink and embossed it with clear embossing powder, cut it out and with 3D tape I placed it on my card. Then the words and the borders of my black card I also embossed with the same silver embossing powder, nice isn't it?

For this card I used some different colours but I worked the same way , as before.
I hope you like my samples and I hope you find some inspiration to show your love!

Greetings
Maria

Saturday, 10 January 2015

A good heart (by Lesley)

When time is short and you need a card in a hurry then a clean and simple look is all you need. So today I want to show you a quick card using the Punky Hearts stamp set.


  • Trim approximately 2" off the short edge of an A4 piece of white card and fold in half. 
  • Mask off a strip down the front of the card, setting it slightly off centre.
  • Ink up the crackle stamp from the Echoes of Italy stamp set using Peacock Feathers Distress ink and stamp randomly over the masked strip.
  • On a piece of 160gsm card colour an area large enough for the image you wish to use with a bright red alcohol marker. 
  • When dry stamp the heart from Punky Hearts with Versamark. Emboss with a turquoise embossing powder. Cut out and set aside.
  • Using the offcut from the card stamp the sentiment from Amazing Birthday with Peacock Feathers. Trim to suit and run the inkpad around the edges.
  • Add 3d foam to both the heart and the sentiment strip and assemble as illustrated.
We don't always have the right coloured card or paper for our projects and I find that using alcohol markers on a decent weight stamping card is a quick and easy substitute. Whilst creating a patterned strip behind your focal image keeps the weight down for postage and is a neat alternative to using ribbon.

As usual there are more stunning samples to come from our talented Design Team, so please keep popping back to keep up with all their fab ideas.


Friday, 9 January 2015

Fluttering Hearts in Pink (by Shirley)

Happy New Year !  I hope you are having a fabulous and creative 2015 so far. 

I have a design to show today featuring the heart & butterfly from the new gorgeous Fluttering Hearts stamp set.   I also used stamps from other sets that compliment the new one very well.


The background was created by blending Persimmon and Picked Raspberry Distress Inks.  I over stamped with flowers from Sunny Sunflowers using the same inks.


The flowers, leaves, butterfly and heart were embossed with gold, painted with water colour markers, fancy cut (decoupaged) and layered as shown.   I used leaves from Sunny Sunflowers and Fresh Blooms.   'Beauty' is from the fabulous Artistic Expressions set, which I use a lot.  I added gold embossing power around the edge of the background with a glue pen (& heated). 


Thanks for your visit, I hope you can come back often to see the beautiful designs created by my talented teammates.

Have a great day,
Shirleyx

Thursday, 8 January 2015

All of a flutter (posted by Claire)

Good morning and Happy New Year, today is my first post of 2015 with this month's new release stamps which are perfect for getting ahead with those Valentine projects. This card uses stamps from Fluttering Hearts with one of the borders from Poppy Edges which co-ordinates beautifully with the new stamps.


I began by stamping the floral edge stamp with Memento Tuxedo Black ink on a scrap of stamping card. I took a larger piece of card and stamped both the large and small bird/heart stamps, again with Memento Ink. I used Graph'It markers to colour the images before cutting out the floral edge.

I took a cloud template that I'd cut from some scrap card and used PanPastels to create a cloudy effect in the background. PanPastels are perfect for this as if you go over the image you can use a pencil eraser to remove the colour. I layered the floral edge over the little scene with 3d foam and used a layer of white and then pink card to mat the scene. Lastly I stamped the sentiment with black ink.

Thanks for visiting today
Claire xx

Wednesday, 7 January 2015

Fluttering Hearts - Table Decoration and CAS cards By Florence

Happy New Year Everyone

I hope you have all had a lovely time over the holidays.
Today, I would like to share with you, a table decoration that I made using one of the stamps from the Fluttering Hearts Stamp Set. 

What a wonderful stamp set to start the Year with!

I had Easter in mind when I made this project but it could easily be used for Valentines Day or any other occasion.  It could also be used as a place name on a party table.


To make this project
Stamp the bird and heart image onto white card stock, color and fussy cut around the edges.
Attach a small lollipop stick to the reverse side of the cut out image using strong glue or silicon.
Take a very small plant pot and lightly cover it with a very thin coat of white craft paint and sand to give distressed look.
tip: Instead of a plant pot, a small tin can would work equally as well either painted or with a piece of pretty paper wrapped around it.
Place a small piece of florist oasis into the flower pot.
Make a card skirt to cover the Oasis.  I used a Rosette die but you could easily use circle(s) of card.  tip: Cut out a circle of card to the required size and cut from the outside edge of the circle to the center point and manipulate it to make a Chinese hat/cone shape.  A piece of fabric would also look great.
Place the lollipop stick through the center of your card skirt into the florist oasis as shown above.


Simple Cas Cards


Card 1


Card 2


Card 3


Brusho Background.
Card 4


All images on the cards have been stamped using a multi-colored ink pad.


Thank you for looking.

Florence x


Tuesday, 6 January 2015

Purple Punky Rose (by Debbie)

Happy New Year from me.
I love clean, quick to make cards although a lot of thought went into the colours I wanted to use.
I made the background for this card approximately five times as the splashes didn't fall quite
where I wanted them.
I used Peacock Feathers and Seedless Preserve spray stains, dripping them with a pipette.


For the rose from Punky Hearts I stamped and embossed with black powder then water coloured with distress inks. (seedless preserve and crushed olive)
The edges were softened with Broken China ink and it was matted onto black card.
The Punky Hearts and Fluttering Hearts have certainly helped kick my mojo into gear
for the new year.
 
 
Thanks for visiting
Debbie
 

Monday, 5 January 2015

Purple and Pink Heart by Doreen

Hello to you all, I am sharing a sample made from the new stamps 
that have just been released for January 

"Punky Hearts"

I used one of my Gelli Plate papers for this card and just overstamped with the hearts.My main image has been clear embossed with black Versafine ink and then coloured with distress inks Seedless Preserves and Spun Sugar.


Sunday, 4 January 2015

Song Thrush and Arched Landscape (by Asha)

Happy New Year, friends and welcome to a brand new year of more crafty goodness from Chocolate Baroque. You've seen the new January release stamps and must agree that they are just LOVELY.

Today I want to share with you a couple of cards featuring the new Cling Mounted Individual Stamps which were released when the new Chocolate Baroque website was launched on December 18th. You can see Glenda's original post here.

My first creation is a fresh and vibrant card showcasing the beautiful Song Thrush Silhouette stamp which I coloured it with watercolours. For the background, I stamped the small leaf from Butterfly Dreams A5 sheet on to a piece of yellow card stock. The sentiment is also from Butterfly Dreams.


The spotlight on my second card falls on the Arched Landscape stamp. This time I coloured the image with alcohol markers. I also did some background stamping using a little stamp from the Fleurs Nouveau A5 sheet. The sentiment is from the Patchwork Landscape A4 sheet.


There are a total of 10 new Cling Mounted Individual Stamps, each one a thing of beauty. I hope you've been inspired to play with yours. As always, swing by regularly for more crafty ideas from the rest of the DT. Details of inks and colours are available on my blog.

Beijinhos,
Asha

Saturday, 3 January 2015

Everyone should have a Heart (by Judith)

Hello everyone, I have some heart-related makes to show you today, suitable for those occasions where a bit of romance might be involved; Anniversaries, Valentine's, etc. I am working with the Punky Hearts and Fluttering Hearts stamp sets, and want to show you how versatile these sets can really be.

My first card is a very quick card for those occasions when you do not have much time to make something. I stamped a large flourish from the Butterfly Dreams stamp set onto a small square card using brown ink. On a piece of scrap paper from my stash, I stamped the apple and half of the butterfly from the Fluttering Hearts stamp sheet. I used waterbased markers to ink the stamps, enabling me to get the multi-toned effect. I also stamped a half butterfly directly onto the card. I cut the images out and attached them to the card, and finally added the sentiment in the bottom corner.
 My next card is again very CAS in style, as I wanted to create a masculine card suitable for an Anniversary or Valentine's card. I masked off a large area of the background, leaving only a horizontal strip showing, and then stamped the area with the floral heart using black ink, covering it with clear embossing powder. I then added some colour using three different tones of Distress Inks, before removing the paper masks. I stamped and embossed the heart once more onto a piece of kraft card, before cutting it out, and adding it to my design with 3D foam pads. Finally, I added a sentiment from the Words of Love stamp set and matted my background onto black card.
 My last project is a mixed media tag, using a real mixture of stamps, which I love to do when creating my projects. Full details of how I made this tag can be found on my blog if you are interested.

 I hope that I have given you some inspiration with my projects. Keep checking back every day to see what my Team mates have come up with, they have some delightful projects to show you. Thanks for stopping by, Judith xx

Friday, 2 January 2015

Punky hearts (by Miranda)


Hi there,

At first I want to wish you all A very good new year, may all the best come upon your path! And I hope to ' meet' you many times here sharing our love for the creative process!

Today it's my turn to show my take on the new heart stamps. Aren't they lovely? I played with the Punky hearts this time. I've used the colors from the 6th colourchallenge and this time I used Distress paints to color the flowers. The background is blended with the same Distress inks and the heart fragment is stamped with Memento inks. I've outlined the image with a white belly pen and accented the hearts too.
A few matching pearls and done........


Well, this was my first post this year, I hope many will follow!
Keep an eye on the coming posts, many inspiring creations to see made by this talented bunch!


December Blog Comments Winner!

Happy New Year everyone!   We hope you enjoyed a wonderful festive season. 
 
Thank you for your visits and kind words here throughout 2014.    We truly appreciate the time you take to let us know your thoughts about our designs.

Each comment in December was assigned a number and we used Random Org to draw a winner.  Congratulations to Beth Norman you have won a £15.00 voucher to spend on Chocolate Baroque stamps!  Please send a quick email here to confirm your email address and Lesley will send you your gift certificate.

Lesley will be giving a £15 gift voucher to another lucky winner drawn from January's comments. The more comments you leave the better your chances to win.  We hope you enjoy our designs using the new gorgeous Fluttering Hearts and Steampunk Hearts stamp sets. 

We are excited about another creative year in 2015.
Best Wishes from the Design Team!

Thursday, 1 January 2015

Love in 2015! (by Maria)

Happy New Year to you and to all your family. I hope you enjoyed the start of another wonderful year. I wish you all a very heathy year, and a lot of stamping creativity with all the wonderful stamps of Chocolate Baroque. We go for it, I hope you do too!
Today I start with a lot of love for the new year, using the new stamp sets Fluttering Hearts and Punky Hearts I hope you like my samples.

To start the new year in a smooth way,  I stamped my images with Versafine Onyx Black Ink and coloured them with Distress Inks. I cut the images out, but left the die cut on the cards and used some Distress Inks to colour the borders of the images. After the ink was dry, I took some waterdrops and here and there I spread some drops on my background. With a heat tool I dried everything and I took the die cut off my card, so that I got a white border on the card.
For the first of a new year I didn't want it to be to difficult, I hope you like it!
Have fun!

Maria