Pin It button on image hover

Monday, 14 August 2017

Hanging Flowers and Floral Harmony (posted by Claire)

Good morning, today I'm sharing 3 cards made with some of the gorgeous new stamps which you can find here I love to colour flowers so I thoroughly enjoyed making these cards. My first card features Hanging Flowers


I stamped the focal image onto some white stamping card with black Versafine ink and then stamped twice more on some scraps of stamping card so that I could decoupage some of the flowers. I coloured the images with watercolour pencils, using a damp brush to blend the colour. I coloured around the image with watercolour paint using lots of water to create a muted effect. I stamped the foliage using Take it or Leaf it with a little distress ink. I splashed a little blue and green watercolour paint here and there and added a blue bow and a sparkly dazzler to finish the card off.

I've used the same stamp for this card but I've coloured the flowers pink for a change.  I stamped the image and then masked part of it so I could stamp again to create a larger focal image. 


I used watercolour pencils to colour the flowers and leaves and again created a muted green background using the ink on my blending sponge. I splashed some water here and there and blotted it with tissue. Once this was dry I stamped the beautiful Baroque Corners with Versamark and embossed with gold EP. I didn't want to clutter the image with embellies so I just matted and layered using white and pink card .

Last but not least I've used Floral Harmony to make this card. I stamped the image with black versafine and then stamped around the image with the very edge of the stamp to create a border.


I've added some colour using watercolour pencils and paint and stamped a little sentiment before layering up on white and red card. 

I really enjoyed making these cards, they are very simple to make but colouring with pencils and a little watercolour paint is so relaxing.
Thanks for visiting, I hope you're enjoying all the floral delights from my lovely teamies this month
Claire xx

Sunday, 13 August 2017

Leafy Florals (by Judith)

Hello everyone, I have three projects to share with you today showcasing the new stamps recently featured on the July TV shows on Hochanda. These floral stamps are really fabulous, suitable for all sorts of occasions, and styles.

For my first card, I used a favourite technique, stamping on a piece of book paper, and colouring the image with pencils. I stamped the Hanging Flowers image using Versafine Onyx Black Ink, and then edged the book paper with Distress Ink. The larger background was from my stash, and I used the same stamp to stamp around the edges with dark green ink to create a frame. I used kraft card to mat and layer the edges, giving a more natural feel.


For my second card, I used some background card from my stash, and simply stamped and embossed the main image using Versafine Onyx Black Ink and clear embossing powder. I stamped the two leaves randomly over the background to create a very quick design. Black matting layers give a very bold feel to this monochrome card.

For my final card, I used masking to combine an image from the Take It or Leaf It stamp set with the Chequered Flowers image, and coloured the images with pencils.

Thanks for stopping by, Judith xx

Saturday, 12 August 2017

Blooming Marvellous by Zoe

Good morning Lovelies.
 I'm sharing with you today my samples from the Hochanda shows in July, featuring the Colouring pages.
 I hope you managed to watch our fab Lesley and guest Lynnda, Weren't they both fab?

I made this small (5x7") canvas by using Image Transfer medium and coloured it using Water Soluable Crayons, I flicked some black ink just to create some texture in the background and added a copper Gilding wax around the edges.

My two sheets I used colouring pencils.


Thank you so much for spending time to visit and leaving a comment, I do love hearing what you think of my creations. Have a wonderful day xx Zoe xx 

Friday, 11 August 2017

Happy Birthday (by Brenda)


Good morning, I hope you are doing well and enjoying the Summer.

It's my turn to post some inspiration from the lovely new floral stamps and colouring pages that Lesley released on Hochanda in July.

For this card I used a diluted mix of Distress Ink to wash a piece of white cardstockock and then used the beautiful Floral Harmony stamp which I repeat stamped using Versamark and detail white embossing powder. After coloring the flowers with sparkle pens I used Distress Ink and a stencil to add some flourishes to the top corner, next I took three square dies but before cutting I used them as a guide to place the stamped sentiment which is from Words to Dazzle and Sparkle. I then cut the piece into three and layered up onto a piece of black card using foam pads and made each layer slightly higher as I worked towards the centre.


And here is a colouring page from me from the Colouring Collection which has the most adorable designs. It's a well known fact to those who know me that I am not a colourist but I have to say I really did enjoy doing this one for which I used colouring pencils and blending solution. When finished I added some tiny dots using Liquid Pearls.

My thanks to you all for taking a peek today and if you were lucky enough to grab yourself some of the new stamps and pages I know you will be having fun creating with them.


Thursday, 10 August 2017

Chequered Flower (By Marga)

Hello all, today it's my turn to show you a card. And I love the new stamps that Lesley has showed you in her last tv show.


I have stamped this stamp by using the a stamping platform. Because I used different colours it's easy to use this. I also used water colour markers to colour the stamp. And when I stamped it all I used a waterbrush and went over the edges and took some colour in to the open areas.

I used the stamps : Chequered Flowers and the Words to Dazzle and Sparkle

Hugs

Marga

Wednesday, 9 August 2017

Turquoise Summer (by Carole)

Hello everyone, it is with great pleasure that we are introducing a new member of our Guest Design team today. Carole Cann has agreed to join the Team, and we hope that you will make her very welcome. You may have seen some of Carole's previous artwork on the Challenge Blog, where she entered regularly, and wowed us with her beautiful designs.

As always with new members to our Team, we wanted to get to know Carole a little bit, and we asked her a few questions.

What was the first set of stamps that you bought from Chocolate Baroque?

My first set of Chocolate Baroque stamps was definitely Patchwork Butterfly. I liked everything about it and there is not one stamp that I haven't used.

What would you say is your crafting style?

My crafting style is quite varied and it depends what mood I'm in at the time of making. I am quite meticulous and spend far too long deciding on a layout or where embellishments are going to be placed. I will often stamp things several times if there is a slight flaw, usually due to my cat's fur as he likes to help!

What is your favourite crafting technique?

My favourite crafting technique is definitely stamping, as I can use it on a variety of surfaces with a range of products. I particulaly like working on metal, which seems to have gone out of fashion unfortunately. A lot of Chocolate Baroque stamps are ideal for this technique as they are lovely open designs. I also enjoy doing spritzed Distress Ink backgrounds and then looking at them to see which stamps would go best on them.

I have always been into crafting of some sort as I had very creative parents, and have tried many things over the years including lino and screen printing. I discovered stamping way back in the late 90's and was hooked. I found it very engaging as it gave me the flexibility to use different techniques and products, with other peoples' lovely images.

Carole's first project this month is a pretty card, evocative of Summer days. 

Carole writes:

Hello everyone, here is one of my samples that I would like to share with you all.


I stamped the Garden Lace Scene first, onto white card.  The border from the Harlequin Rose stamp set was stamped alongside with an embossing pad, and clear embossed. It has been coloured with Distress Inks.

The saying, from the Summer Poppies stamp set, was stamped and embossed onto parchment, to give a softer look. I made the roses from circles and attached them, with die cut swirls, for added embellishments.

Changes to the colour scheme could make this suitable for many occasions.

Thank you for looking. I look forward to showing you another idea next time.

Carole 😊

Carole will be back next week with another project to share. You can catch up with her on her blog here. In the meantime, do keep visiting the Design Team blog for a daily dose of inspiration from the regular Design Team girls.


Tuesday, 8 August 2017

Summer Leaves (by Julie)

Hiya, hope you are all well. For my post today I have a couple of cards created using a selection of the brand new stamps that Lesley recently launched on Hochanda.


For my first card I cut some kraft card to fit my card blank and then inked up the small Baroque Corner with a terracotta dye ink before stamping at right angles to create the grid style background. Next I inked up the leaf stamps from Take it or Leaf it with a teal dye ink and stamped in the frames created from the Baroque Corner. Remember to mask your stamped background with Post-it Notes or something similar so that the leaves are just stamped in the centre of each frame. To finish off I die cut a circle from kraft card and mounted a couple of the flowers from the Chequered Flowers stamp that I had coloured with pencils.


My second card is made with Take it or Leaf it and Floral Harmony.
Start by getting some spare card and stamping two small leaves and one large leaf from Take it or Leaf it. Colour with pencils before cutting out. The flower taken from Floral Harmony was also stamped onto the spare card before being coloured and cut out.
Ink up the swirly leaf stamps from Take it or Leaf it and stamp around the top and bottom of your DL card blank. Colour the background with a wet wipe that you have dipped into Distress inks and then arrange your stamped cut outs onto your DL card blank before gluing into place with 3d gel.
The card was finished off with a sentiment from Amazing Mackintosh Words.

Thanks for stopping by and please call back soon for more Design Team inspiration

Julie xx

Monday, 7 August 2017

My new little bag (by Dominike)

Hello
I like these little gifts we made with a used paper bag.
And you ?


This one was very high. So I cut it in the middle, then I stuck the two pieces between them. I made a strong little bag decorated with one Chocolate Baroque rubber stamp. Of course.

I will be back at the end of the month with new projets.

Kind regards.


Bonjour

J'aime beaucoup ces petits sacs que l'on fait pour offrir des petits riens qui font toujours plaisir.
Ici j'ai utilisé un grand sac en papier kraft que j'ai coupé par le milieu. Puis j'ai collé les deux pièces l'une dans l'autre pour obtenir un sac résistant.

A très bientôt pour de nouveaux projets.

Sunday, 6 August 2017

Framed Colouring Pages ( by Magda)

What do you think about the A4 Coloring Pages of Chocolate Baroque ?  They are really beautiful and versatile,  as they come as single pages.  I coloured  two of them and decided to framed them. Here I am happy to share with you the pictures.

For this first one, I  divided the image in sections and coloured with acrylic each section completely different one from the other.


For the second one, I considered the flowers and I coloured each kind of flower matching the colours.
Brusho are beautiful as watercolour colours.


The difference between the two paints are very obvious and marked.  Have a try and have fun in colouring.
Magda


Saturday, 5 August 2017

Chequered Golden Flower ( by Anne )


Good morning. This is another of my recent show samples using the Chequered Flowers stamp.

Materials:
How to make it:
  1. Spread the relief paste over the stamp with a palette knife and leave to dry. Drying time depends on room temperature and humidity but it will need at least a day. Mine took 2 days to fully dry. When dry gently peel away from the stamp and trim around to neaten up any messy edges.
  2. Stamp the image with Versafine and heat emboss with gold powder. Colour with watercolour pens and a damp brush. The embossed lines resist the water and make colouring quick and easy.
  3. Apply a couple of drops of glycerine to a blending sponge and work in well. Now use this to pick up watercolour from your craft mat. Blend colour around the edges of the card. The Glycerine make the watercolour behave more like a Distress Ink making blending easy.
  4. Apply Versamark Ink along the card edges and heat emboss with gold powder.
  5. Glue down the paste embellishment. Attach the ribbon and bow, then glue panel to the card front.
  6. Finish with PVA pearls

Friday, 4 August 2017

Floral Harmony (by Asha)

Hello, friends. It's my turn to share a project with you - a light and airy all purpose card. I'm showcasing the new Floral Harmony stamp.

I started by stamping the image onto watercolour paper using Archival Shadow Grey ink for that almost no-line look. Then I coloured it with watercolour. When dry, I added a wash of blue in the background. Next, I gave the edges a light dusting of Distress Ink and went over the Useful Leaves Stencil & Mask with the same ink. To finish, stickles and liquid pearls ... and voila!

I hope you have fun with these new floral singles. They are a joy to colour and you can create elegant works of art on the go. I plan to stamp out a few of these and take them on holiday with me!

As always, I have details of the tools and products used on my blog. Thank you for stopping by and drop in soon for more designs by the team.

Beijinhos,
Asha


Thursday, 3 August 2017

hanging flowers (byVeronica)

 I hope you enjoyed watching Lesley and Lynnda on the recent TV shows , showing the lovely colouring pages and the matching stamps.
These are two of my samples using the hanging flowers stamp - loved this one, thought it was very like a fuschsia, I shall probably get corrected on that though, not being a gardener.
Needless to say, I used brushos on the first one. I stamped the flowers first using black versafine and clear embossing powder. then painted them with masking fluid before using grey brusho powder and spritzing with water.
Once everything was dry, I rubbed off the masking fluid and painted the leaves using lime green brusho. White and black mats finished it off.
The second version was stamped with versamark onto black card and embossed with gold detail powder. The flowers and leaves were painted with diluted  Aztec lustre paints - have to admit this was their first use since I bought them from CB last year!
Mats this time were gold and black onto a white base card.

There were some fantastic samples on the shows, so keep checking to see what my teamies have to show you, you won't be disappointed!

Wednesday, 2 August 2017

Playing with paints and pens (posted by Claire )

Good morning folks, I can't believe it's August already. The year is flying by and it's so exciting to see the fabulous new products that Lesley is bringing us. I love colouring so I was delighted to have a play with the beautiful new Colouring Pages which you can find here in a special kit with a colour wheel and mixing guide.


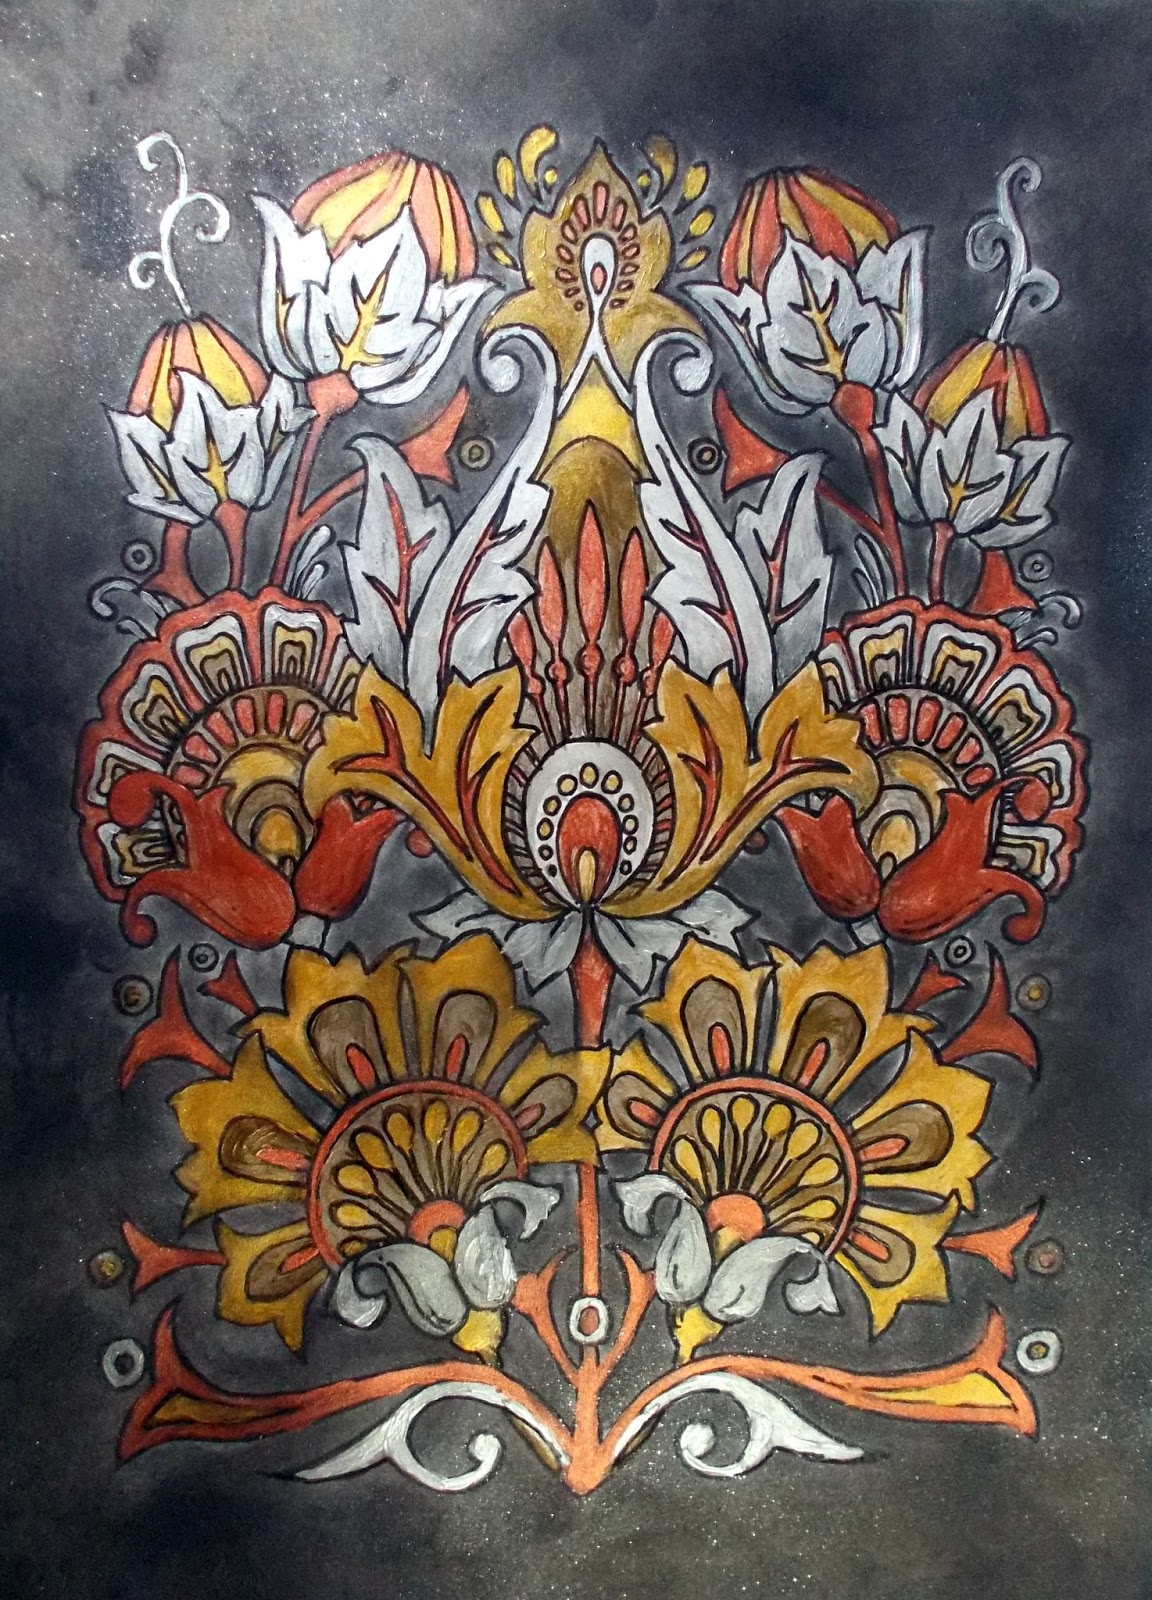
I'm always happy to play with my pencils and markers but for this page I decided to be a wee bit adventurous and got out my acrylic paints. I used metallic acrylic paints to paint the design, the paper took the paint really well and didn't buckle at all. Once I'd completed the painting I took a black marker to retouch the lines where I'd painted over them slightly. I was pleased with the painting but I wanted a black background to set off the metallic paints. I used Black Pearl PanPastel to colour the background, I applied this quite liberally and then used a battery eraser to remove any of the PanPastel that had gone on the design.


My second page today was coloured with Graph'It markers, and they blended beautifully on this lovely smooth paper. After a lovely colouring session I used Blue Pearlescent PanPastel to create a quick background, this is lovely and shimmery but it's glaring a little on the photo.

I hope you're enjoying the colouring pages if you've got yours yet, if not pop over to grab them while they are still on offer.
Thanks for visiting today, 
Claire xx

July Blog Comment Winner

Hello everyone, we hope you are doing well.

Once again we would like to thank you all for your visits here at the Design Team blog.  We truly appreciate the time you take to let us know your thoughts about our designs.  
Each comment in July was assigned a number and we used Random Org to draw a winner.  Congratulations to Pat you have won a £15.00 voucher to spend on Chocolate Baroque stamps!  Please send a quick email here to confirm your email address and Lesley will send you your gift certificate.
Lesley will be giving a £15 gift voucher to another lucky winner drawn from August's comments. The more comments you leave the better your chances to win!  
Thank you for your kind words and comments,
Good luck from the Design Team!


Tuesday, 1 August 2017

Having Fun With Colour (by Judith)

Hello everyone, I am sharing some of my colouring pages from the A4 Colouring Pages Kit with you today, two of which you may have caught on the recent TV shows on Hochanda. These fabulous pages are so relaxing to colour in a vast range of mediums, and Sue's designs will really capture your imagination. The beautiful floral designs are absolutely stunning, and having the practice pages included in your pack of pages gives you the confidence to try out any colour combinations before you make a start on the main designs themselves.

I used colouring pencils on all three of my designs, as I love to use pencils, but I have used different types of pencils on each design, and you can find full details of each project on my blog.

For my first design, I used water based pencils, choosing vibrant shades of blues and plums for my design. I coloured the design in full, and then went over the design with a water brush, to blend the colours, adding more shading with the pencils again afterwards, if necessary.

For my second design I used oil based pencils, blending the colours together for a natural effect in Autumnal tones.
Finally, I wanted to create a project using a colouring page in a more versatile way. I cut the top of one of the pages down to size, and coloured this with cheaper pencils, using a much smaller colour palette, to tone in with the background card that I had chosen. I added a row of faux stitching around the edge, and matted the page and background card onto a large black card blank.

I had a small section of colouring page left, and so I coloured part of the foliage, which I cut out, and added to a strip of the same background card, die cut into a tag shape. I matted this onto black card, and added a sentiment from the Amazing Mackintosh Words stamp set, which had been stamped onto a scrap of card left from another project. I also added faux stitching around the sentiment. Some green ribbon was added to complete the tag:


Thanks for stopping by, Judith xx


Monday, 31 July 2017

Four Seasons in one post by Zoe

Good morning Lovelies! Can you believe it's July tomorrow? Wow the years going fast!

So I'm back for my third and final post for the month this time I'm sharing my Seasonal Ladies projects that were featured recently on Hochanda.

My first project is a Greyboard tag which I used chalk paints with Crackle medium, simple heat embossed image, added some white Frantage, a diecut and glittered snowflake and few pearly dots.

 
5x7 Canvas board, painted very randomly with chalk paints, the image was stamped onto tissue and coloured using pencils, adhered with gel medium, I stamped and coloured several times onto card and fussy cut the flowers and butterflies to decoupage and add more interest.

 
Greyboard Tag with white reverse side, I used the white side, picking up Distress Oxides off a craft mat that had been spritzed with water, I stemmed the Spring image onto the tag and also plain card, I coloured the image with watercolour markers and added some flicks of black ink onto the tag before cutting out the lady and the flowers to decoupage.

 
Watercolour card which I heat embossed in white, I wet it down with clean water and just dropped watercolour inks into the image to create a rather random effect.

 
Linen texture card, simple stamping and coloured with pencils, I decoupaged the flowers and butterfly.
 
I hope you like my creations here, thank you for visiting and gave a great day xx Zoe xx 

Sunday, 30 July 2017

Awesome, Creative, Amazing (by Brenda)


Morning Peeps, just popping in with my final few shares made with the stamps Lesley showcased on Hochanda recently.

If I had to choose a favourite from the lovely Seasonal Ladies I think it would be Autumn Medley  featured on the card above, mainly because I just love working with Autumnal colours. My starting point was to stamp the image with Versamark and emboss with detail copper before colouring in with Distress Inks. Using a mask and texture paste I added some branches across the top and when dry replaced the mask and rubbed over some Distress Inks and glue here and there and some Gilding Flakes although that doesn't really show up in my photo I'm afraid. Finally I stamped three words from the Amazing Mackintosh Words stamp set, cut them out and added to the finished piece.


Here I stamped the image from Mackintosh Beauty stamp set three times and coloured in with Distress Ink, matted and layered with coordinating card and stamped a sentiment from Mackintosh Sentiments set.


The background of my next card is Distress Inks with a spritz of mica spray which helps the colours blend into each other. The lovely Spring Awakening image is stamped with Versafine black and heat embossed with detail clear and pencils used to colour the flowers in her hair. Using the new masks which compliment the Seasonal Ladies I inked some leaves, the sun and word.    


My final share used an image from Mackintosh Beauty, stamped with Versafine black and heat embossed with detail clear onto a piece of card created with the shaving foam technique.........I tend to have a session with different colours so I have a stock of them ready to stamp onto. I coloured the image with pencils, matted her into the base card, tied some ribbon and stamped and cut out a rose from the same set to place in the centre.

As always my thanks for you visit today.


Saturday, 29 July 2017

Spring Awakening (by Marga)

Hello everyone.


What is more relaxing than colouring, I think nothing.
This one I coloured with Distress Inks.

I used the stamps : Spring Awakening, Amazing Mackintosh words.

Hugs 
Marga

Friday, 28 July 2017

From Summer To Winter (by Julie)

Hello, lovely to see you. I can't believe that we are nearly at the end of July so I thought I had better get my Summer Solstice card in quick as before we know it the Winter Dawn Lady in my second card will be the order of the day...


For my first card I stamped and then masked the Summer Fayre lady. Next I took the Seasonal Journey stencil and applied teal and orange dye ink through the Summer Solstice words and added white, paint pen, highlights. 
The shimmering sun has been stencilled with the Seasonal Elements using a sponge and yellow acrylic paint. Once dry I went over the entire background with Old Paper Distress ink and added more white, paint pen, highlights.
Once I removed the mask from the lady I coloured with pencils and then edged the card with Evergreen Bough Distress paint.


This beautiful Winter Dawn lady was stamped onto Kraft card with a blue Versafine ink and then coloured with Polychromos pencils. I cut the card to size and edged with Picket Fence Distress paint and Crystal Stickles. The base card was stamped with the snow flake stamp from Sparkling Trees, before applying the blue card-stock and the stamped Winter lady. The card was finished off with dabs of Crystal Stickles and die cut snowflakes.

Many thanks for taking a peek. Please call back very soon for more Design Team inspiration.

Julie xx

Wednesday, 26 July 2017

Elegant Peacock Mask (by Penny)

Today sees the final project from our Guest Design Team member, Penny Butler, for this month. She has created a fabulous Venetian style mask in a bold peacock theme.

Penny writes:

Hi everyone, I hope this finds you all well. I have a fun project today for you as my third Guest Designer post here this month.

I have used stamps from the Tangled Peacock and Peacock Parade stamp sets, gold gilding paint, Versafine Ink, gold embossing powder, black artist's pen, Distress Ink, gold acrylic paint, and gems from my stash.

On some white card, I stamped two tails and the body of a peacock, and embossed them in gold. I then cut the images out and painted them. I painted the mask with gold gilding paint, and when dry, I used a couple of worker stamps to decorate it. I then used the black marker pen to accentuate the eye holes. I added some gems from my stash to accent the tails, and added some more to the mask. I attached the tails to either side of the mask, and the peacock body to the centre above the nose. I also added a couple of tiny gems to the corners of the eyes, and finished the project by adding some ribbon to tie the mask on with.

A beautiful fun project for parties, home decor, or a keepsake.


Thank you Penny for such an inspirational way to use these stamps. Penny will be back to share more projects on the blog with us in a few months' time. You can see her work featured regularly in some of our compilation posts each month here on the blog, and she also contributes to the TV shows on Hochanda. Penny's blog can be found here.

Thanks for stopping by,