Pin It button on image hover

Tuesday, 3 September 2019

Dragons on Guard by Penny

Goodly morning peeps, I hope you are all well.  Today it is my turn again to share a project with you, this is a canvas that I created for this post.  I have used stamps from the Here Be Dragons set; a canvas board from CB Canvas Boards, several different paints and gold gilding wax.


I am a huge Tolkein/Middle Earth fan and I have had these stamps for ages, I love to create artwork that is inspired by my favourite books. I took the canvass and gave it a coat of white gesso.  I then took two pieces of black card and embossed them with a folder from my stash, which depicts arches and halls of stone.  I gave the pieces of card a coat of grey chalk paint first and dried it, then I dry brushed with an irridescent green-blue acrylic and dried it again.  Next I used a metalic bronze acrylic to dry brush again and finished with adding gold gilding wax to the raised patterns.  I then attached both panels to the canvas.


I added some black sand texture paste across the bottom of the canvas and let it dry.  I stamped and embossed two dragons onto black card, and used metallic glitter paints to colour them.  I then fussy cut them.  I also stamped and embossed one wing from each dragon, painted them and fussy cut them ready to decoupage them.


When the texture paste was dry I painted it with light and dark gold acrylics to represent piles of gold, adding some small gems and sparkles from my stash.  Dragons are obsessed with gold, they plunder it and protect their hoards jealously.  I positioned my dragons on top of the 'gold' and decoupaged their wings.  I stamped and embossed a sentiment onto a piece of CB printed paper, and tore the paper around it.  I then added Distress ink to the edges and rolled one up before attaching it to the canvas.  I then stamped and embossed several small swirls onto acetate, coloured them with alcohol pens and fussy cut them before attaching them.  To complete this artwork I added a section of stone wall made from air dry clay, painted it as I did the background and attached it to the top of the canvas.

Thanks for dropping by today, I hope you have been a little inspired and don't forget to join my teamies here for more crafty fun!


Take care,


                             xx  Penny  xx

Monday, 2 September 2019

August's Blog Comment Winner

Hello everyone, 

We truly appreciate the time you take to let us know your thoughts about our designs, so each and every comment is very important to us.
Each comment in August was assigned a number and we used Random Org to draw a winner.
Congratulations to Bernie Simmons, you have won this months £15.00 voucher to spend on Chocolate Baroque stamps. To claim your prize, please email here to confirm your email address and Lesley will send your gift certificate.

Lesley will be giving another £15 gift voucher to another lucky winner drawn from September's comments. The more comments you leave the better your chances of being the winner.

Thank you so much for all the kind comments you leave.

Good luck from the Design Team


Sunday, 1 September 2019

My House (by Judith)

Hello everyone, I have a few projects to share with you today featuring a very special stamp showcased on last month's TV shows on Hochanda, but first of all I would like to talk to you a little bit about the background of the stamp.

You are all probably very familiar with the very talented Kim Moody whose stamps are manufactured by Chocolate Baroque. His quirky stamps feature architectural images, and seaside scenes which are such a delight to work with. Kim also does commission drawings of houses and other buildings, adding his particular eye for detail. I decided to ask Kim some time ago to draw a picture of my own house Poppy Cottage, and we discussed adding lots of features that I love about my house; the dragonfly door knocker, the wrought iron butterflies on the balcony, the dovecote in the garden, and of course, he needed to include Poppy and Bella, my two cats. Poppy is a bit plump, and Bella is rather skinny, so you can tell them apart! I sent a few photographs, and Kim came up trumps with a delightful drawing, beautifully framed for me.


A few months on, and I asked Lesley if it would be possible to have the stamp made, as I would really love to create Christmas cards using 'Poppy Cottage' as a personal touch. We hoped that you would love the image as much as we did, and decided to try it out as a small batch on one of the TV shows. I was so touched that you really liked it!

I created a couple of samples for the show, the first one was created by stamping an image from the Poppy Edges stamp set a couple of times, then masking these images before stamping Poppy Cottage itself. I masked the house also, then added a Pan Pastel background.

I added foliage from the Silhouette Grasses stamp set before removing all of the masks. I coloured the images with pencils and added one of the sentiments which I stamped onto sections of card, and edged with a plum coloured ink. I chose the same coloured card to mat the project onto before adhering it to a large card blank.

My second project was a Christmas card, to show the versatility of this lovey stamp. You could use it at any time of the year really, by adding extra foliage, and varying the colours. I have chosen to stick to the true colours of my house for these samples, but you can let your imagination run riot.

I stamped the house once again, and masked the image. I used a snowflake from The Christmas Garden and white embossing over the top two thirds of the background. I covered the background with Distress Ink, and the embossing acted as a resist.I coloured the image with Koh-I-Noor paints, and added a bit of Stickles for some Christmas bling. The sentiment comes from the Let's Get Festive stamp set.

My final project was a heart stopping TV demo, and it could have gone horribly wrong on live TV, but fortunately, it all worked out well. I decided to create a little key ring or handbag charm using shrink plastic. I die cut a large tag, and stamped the image using Archival Ink. I coloured the image using alcohol markers and cut a hole at one end. I shrunk the plastic using a heat gun, turning it over regularly to ensure even heating, and flattened it with an acrylic block before it had time to cool.

I drew around the shape onto a piece of greyboard, and covered this with some scrapbook paper using Matte Medium. For the keyring, I stuck the shrink plastic to the greyboard shape with Matte Medium, but for the handbag charm, I let the shrink plastic swing freely.

Even shrunk down you can still see the details so clearly, and these little charms make a fabulous little gift. You could try this idea using the Tagtastic stamp and any of the tall houses that either Kim Moody or Sue Page have designed recently.

I will back later in the month with more ideas to share with you. I hope that you will watch Lesley on this month's TV shows on 3rd September, she has some amazing new stamps to share with you. Sadly I will not be there this month, but I will be back again in October.

Thanks for stopping by,

Judith xx

Saturday, 31 August 2019

Christmas in August part 2 by Zoe

Good morning Lovelies and welcome to my final post this month using the fabulous Xmas themed stamped that our fabulous Lesley and Judith brought to Hochanda last month.

Here are my samples from the show.

Mostly clean and simple, the stamps speak for themselves I think? 

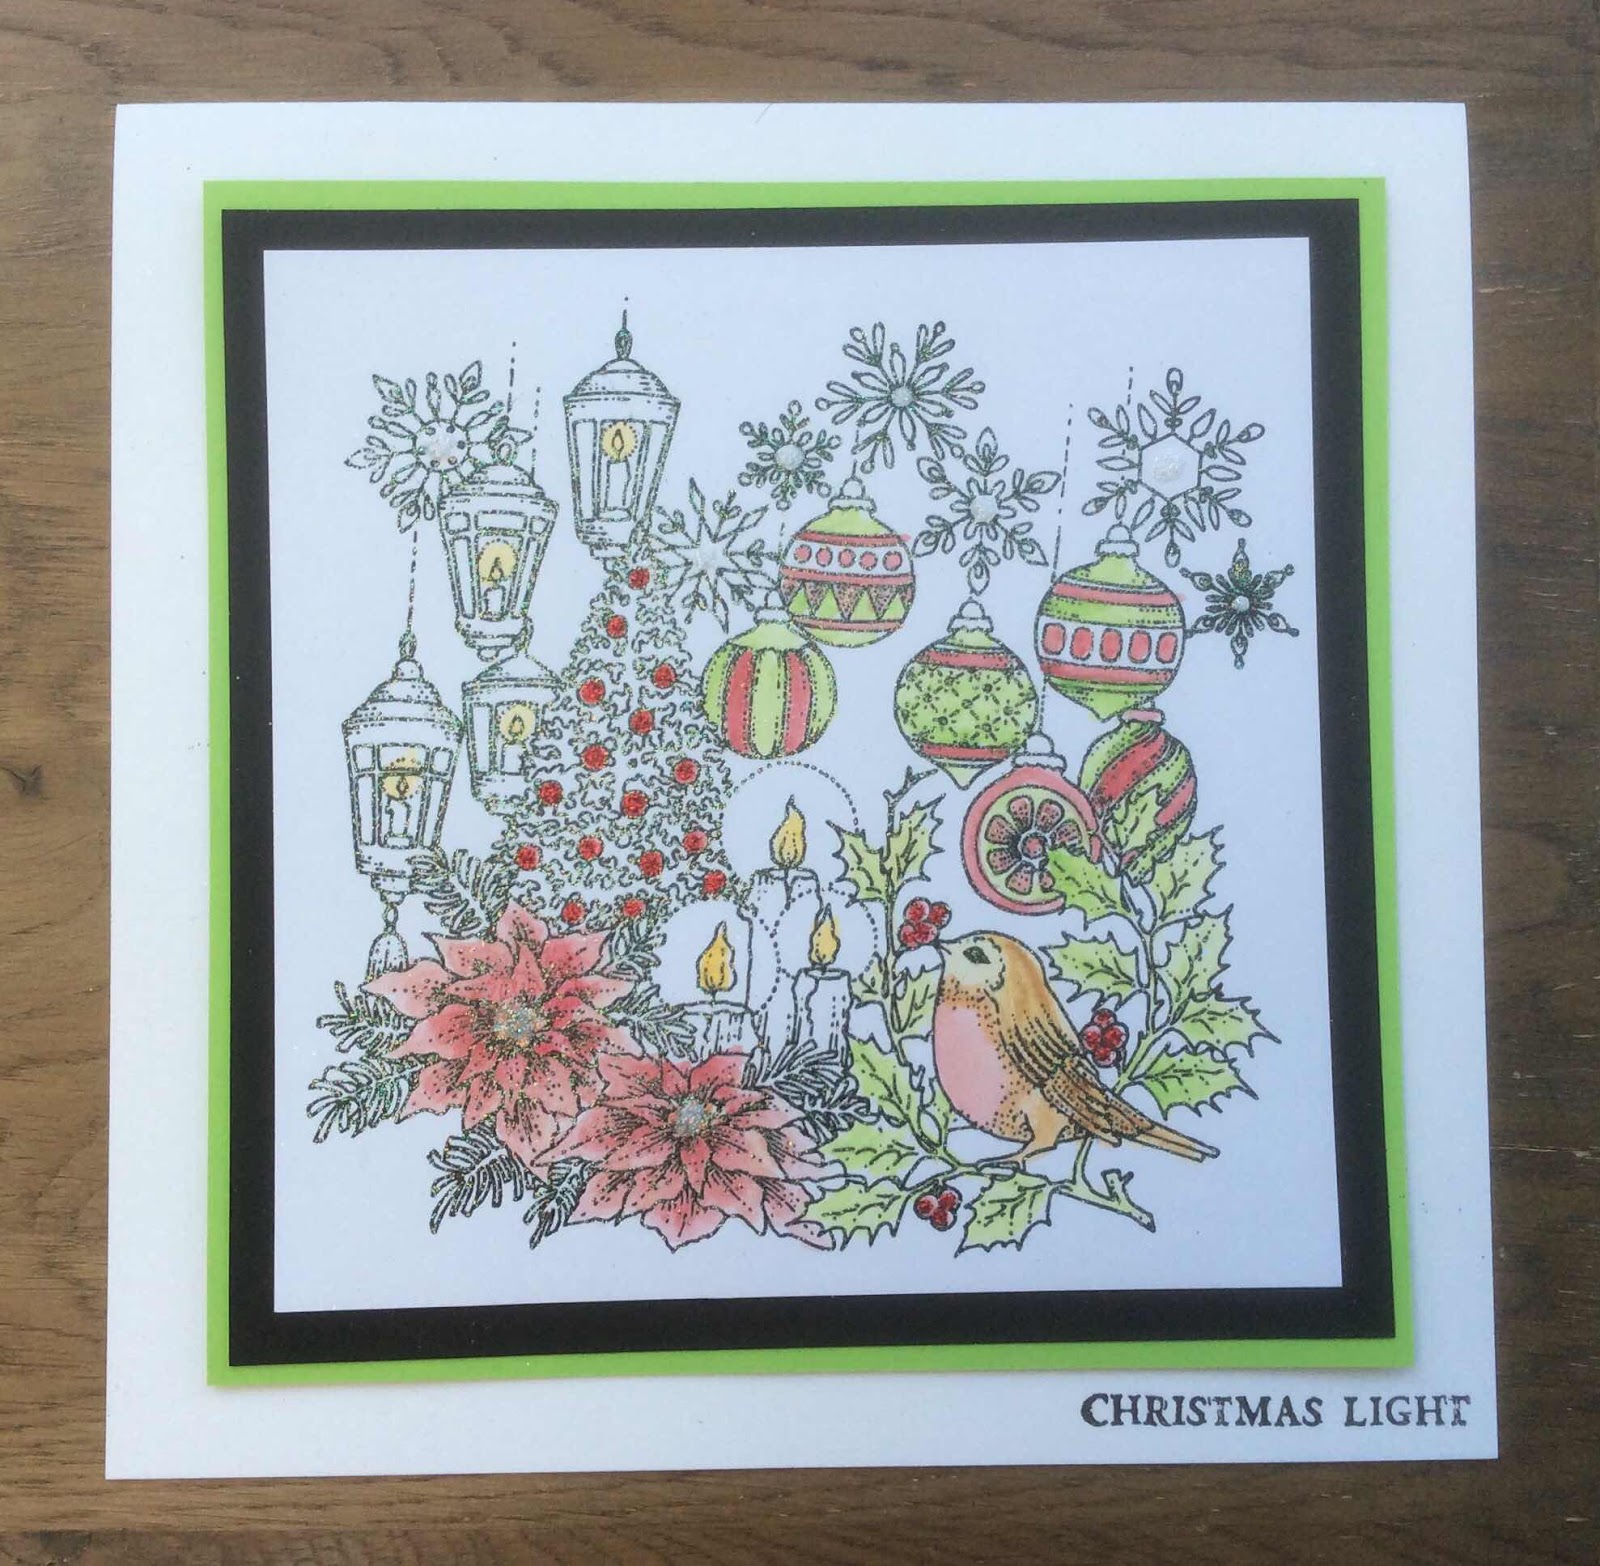
I used Inktense pencils for my first and the third cards.
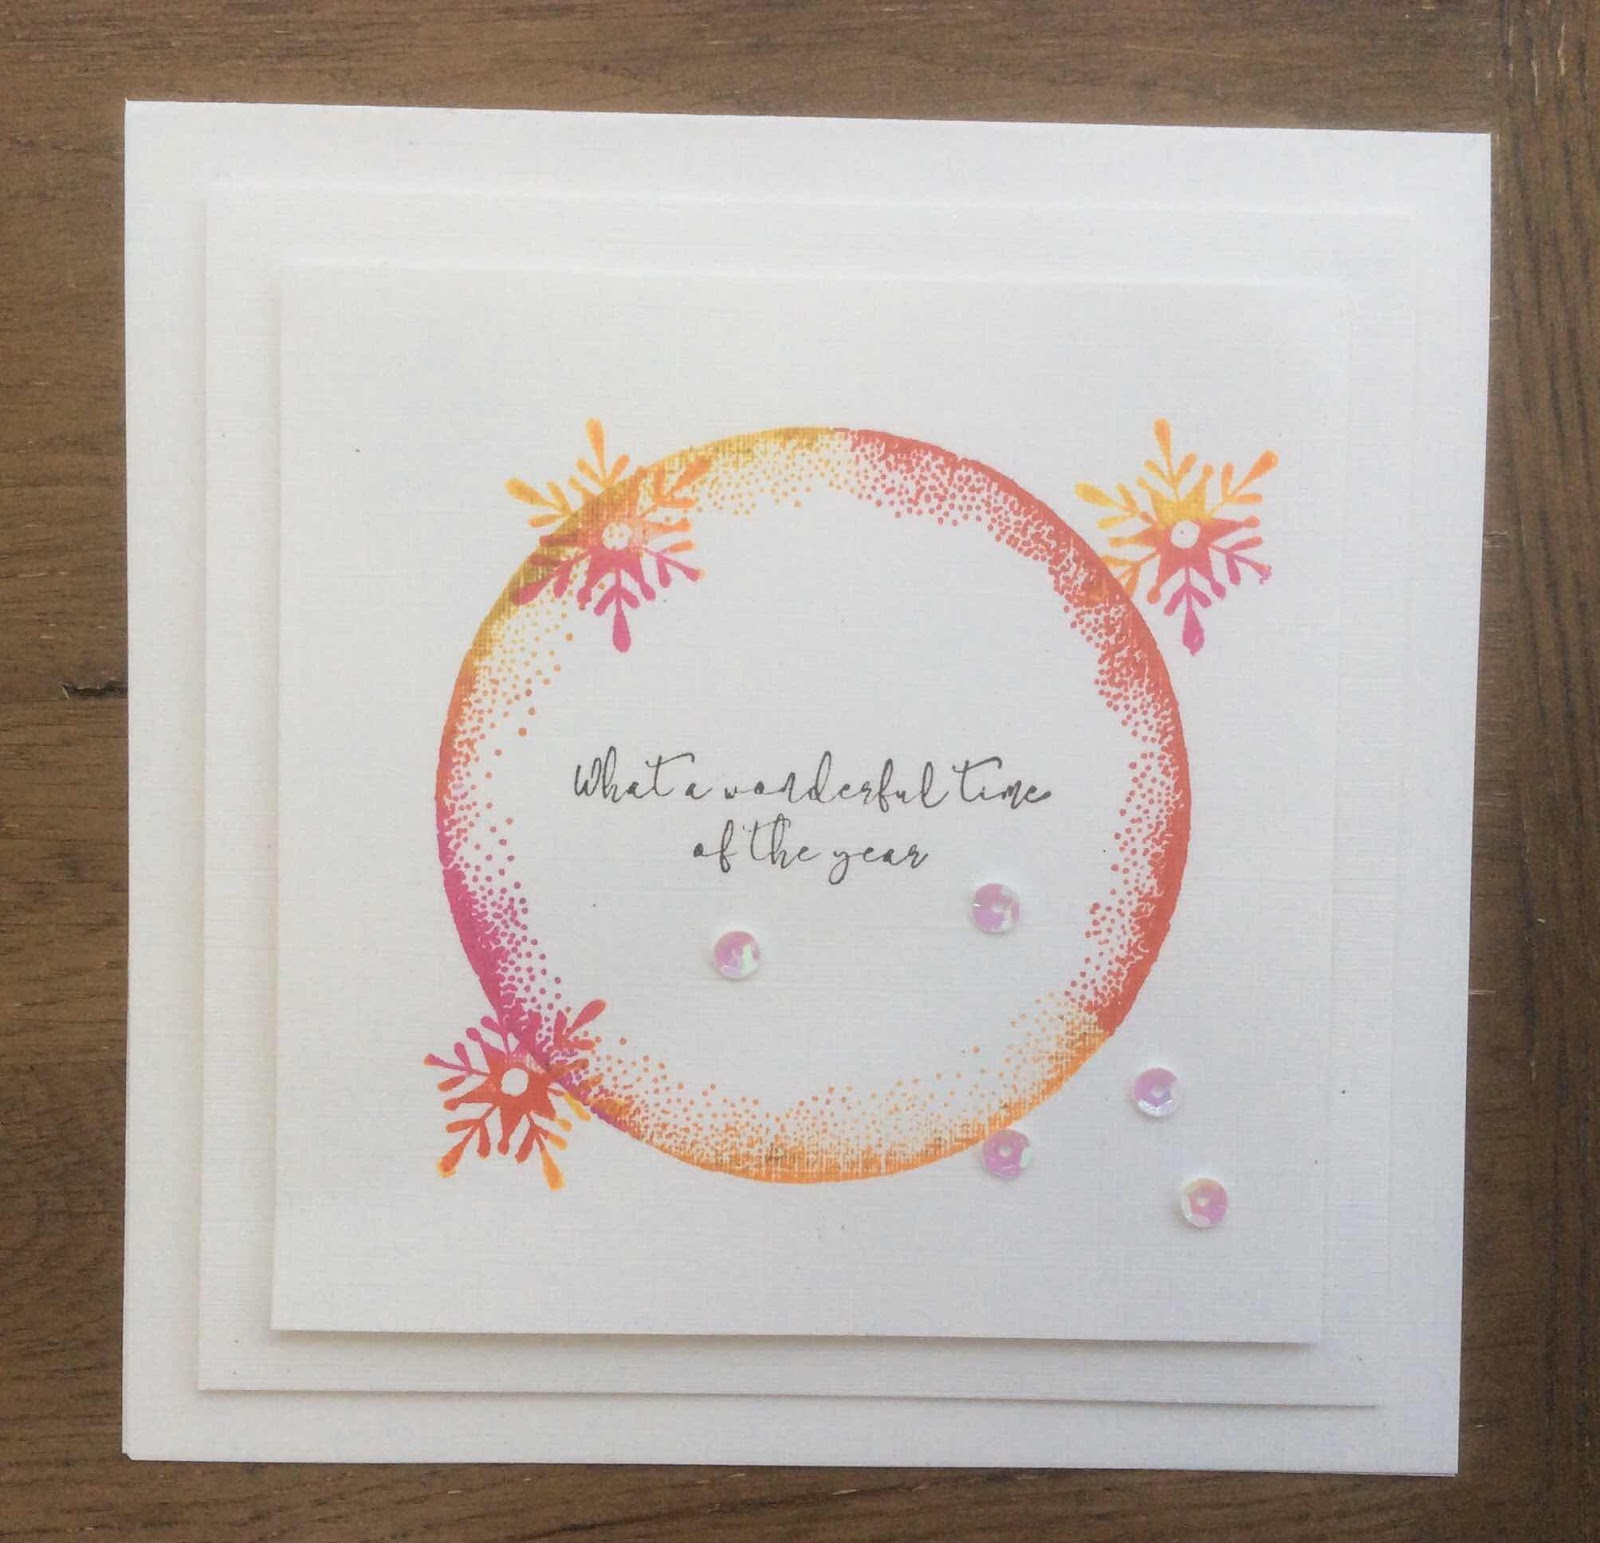
My second card I inked the stamp using different coloured inkpads.
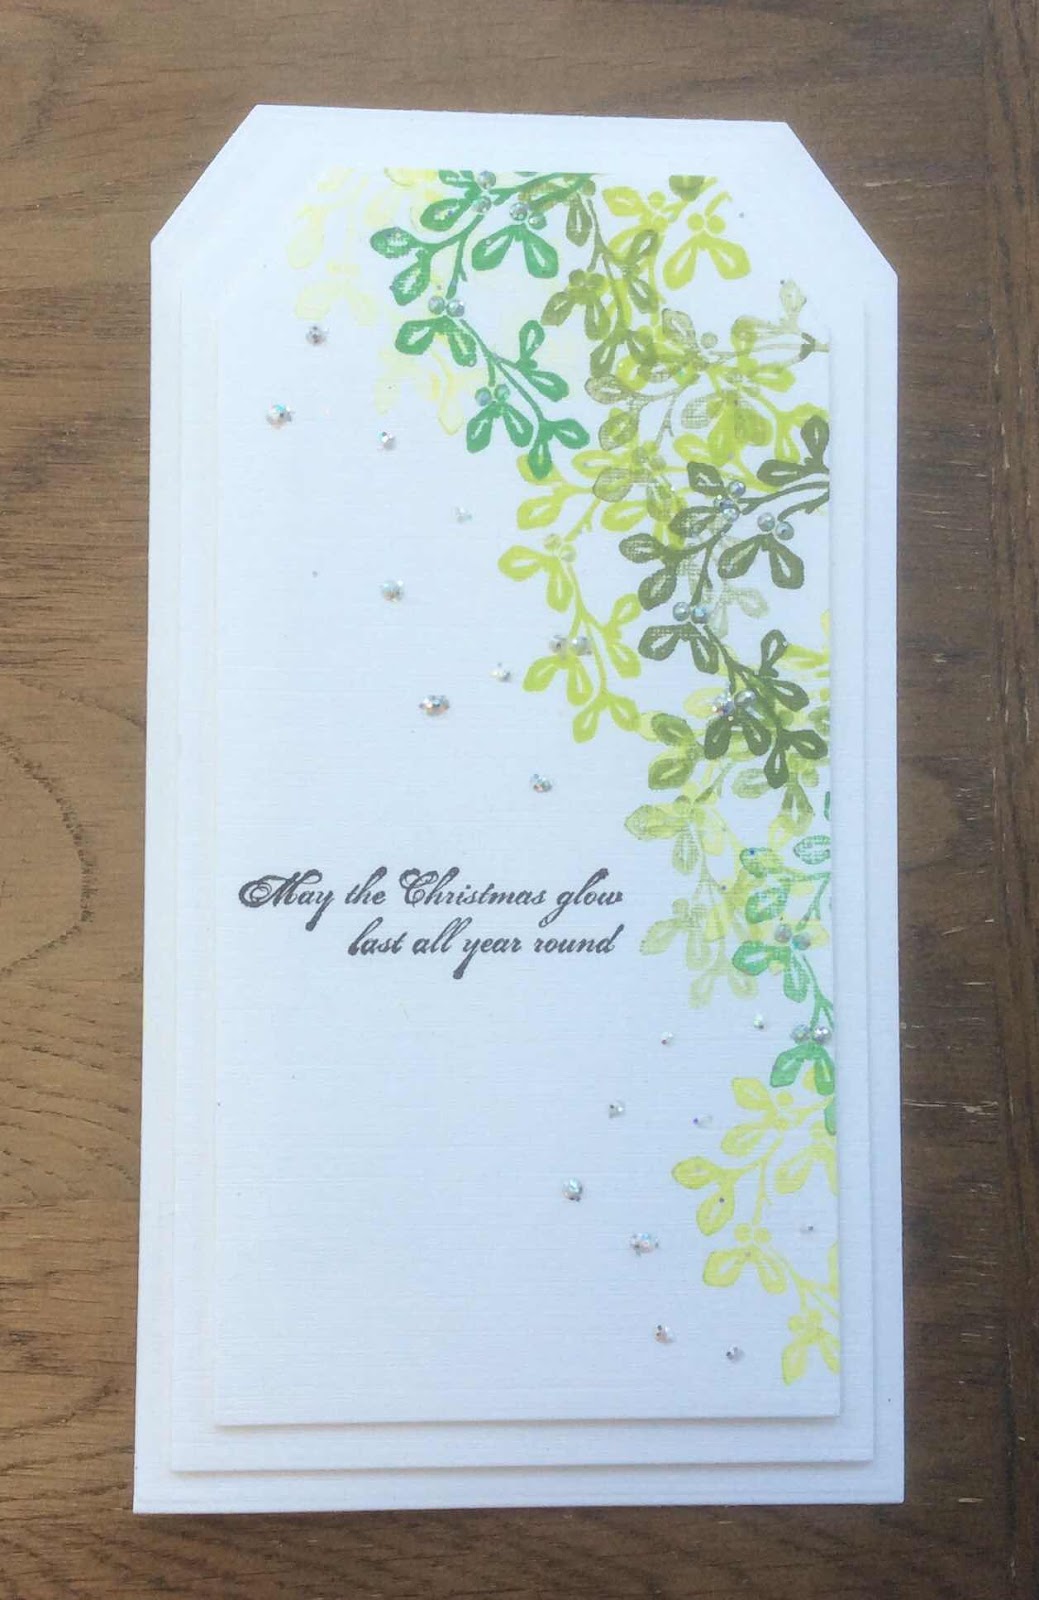
Various greens in the Versafine Claire inkpads for my fourth card (tag card)
Simple gold heat Embossing and few glitter dots for number 5.
White heat Embossing on some papers I had in my stash.


I hope you like my creations. Thank you so much for spending time to visit and comment, it means a lot.
Have a wonderful day xx Zoe xx


Friday, 30 August 2019

Monochromatic Christmas by Brenda


Hello all, Brenda here again with some more Christmas inspiration. And for my top card I have used the lovely new Christmas Garden, there is so much detail and interest in it I wanted to keep this one simple. After stamping with Versafine I heat embossed with a black glitter EP mixture which I made up from several different colours to achieve a sparkly finish. All I then did was pick out some elements from the image and add crystal glitter and mat and layer onto the base card.


The Tomte stamp set proved to be very popular and sold out of the initial and backdated stock. I stamped this little fellow with Versafine Clair, coloured him in with sparkle pens and added some white puffy embossing powder to his hat and coat and matted onto a die cut frame and some Christmas DP.


Using one of the images from Shaded Baubles I stamped with Versafine and heat embossed with a deep blue sparkle EP, cut out a section of the card and cut out with a scalloped die. I then created a shaker card.............absolutely ages since I made one of those, added a sentiment and some sequins and mounted onto the base card.

As always, many thanks for popping by our blog today.

Wednesday, 28 August 2019

Autumn Abundance (by Miranda)


Hello there,

It's me again with another Autumn inspiration using the gorgeous Toadstool Garden stamp set.
I have stamped it on a colorful inky background using a dark purple ink. Than I did die cut it with an oval shape die.
I colored the image with color pencils and some acrylic markers.
I had the idea of stamping around the shape using a small leaf stamp from the Toadstool Garden. 
I did use several colors of Memento die inks. Than I searched for more small stamps on other sheets..........there are lots of sheets you can use......I did use a small leaf from the' Nature table' and a nice wavy line from the 'Wisteria Lane'


I did also decoupage some small flowers and die cut some feathers from the left overs of the inky background.  I had the intention to add these on the card but it was too much!
So I had a little play but did not finish it as a card......what do you think?


Well, hope you did enjoy my Autumn inspiration and this technique......so take out your ' mini' stamps and create a frame around your focal image. And of course I would like to see you creations too!

Thanks for your visit and till next week,

Tuesday, 27 August 2019

Christmas Baubles

Hello everyone
This is my second post this month showing the wonderful Christmas stamps that were on Hochanda recently.
My first card is from the Shaded Baubles set.


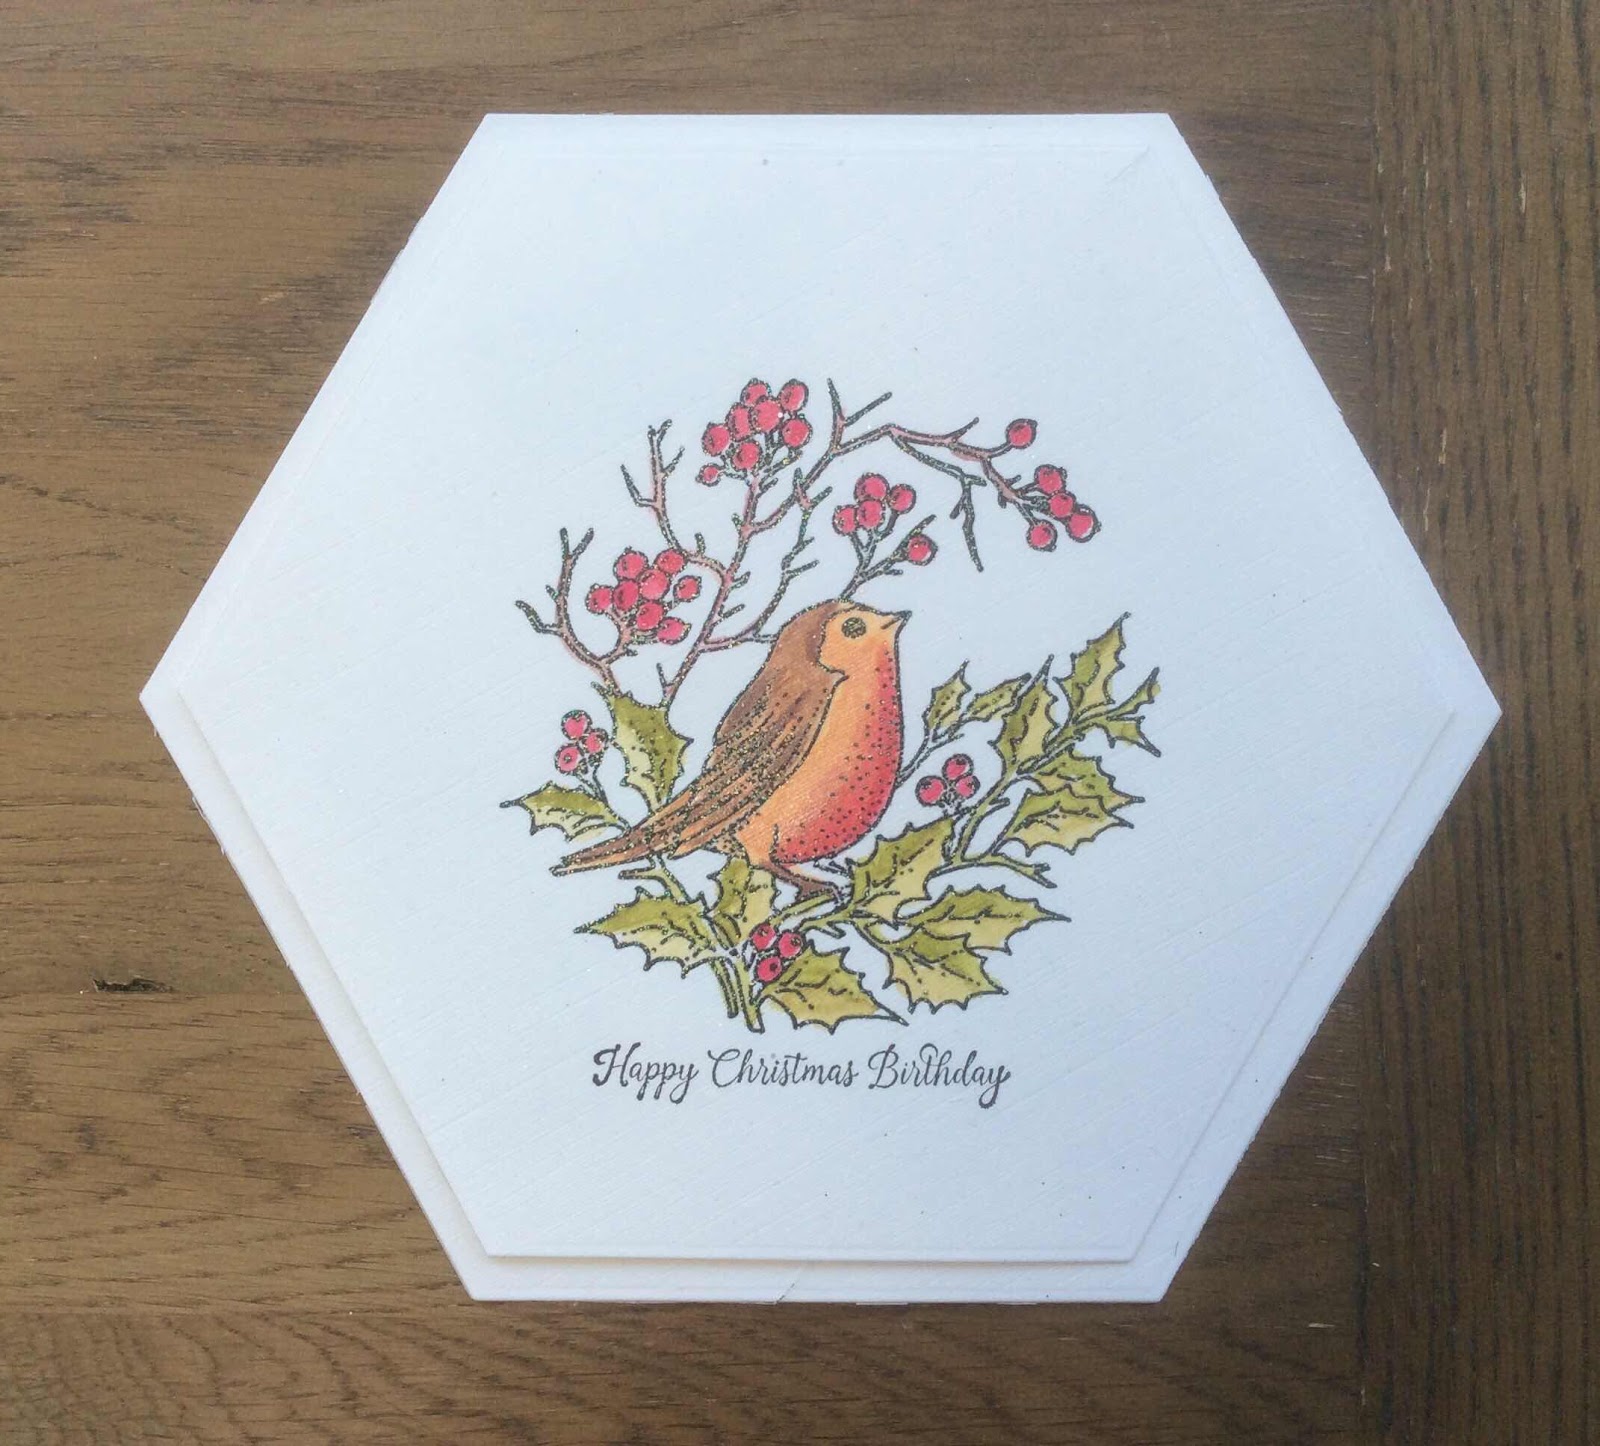
I stamped the snowflake bauble with Versamark Ink and embossed in silver embossing powder. I then stamped the image again with a clear glue.I was able to to do this exactly over the first image as I was using a stamping platform, and this time I used glitter. This gave it a lovely sparkle!  I masked a strip across my base card and stamped the small snowflake from The Christmas Garden set in different shades of blue and grey Distress Inks. I stamped the sentiment, Happy Christmas Birthday in this  case.  I then mat and layered  my bauble and added some gems.
If you saw my last post you will see that the snowy bauble stamp is perfect for the little gnomes in the A Tomte Christmas stamp set.
My next cards are from Christmas Circles set.


I stamped the robin and candles onto card stock in black archival ink and coloured with the Koh I Noor Brilliant Water Colour Palette. I then mat and layered onto some circular cards.

Thank you for looking,
Sandra

Monday, 26 August 2019

In The Garden At Christmas (by Julie)

Hello, thanks for stopping by. I have two more Christmas themed cards to show you.


My first features a very cute robin from Christmas Circles. I inked up the robin image and stamped onto spare stamping card and then coloured with a mixture of pencils and Distress inks. White paint pen was added for a bit of a snowy effect. I then cut the image out with a circle die cut and layered it onto some toning green card stock cut using a slightly larger circle die.I inked up the foliage stamp from Christmas Garden and stamped directly onto the card blank, making sure that the design would be visible once the circle panels were in place. 
To finish off attach the circle panels to the front of the card with 3d foam pads.


My second card comes courtesy of Christmas Garden. I stamped the main image onto spare card-stock and coloured with a mixture of coloured pencils and Distress inks. I then stamped the snowflake and foliage stamp around the edges of the card blank. The Christmas Garden image was cut to size and then mounted onto the front of the card blank with 3d foam pads.

Please call back for more Design Team inspiration.

Julie xx

Sunday, 25 August 2019

More Christmas makes by Rachel

Hello there! Rachel here with you today and I have some more makes from the July Christmas show to share with you today. This time I used the other stamp sets from the show - Christmas Garden, Christmas Curcles and shaded baubles.


In this one I used the candles from the christmas circle set and coloured the image in using water colour pencils. I used one of the sentiments too and added the corner from the Christmas garden sheet. I also overlayed a shaded baubles stamped onto acetate.


In this one I used versa mark and the Christmas Garden stamp and heat set the image using white detail embossing pwder. I then used metallic pencils to colour the image.


The Christmas garden image here was coloured with water colour pencils.


In this sample I used packing paper from a well known company and made some environmentally friendly gift wrap...


In this one I used the robin stamp from the Christmas Circles stamp and colouredin water colour pencils. Finally I added the shaded bauble on acetate again. Finally I used part of the Christmas Garden Stamp to surround the central portion.


Lastly a tag made using part of the Christmas Garden stamp again - its such a fabulous large stamp but its ok to just use a section of it!

I do hope this has given you a little inspiration!

Hugs

Rachel xx

Saturday, 24 August 2019

Gnomes, Gnomes & More Gnomes by Debbie

Hi everyone it's my turn on the Chocolate Baroque Design Team blog today with some samples from the July Hochanda show when the Christmas stamps were launched. 
So today I have gnomes for you, namely A Tomte Christmas

My first design is a tri fold card made from Kraft card. For the backgrounds I have taken a piece of  White Silk Board and I have sponged with Distress inks Wild Honey, Fired Brick and Chipped Sapphire. I splattered with water and mopped with kitchen paper to remove the ink. I then over stencilled with a swirl and snowflakes. The gnomes were stamped with a black inkpad & water coloured with Distress inks. I stencilled snowflakes onto the centre panel before adding the sentiment which was stamped onto a punched label. The embellishments at the corners have been made with clear 3D pads and transfer foils.


For my second design I have taken 2 stamps and made them work together which they do so beautifully. I've taken a piece of White Silk Board  again & stamped with a black inkpad. I water- coloured this time with mica paints to give a lovely pearly look. I have stencilled over the sky with a star stencil and grey ink. The image was mounted onto silver mirror card and then onto a wider piece of black sparkle card before attaching to a white 5" x 7" card blank.


Next we have a monochromatic look which gives a night time look to the design. I created the back ground by giving a piece of card a fairly wet wash with blue Distress ink and then sprinkling with rock salt. Leave to dry naturally and then brush off the salt. I love this technique as you never quite know what you'll get. I've coloured the 2 stamped images with water based pens in a selection of blue and grey shades and highlighted the white areas with white gel pen. The 2 panels  have been mounted onto navy card before attaching to a white 5" x 7" card blank and I've added some punched snowflakes to finish.


For my last design I have used  the trio of gnomes and stamped with a black inkpad. I stamped the first 3 at the centre of the card and then masked this using Pebeo drawing gum. I then stamped more gnomes to each side and then rubbed away the drawing gum before colouring with water based pens. Then sky has been coloured with Distress inks and then I used a stencil  and a baby wipe to remove some of the ink to give a snowy effect. I edged the image with blue ink before attaching to a 6" x 6" white card blank. The sentiment was stamped at the top and bottom using a blue inkpad.


That's all from me for this time. Thanks for visiting today.Debbie

Friday, 23 August 2019

Three Xmas Cards (by Magda)

Hello,
Here I am with three cards and hope to inspire you

Christmas Garden Card
1. Use a white cardstock  and color it with a wash of Brusho
2. Stamp The Christmas Garden stamp with Versamark
3. Emboss hot with gold Embossing Powder
4. Use a watercolour brush to take color off in the stamped image to highlight the bird and some
    lights.


The new Shaded Baubles stamp with the snowflakes is perfect for a simple monochromatic card, adding more single snowflakes from the The Christmas Garden stamp.  The images are stamped with


This colourful card is as contrast to the other two projects.
I used Archival Jet Black for stamping on a Distress Ink Pad blended background. I coloured
the bird and the leaves of Christmas Circles stamp with Faber Castel Art Grip Aquarelle Pencils and stencil rays with yellow Distress Ink Pad.


Our next appointment is in September, happy crafting 
Magda

Wednesday, 21 August 2019

'Mir'acle Toadstool garden (by Miranda)


Hello there,

I am happy to be here again and having fun playing with these wonderful stamps!
I did use the beautiful' Toadstool Garden' stamp. What a beautiful design and so many things to see......I also will play with the other huge stamp called 'Folk Art' but that will be another post.

I did use it as a background stamp. First I did make an inky background using Distress inks and a bit of salt. Always like the texture of that.......
I embossed 2 fragments of the stamp using clear matt dull embossingpoeders in each corner. 
With some darker blending it really pops out and comes alive........then some stamping using some matching Memento colors.

There is a light spot in the center of the card and I thought it would be great to use a matching stamp....of course some toadstools too from another great sheet' Autumn Poppy'
I did color the toadstools with color pencils and some accents with an acrylic marker.
The sentiment is also from  the Toadstool garden stamp.

Here it is.......


a close-up of the resist embossing......


Well, this was my first take on this stamp, next week there will be more!
Thanks for your visit, hope you did enjoyed it and till next time,