Pin It button on image hover

Wednesday, 12 November 2014

Guest Post - It's all about the stamps by Lou Withers

This week we have a brand new guest blogger, Lou Withers, who is sharing some of her gorgeous artwork with us using the Mellow Fruitfulness and Autumn Edges stamps sets. Over to you Lou


I've always loved Chocolate Baroque. I remember the first time I ever went away on my own was to a retreat organized by Glenda and I was totally hooked. I had seen Glenda on tv and the stamps and techniques just stood out alone. So with this first set of work I just wanted to keep it simple to show off the stamps. I used watercolours and distress inks. To make sure the details stood out I drew over the images again. Hope you like them, simple, clean and just showcasing the stamps. 

Love
Lou

Love your approach to these stamps Lou, and the colouring of the images is beautiful. I'm sure you'll agree that this is a stunning way of featuring some of the images from these stamp sets and we would love to read your comments. And don't forget there is more inspirational artwork coming up, so please keep dropping in to see what's happening.
 

Tuesday, 11 November 2014

Got Ten Minutes? (posted by Judith)

Hello everyone, I have a couple of quick cards for you today, using the Mellow Fruitfulness stamp set. For my first card, I punched out four squares of smooth watercolour paper from my stash of scrap card, but any smooth card will do. I coloured three of the stamps using water based markers, and then stamped them onto the squares. I embossed them with clear embossing powder. I used one of the sentiments for the fourth square. I used Distress Ink to add a bit of colour to all of the edges of the squares. To finish the card, I simply chose some deep red card, and a piece of gingham ribbon.

I quite liked one of the images on my first card, and so I decided to use it again on my second card.I stamped it again onto a die cut oval, embossing it as before with clear embossing powder, and adding a touch of red Distress Ink around the edges. I chose another sentiment which I turned into a little tag with the addition of a hole and some string.

I found some gingham paper in my stash and used some more of the red card, with a touch of green ribbon this time, to tie all of the elements together.


Two very quick cards, using these lovely stamps, showing that you do not have to spend ages to create a fun project. I hope that I have given you some inspiration, thanks for stopping by, Judith xx

Monday, 10 November 2014

More Autumn creations by Miranda


Hi there,

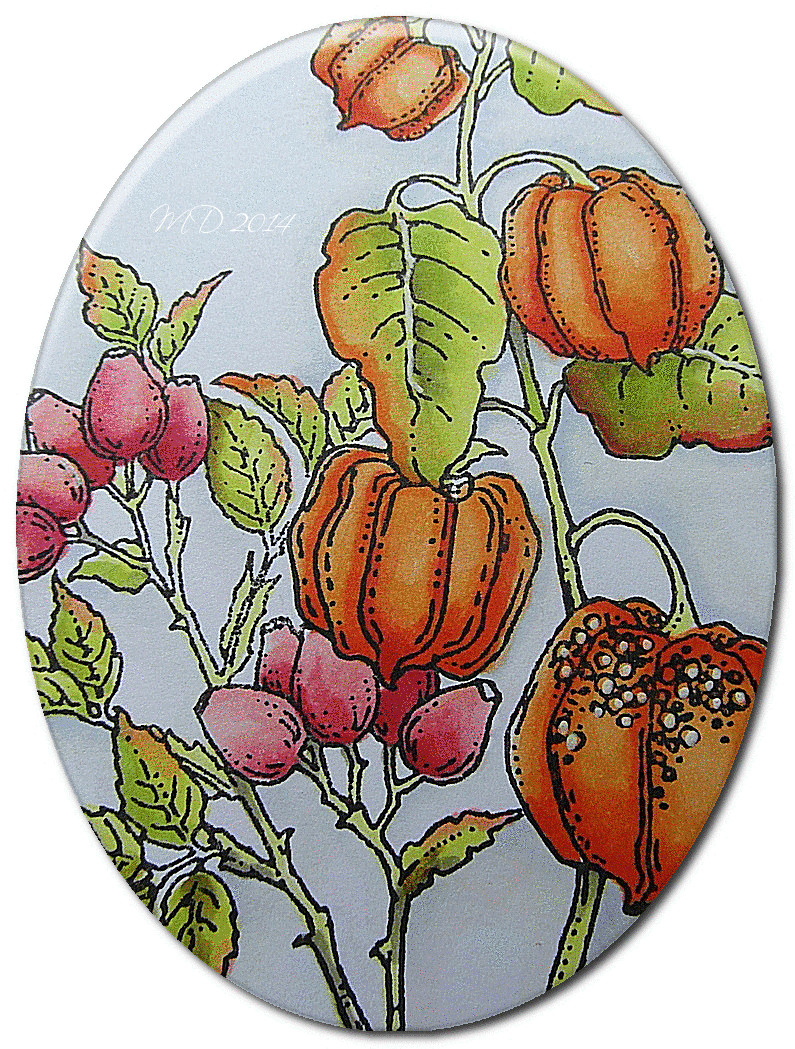
Finally I did get my very neglected Copic markers out and had a play with the Autumn Poppy sheet and the Autumn edges. The border is stamped onto canvas paper which was inked up with Distress stains and plain black stamping. Only gave some white pencil accents. I like these orange lampions.......and the rosebuds......

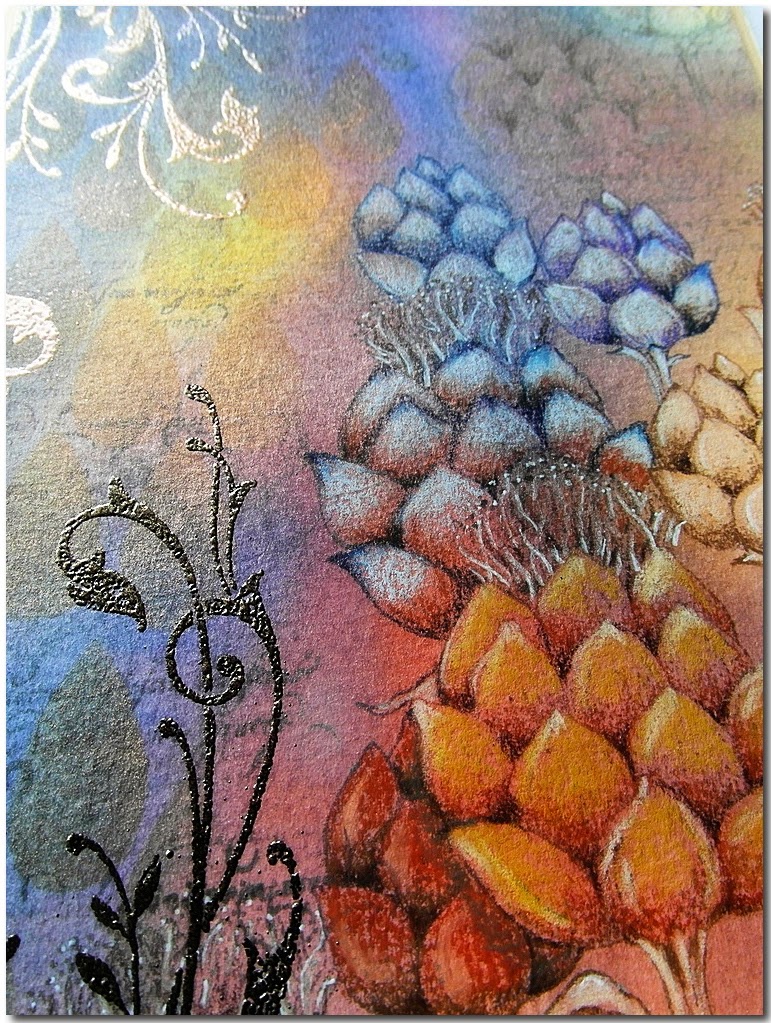
The 2nd card is showing the beautiful artichokes which you can find on the Mellow Fruitfulness sheet which is recently launched. A sheet which you can use on several occasions.

I've made a background using shadow paint inks, they are similar as Ecoline. They have vibrant colors and I had fun playing with them. Just wet a water based paper with a water mister and apply randomly 2 or 3 colors of the ink with a large brush. Than hold your paper vertically and mist again and just let the inks run where you want them to go........it's an addictive technique and also very simple. My son Daniel(9 year) was also playing along......so during the holidays we created lot and lots of backgrounds.

Now onto another gorgeous sheet ' Mellow Fruitfulness', like that name!
I've stamped and masked the artichokes and coloured them with pencils. I've used lots of layers for the background with the text fragment of the Eccentric Edwardian sheet, the large corner swirl from the Butterfly dreams and a Crafters stencil called Blazonry.
I've coloured the artichokes with pencils and gave some white gel pen accents. I've sponged the stencil with Distress ink and applied some pearl powder accents over it. I've embossed the swirls with embossing powder. 


Do you like trying this technique? Just take out your fluid inks and let them flow! Any questions....please don't hesitate to ask them, I will be happy to answer.

Inky greet,

Sunday, 9 November 2014

Yummy Home cooking (by Maria)

Today I have some samples that I made with the Mellow Fruitfulness stamp set and I hope you like them!


Here I made my background with dylusion ink and a stencil.  I took a wet baby wipe and some bleach,  which I applied to my stamp and stamped it two times on my background, this gives the beautiful white print on my background. Please don't forget to clean your stamp immediately, because bleach is not so healthy for the rubber! Then I stamped my images with black archival ink in the middle of my card, and with some alcohol markers I painted the artichoke in natural colours.


On my second card, the background is made with one of the stamps of the Decorative edges Unmounted Rubber stamp sheet.


I have made these two cards with some dies, and Distress Ink.  I have just used Autumn coloured  Distress Ink. I stamped my fruit stamp with black archival ink onto smooth  paper, coloured  the image with Distress Ink and then cut it out. If you leave the die in place and colour the whole background in the colours of your choice, once you have finished you will have a tiny white border all around your coloured image. On the third card I've used those different sizes of dies, in the middle you can see some transparent paper. I hope I have inspired you a little bit! Have a lot of fun with these gorgeous stamps and enjoy.

Greetings
Maria

Saturday, 8 November 2014

Colourful Fruit and a Quick Make (by Shirley)

Hello everyone,  I hope you are doing well.   It's wonderful to be back here with the Design Team after taking a couple of months away during our move.    

The new Mellow Fruitfulness is a wonderful set with elegant fruity images that will work well for gift tags on homemade jams, cook book covers and more.   My first design below was quick to make with the exception of the colouring.


The background is Peacock Feathers Distress Ink (using an acrylic block to apply) along with blending the same ink with a honeycomb style stencil.   I stamped the fragment from Texture Fragments with Mowed Lawn Distress Ink.   The images from Mellow Fruitfulness and sentiment from Words of Gratitude were stamped with Black Archival Ink which I coloured with pencils.

This second design is a quick make, only ten minutes if you don't count my thinking about what I was going to do.


I used designer papers from my stash, a couple of die cuts, ribbon and the wonderful apple image and sentiment were stamped with Olive Archival ink to compliment the papers.   It's such a great image, it works well on it's own but a little water colouring would not take long. 

Thanks for your visit and I hope you are able to keep checking back to see what my talented teammates have created this month.

Have a great day,
Shirleyx

Friday, 7 November 2014

Autumn Scene - 10 minute cards (posted by Claire)

Good morning, Claire here with a very quick card made using one of the stamps from the beautiful 'Autumn Edges'

I used a 5x5 white card blank and cut a square of white card and a square of dark brown card for matting the scene. I used copier paper to tear a mask for the hills and punched a circle from a post it note to mask the moon. I began by covering the land with the copier paper mask and applying ultramarine blue and white PanPastels to create the sky. I then covered the sky with the mask and created the hills using Bright Yellow Green Shade PanPastel. I added another slightly darker hill in the foreground. I stamped the tree edge image with dark brown archival ink and added the sentiment in the same colour. Lastly I layered the scene up on the dark brown card and attached it to the card blank with double sided tape.

Thanks for visiting today
Claire xx

Thursday, 6 November 2014

Mellow Fruitfulness and Autumn - Wooden Box By Florence

Hi everyone

I was so excited when I saw the new Stamps for November especially as, like many of you, I am in the middle of making gifts and stocking fillers for Christmas....I am not quite in panic mode yet though!

If you are making gifts for friends, family or to sell at School and Church Bazaars do check out not only the new stamps but the other stamps in the CB range. The image design and the quality of the stamps with the deep etching allows you to stamp onto not just card but they stamp fabulously on wood and fabric. 

Today I would like to share with you a wooden box I painted and stamped onto which is one of the Christmas gifts I have made for this year.


This really is not as complicated as it may look.  Do give it a go you will have so much fun.

I prepared the box for painting just by removing all hinges and clasps, cleaning it and sanding it down.

I then Painted the base and lid of the box, inside out, with 2 coats of Gesso.


I then painted the base and lid of the box, inside and out, with 3 coats of white craft paint sanding lightly between coats. I like to use 3 coats in case I need to remove any paint as mentioned in later stages below.


I diluted some blue craft paint with some water (to a milk consistency) and applied it to all of the outside edges of the box base and lid using my fingers.

Tip:  If you do put too much paint on or you do not like the look you have created quickly take the paint off with a wet wipe but do leave to dry before adding any more paint.

So when you have base coated the box in white and added the distressed blue edges you are ready to stamp.


Mix a small amount of blue paint (say, a tea spoon full) with equal parts of Stamping Medium (details can be seen on my craft blog HERE). You can mix more paint as and when required.  
 The stamping medium is optional.  I like to use the mix because I find it gives me a better stamped paint image.

Using a bathroom sponge, apply the paint mix to your rubber stamp and then start stamping.  

Tip:  I would recommend that you start stamping at the front of the box, both on the lid and the base.  That way you can alter any stamping at the back.

Tip: If you do make a mistake stamping or you do not like the position of the image you have stamped, as mentioned above, take it off with a wet wipe.  Do leave it to completely dry before you stamp onto the area again.


To create the crackle effects, I painted on one coat of Weather Wood Medium and left it to dry.  
I then painted on one coat of One Step Crackle Medium and left to dry.
This was a happy accident and I was pleased with the results.  
You can just use one coat of One Step Crackle Medium and leave off the Weathered Wood Medium if you wish.

I then diluted some paint with water and rubbed this over the surfaces of my box, in small areas at a time, just with my fingers, taking off any excess with a piece of kitchen paper towel.

Tip: If you rub/paint on too much paint and if some paint drys you can remove it by very gently wiping it over with a wet wipe.  Please do leave the surface dry before reapplying any more paint.

To seal the decorated box I use two coats of Gel Medium.  
An alternative to this would be to use household wood varnish or Mod Podge.  As this surface has been stamped in water base craft paint you can use most mediums. 


Thank you for looking.
Happy Stamping
Florence x

Wednesday, 5 November 2014

Changing Seasons Trees Note Cards (by Debbie)

 
Good Morning.
 
I haven't had a good play with my Brayer for quite a while
 so I reached for it and my Big and Juicy ink pads.
The Big and Juicy pads are no longer in production but
mine are still very inky and with them being stored flat have kept the colour bands.
 
 
 I used a glossy card and Versafine Black ink for stamping.
I used four different coloured pads, Adirondack pads work well for brayering as well. 


Thank you for visiting
Debbie

Tuesday, 4 November 2014

Tasty Treats by Doreen

Hello to you all, I am  sharing sample made from the new stamps that have just been released for November 

I first made my background using PanPastels onto a textured cardstock, I then stamped my image which is from the Mellow Fruitfulness stamp sheet with black Archival ink and coloured with distress inks Evergreen Bough and Festive Berries. I then got one of the Autumn Edges stamps and stamped around the card using Evergreen Bough Distress ink.

Monday, 3 November 2014

Autumn Apples (by Asha)

Good morning, friends! Have you seen the new stamps? Oh my! They are absolutely delicious! You must be bubbling with ideas but let me show you this quick and easy make.

From the new Mellow Fruitfulness I picked these scrumptious apples, coloured them with alcohol markers and did a little fussy cutting. I inked the edges of a piece of cream cardstock with Distress Inks to give that warm autumnal glow.  Then I stamped a row of leaves from the Autumn Edges set.

The sentiment is from Pretty Poppies, which I stamped on a die-cut circle. I adhered it just off the edge. Next, I placed the fussy cut apples and added an extra leaf from the Autumn Edges hanging overtop. To finish - some red and white twine.


It's a simple card ... but then you really don't have to do very much when working gorgeous stamps.

I'll post details of the products used on my blog. In the meantime, make sure you drop by the Design Team blog regularly for more utterly scrumptious creations by my team-mates.

Beijinhos,
Asha

Sunday, 2 November 2014

Changing Colours of Autumn (posted by Judith)

Hello everyone, I have a couple of projects to share using the new stamp sheets of the month for November.

My first card uses the lovely artichoke stamp from the Mellow Fruitfulness stamp set. I stamped the image onto smooth watercolour paper and then masked the image before adding a thistle image from the Wild Meadow stamp set. I added some texture in two corners of the background using a stencil and some texture paste. I coloured the background using dye based inks, and then stamped an image from the Harlequin Fragments stamp set over the top. I added some metallic wax to the stencilled area for a bit of interest. I coloured the stamped image using pencils. I stamped a sentiment from the Mackintosh Sentiments clear stamp set in one corner, and then added some plum shading around the edges of the background, before matting the whole thing onto purple card.


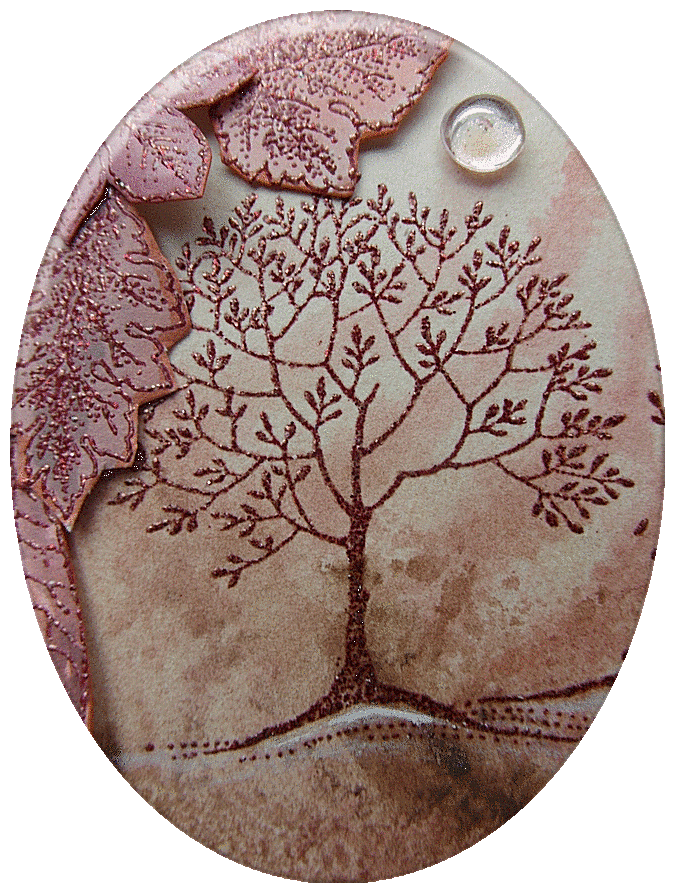
My second project was made using an oval cut from smooth watercolour paper, onto which I stamped and embossed the row of trees from the Autumn Edges stamp set. I used black ink and a clear embossing powder for a nice crisp image. I then used various tones of Distress Ink, and washed the colour loosely over the background with a large brush and some water. Once this was dry, I added deeper tones for shading, and blended it with a water brush. I added lots of little dots in Autumn tones to the grassy area to resemble leaves. I stuck the oval to a large kraft card blank.

I stamped the row of open leaves several times onto scraps of paper that I had left over from other projects. Some papers I had coloured myself, and some papers were ready made scrapbook papers, but I chose colours that were suitably Autumnal. I cut the leaves out and arranged them in a pleasing fashion around the edge of the image, before sticking them down. Finally, I added a sentiment from the Amazing Birthday clear stamp set. 


Thanks for stopping by, Judith xx


October Blog Comments Winner !

Hello everyone, again we would like to thank you all for your visits here at the Design Team blog.  We appreciate the time you take to let us know your thoughts about our designs.  

Each comment in October was assigned a number and we used Random Org to draw a winner.  Congratulations to Gerrina you have won a £15.00 voucher to spend on Chocolate Baroque stamps! Please send a quick email here to confirm your email address and Lesley will send you your gift certificate.

Lesley will be giving a £15 gift voucher to another lucky winner drawn from November's comments. The more comments you leave the better your chances to win!   We hope you enjoy our designs using the new gorgeous stamps.

Thank you for your kind words and comments,
Good luck from the Design Team!

Saturday, 1 November 2014

Rich shades of Autumn by Miranda


Hi there,

Yes, me again.........this time with one of my favorites....toadstools. I love them in all their varieties, they have something magical........I had some beautiful ones in my garden, they stood under the ' weeping birch' looking great with a few rays of sunlight and I wanted to take a photo.......I forgot and  the next day they were already black and gone.......so I've learned a lesson.......when you see something that beautiful just take your camera and shoot......

I've made a background using Distress inks and spattered with water to create some texture. I stamped the toadstools along a torn piece of paper and masked them to stamp a few more. At the top I stamped some of the leaves. I have been coloring with twinkling H2O's. The die cuts are also made of   some inky left overs. I also used some white Pan Pastel to create a misty effect between the toadstools and leaves.

I've used the Autumn Poppy sheet here.


Here you can see the lovely shine of the twinkle. H2O's.........


And now on to number 2...........I think my favorite.....like the vibrant colors and crispiness of it all.......
I've used the Autumn edges sheet here.


I've made a background using Distress inks and some fine salt to create some texture....... I've coloured the toadstool border with color pencils and gave white gel pen accents. I had already die cut a lot leaves from a piece of inked up paper........always comes in handy with so many Autumn cards.......

a closer look.......


Well, hope to have inspired you.......thanks for your visit and always like to read your comments or questions!

Autumn greet,


Friday, 31 October 2014

Autumn colors by Miranda


Hi there,

Today it's my turn to show you some of the creations I've been making with the lovely Autumn edges.
Autumn together with Spring are my favorite seasons of the year.........those vibrant and rich colors!

The first card is made on a background of distress inks and if you look closer you see a fern leaf from a crafters stencil in the background. The trees are embossed with, copper sparkle a selfmade mix of Wow embossing powders, I've mixed Wow copper and Amber rose  and so are all the leaves and the leafy border. I like to mix colors to get the perfect match.The two large leaves in the right bottom corner are from the Sunny flowers.


And this is my 2nd take on the Autumn edges..............and on the same tree border.......and again I've used those lovely leaves from the Sunny flowers. This time I've used different embossing powders on the trees. The first tree and leaves from the bottom border are done with Wow Verdigris, the 2nd color is Wow copper and the 3rd one is Bark. The background is again done using Distress inks and I've spattered a bit with Distress stain Picket Fence. It creates some milky spots......The word Autumn is from the Autumn fairy sheet.


you can see the shine of the embossing powder a bit better here..........


Hope you have enjoyed my take on the Autumn edges and be inspired to get the Autumn colors from your stash! Have a play..........

Thanks for your visit and hope to see you next time,