Monday, 19 October 2015
Christmas Baubles (posted by Judith)
I made a background using watercolour paper and Distress Inks, and then added further colour with a stencil. I chose a palette of green and purple, one of my favourites. I stamped the ivy flourish from the Beautiful Baubles clear stamp set across the top of the background using green ink, and added the sentiment across the bottom. After drying the background thoroughly, I stamped and embossed the chains and baubles using Versamark and gold embossing powder. I stamped the baubles again onto some scrapbook paper and decoupaged them onto the background. Some dark green card completes the card.
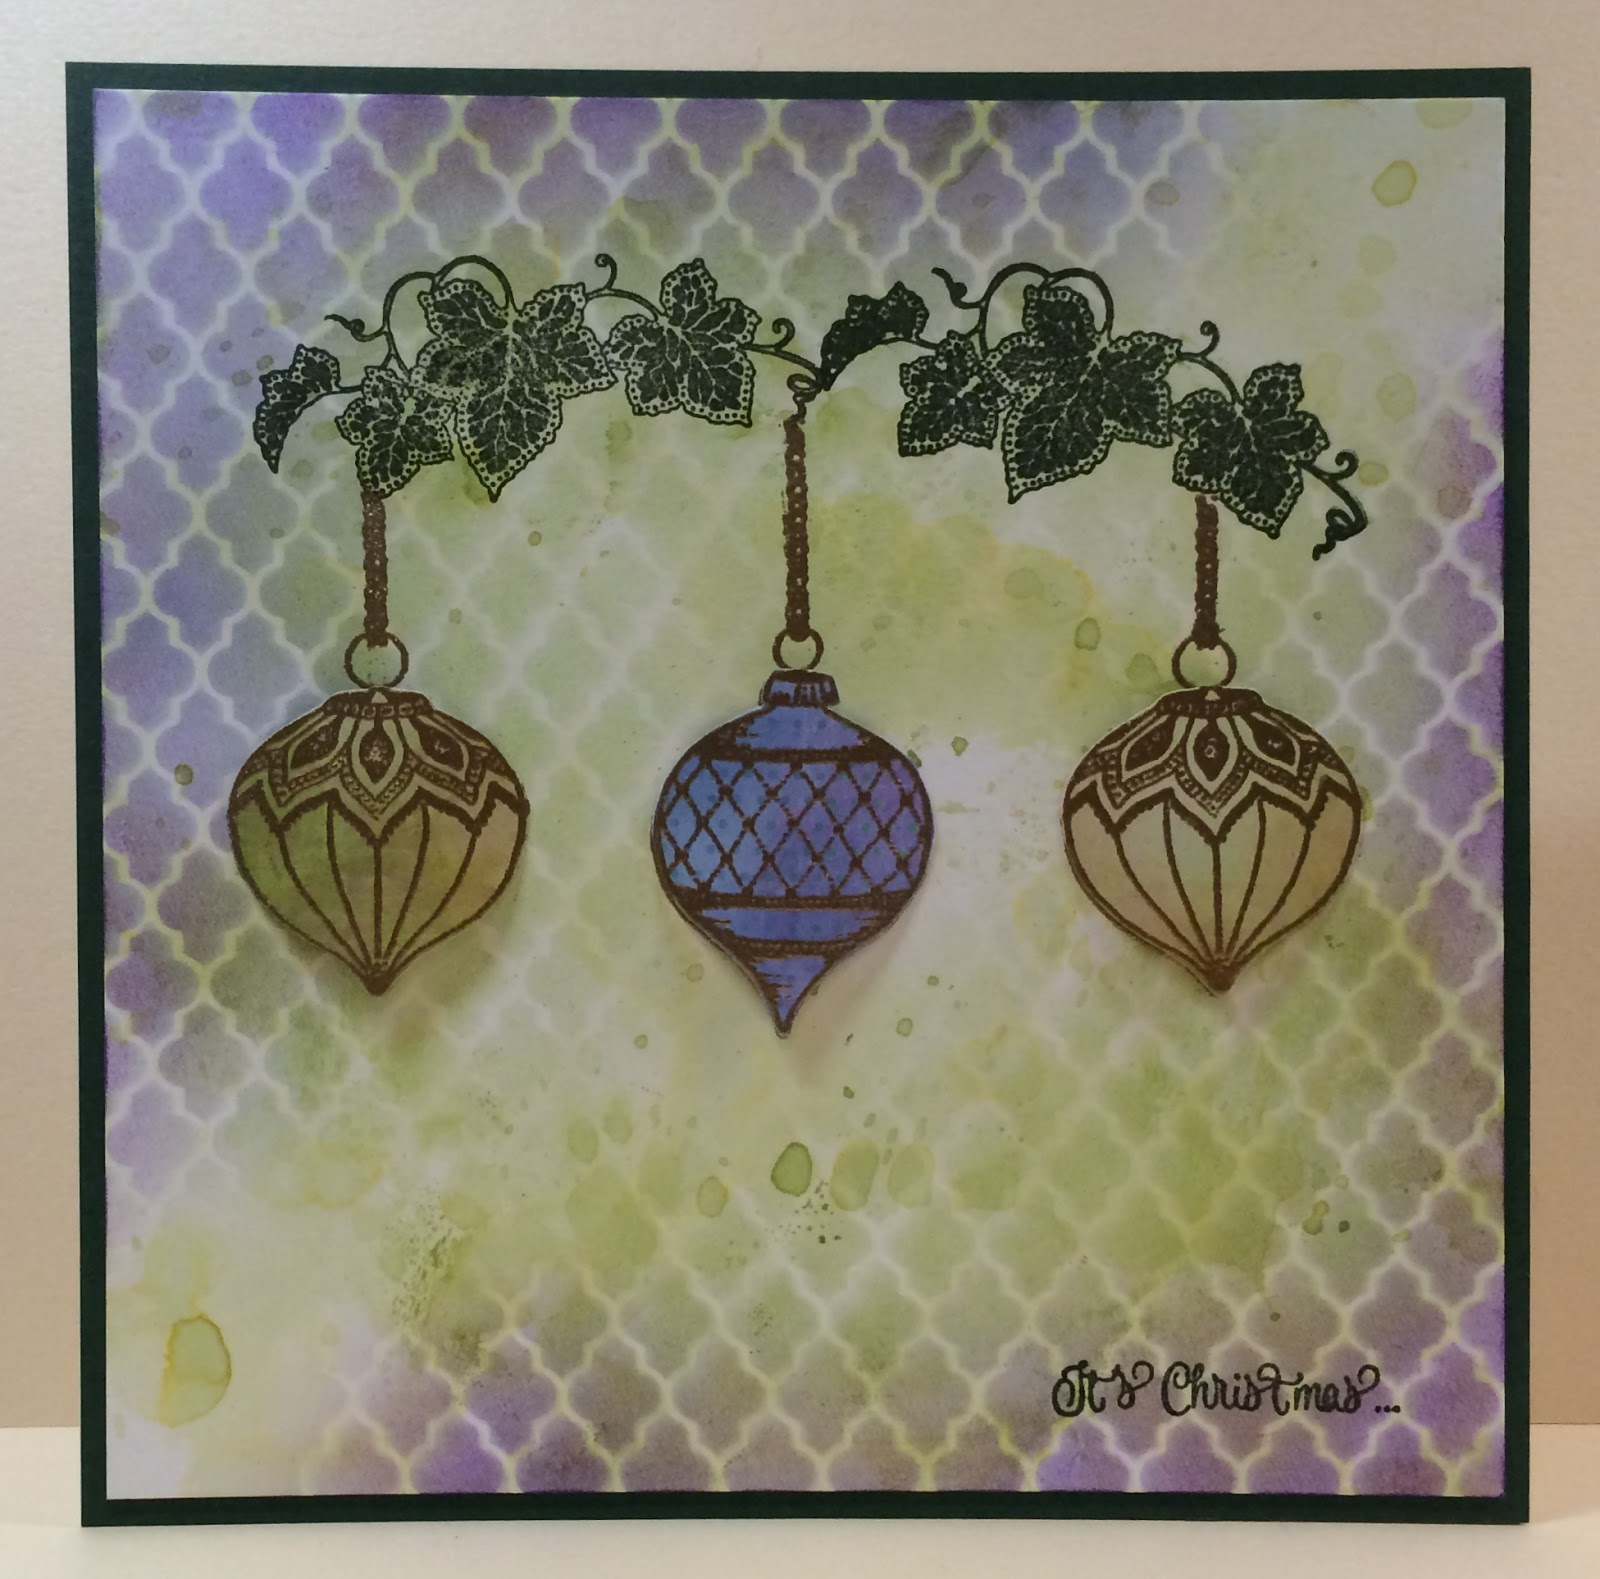
The possibilities are endless with this card layout, you can mix and match the colours that you use, or change the flourish that you use at the top. It really is a versatile stamp set and I hope that you have as much fun creating cards with it as I have. Thanks for stopping by, Judith xx
Sunday, 18 October 2015
Butterfly Stepper Card using Exquisite and Owl Edges (by Anne)
Materials:
- Exquisite Edges, Owl Edges, Mackintosh Sentiments and Just Butterflies stamp sets
- A5 stepper card blank with main panel approx. 6 X 6 inches
- 6 x6 decorative butterfly paper from Crafty Individuals Background Papers ‘Book 3’ Springtime
- Multicoloured dye based inkpad (blue, purple, green)
- Alcohol ink pens (blue, pink, yellow, green, purple), fine tipped marker (purple), Polychromos coloured pencils (pinks, turquoise, green)
- Clear glitter glue (crystal), Glossy Accents
- Decorative die cuts (from white card) and adhesive
How to make it:
- Stamp the border along the top and bottom edges of the decorative paper.
- Stamp the sentiment and small floral motif. Extend the stems by drawing with fine liner pen. Colour the floral motifs with pencil.
- Trim the paper slightly to fit onto the card base and give a fine border of the white card showing. Enhance the edges with green ink and glue on the die cuts.
- Stamp the steps masking the card where needed using a sheet of scrap paper. Glue on the card front.
- Stamp the butterflies and colour with alcohol ink pens. Glue to the card.
- Add Glossy Accents to the butterfly bodies. Finish by adding sparkle with glitter glue.
Saturday, 17 October 2015
Exquisite edges (by Miranda)
Friday, 16 October 2015
A couple of cards (posted by Claire)
Thursday, 15 October 2015
Fear of spiders ? Peur des araignées ? (by Dominike)
I'm not afraid of spiders. Especially, when they are so cute. And I thaught it would be a good idea to do a birthday card with it.
Bonjour,
Je n'ai pas peur des araignées. Surtout lorsqu'elles sont aussi charmantes. Et j'ai pensé qu'elles feraient une belle carte d'anniversaire.
Wednesday, 14 October 2015
Guest Post - In an Oriental Garden by Brenda Weatherill
Good morning everyone, Brenda here and I'm thrilled to be sharing my first card on the Chocolate Baroque DT blog.
The unique designs of CB stamps along with their superb quality makes working with them a pleasure and as I am not a colourist find they work so well with the ink and paint techniques I so enjoy. I am delighted to have been offered the opportunity by Lesley to share my take on working with CB products.
- I started with a piece of single sided pearl cardstock and used the reverse side to stamp the tree and temple stamp twice using an Adirondack Black inkpad, masking off the bottom ground line before stamping.
- Next I created the hills using a piece of torn paper and PanPastels Phthalo Green, then placed a large circle mask centrally, slightly overlapping the hills and created the sky, again using a piece of torn paper to represent clouds and PanPastels Magenta Shade. After removing the mask I used a little PanPastels Diarylide Yellow to shade the sun and clouds.
- I then masked the crane and upper section of the crane stamp and inked just the bullrushes and stamped across the bottom of the scene. Using the smaller of the cherry blossom stamps I stamped several times across the top of the scene and added a little shading and colour to the trees and temples with pencils.
- Using co-ordinating cardstock I matted and layered the scene onto a white base card and finally added some liquid pearls to the blossoms.
Tuesday, 13 October 2015
Exquisite and Owl Edges by Zoe
Good morning, back again with 2 samples using the fab new edge stamp sets - Exquisite Edges and Owl Edges you can purchase them here
My first card was very simple, I wet some watercolour card with plain water and just lightly washed over watercolours in a pastel blue and pale grey and dried with my heat tool, I inked up the Reeds from the Owl Edges set using Forest Moss Distress Inkpad, I lightly spritzed with water before stamping to create a watercolour style image, once dry I added some gold glitter glue very lightly on the reeds, the birds are from Landscape Edges and sentiment is Words of Inspiration
My tag is another very simple make, Linen texture card, I stamped using Versamark inkpad with one of the gorgeous Exquisite Edges, I swiped over using 3 shades of Bright Yellow Green Pan Pastels, once I was happy with the blend I sprayed with cheap hairspray to set the pastels, I used Forest Moss Distress ink to stamp the floral edge from the Owls Edges set, the sentiment is See Beauty clear stamp set.
Don't forget to pop back each day to see what my fab teamies create, thank you for your kind comments, I love to read them, have a fabulous day xx Zoe xx
Monday, 12 October 2015
Owl Edges - Cards By Florence
The Owl Edges are a new addition to the Chocolate Baroque Edges Range which can be seen here.
To make this card
Stamp, emboss and color in the floral edge.
Take a mask and Distress Inks and create the pattern on the background.
Stamp the corner flourishes and "Tranquility".
To make this card
Stamp and emboss the Owl Edge.
Take a mask and Distress Ink and create the pattern on the background leaving a clear space for the small Owl.
Stamp the small Owl and the Sentiment.
Make up the card as seen.
Thank you for looking
Florence x
Sunday, 11 October 2015
Exquisite, Elegant Edges (by Debbie)
Saturday, 10 October 2015
Exquisite Cards (by Julie)
Friday, 9 October 2015
From the TV (by Lesley)
- To achieve this card take a piece of patterned paper, I used one from the Crafty Individuals paper pad Travels in Italy and stamp the large tree from Patchwork Landscape in Versafine Onxy Black.
- Use a black fineliner pen to extend the outline at the bottom of the tree so that it is grounded.
- Use coloured pencils similiar to the colours in the paper to colour the foliage of the trees and use shades of green and yellow to create the slope under the tree.
- Stamp the word Imagine, from Artistic Expressions and then mat and layer on to first black card, then a toning background paper (the one I used was kindly donated by Judith and was made with her Gelli Plate) and finally on to a large 8" square black card.
Thursday, 8 October 2015
Owls and edge rubber stamps (by Dominike)
C'est un grand plaisir d'être de retour ici.
Since a few days I have fun with the stamps you can find here.
Depuis quelques jours je m'amuse avec les tampons que vous pouvez trouver ici sur le site CB.
I teach for scrappers and in my workshops, I use to offer a little gift to each participant.
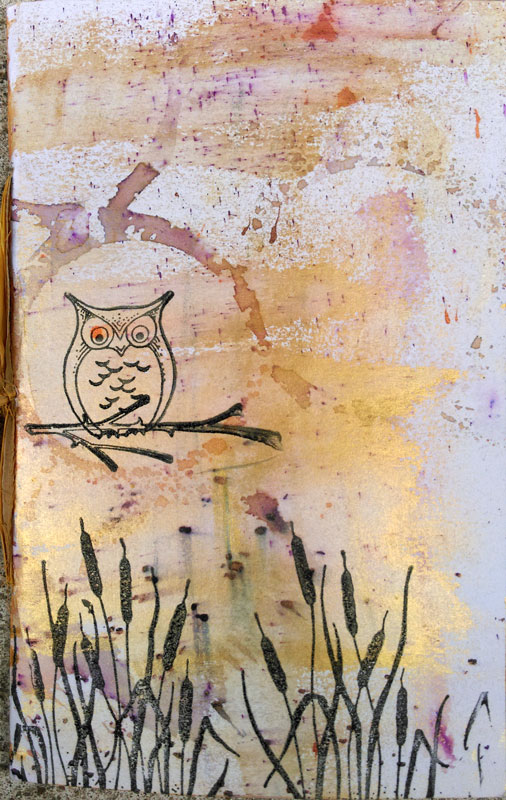
This one is a little paper bag. I make the background with a gelli plate, acrylic paints and stencils. I stamp the owl on the branch in a white circle and the edge in the bottom of the paper.I emboss with clear powder. Then, I glue this paper on the bag.
Both notebooks are made in the same way.
Pour les ateliers de scrap que j'anime, j'ai l'habitude d'offrir à chaque participant un petit cadeau.
Celui-ci est un petit sac en papier. J'ai fait le fond avec la Gelli plate, des peintures acryliques et des stencils. J'ai tamponné à l'encre noire et embossé avec de la poudre transparente. Puis, j'ai collé le papier sur le sac.
Les deux carnets ont été réalisés de la même façon.
And you can see more on my blog here.
Vous pouvez en voir plus ici sur mon blog.
Tuesday, 6 October 2015
Give A Hoot Hoot Hoot! (by Asha)
In this card, I've used the individual owls and the grassy border from Owl Hedges to create a scene where the owls are looking out from a crack in the side of a barn. To create the barn wall I embossed a piece of card stock with the wood grain folder and dirtied it up with distress inks. Then cut it into ½" strips, inked the sides and rearranged them. Next I tore a hole and adhered the strips down. Then came the grassy border and the sentiment from Words of Comfort stamp set on a piece of vellum. Finally the owls: coloured with Faber-Castell Polychromos, fussy cut and adhered in the opening.
More owls on my second card. This time I'm showcasing the row of owls on a branch from the Owl Hedges sheet. I created the background by blending Distress Inks and stamping the the row of owls and added a little movement with a stamp from the Seasonal Fragments sheet. Then I stamped the owls again on a separate piece of card, coloured with Faber-Castell Polychromos, fussy cut just the owls and adhered them to the card. Finally, a greeting from the Birthday Words sheet.
That's all from me today. The Design Team has loads more projects lined up for you. Don't forget to drop by again ... soon. As usual, more pictures and details of supplies used to make these projects are available over at my blog.
Have a beautiful day!
Monday, 5 October 2015
Owl you need is Love (by Judith)
I started my project by creating a wrinkle free distress background on a plain tag, using Distress Inks. I stamped the bullrushes across the bottom of the tag, and added the small branch up one side of the tag. I stamped the little owl onto a sticky label and then coloured it with pencils. I also coloured the branches with pencils. I added some shading around the edges of the tag, and stamped a sentiment from the Steampunk Birds rubber stamp set onto the background.
Finally, I added some co-ordinating ribbon to the tag.
Thanks for stopping by, Judith xx
Sunday, 4 October 2015
Ruby Wedding Card using the new Exquisite Edges Stamp Set (by Anne)
- Exquisite Edges stamp set
- A5 white card blank, pearlescent white card for stamping
- Versafine Inkpad (Onyx Black)
- Clear embossing powder
- Alcohol ink pens (black and red)
- Adhesive, sticky foam pads and 3D glue gel
- Dies for decorative mat and heart, and personalised sentiment printed from computer
- Stamped the border with black ink three times onto pearlescent card, and embossed with clear powder. Coloured the image with red alcohol pen.
- Cut out the various elements, enhanced the edges with black pen, layered and glued to the card front.
Blog comment winner for September
Once again we would like to thank you all for your visits here at the Design Team blog. We truly appreciate the time you take to let us know your thoughts about our designs.
Each comment in September was assigned a number and we used Random Org to draw a winner. Congratulations to Shilpa Nagaokar you have won a £15.00 voucher to spend on Chocolate Baroque stamps! Please send a quick email to lesley@chocolatebaroque.com to confirm your email address and Lesley will send you your gift certificate.
Lesley will be giving a £15 gift voucher to another lucky winner drawn from October's comments. The more comments you leave the better your chances to win! We hope you enjoy our designs using the new Edge stamps. There will also be a few Festive samples on the way.
Thank you for your kind words and comments,
Good luck from the Design Team!
Saturday, 3 October 2015
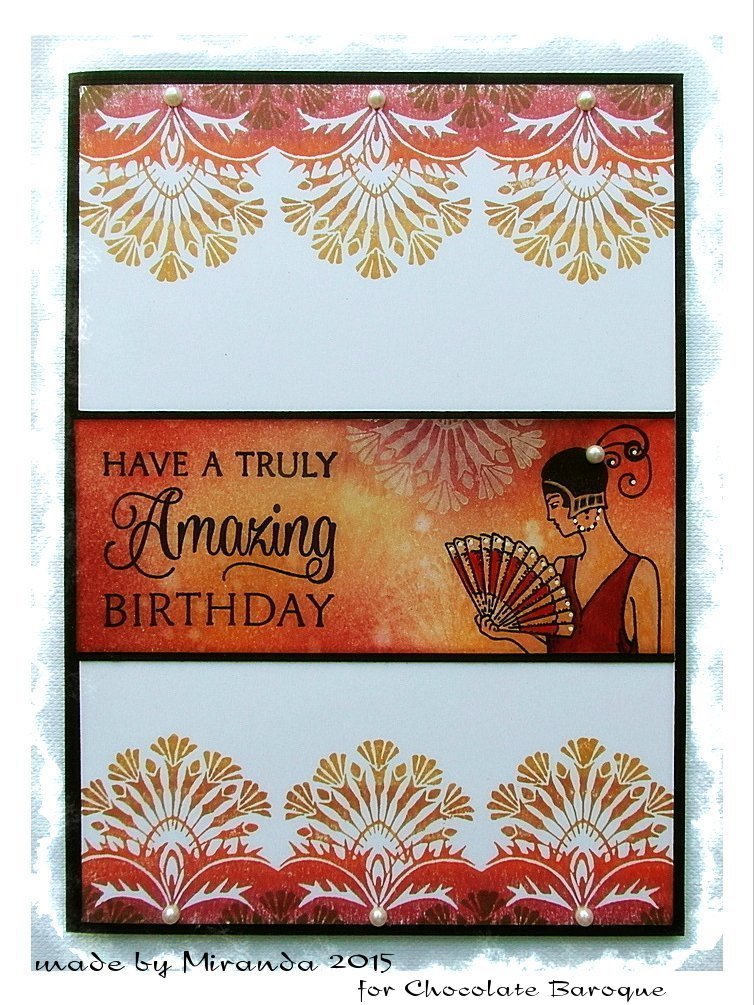
Have a truly amazing Birthday......(by Miranda)
Friday, 2 October 2015
Twit Twooooo (posted by Claire)
Thursday, 1 October 2015
Owl Edges by Zoe
Good morning. Today I am very pleased to be sharing with you my sample using the fabulous new stamp set "Owl Edges" in fact there are 2 new gorgeous Edge sets this month you can purchase them here
I love these little guys, such cute little faces and great expressions here's how I created it -
I applied Distress inks - Picked Raspberry, Dusty Concord, Blueprint Drawings and Mermaid Lagoon onto some stamping card using a distress blending tool, I then sprinkled some water onto it and patted dry with paper towel, I used a stencil to create the rays of light by spritzing water through it and again patting dry with paper towel and heat dried, I then stamped the Owls and flowery edge from the set using Versafine Onyx Black inkpad, I like to heat set when using Versafine ink it's oil based and it takes a little longer to dry and I wanted to faux bleach areas of the Owls using a water brush just to add some highlights, the sentiment is Words of Inspiration, I matted and layered onto black card and a linen textured card.
I hope you like my card, please pop back each day to see what my talented teamies have made. Have a great day xx Zoe xx