Pin It button on image hover

Monday, 10 June 2019

Kim Moody Latest Release

Hello everyone, we have a real treat for you today, a compilation post, sharing some projects made for recent TV shows on Hochanda featuring the newest Kim Moody stamps. Kim created these fabulous houses as a set that could be put together as a street, or equally work brilliantly as stand alone images. He has also drawn some smaller add on images which are so useful for creating scenes and completing your artwork. We hope that you will enjoy what we have to share with you today, including Kim's own artwork, so grab a cuppa, and take a look.

The Posh House is sure to make you smile, it really is very delapidated, with its crumbling plaster, exposed brickwork, and an air of genteel neglect. It is calling out to be fixed up, and its name suggests that it feels superior to its neighbours who are in far better shape!

Kim has used coloured pencils and added some of the smaller images that can be found on the stamp plates to complete his project.


I have used Distress Oxides for my backgrounds, and added a large tree image from the Trees a Crowd stamp set to finish the card. The sentiment is also one from Kim's stamp plates, something new this time.

Brenda has used Distress Oxides for the background, adding texture paste through a stencil. She has used white embossing on black card for the stamping.

For the next card she has used Pan Pastels for a lovely soft effect, adding foliage from some of our Chocolate Baroque stamp sets using Versafine Clair Ink, and added detail with colouring pencils. The bees and foxgloves are from the Honey Bee stamp set.

Our House is a super tall skinny house, great for creating terraces, or again, as a stand alone house. The little cat looking up at the pie in the open window, the milk bottles, and the bird on the roof, are all great little details. You can have so much fun choosing your own colour schemes for these houses. Kim has coloured his artwork with pencils, adding a cheery sunburst behind the house, and more of the little images that come with the larger images on the stamp sheets.


I used an acrylic tag, stamped with Archival Ink and painted the image with acrylic paints. I stamped the sentiment onto a piece of patterned paper and then attached it to back of the tag with matte medium.

Lesley has used an MDF tag and stamed the image with Versafine Ink before adding clear embossing powder. She coloured the image with VersaMagic chalk inks, and added a touch of white Koh-I-Noor paint as a highlight.


I stamped and masked the house, created a wash of colour over the background with Distress Inks. I added a woodland using trees from Trees a Crowd, and then added the little removal van. I coloured the images with pencils.

Brenda has used Distress Inks both to paint and add a stencil on this card. The brick stencil makes a perfect partner to the house image.

Gran's House is full of character with the beams and the wonky handrail on the steps. The cracked plaster on the walls and the lovely old door simply add to the quirky nature of the house. Kim has used pencils to colour his artwork, the multicoloured bricks look fabulous, don't they?


I chose kraft card and white embossing to create my card. I added trees from the Trees a Crowd stamp set, omitting the trunk from one of them to make it look like a bush instead. I used a Versamark pen to complete the landscape, and added the embossing powder over the top. I coloured the images with Koh-I-Noor paints.

Brenda has created a marbled background, then stamped the image onto a piece of book paper. She has added details with pencils.

She has used a combination of Distress Inks and Distress Oxide Inks to create this next project.

The Shop is asuch a detailed image, every time you look, there is something else to see. Check out the little mouse underneath the boxes, and Kim's signature bird on the roof. You can have so much fun planning which colours to use for all of the fruit and vegetables. Kim has coloured his project using Koh-I-Noor watercolours.


Brenda has used Pan Pastels in the background of this first example, and Koh-I-Noor watercolours to paint the image.
She has used Distress Inks and colouring pencils to create this lovely card, giving a more masculine feel with kraft card elements.


 Simple red stamping on this next card using Versafine Clair ink has created a very striking card.

Pan Pastels and Versafine Clair create a real party mood on this rainbow coloured card.


Talking of parties, I have used some of the little words to create a set of party invitations by stamping onto Gelli plate backgrounds. These were really quick and easy, and made in just a couple of minutes. I added a faux stitched border with a fine liner pen.

Now finally, we have a series of cards showing how you can combine the images together, Kim has called this one 'Our House in the Middle'. He has coloured this one with pencils.

I used Masking Tissue to mask The Shop, and Posh House so that I could stamp the other two houses afterwards. I then masked all of the houses to add a Pan Pastel background and trees from Trees a Crowd in first and second generation stamping. I coloured the images with pencils.

 Brenda has used Distress Inks and Koh-I Noor paints for this pretty pastel version.

Brushos, Koh-I-Noor paints and white embossing powder have been used for her dramatic Hallowe'en card.
Finally Distress Inks and colouring pencils complete this monochrome card. The ovals giving a snapshot view of each image, such a clever idea, like vintage photographs.

Lesley has used some paper piecing to add a spot of colour to her card. She stamped the image and cut sections out, then added a touch of extra colour with Koh-I-Noor paints.

Well that brings our post to a close. We really hope that you have been inspired by our projects, and will check out the Kim Moody section of the website for the new stamps. You can also see the older stamp sets there which will work really well with these new sets.

Thanks for stopping by,


Sunday, 9 June 2019

Autumn Recipes Book (by Magda)

Hello everybody !
I dedicate this first post of June to all the friends who like writing a recipe book.

Step by step

1. Cut one piece of white heavy cardstock  25,5 x 15,5 cm and a second piece 25,2 x 15,2 cm
2. Colour one side of the first piece with a wash of Brush using autumn colours. This side will be the
    cover of the book.
3. On the front page stencil "Autumn" from Chocolate Baroque stencil Seasonal Journey in a reddish
    colour
4. Blend lightly the inside pages with Distress Inkpad  Brushed Corduroy and Old Paper
5. Add more colour through a stencil leaving some areas to write your recipes, and
    outline scribbling these areas.
6. Stamp on a white  cardstock  several images with Archival Jet Black   You will find the images you
    like in Mellow Fruitfulness  and Autumn Poppy stamp sheets
7. Colour with Faber Castell Art Grip Aquarelle Pencils all the images and cut the edges.
8. Glue every single piece with Inkssentials Glue n Seal on each page.
9. Assemble the book and bind it with a rope.


Autunm Tag 

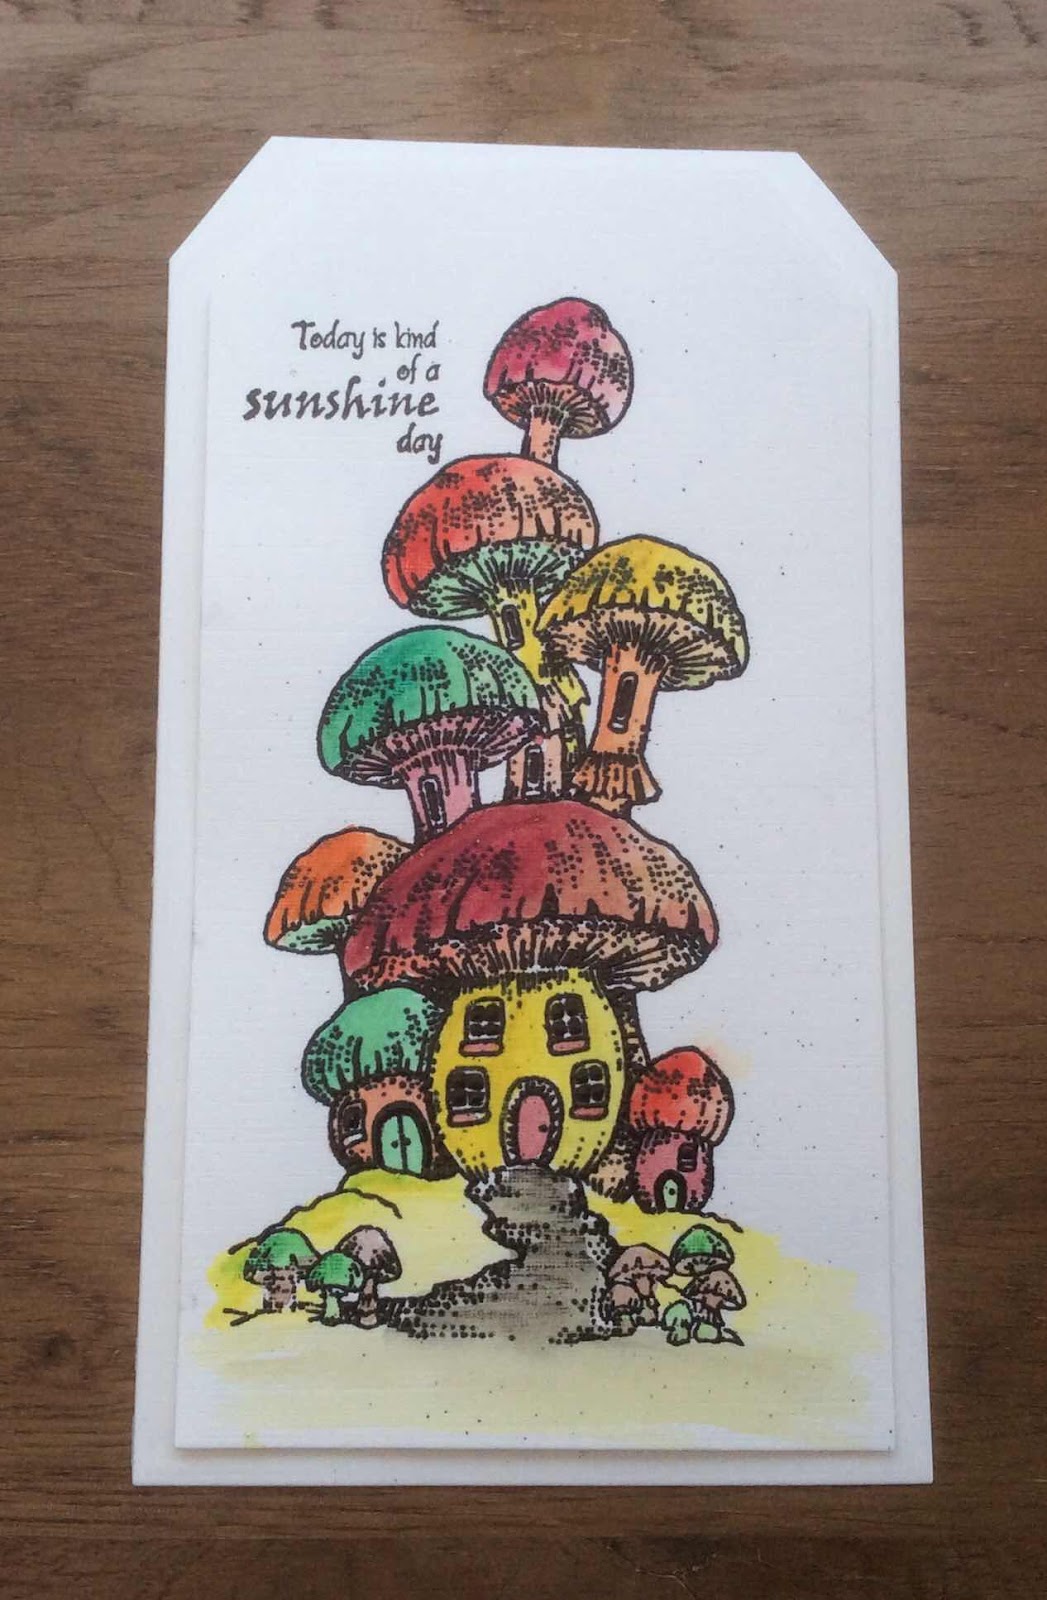
"Mushroom House " is really a nice funny new stamp with a the right size for a Tag.
I used for it :  Distress Inkpad for the background and on the stencil,  Archival Jet Black , Faber Castell Art Grip Aquarelle Pencils ,  a stencil,  Inkssentials Glue n Seal,  and Stickles. The sentiment is in the new stamp "The Toadstool Garden" stamp 


Thank you for passing by.
Magda


Saturday, 8 June 2019

Kraft Funghi With Brusho (by Veronica)

Two versions using The Toadstool Garden stamp, which is a huge image and makes a very impressive card!
Both versions are stamped onto kraft card, the first one stamped with Versamark and white embossed. I sprinkled Brusho powders over the image and spritzed generously with water. Once it was dry the funghi were painted with Koh-I-Noor watercolours.


The second plainer version was stamped using a brown ink and clear embossed. The flowers and leaves were painted with Brusho powders and the funghi with the Koh-I-Noor paints again.

Many thanks to Judith for posting this for me after my computer got fried in a power cut.


Friday, 7 June 2019

Bountiful Birthday and Magic Mushrooms by Penny

Goodly morning lovely peeps, I hope you are all happy and well.  I'm here with my first post of the month, a couple of lovely projects featuring the beautiful stamps that were showcased in May's shows.  


Bountiful Birthday

I have used stamps from the Mellow Fruitfulness, Autumn Edges  and Birthday Words  sets; Distress Inks, Versamark ink,white EP and CB Kraft Card. 


I began by stamping the large artichoke image, using Versamark ink and embossing it with white EP.  I did the same with  the fruits and a sentiment, then I painted the images with DIs.  I matted the panel onto orange paper. 
I took a cream base card and stamped the collection of fruits and nuts images along the edges of the card in DI, then I attached the focal panel to the base card. 


A beautiful and simple card that you could use for a lot of occasions and recipients.


Magic Mushrooms.

A tag for you now using stamps from the Mushroom House, Tag Tastic and May Fairy sets; black Versafine ink, clear EP, gold EP, Versamark ink, Koh-I-Noor paints, a white pen and a sparkle pen from my stash.  


On a piece of white card I stamped the tag with Versamark ink and embossed it in gold EP.  I then stamped the Mushroom House image inside the tag, using black ink and clear EP.  I took another piece of white card and stamped and embossed the fairy.  I then painted all the images, adding white pen dots to the mushrooms and sparkle pen to the fairy and her wings.  I attached the card tag to a greyboard tag then cut around it.  I fussy cut the fairy and attached her to the tag.  I also stamped, embossed, painted and cut out a small butterfly and attached it to the tag.  


I then added some ribbon from my stash to complete the tag design.


This pretty tag could be a bookmark or a keepsake, and it would suit a recipient of any age.  


Thank you so much for popping in today and spending a few minutes with me, I hope that you've enjoyed my post.  I'll be back later this month with more crafty fun!


                         xx  Penny  xx

Wednesday, 5 June 2019

Teeny Mushroom Houses (by Judith)

Hello everyone, I have two projects to share with you today featuring the fabulous Mushroom House stamp set featured on last month's TV shows on Hochanda.

My first card is a moonlit scene and was a demo on one of the shows. I stamped the image onto a piece of drawing cartridge, and then masked the image with masking tissue, also masking off a moon shape in the sky. I drew the rest of the grass line with a permanent fineliner pen and then added colour with Distress Inks. I added some extra yellow from the moon across the sky, falling where the moolight would shine on the image and the grass.

I removed the masks and added colour to the moon with Distress Ink. I then coloured the Mushroom House with pencils, colouring all down the right hand side with a yellow pencil to represent the moonlight. Finaly, I added some white dots in the sky with a gel pen for some stars.

To create my second project, I again used a piece of drawing cartridge for the background. I inked the bottom part of the image, using masking tape to cover the top part, and then before I stamped the image, I removed the masking tape. I then cleaned the stamp and inked the top part of the image, using masking tape to prevent getting ink on the bottom part of the stamp. I removed the masking tape before I stamped the top part of the image halfway up the card.  I drew hills with a fineliner pen to create a scene, and coloured the sky, hills and houses with Distress Inks and a waterbrush. I added extra stamping using images from the Teeny Weeny Meadow stamp set.

I had a lot of fun working with this particular stamp and hope that my projects have given you a few ideas. Thanks for stopping by,

Judith xx

Tuesday, 4 June 2019

Autumnal by Zoe

Good Morning Lovelies and welcome to my first June post, wow! June already!

So today I’m sharing with you a few of my projects from last months show featuring these gorgeous Autumnal themed stamps.

I stamped and heat embossed onto Vellum for the overlay, I coloured using Sparkle brush pens and a waterbrush, I used Distress Oxides on my background.

Simple stamping and colouring in Inktense pencils for my second card, Oxides again for the background.

I used a layer tag die to create a tag card using Linen textured cardstock, heat embossed in black and coloured using Inktense pencils.


Thank you so much for visiting today, I hope you likemy creations.
Have a wonderful day xx Zoe 

Sunday, 2 June 2019

May's Blog Comment Winner!

Hello everyone, 

We truly appreciate the time you take to let us know your thoughts about our designs, so each and every comment is very important to us.
Each comment in May was assigned a number and we used Random Org to draw a winner.
Congratulations to Crafty Jo, you have won this months £15.00 voucher to spend on Chocolate Baroque stamps. To claim your prize, please email here to confirm your email address and Lesley will send your gift certificate.

Lesley will be giving another £15 gift voucher to another lucky winner drawn from June's comments. The more comments you leave the better your chances of being the winner.

Thank you so much for all the kind comments you leave.

Good luck from the Design Team


Saturday, 1 June 2019

Autumn Glory by Brenda


Good morning, Brenda here and I am delighted to welcome you to our first post of June where this month myself and the team will be sharing our creations using the stamps Lesley showcased on Hochanda TV which included the beautiful new Mushroom House and The Toadstool Garden.

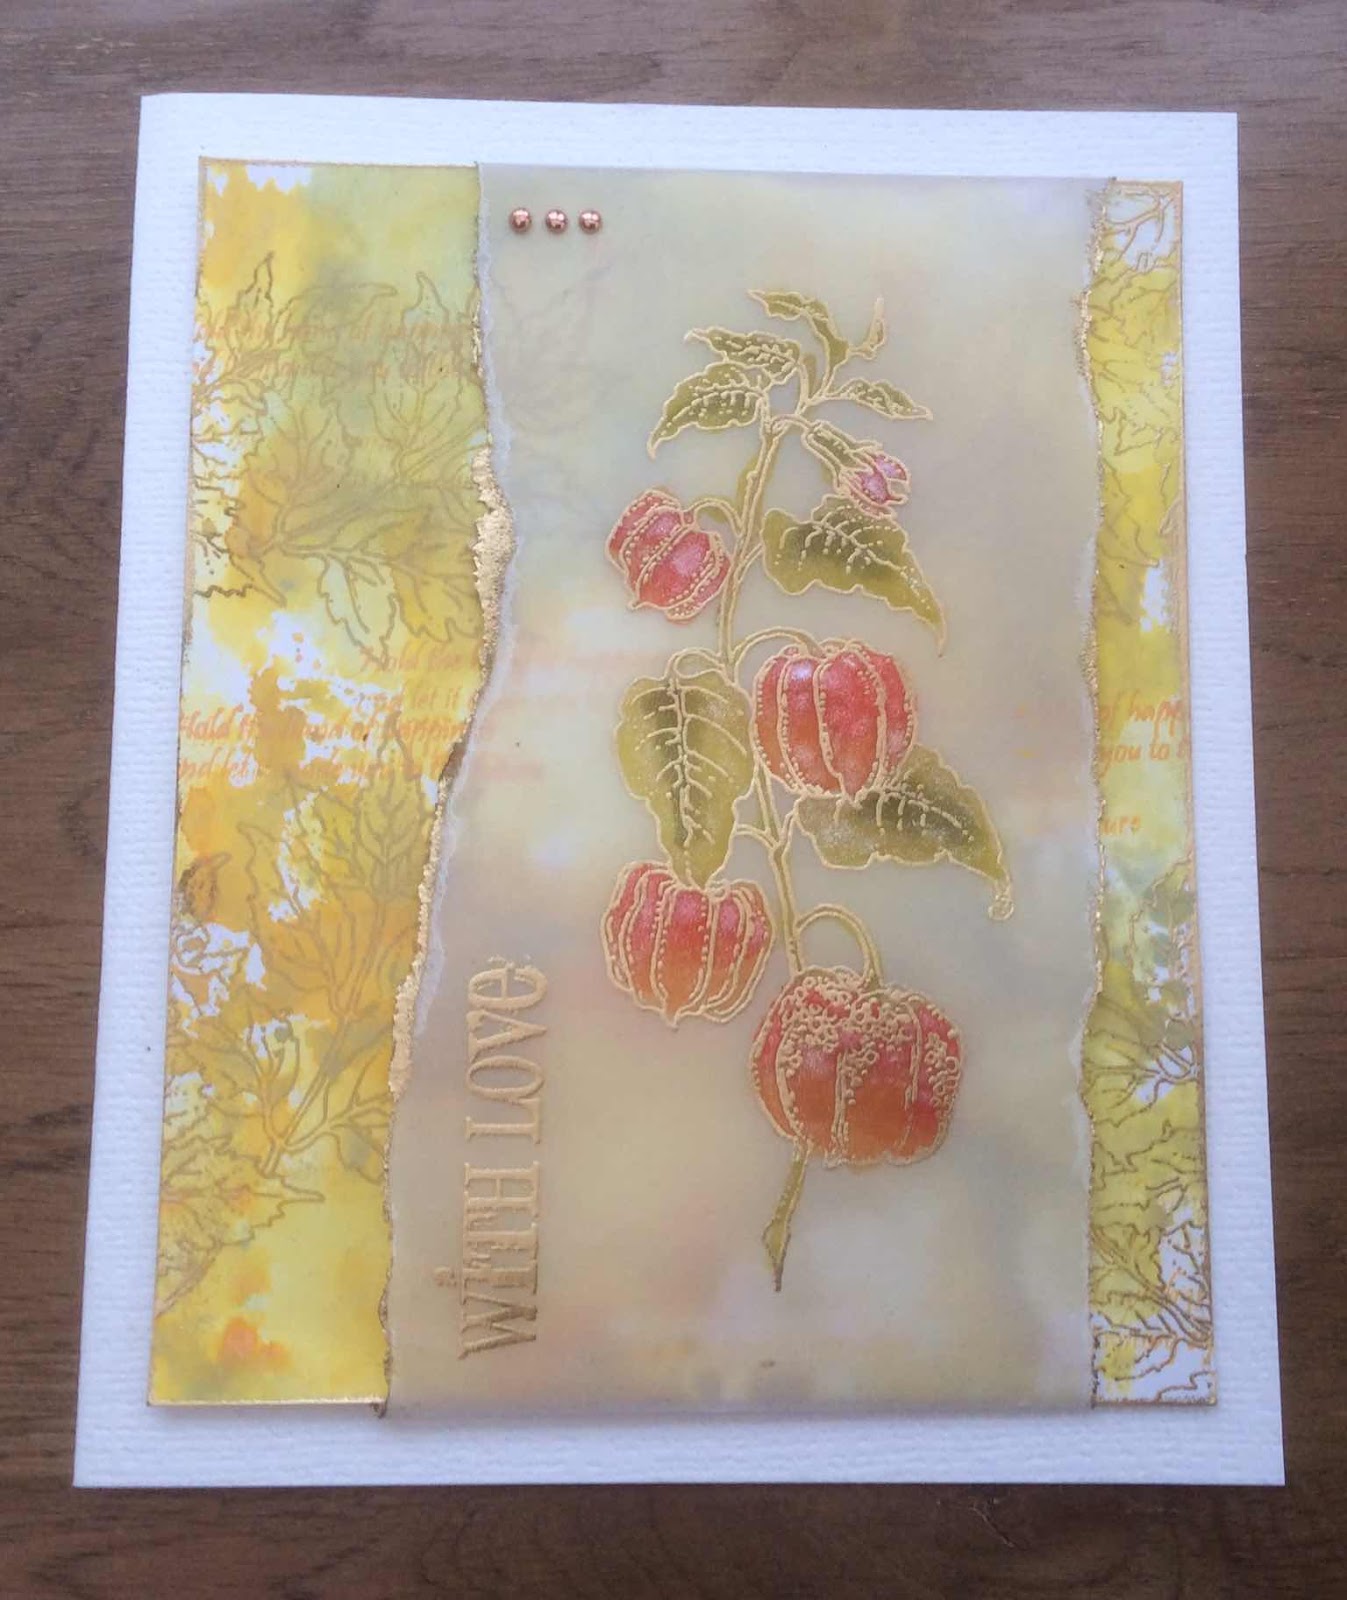
My first share above is a monolith which I treated to a mixture of acrylic paint, distress ink and crackle glaze. I stamped the lovely Chinese Lanterns from Autumn Poppy twice, cut them out and coloured with Kon-I-Noor paint and mounted onto the base, stamped the wording from Acorn House, cut it up and fixed into place.


This is the beautiful new The Toadstool Garden which I stamped with Versafine black ink and coloured in with pencils and added a pale wash of Distress Ink around it, matted and layered and added some ribbons


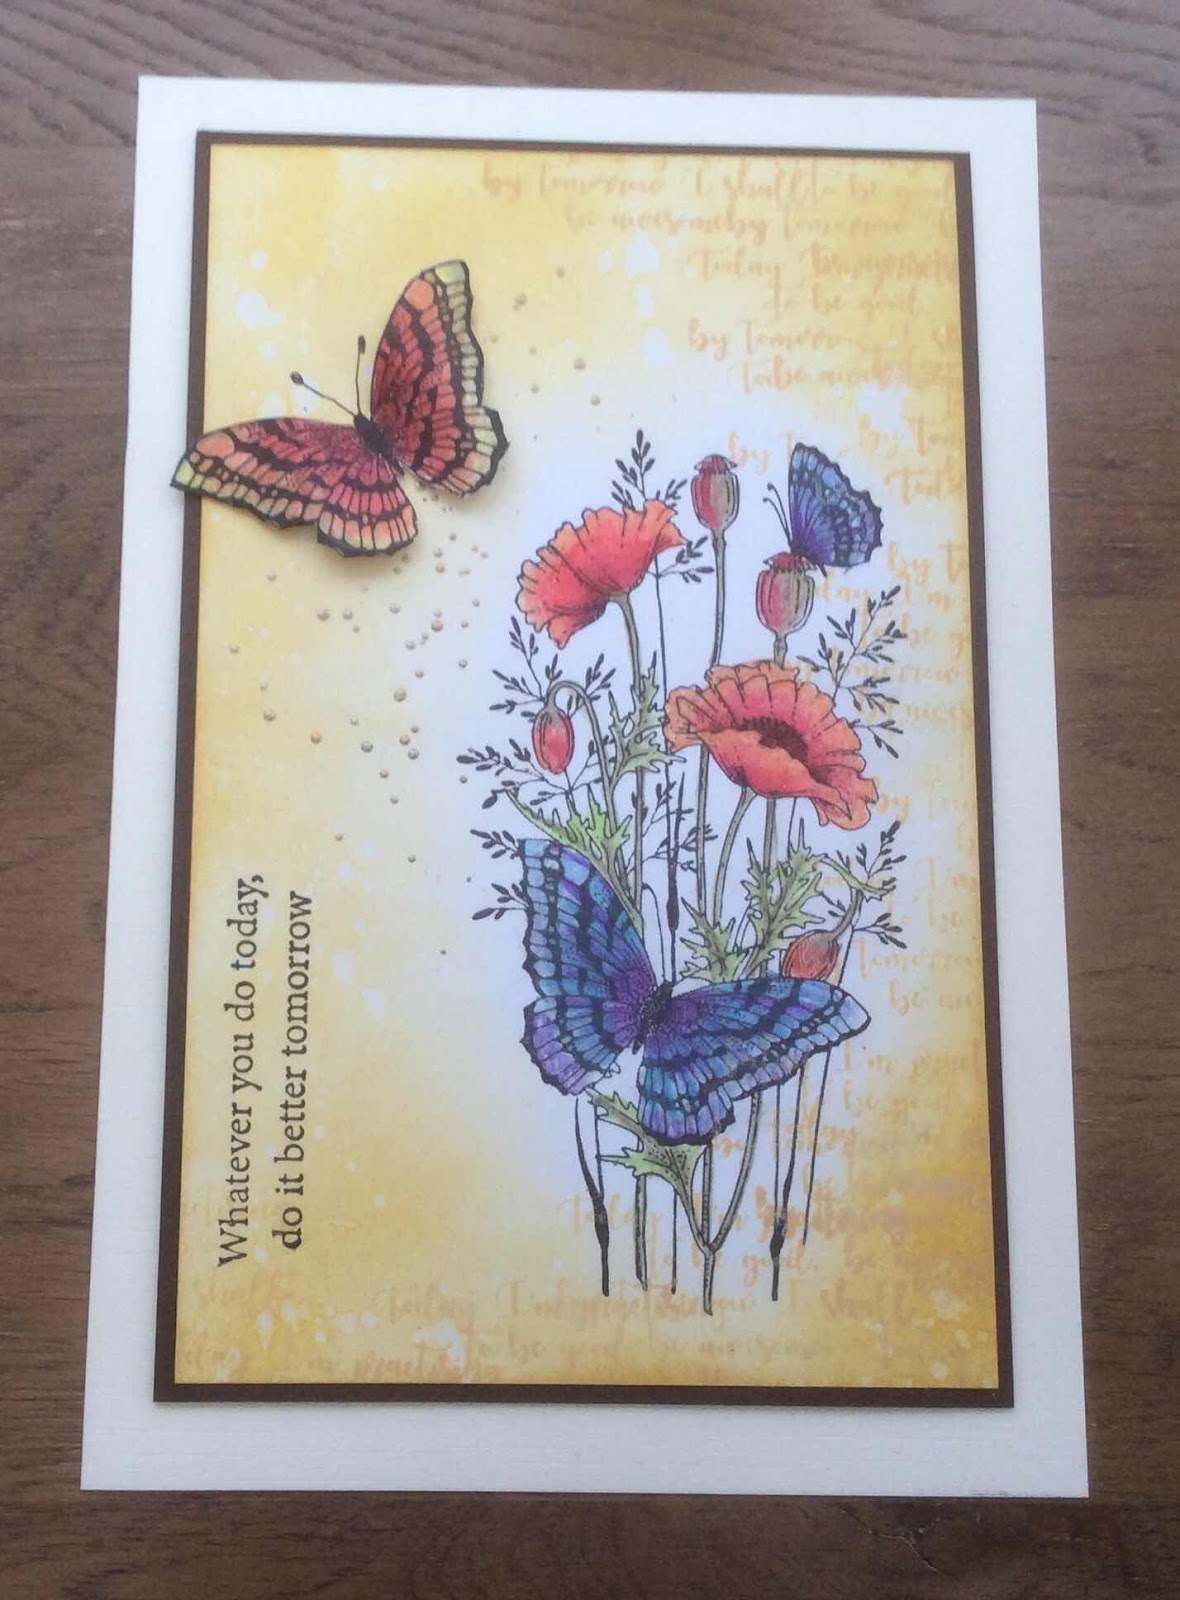
Here are the lovely Poppies from Autumn Poppy simple stamped in black onto a oxide ink background, I blotted off a good deal of the ink while still wet as I wanted a soft finish. The Poppies are coloured with pencils and the Butterfly stamped again onto vellum, coloured on the back and decoupaged.


My starting point for this one was to use distress inks to create a vintage look and then stamped the fruits from Mellow Fruitfulness using Distress Markers to ink the stamps, spritzing with water before stamping. The sentiment in the middle is from Mushroom House.


Here we have Mushroom House, I machine stitched a pattern around the edges and took my colours from the aqua coloured cotton. The background was created with Pan Pastels, the house stamped with Versafine Clair, stamped again onto coordinating DP's and paper pieced.


My final share for today stamped from Autumn Edges and Autumn Poppy all stamped in black Versafine onto a background of Distress Inks and Gesso and mounted onto coordinating papers which with a die cut edge.
My thanks for your visits today and I hope I have offered some inspiration on using the stamps which you will find over at the web site.