Pin It button on image hover

Monday, 17 February 2020

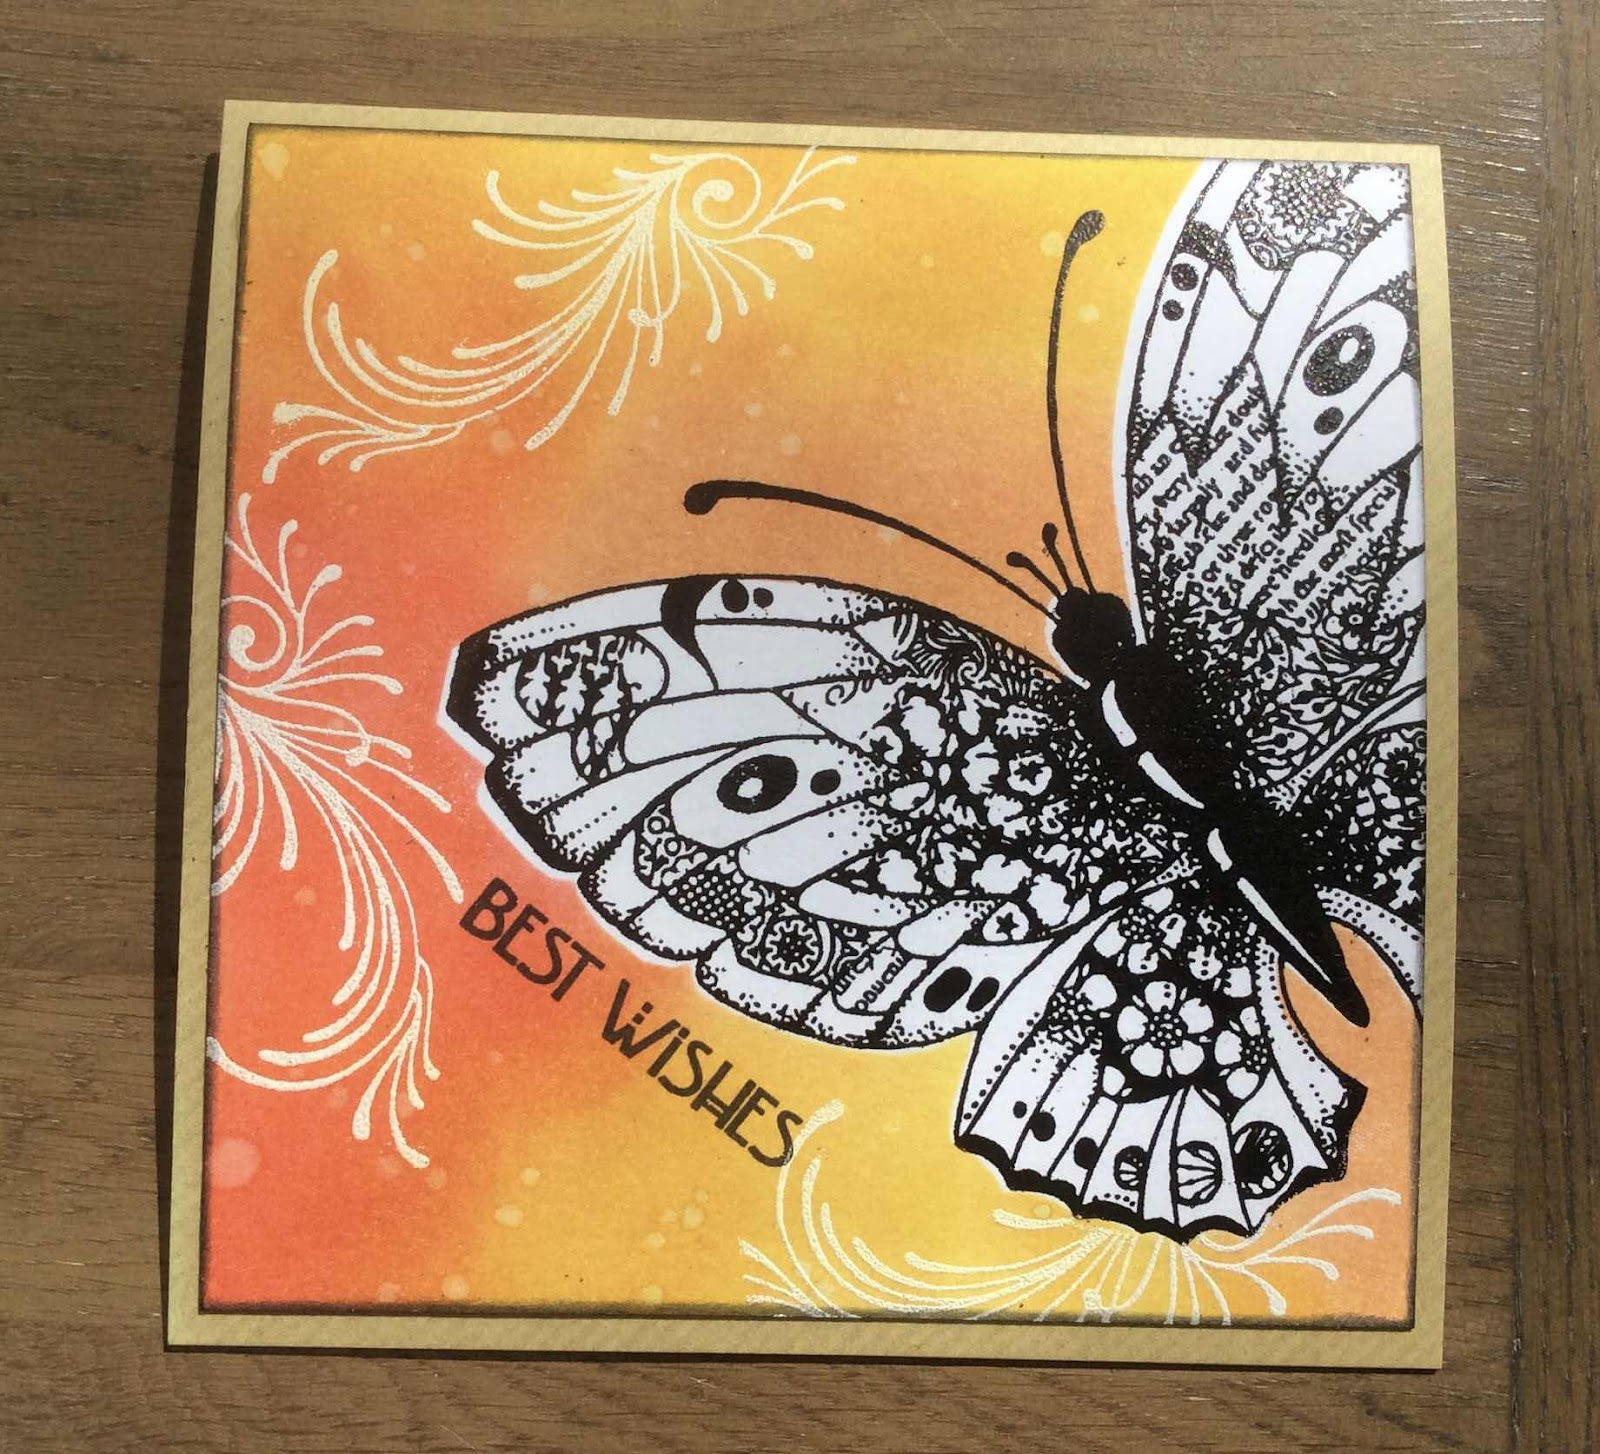
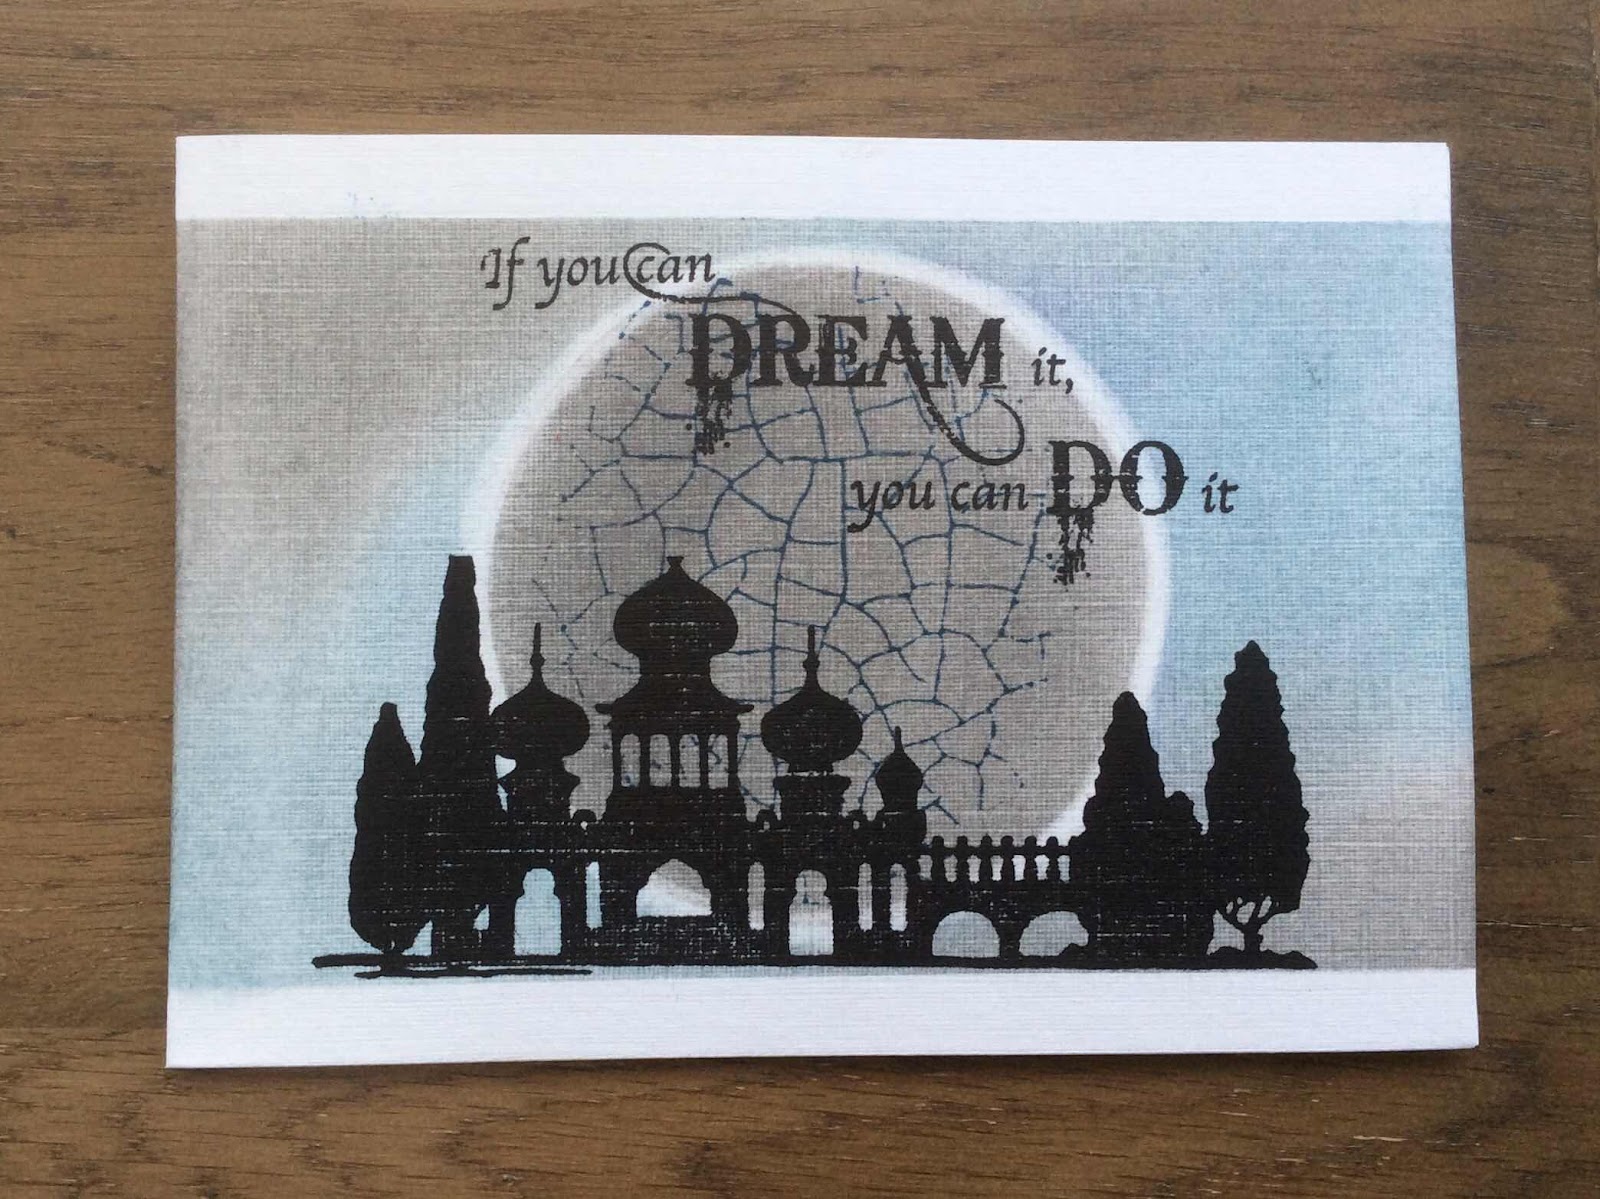
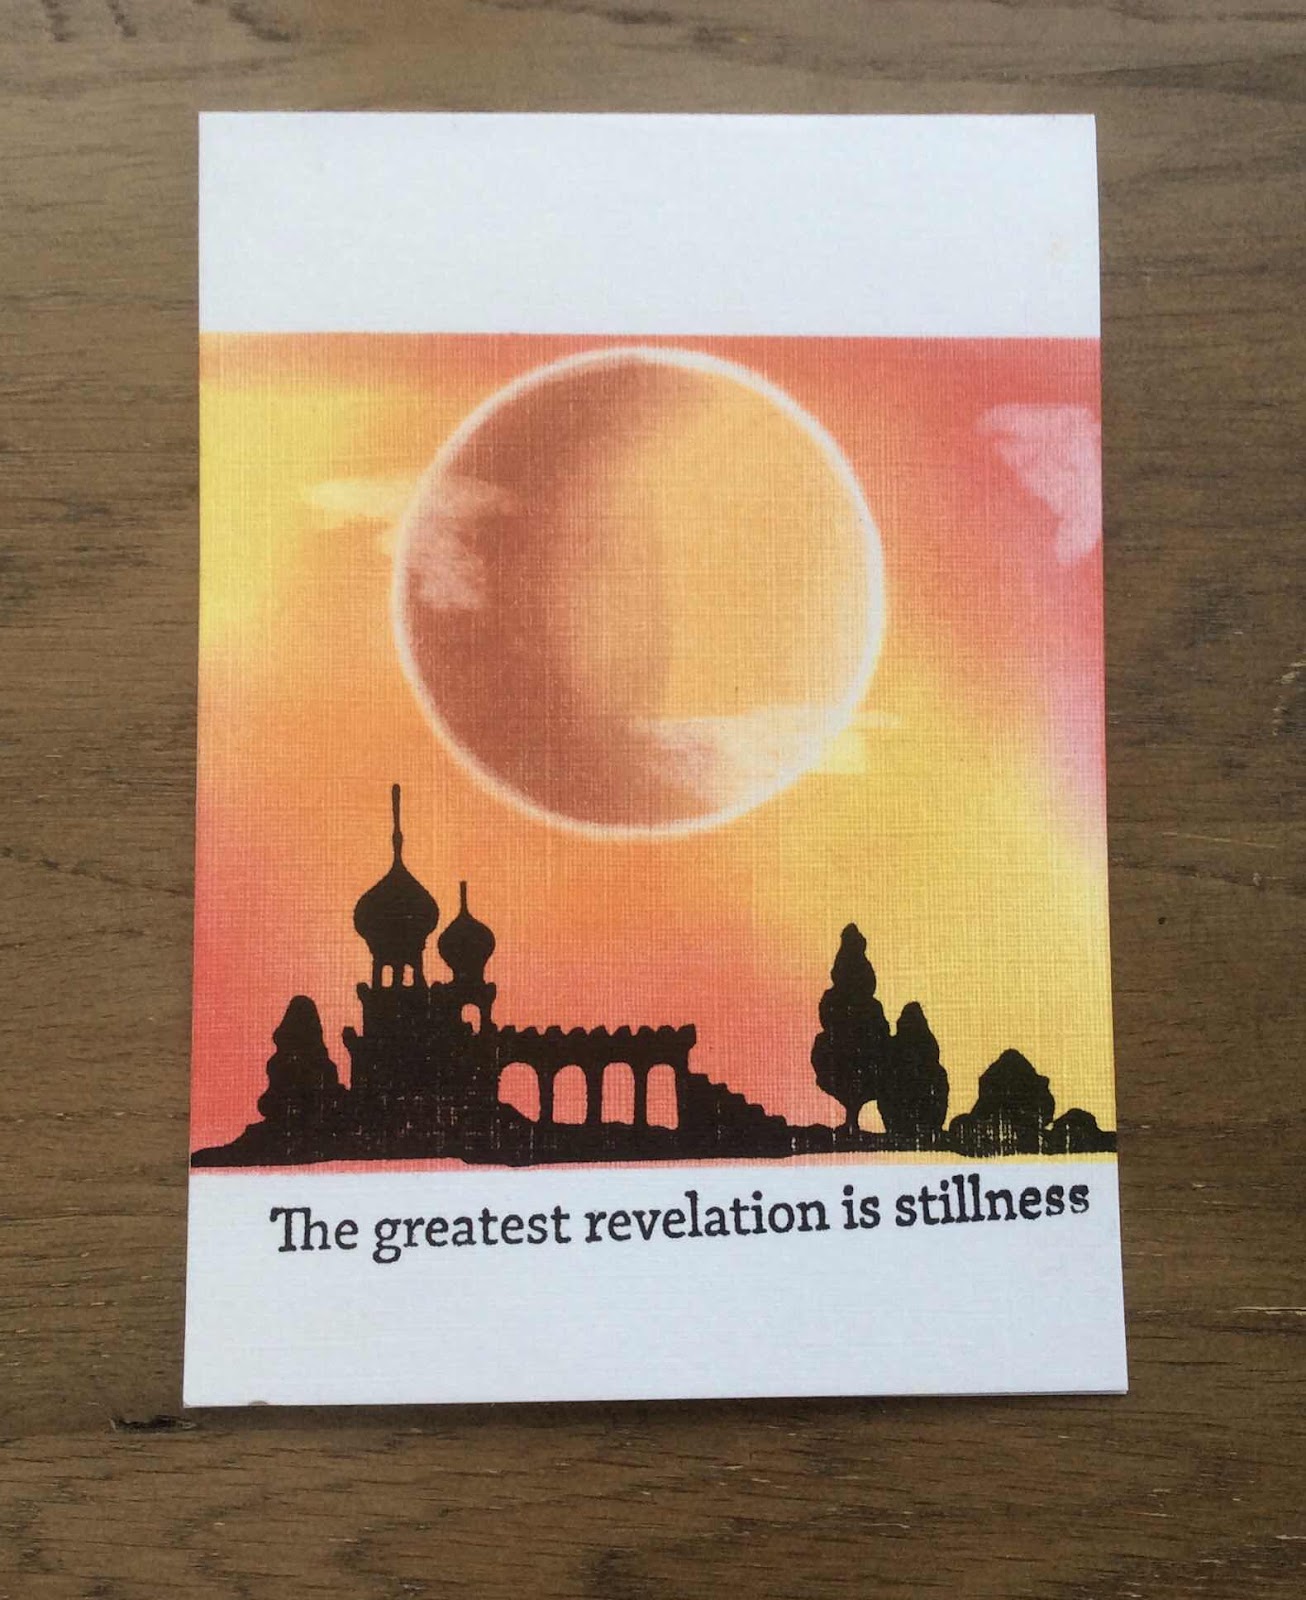
Revisiting the past part 2 by Zoe

Good morning Lovely’s and welcome to my final post of the month.

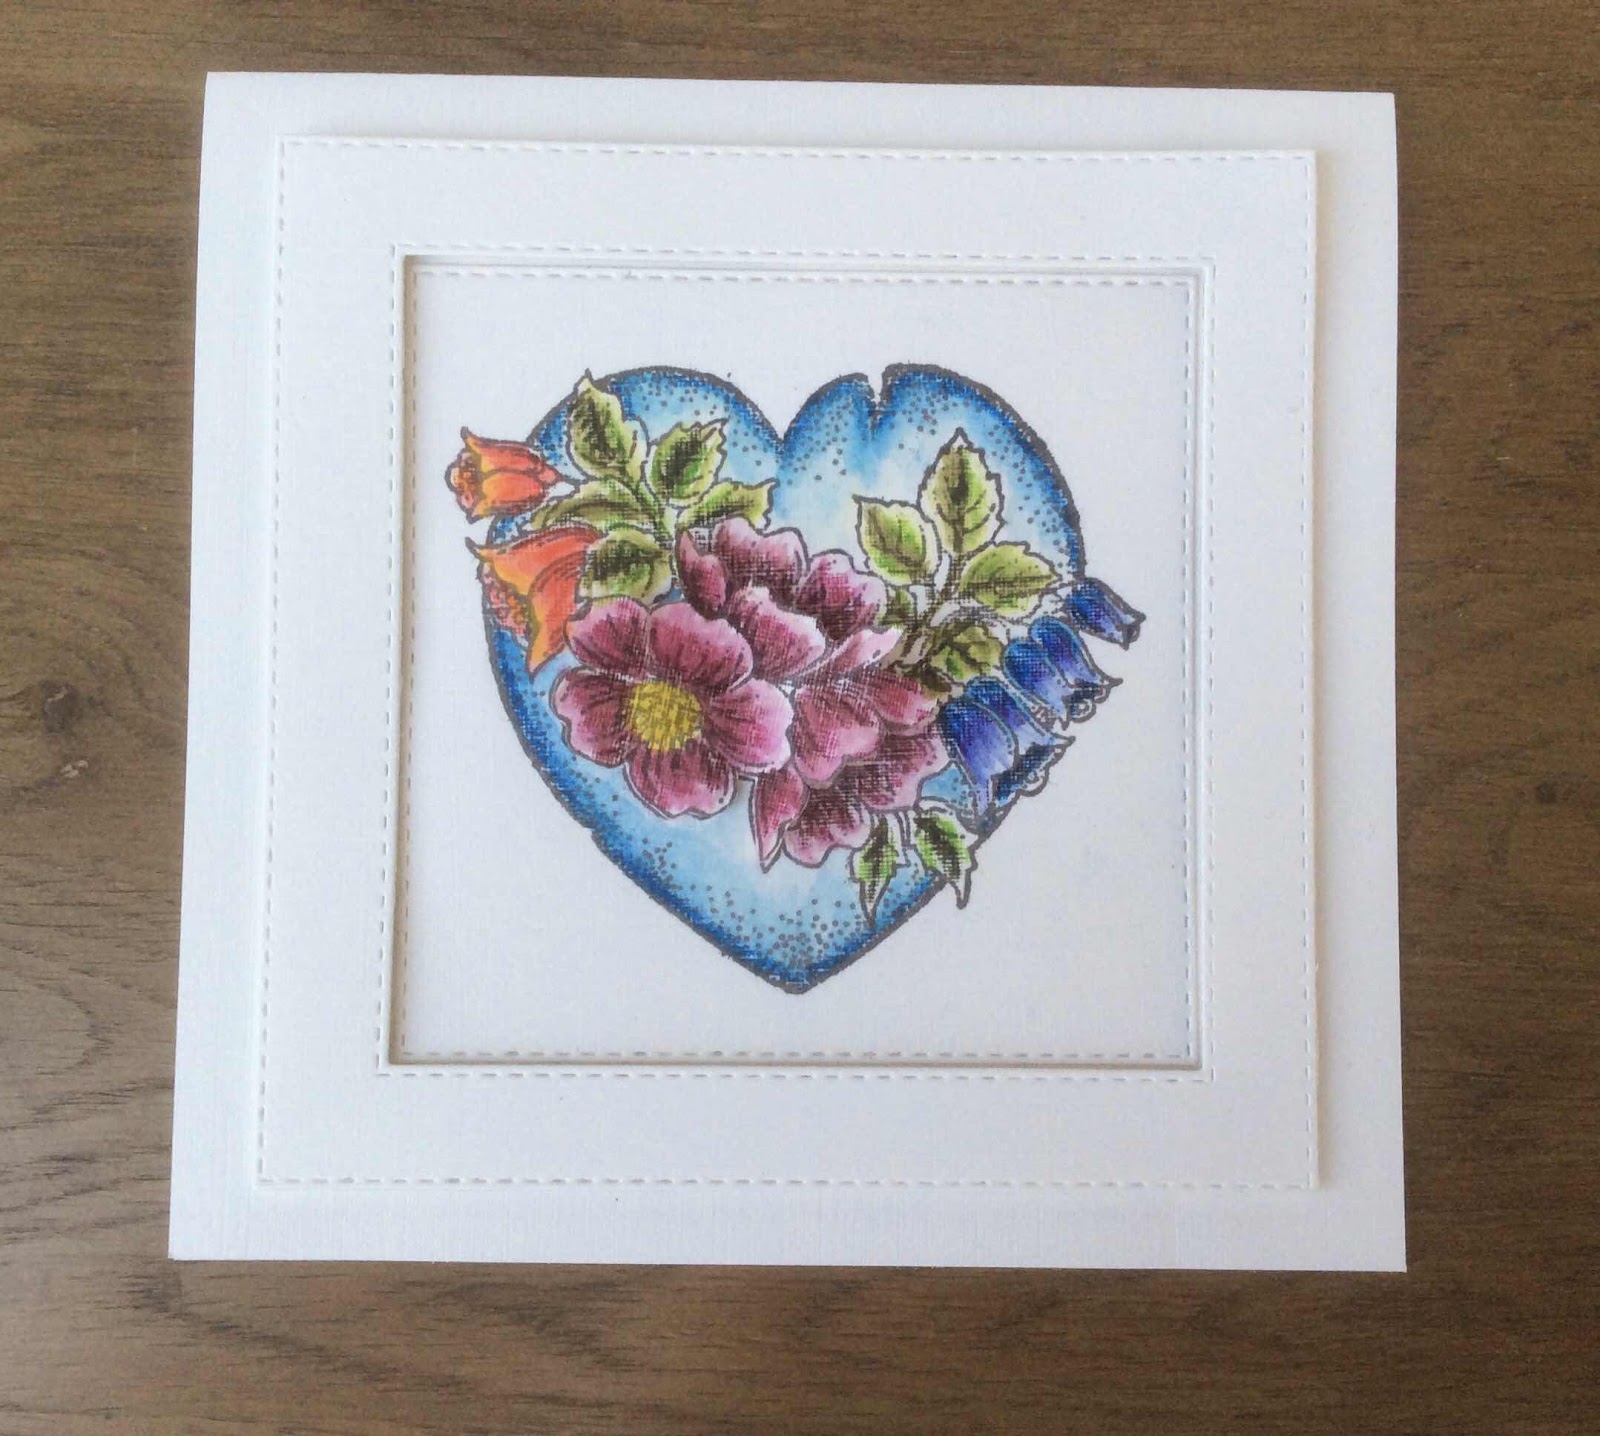
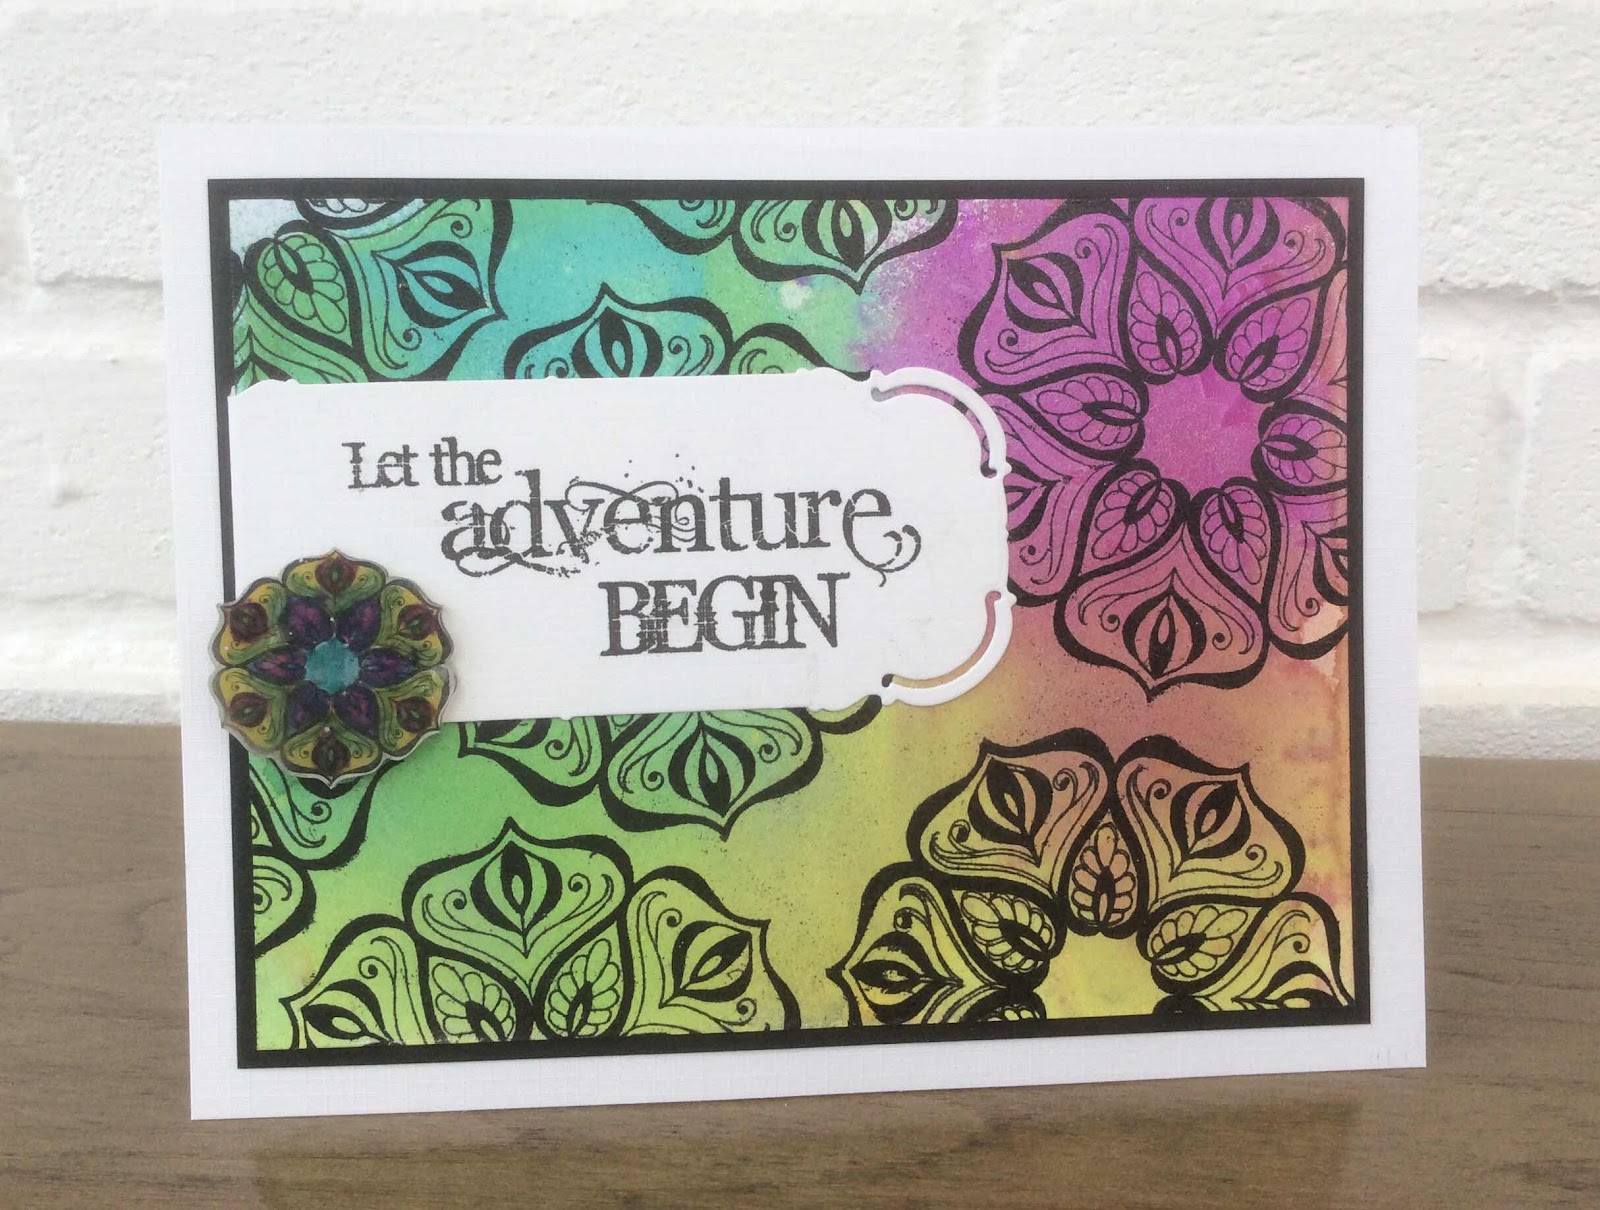
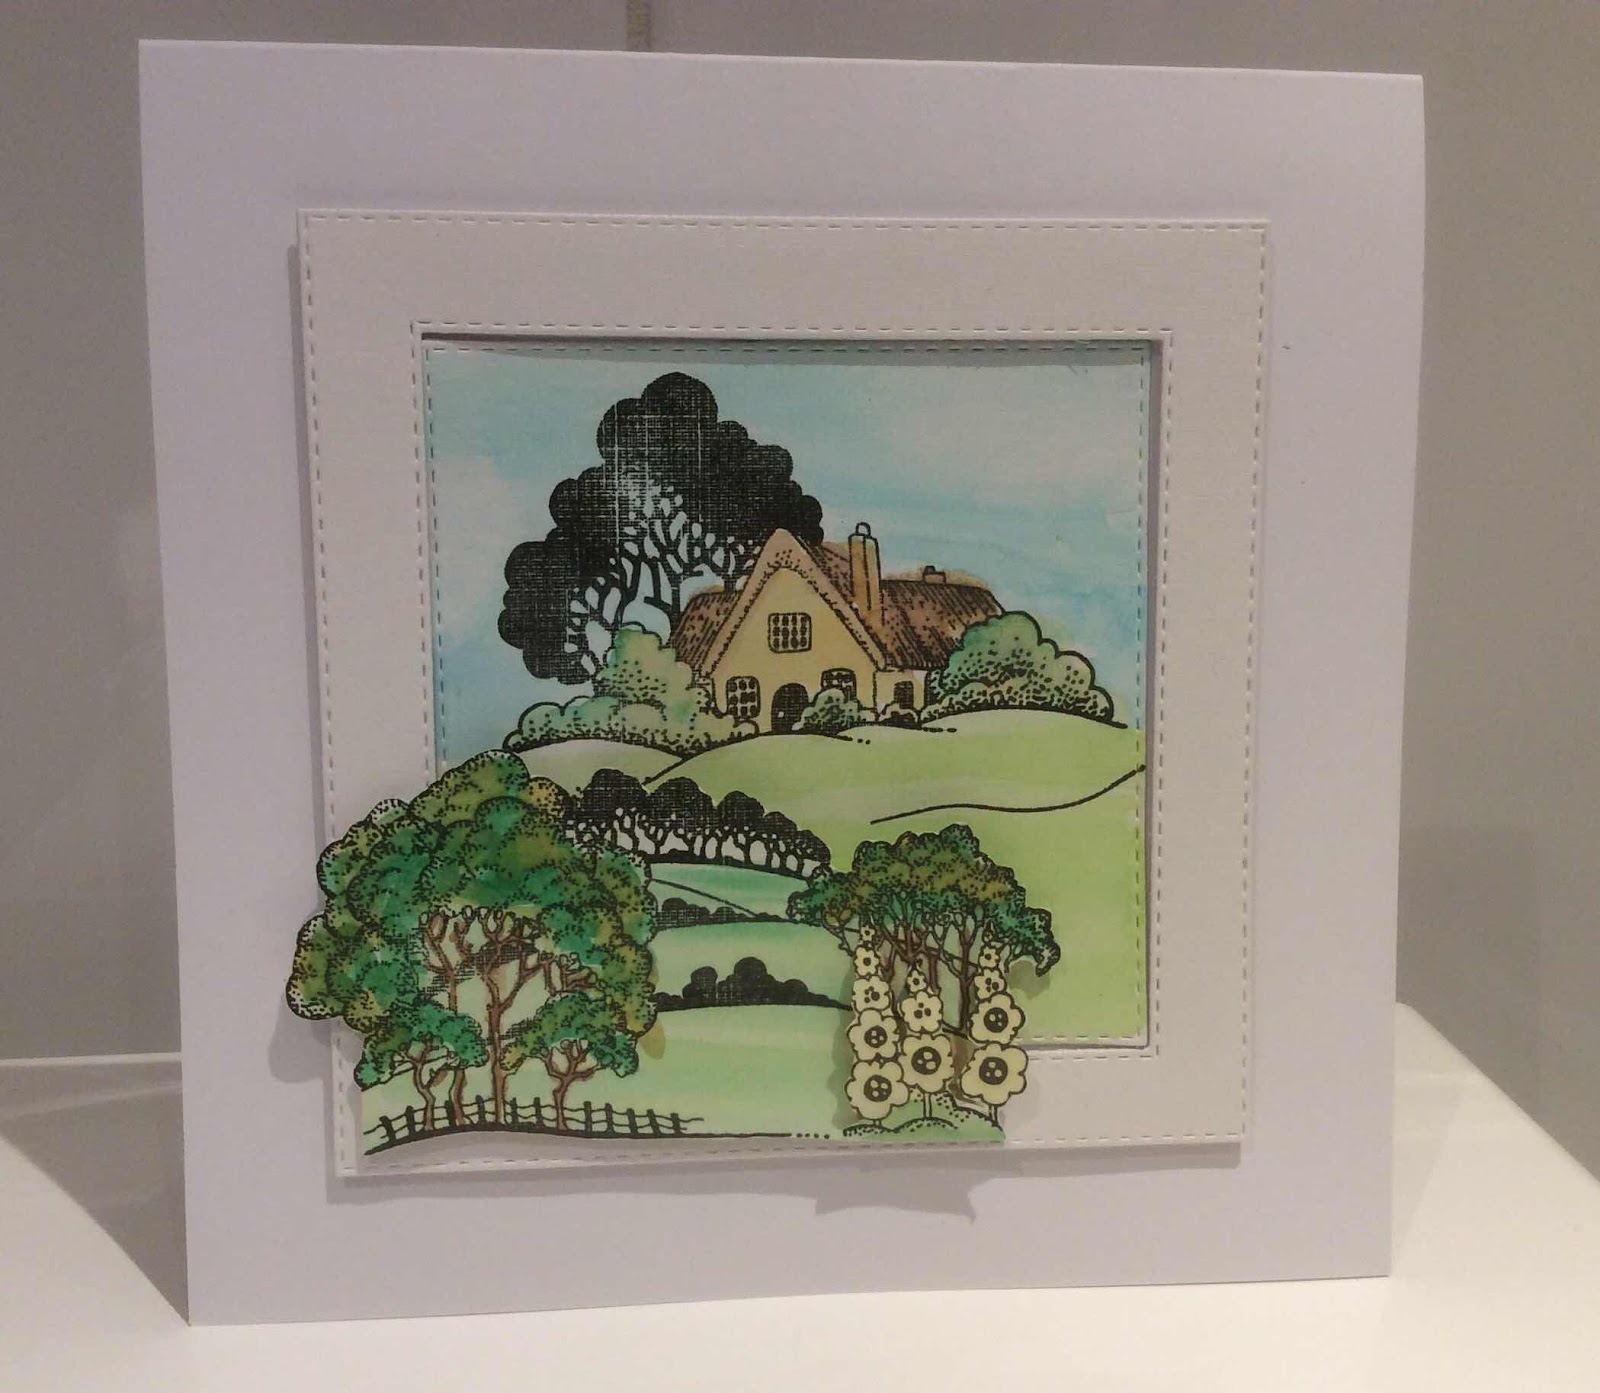
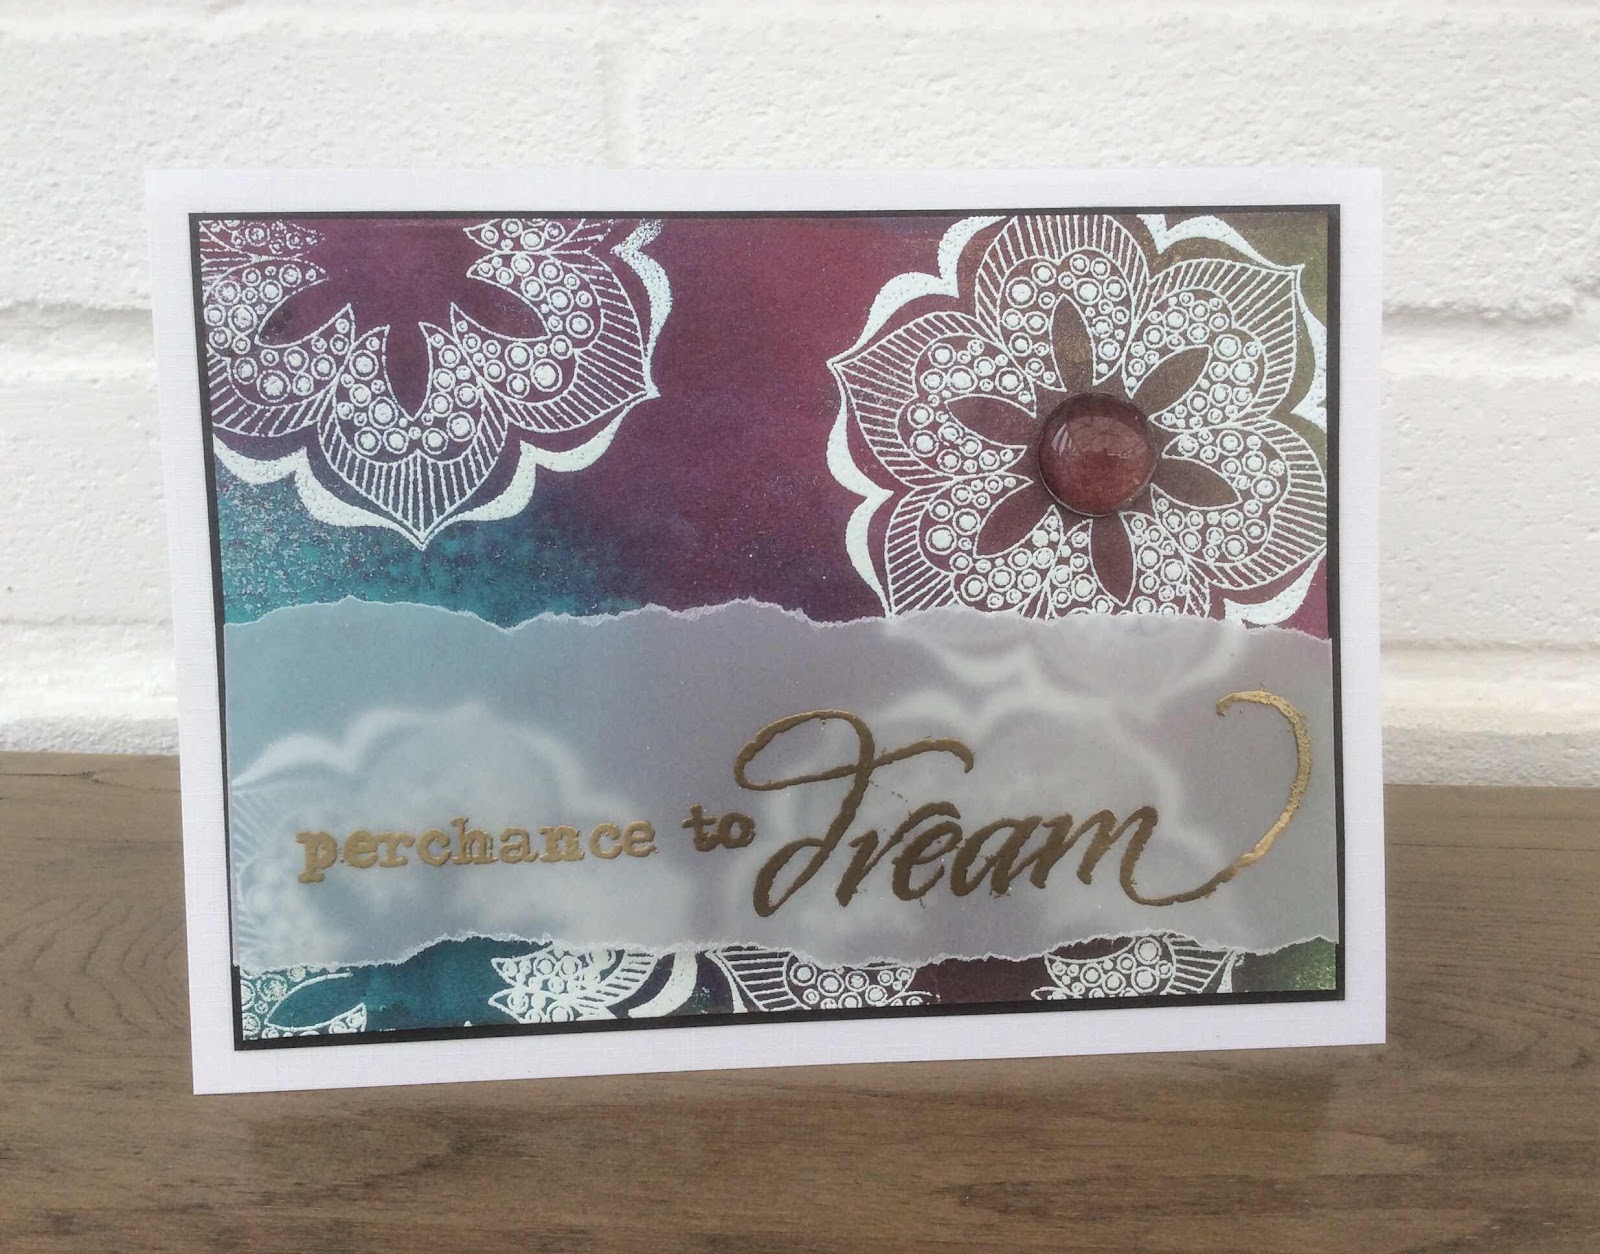
As I explained on my first post of the month, I was unable to make samples last month so I’m showing some older favourites.

I’m so proud and feel so privileged to be part of such an amazing Design Team and to be able to showcase such amazing products.


Thank you so much for visiting today.
Have wonderful day xx Zoe 

Sunday, 16 February 2020

Believe in Yourself by Brenda


Hello Peeps, Brenda here with some more inspiration using the new Blueprint stamps recently launched on Hochanda TV, the proved to be extremely popular which is no surprise as they offer something different yet still combining beautiful flowers CB is so well known for. All of the sets work so well together and are so easy to extend a pattern of design.

The Calla Lily Blueprint features on my card above, I stamped the bloom three times, cut out and coloured with pencils. The background is a mixture of Distress Oxides and Acrylic Paint, stencilling and several elements from all four sets stamped with Versafine Clair  to create a 'frame' onto which I fixed the Lilies and twine to form a circle. The sentiment from the Sweet Peas set is stamped onto an inked chipboard circle.


A brayerd Oxide background on this one and the Freesia Blueprint stamped with Versafine black and the 'fraome' extended with a stamp from the Sweet Peas set, the flowers stamped again, the flowers cut out coloured and decoupaged. Some texture paste added through a stencil. Elements from the Lily set stamped randomly and the sentiment is from the Cornflower set.


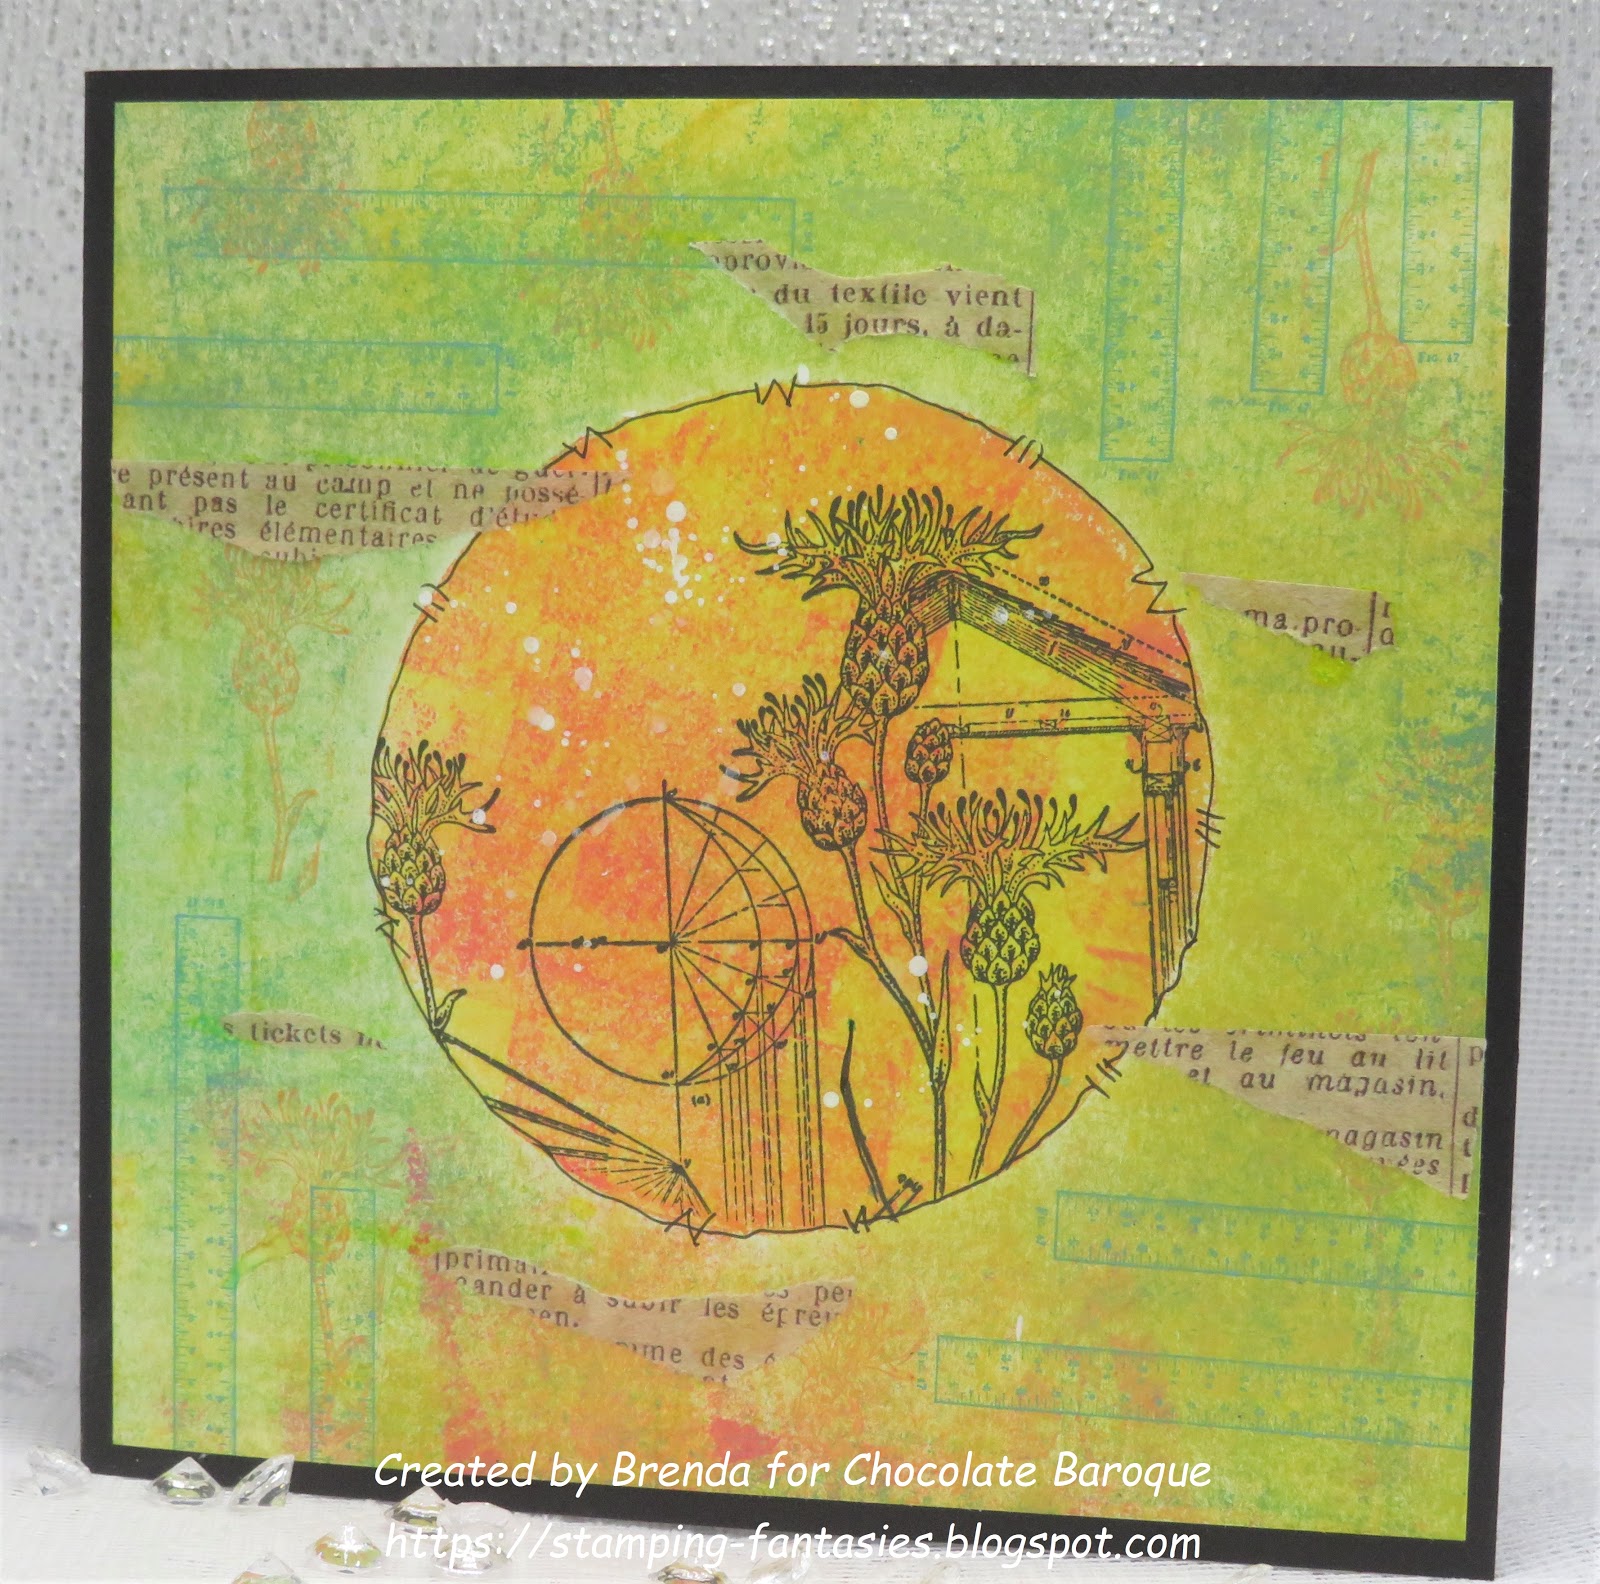
A Gelli Plate background, random stamping using the rule from the Lily set, then the circle masked and Wild Cornflower Blueprint stamped with Versafine Clair. I used a fine line pend to add an outline to the focal circle and some torn rice paper added here and there.


Sweet Peas take me back to childhood so the Sweet Peas Blueprin might be my favourite set! I used a piece of deeply etched linen card to brayer on Distress Oxides to achieve subtle colour, then stamped the Sweet Peas twice, cutting out the flower heads to decoupage after coloring with pencils. I inked just the circle element of the image and stamped randomly in the background, then used a mask to add a circle to reflect that of the image and used sentiments from the Lily and Sweet Peas sets.


This one is just some indulgent pattern building using elements from the Calla Lily BlueprintFreesia Blueprint and Wild Cornflower Blueprint sets, stamped onto an oxide and stencilled background. The little circle is chipboard and was a perfect fit for the circle element on the Cornflower set.

Many thanks for your visit today.

Saturday, 15 February 2020

On a scale of 1 to 10.....................

Hello

Today I am showing some of my samples from the January show on Hochanda.
This was Chocolate Baroque's 3rd Anniversary with Hochanda and there were so many sell outs!

These Blueprint stamps are so lovely to work with.

My first card uses the Sweetpeas Blueprint set
I have used the main stamp, which as Lesley explained was a drawing of the top of a flag pole, and I've coloured with alcohol pens. I have also used the little sprig stamp as a background and one of the sentiments

My next card uses the Calla Lily Blueprint set. This is a lovely image and I have used watercolour pencils.  I have used the Set Square stamp for the background layer.


 Next, I have a card using the Freesia Blueprint set.  I coloured with alcohol pens again and added a little bit of glitter.


My last card today is from the Wild Cornflower set. For this card I used a brayer with some chalk paints onto some card and stamped the main image from the set.  I then added some watercolours just to the flower heads.
Thanks for looking
Sandra x

Thursday, 13 February 2020

Grungy Blueprint (by Julie)

Hello, today I have two cards to show you starting with a grungy style card that has been stamped using Wild Cornflower Blue Print

I spritzed some water colour card with water and dabbed on blue and cerise liquid inks. I dabbed it with some kitchen towel and once dry I inked up the stamp designs with grey and black Versafine inks to stamp across the background. I finished the design off by dabbing the edges with Antique Bronze Distress stain and then mounted onto black card-stock.


My second project uses Freesia Blueprint and the card was started by inking up the small freesia flower heads with Onyx Black Versafine which were then stamped around the edges of the base card. I stamped the main Freesia image onto spare stamping card and coloured with polychromos pencils and Distress inks. I cut my card to size and then stamped the set square ruler from Cala Lily Blueprint in opposite corners, before mounting onto black card and then adding to the base card.

Thanks for stopping by and please call back soon for more Design Team inspiration.

Julie xx

Wednesday, 12 February 2020

Mackintosh Beauty (by Doreen)

Hello everyone, this month we welcome our Guest Design Team member Doreen Sympson to the blog to inspire you with three posts. She has decided to start with a beautiful Art Nouveau style card.

Doreen writes:

With Valentine's Day just around the corner when I was browsing through my collection of Chocolate Baroque stamps for this post, a beautiful set of stamps just fitted everything I was looking for, it oozes romance. The Mackintosh Beauty set is divine, you can do as little or be as elaborate as you wish, and it stamps perfectly. The sentiment however comes from the Rose Stem Script stamp set and works so well on this card.


Products used in the making of this card:

Ranger Archival Inkpad- Plum
Chocolate Baroque silk card
Black card and 8x8 card from stash
Alcohol ink pens and blender pen

Thanks for looking

Doreen

Tuesday, 11 February 2020

Colourful blueprints by Rachel

Hello there. Rachel here today to share my inspiration using the blueprint stamps shown in the January shows. They really are fabulous stamps and I am so glad they were so well received.

This first card used stamps mainly from the Freesia Blueprint stamp set. I teamed the images up with inks and stencilled circles and turned them into a butterfly.


More colour in this sample - I used images from the wild cornflower blueprint and the vegetation came from the sweetpeas set. 


A very simple card here using a brusho background and the image from the sweetpea set. Colouring was using water colour pencils.


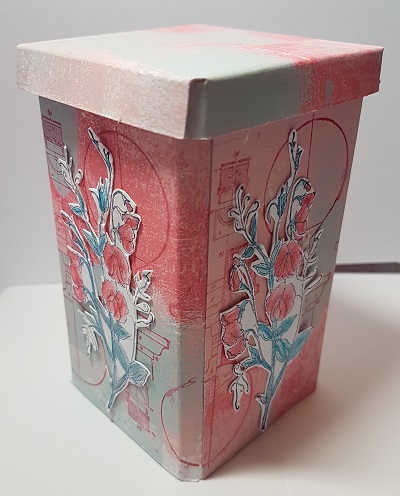
This was created using dies. Once cut I used paint to colour the card then stamped onto the paint images from the Sweetpea Blueprint set. Finally, after assembling the caddy I added fussy cut images from the SweetPea set. 

I hope I have given you some ideas of ways to use some of your stamps if you have already bought them, or encouragement to get them if you haven't yet!
See you later in the month!
Hugs
Rachel xx

Sunday, 9 February 2020

Valentine's Day (by Magda)

Hello girls,
We can't miss the appointment with our Valentine's Day without making appropriate projects.
I have for you some ideas :

Layered Tag :  stencil, Distress Ink Pad, Archival Jet Black,  Fluttering Hearts, A Heart full of Love


            Aquarelle Pencils, embellishment


Journaling Page :  stencil, Distress Ink PadArchival Jet Black, Floral Heart, Nouveau Lovebirds, Amazing Mackintosh Words


Thank you for reading my post today and Happy Valentine's Day
Magda

Saturday, 8 February 2020

freesias

 I loved working with the beautiful blueprint stamps last month, and today it is the turn of the freesia set.
My first card uses the larger image stamped in brown ink onto watercolour paper coloured using walnut stain spray and clear embossed. I used bleach to lift the colour from the flowers, then tore round the edges. The base card was randmly stamped with the geometric stamps from the same set using distress oxide ink and smudged with the same tea dye ink and old paper  to taske the white down. The sentiment comes from the calla lily set

 I used a stamping platform to create the next cards, using a 7.5" square of white card , and still using the large flower stamp stamped 8 times in green ink and coloured with watercolour pencils. The sentiment is from the wild cornflower set, cut out using a punch and edged with marker pen.

The second version used a 7" square of card , which gives more of a wreath effect. The images was first stamped in light green ink,  then again in the gaps using the darker green ink.
The flowers of the darker image were coloured with watercolour pencils, and the sentiment from the freesia set stmaped onto a circle of white card again for the centre.

 I also used both flower images to create candles, this time colouring the images with marker pens on the reverse side of the tissue paper.


Friday, 7 February 2020

Natural Reflection and a selection of Hearts by Penny

Good morning everyone, I hope you are all well, warm and prepared for storm Ciara.  I didn't make any samples for the January shows so I have a few  samples from some of the other shows.  


Natural Reflection.


For this card I have used stamps from the Harmony Tree, Sunburst Scenes and Landscape Edges sets; Versamark ink, white EP, Koh-I-Nor watercolour paints, Distress Ink - Vintage Photo, white paint pen.


On a piece of Kraft card I stamped the Harmony Tree, windmill and tiny tree using Versamark and embossed them with white EP.  I used a white pen to link the images and create a scene.  I then stamped and embossed some birds and words in the sky.  On another piece of card I stamped and embossed the stone wall image twice, then painted them.  I painted the whole scene then blended DI around the edges.  I cut out the walls and attached them with 3D glue along the bottom edge of the panel. 


I took a white base card and stamped the stone wall around the edges using DI,  then used water to move the ink on the stamped images.  Finally I attached the focal panel to the base card. 


Artists Trading Hearts.


Here are a few of the ATHs that I have created as samples.


Thank you for popping in today, I hope that you have enjoyed my first post of this month,  I'll be back later with some more inspiration for you.


In the meantime take care,


                                  x x  Penny  x x

Wednesday, 5 February 2020

Engineered Florals (by Judith)

Hello everyone, I have some projects to share with you today using the fabulous stamps and stencils that we brought to you during last month's TV shows on Hochanda. I hope that you managed to catch the shows, they were a whirlwind of activity, as the stamps sold out very quickly, but Lesley and I enjoyed ourselves enormously trying to keep up with what was happening!

My first card was created using the beautiful Freesia Blueprint stamp set. I used the Dotty stencil from the Strip Stencil - Collection 1 set and added some texture paste to a piece of drawing cartridge. I coloured the background using Distress Ink once the texture paste was completely dry. I added some background stamping using one of the smaller images from the stamp plate.

I stamped the main freesia image onto another piece of drawing cartridge, and coloured the image with Koh-I-Noor watercolour pencils. I stamped a sentiment onto a small piece of card, coloured in the same colours as the main background, and edged all of the pieces with brown ink.


To create my second card, I took a piece of glossy card, and embossed a couple of images from the Wild Cornflower Blueprint stamp set using white embossing powder. I then covered the background with blue Distress Ink and polished the card. I stamped the main image from the stamp set onto a piece of smooth stamping paper using blue ink, and coloured the image using pencils as before. I added a sentiment, and some shading with blue ink, before edging the paper with dark blue ink.


Using a piece of drawing cartridge, I added some yellow Distress Ink to create a background, and then drew lots of postage stamp shapes using one of the inserts from Triple Postage, another one of the Strip Stencil - Collection 1 set. I stamped the smaller images from all of the stamp sets into the postage stamp shapes, and coloured them with pencils, adding a sentiment into one of the shapes. For extra definition, you could add shading around the shapes to give a 3D effect, making the postage stamps look as if they had been stuck onto the background.


My final card was created by adding one of the beautiful Designer Papers A5- Background Splash, designed by Lesley, onto a card blank. I stamped one of the engineer's drawings from the Sweetpeas Blueprint stamp set three times across a piece of drawing cartridge. I varied the height of each image. I added some foliage in between the images and coloured everything in with pencils. I stamped the small sweetpea flower head onto a scrap piece of the patterned paper three times, and cut them out. I stuck each flower head into the top of a 'bulb'. This piece of apparatus is actually a flagpole, but I thought that it resembled a quirky specimen jar and made a perfect home for the flower heads.

I edged the card with black ink before attaching it to the coloured bakground.


I hope that you have enjoyed my first batch of cards this month. I will be back later on with more inspiration to share with you. Thanks for stopping by,

Judith xx


Tuesday, 4 February 2020

Revisiting the past by Zoe

Good morning Lovely’s and welcome to my first post this month.

Unfortunately I was unable to make samples last month using those amazing new stamps. I’m so pleased they are a huge success and sold out so fast.

So I am posting a couple of old favourites this month, I’m sorry if you’ve seen them before.


Thank you for visiting, hope you have a wonderful day xx Zoe xx 


Sunday, 2 February 2020

January’s Blog Comment Winner


Hello and welcome,

We truly appreciate the time you take to let us know your thoughts about our designs, so each and every comment is very important to us.
Each comment in January was assigned a number and we used Random Org to draw a winner.
Congratulations to Foxyg, you have won this months £15.00 voucher to spend on Chocolate Baroque stamps. To claim your prize, please email here to confirm your email address and Lesley will send your gift certificate.

Lesley will be giving another £15 gift voucher to another lucky winner drawn from February’s  comments. The more comments you leave, the better your chances of being the winner.

Thank you so much for all the kind comments you leave.

Good luck from the Design Team

Saturday, 1 February 2020

Geometric Lily by Brenda


Good morning and welcome to our first post of February where myself and the Design Team will be showcasing the beautiful new Blueprint floral stamps designed by Lesley. They launched in our third birthday show and were an instant sell out, in fact the sold out in just seven minutes and then went to extended and further extended dispatch.

I will showcase all four stamp sets in this post and hope I can tempt you to pop over to the web site and treat yourself, I can assure you they are immense fun to work with and they all work in conjunction with one another, I had great fun pattern building with them.

The top card is fairly simple, there is so much detail in the stamps that you just need some colour to bring them to life. The focal image is the beautiful Calla Lily, stamps with Versafine black onto a Gelli Plate background (Distress Inks and Brusho's), a little colour added and the stand alone geometric image stamped outside to the top corner.


The background for this one is acrylic paint and gesso used through a stencil to add the flourishes. I used another stencil and texture paste to add the rays and sprinkled with glitter whilst still wet. The Sweet Peas Blueprint  was stamped with Versafine Clair, more Sweet Peas using the smaller image and the colour removed using bleach. The sentiment is from the Calla Lily set.


A tag using element from all four stamp sets, stamped onto panels coloured with Distress Inks and machine stitched around the edges, mounted onto a large tag and a seam binding bow. The sentiment is from the Sweet Peas set.


Another Gelli Plate background with the Wild Cornflower inked direct to stamp with Distress Markers, a little colour added to the blueprint using pencils and a sentiment from the Sweet Peas set stamped with Versafine Black onto a piece of Aida.


Another tag with a background of Distress Oxides, some stencilling, the Sweet Peas Blueprint stamped with Versafine Clair, coloured in with pencils, sentiment from the same set and  geometric elements stamped from the Freesia and Calla Lily sets.

Many thanks for popping in to visit today.