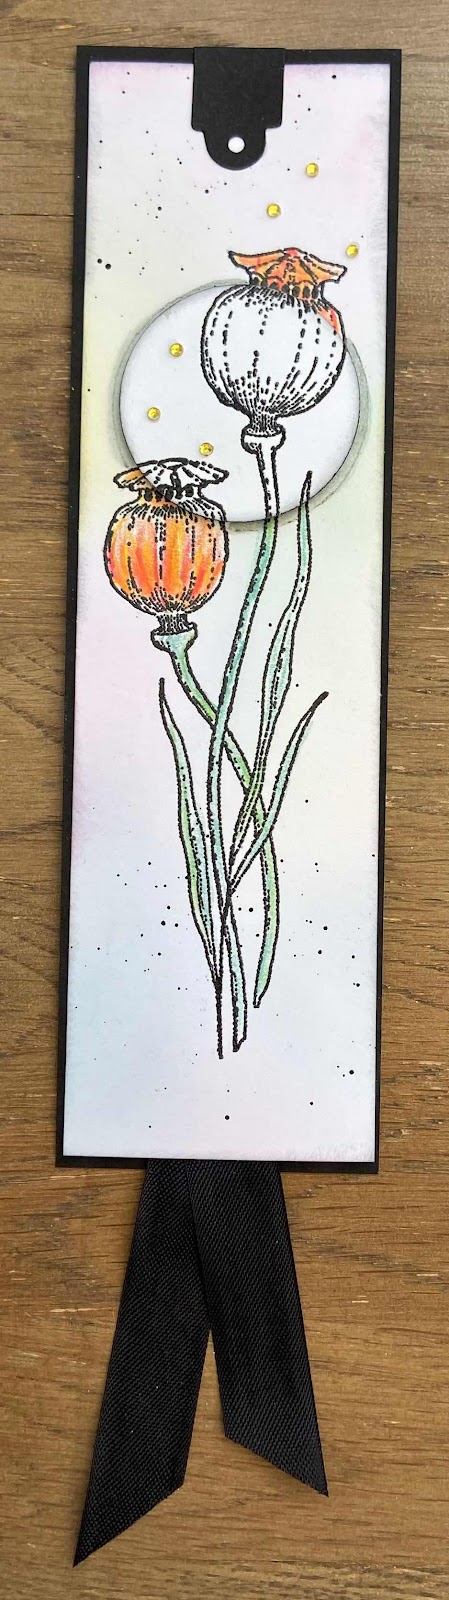
Thank you so much for visiting today, I shall be back later this month with a couple more samples from the show.
Friday, 10 September 2021
Christmas Ensembles by Zoe
Thank you so much for visiting today, I shall be back later this month with a couple more samples from the show.
Thursday, 9 September 2021
Beautifully Evergreen
Welcome to Christmas inspiration in September. Today I have four samples to show you but will not bore you with ins and outs of how each of them were made. They are all fairly easy to achieve. All are achieved using the fabulous Holly Script Rubber Stamp Sheet - DL.
This first sample was made using the trusty A4 Drawing Cartridge, cut the card slightly larger than you want your finished topper to be. Using a Green Distress Inkpad blend the colour into your card leaving an area in the centre free of ink. Spritz with water and lift excess water off with kitchen roll. Taking a Black inkpad of choice once background is dry, stamp image onto the card. Heat set with a heat gun. then colour the Holly leaves with either paint or using a darker green inkpad to paint with, working fairly quickly add either embossing powder or glaze if you have it to the leaves and emboss with your heat gun. Next, using stickles or glitter glue of choice enhance the veins of the holly and add some lighter stickles to the stem to give the impression of light. Then add the red to the berries leave to one side to dry. Put well away from your work area as it does take a while to dry and I have many a mishap with not doing so. I used a piece of white card to matt the topper onto and a piece of red card to folded for the base.
For this sample I chose a rustic feel using sepia tones and a piece of corrugated card for the base.
This next sample uses some odds and ends from my stash including a bauble shaped piece of mount board. Ribbon and bakers twine add a little decoration. Coloured using Distress Inkpads to paint with, also a little ink on a soft brush to add some colour to the outside edge of the bauble.
Another sample using a backing made some time ago to make a small card that uses the delightful verse that is included in this beautiful set of stamps.
Tuesday, 7 September 2021
Celestial jug and mobile by Rachel
Hello there! Rachel here today with some makes using the Celestial stamp set from Fiona Randall launched in the July shows. For the jug, as usual I stamped in ink then overpainted in glaze before firing in the kiln at Pottyroos in Morecambe.
Its really difficult to photograph a mobile but hopefully you saw it on the set. I had the ring and painted that with black gesso before adding the stamped images on the underside which would be visible from below. For the moons I did them in different colours and sizes to make them look like planets and stamped each one twice and stuck the images together with a piece of cotton between them which I then used to attach them to the ring.
Monday, 6 September 2021
Christmas concertina by Brenda
Morning Peeps, the first of my September posts sharing some inspiration from the August TV shows.
I do love a concertina card, this one is a little different in shape to the ones I usually make as I found this Timmy Movers and Shakers die hidden away unused. So I cut it five times and fixed together with ‘hinges’ made from the offcuts.
All five panels cut to fit onto the frame were inked with just one colour Oxide, Festive Berries and the images from Holly, Mistletoe, Christmas Rose and Poinsettia Script stamps, coloured all the leaves with sparkle pens and stamped the flowers again onto inked card, cut out and paper pieced and gold glitter added to the centres.
Sunday, 5 September 2021
Mushroom Rapsodie (by Magda) - Mushroom House, Autumn Poppy
Hello
Mushroom Rapsodie is a composition of tags for which I used Autumn Poppy. This plate offers a lots of mushrooms and I had fun in using them all. From Mushroom House plate I stamped only two sentiments. Here below I write down what I needed and how I done it.
3 Tags 15 x 8 cm , one each in black, kraft and manila 2 Tags 8 x 4 cm, one each in kraft and manila Distress Ink Pad for stamping in brown, black, white Charcoal for coloring in sepia, black and white
At first I prepared the project layout with the tags and disposed the mushrooms using a cut decoupage, then I stamped the images on each tag adjusting something, colored the mushrooms and at last glued the sentiments.
I have revealed to you today one of my ways of operating and I hope this could be useful to you. Hugs Magda
Saturday, 4 September 2021
mica flutters (by Veronica)
For both of these I used one of my favourite techniques, a bit fiddly and takes a long time to dry but a fab result - well, i think so anyway!
First ink the stamp up - I used black versafine - sprinkle with mica powders and then cover the stamp with pva glue (the cheap stuff is absolutely fine as long as it dries clear) then leave to dry. Depending on the weather and how much pva you used it can take up to 2 days to dry completely. Once dry, peel off from the stamp and trim the edges and it is ready to use.
Both cards have a light grey card background.
The square card uses the dragonfly and moth stamps, with the background stamped with the geometric designs in grey and randomly sprinkled with clear embossing powder. The powder bubbles up when you heat it without using versamark and I rubbed some mica powders randomly over the background as well. The word was stamped using versamark and gold embossed, then the insects were added.
Friday, 3 September 2021
Christmas Wishes
Hello
I am sharing some of my samples made for the recent shows on The Craft Store.
The stamps I have used are Holly Script, Poinsettia Script, Mistletoe Script and Christmas Rose Script. These stamps are all available individually and as a multi buy.
I thought a set of these cards would make a lovely gift so I have made them all in the same way - stamped in archival and coloured with watercolour pencils. I them mat and layered onto some toning card. I finished with a few sequins, but by the time they to Lesley most had fallen off! Oops, must get some stronger glue!
My last card today is an Accordion Card which uses the smaller "worker" stamps. The beauty of this style of card is that you can make it with as many panels as you want.
Thanks for looking
Sandra x
Thursday, 2 September 2021
Blog Comment Winner
We truly appreciate the time you take to let us know your thoughts about our designs, so each and every comment is very important to us.
Each comment in August was assigned a number and we used Random Org to draw a winner.
Congratulations to PEARL
you have won this month's £15.00 voucher to spend on Chocolate Baroque stamps.
To claim your prize, please email here to confirm your email address and Lesley will send your gift certificate.
Lesley will be giving a £15 gift voucher to another lucky winner drawn from the September comments.
The more comments you leave, the better your chances of being the winner.
Thank you so much for all the kind comments you leave.
Good luck from all on the Design Team
Here is another chance to see the beautiful creation by Rachel
Wednesday, 1 September 2021
Celestial Medley (by Judith)
Hello everyone, I have a couple of projects to share with you from last month's TV shows on The Craft Store. Today, I am going to focus on the fabulous stamps from Fiona Randall, comprising of two A4 stamp sets, Celestial and Sacred. If you like mystical, mysterious, mixed up with a bit of fantasy and a little bit of geometric, add butterflies, dragonflies, moths, and great fonts, then you will love these stamp sets. The Design Team, including myself, had great fun creating projects using the stamps, and I am sure that you will enjoy seeing all of their creations over the coming month.
For my first project, I stamped the moth twice onto kraft card, and masked the images before stamping one of the larger geometric images. I removed the mask, and coloured the images with pencils. I added the script, and attached the kraft card to a card blank.
My second project was a series of three little chipboard panels. I covered them in Chocolate Baroque Black & White Papers Series 1, using matte medium, and then when they were dry, I covered them with acrylic paint in shades of yellow, orange and red. I stamped the butterfly, moth and dragonfly onto smooth stamping paper, and coloured the images with pencils. I then cut out the images, and covered them with Versamark before embossing them with clear embossing powder. This gave them a glazed finish, and made them more durable. I stamped the background of each panel with one of the geometric images using orange Archival ink, before attaching the insects. I stamped the sentiments onto a separate piece of card, and edged them with a hand drawn border.
My final project was a quick card using a gelli printed background. I added an embossed moon and words using white embossing powder. I stamped the stars using white ink randomly over the background, and added Autumn Medley stamped in second generation stamping at the edge of the background. I coloured this image faintly, adding lots of white pencil, as if she is illuminated by the moonlight.
Thanks for stopping by,
Judith xx
Tuesday, 31 August 2021
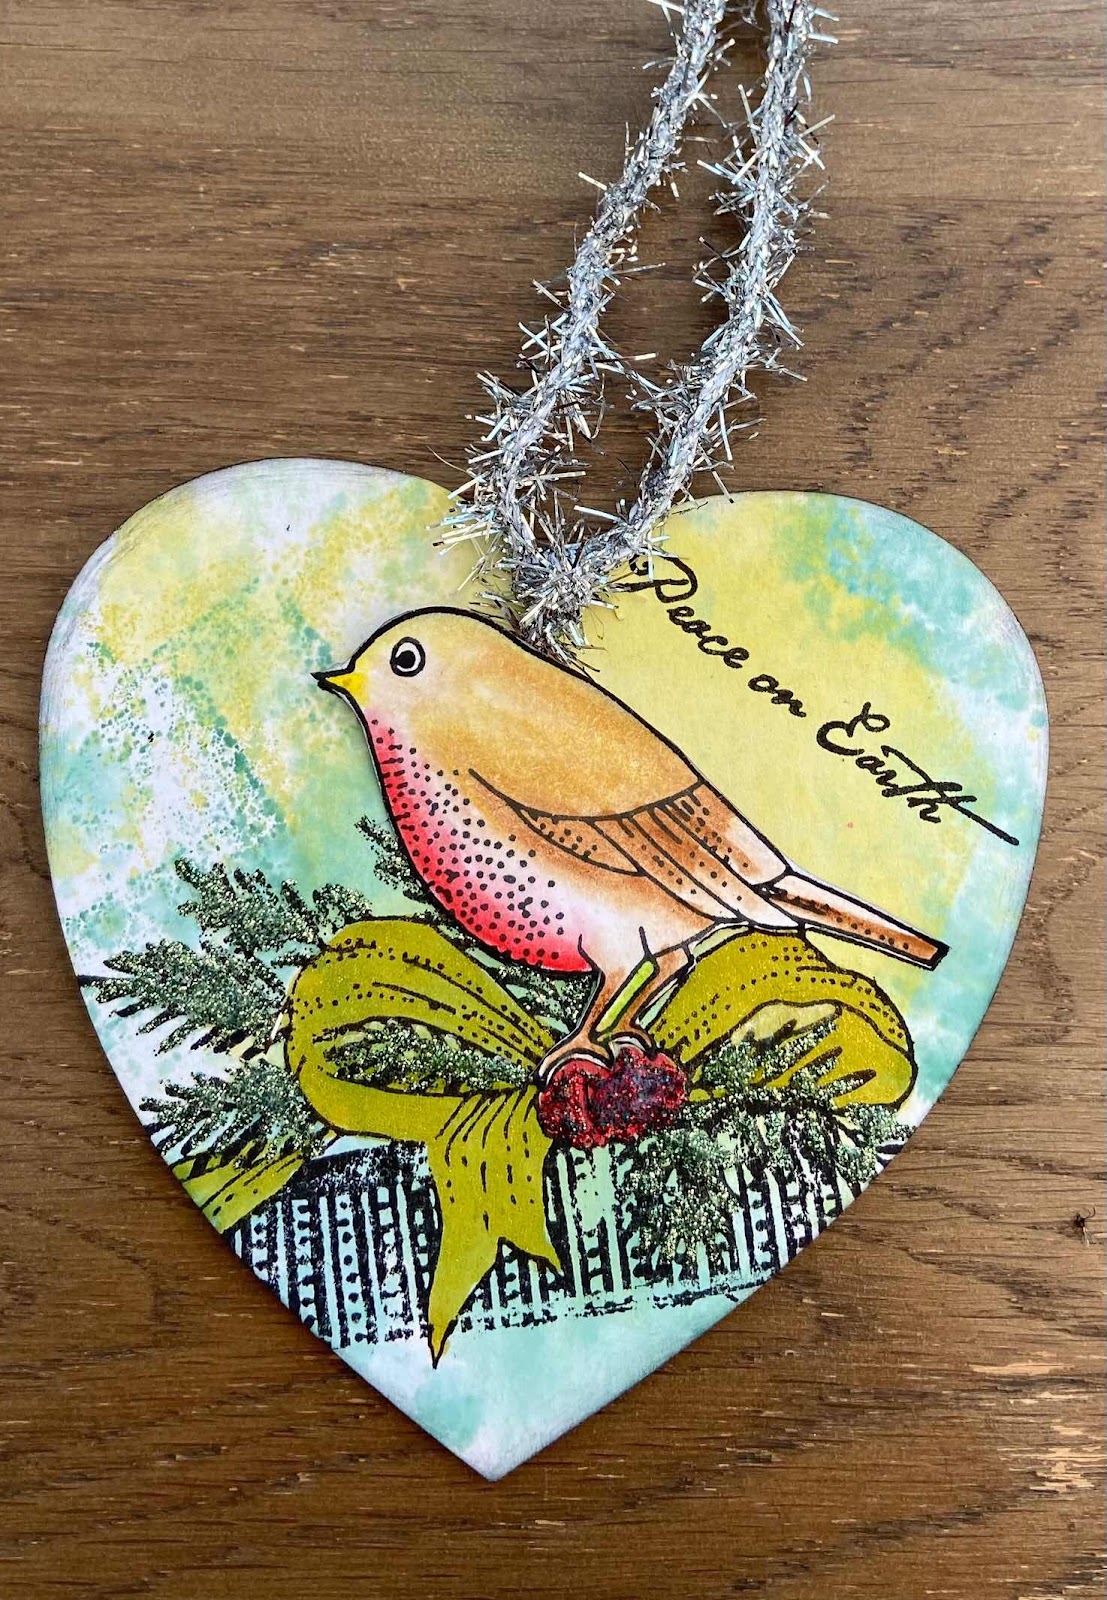
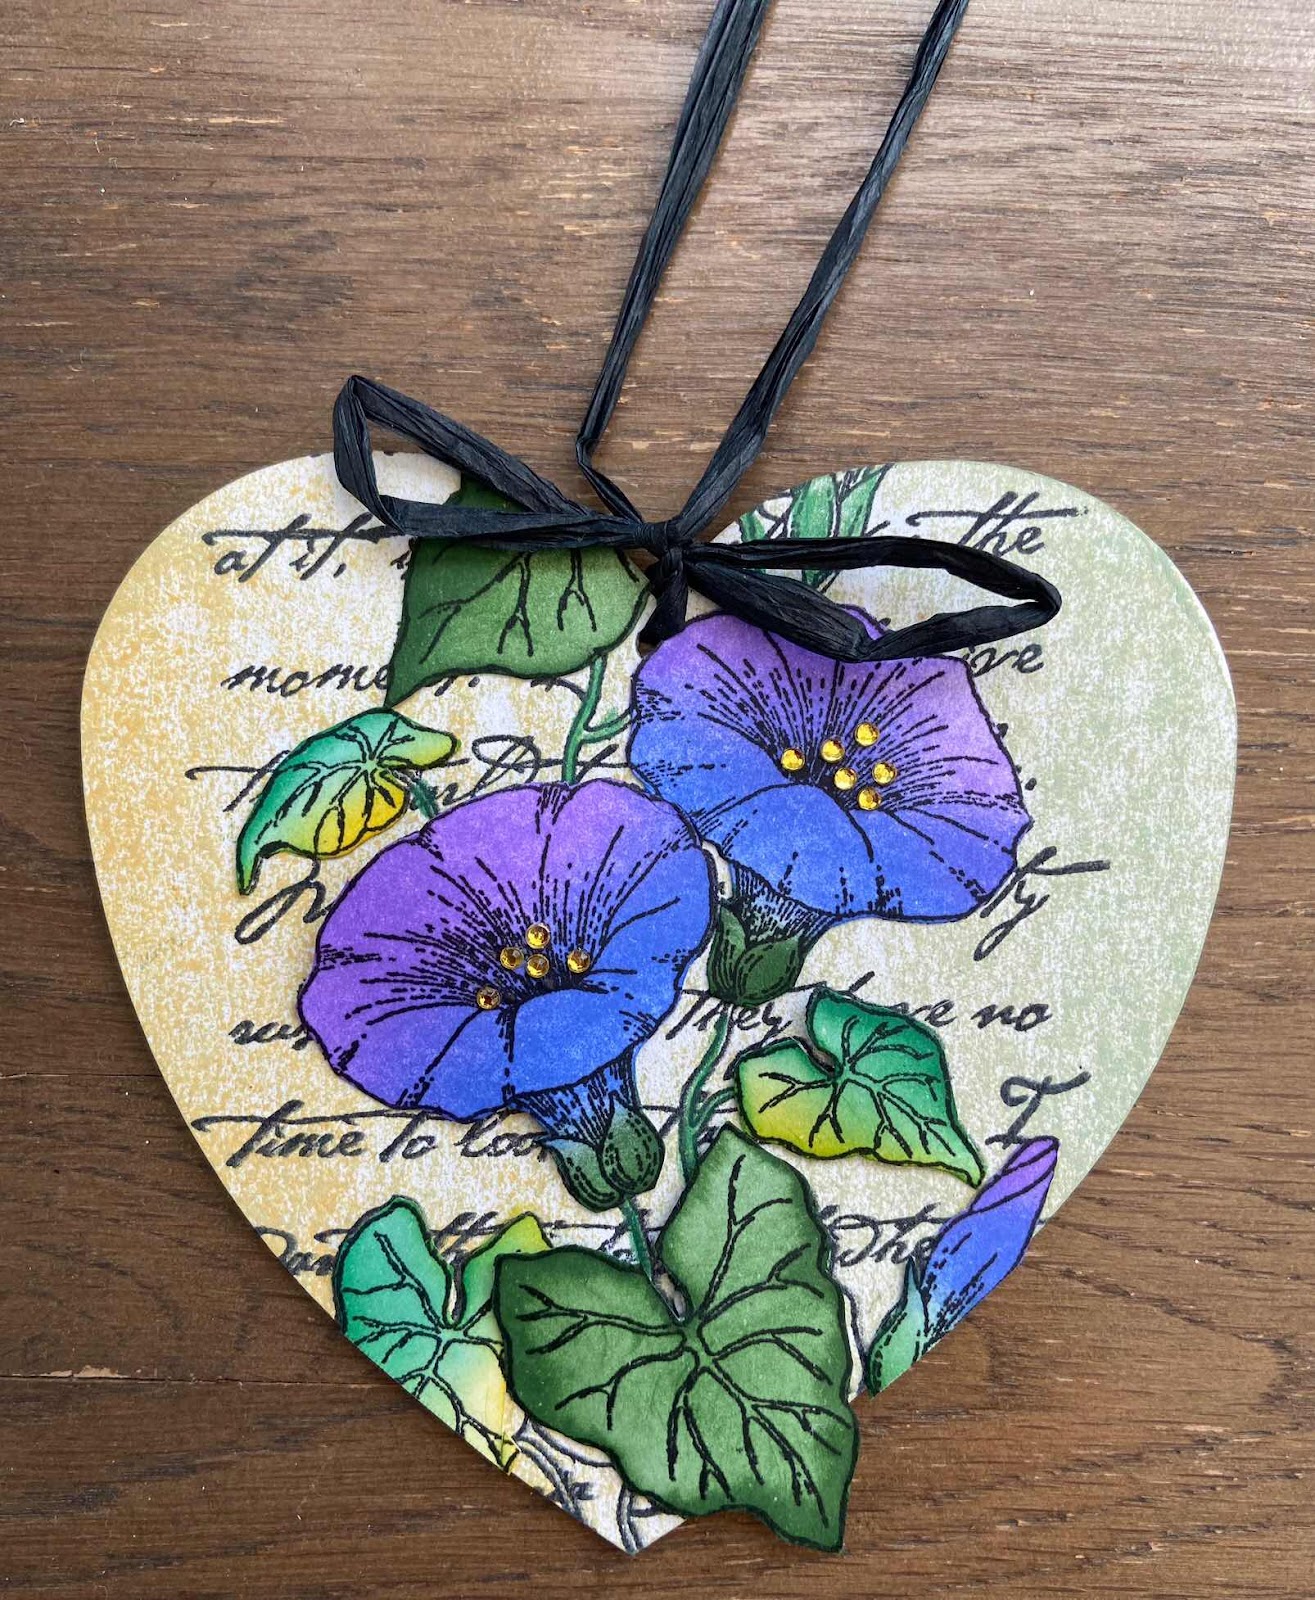
Florals and Birds by Zoe
Thank you so much for spending your time visiting today.
Monday, 30 August 2021
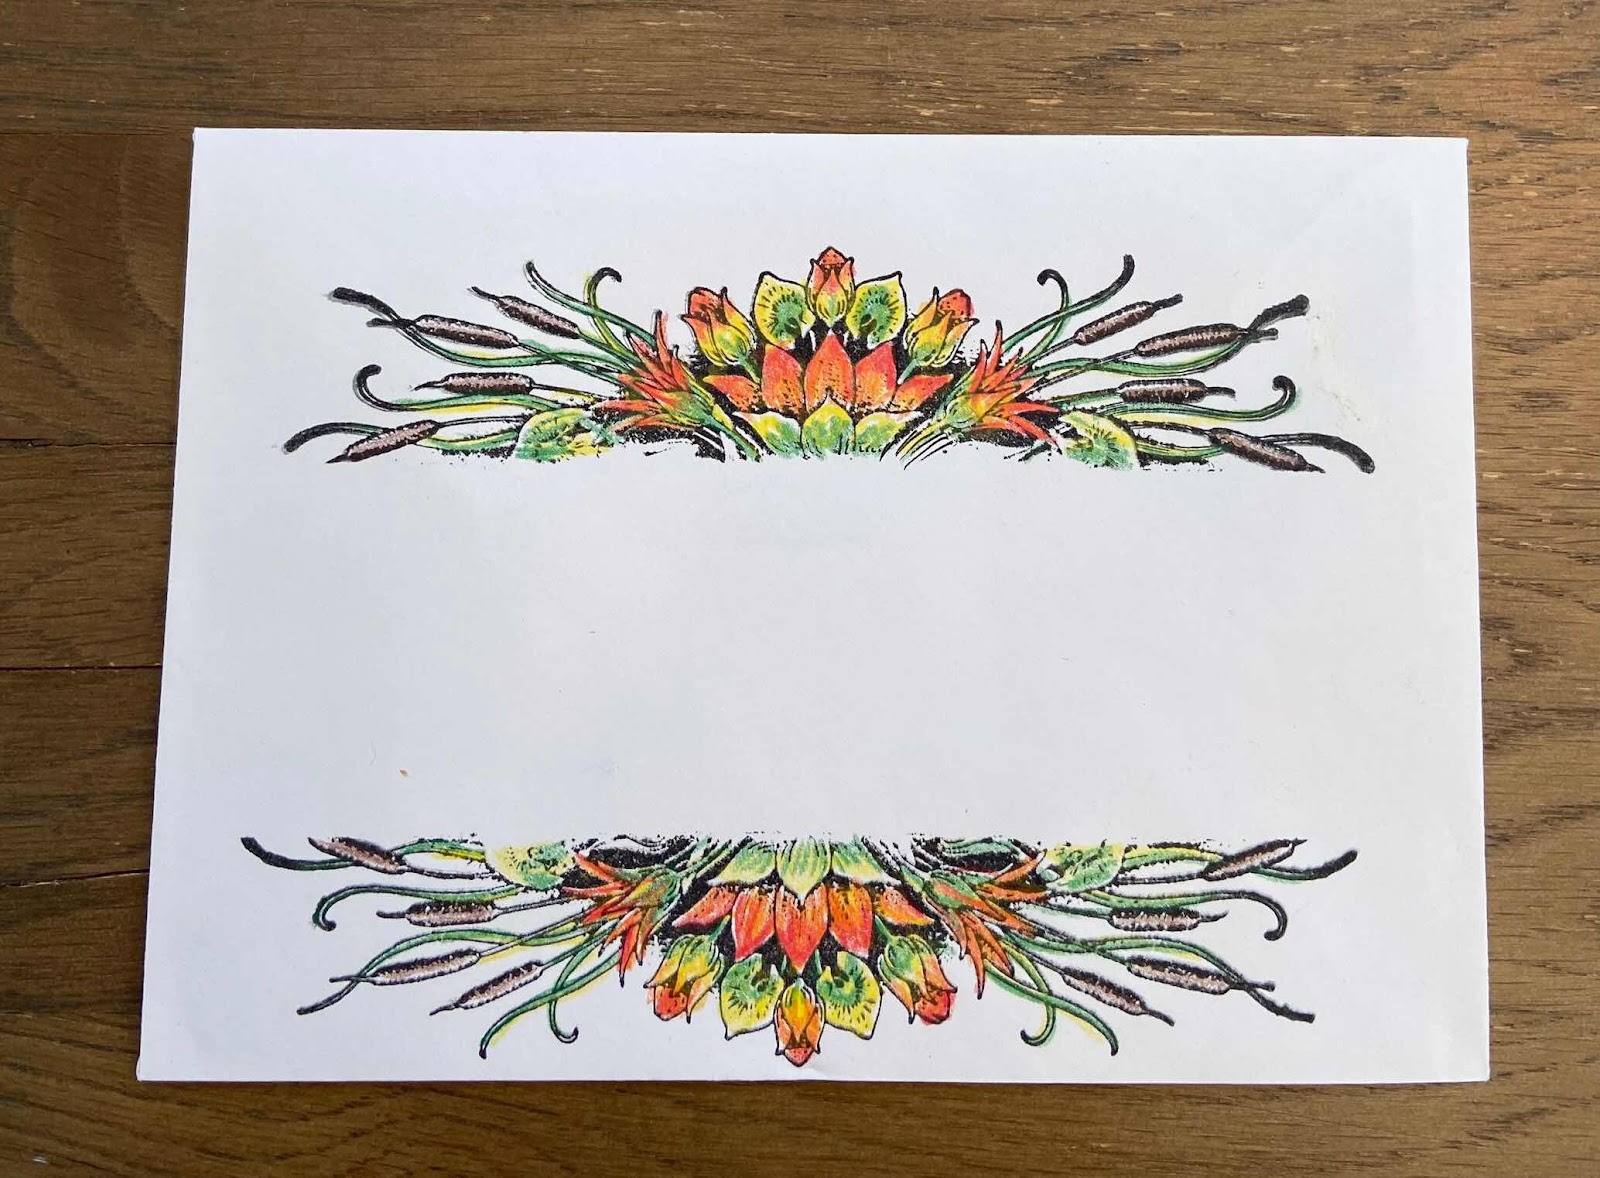
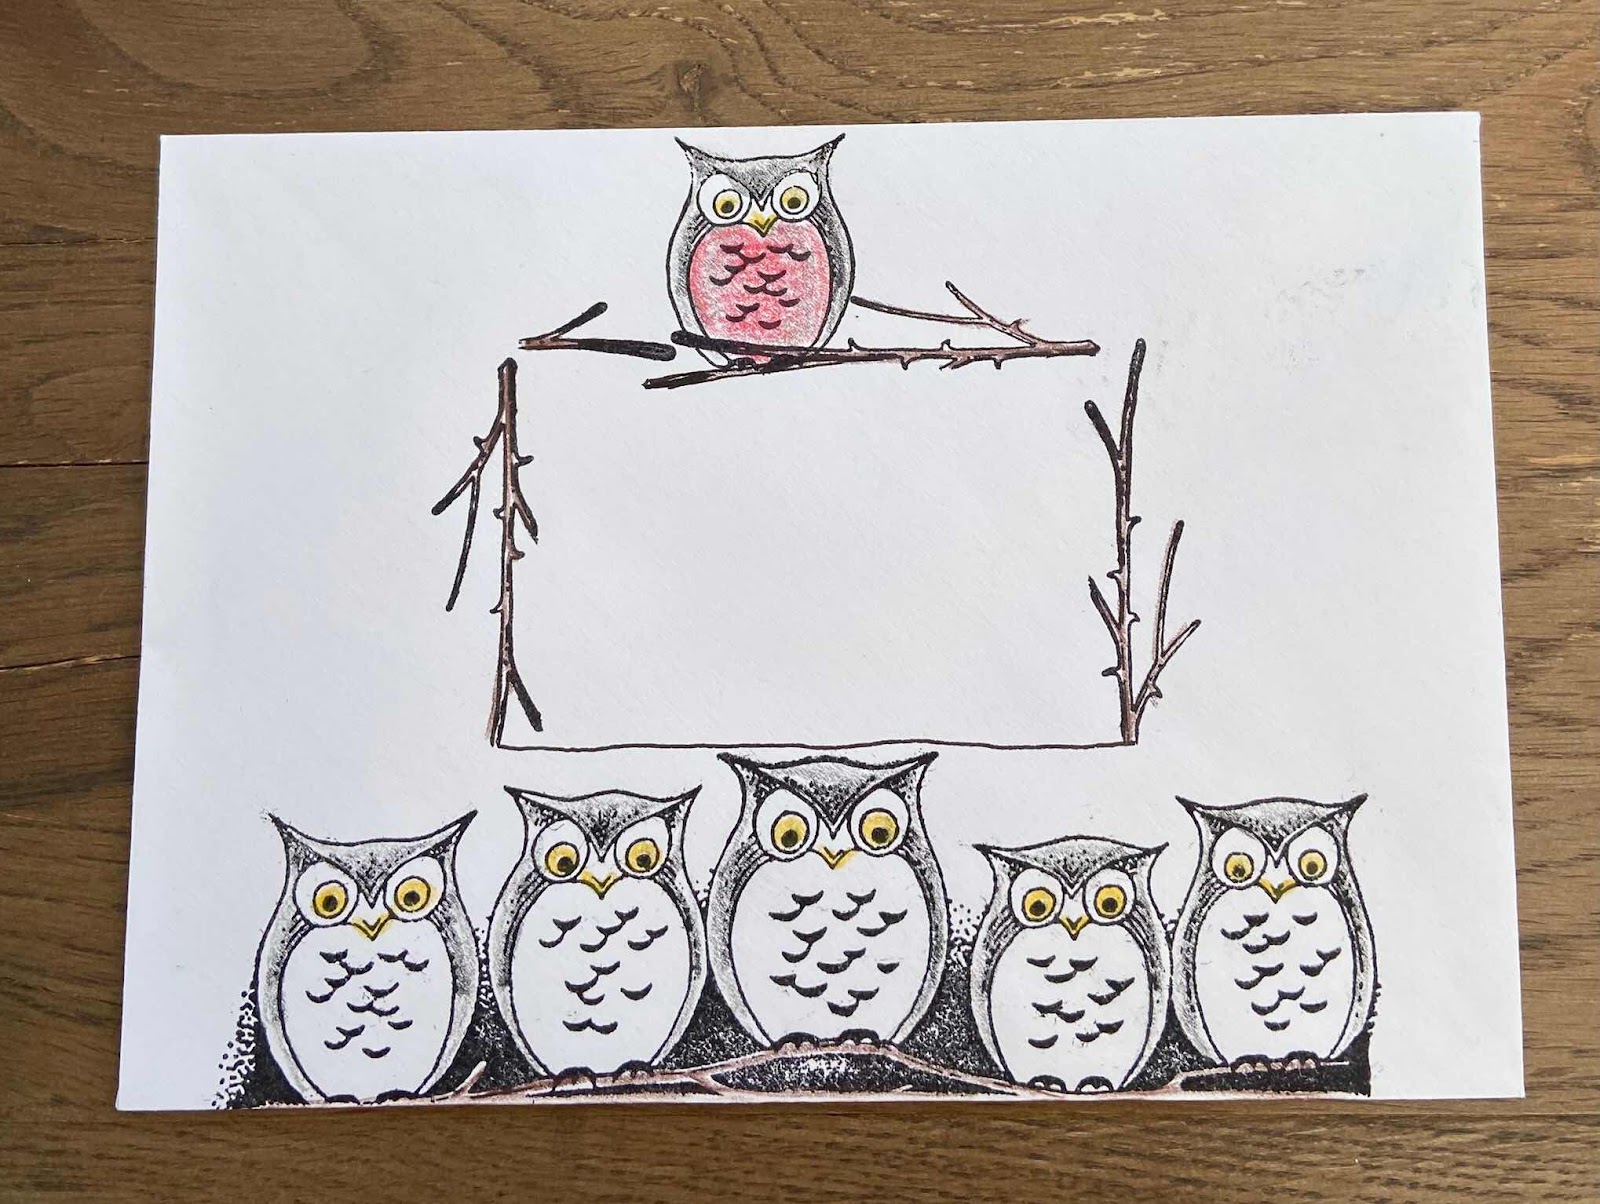
Perfectly Perched
Sunday, 29 August 2021
July samples mark 3 by Rachel
Hello there,
Rachel here today with my final set of samples from the July shows. The first one includes a super image that I have made into a tag. The image is called The Gift and I have simple stamped it and heat set in clear embossing powder. I have then used mica powders to paint in the image.
In this second sample I have used a piece of calico fabric which I painted randomly and then stamped an image from the Butterfly Dreams stamp set onto it. I then used paints to then add more details to the stamped image and added to an embroidery ring.My final make is a canvas that went back to using the delicious polygon Poppies set. First I used a stencil and added texture paste to the background before painting it all over in shades of purple. Next I added stamped and coloured images from the stamp set. The images were coloured using water colour pens.
Saturday, 28 August 2021
Pink Digitalis by Brenda
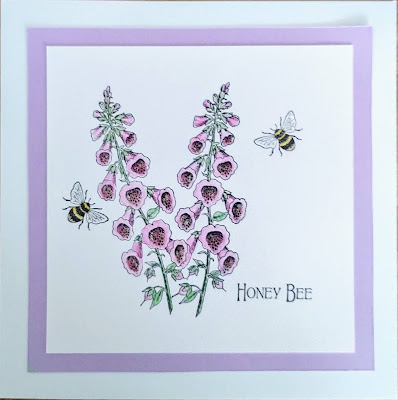
My final post for this month with three more shares of work from last months TV shows. Above and below a hexagonal box and a set of cards using stamped from Honey Bee which is such a useful set. I stamped, coloured and cut out several Digitalis to decorate the top of the box.
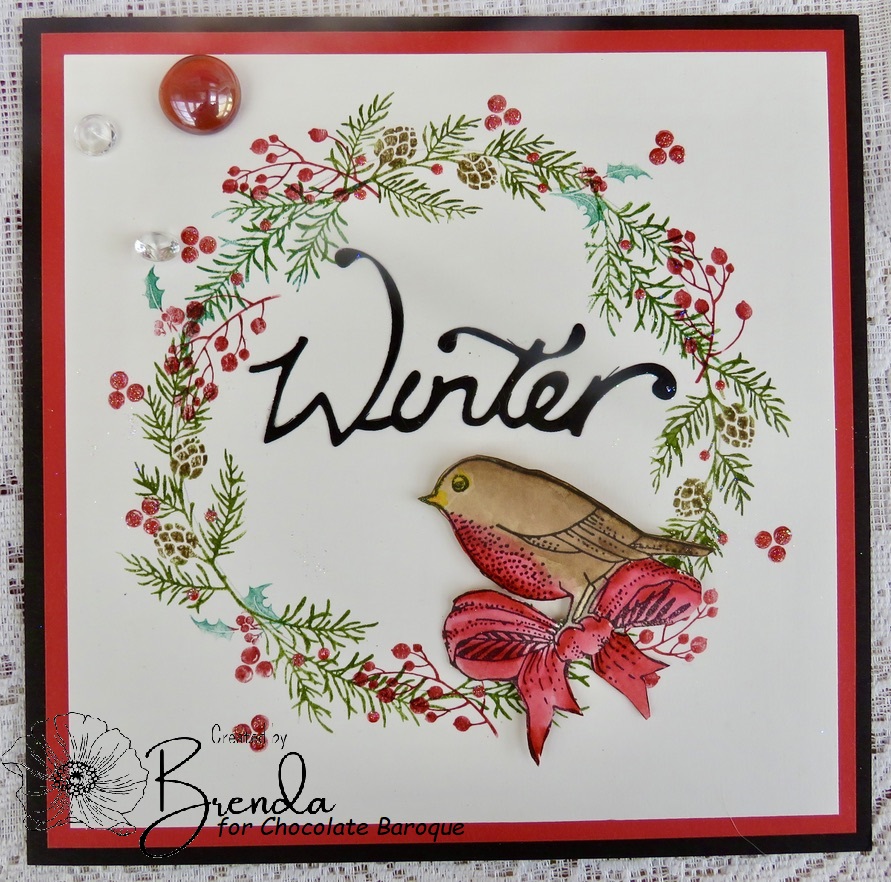
Below a Winter card using the Robin from The Gift and a collection of worker stamps used to create a wreath into which I place the Robin after colouring and cutting out.
My final share is a stepper card using Majestic Crane and Owl Edges all stamped, coloured and cut our to add to the 'steps'.Friday, 27 August 2021
Butterfly Dreams (by Lorraine)
For my final blog post this month, I'm featuring the main stamp from the Butterfly Dreams set.
This is a beautiful stamp, and the temptation is to colour it and leave it as is. I stamped the image on 300gsm card using Nocturne Versafine Clair and embossed with clear powder. As this is quite a large stamp, I did use my stamping press to ensure a good image. The flower centres need careful treatment to ensure that they stamp out nice and crisp. The butterflies were coloured using watercolour markers. The berries called for glitter pens, although the slight glitter effect doesn't show up well in the photo. I then carefully divided the image into 4 and matted it onto blue corrugated card, itself mounted onto a 7 x 7 card.
Wednesday, 25 August 2021
pick a poppy or two
The first sample is fairly simple, with the main stamp from polygon poppies stamped in versafine and coloured with koh-i-noor pencils. The background was sponged with distress oxide inks and randomly stamped in the same ink with some of the smaller stamps and one of the leafy stamps from walk tall
My final sample used the larger poppy from flora and fauna stamped into the centre of a square of card. I then sponged distress oxide inks in blue and grey through a diecut mask to create a patchwork effect and randomly stamped images from polygon poppies in the grey ink.
The blue ink was blended round the main image which was coloured with pencils
Tuesday, 24 August 2021
Bee Friendly
Hello
I am sharing some more of my cards from the recent shows on The Craft Store. These are made using the lovely Honey Bee stamp set.
For my first card, using archival ink, I stamped one of the Foxgloves, masked it with masking tissue and then stamped the second one. I then stamped the Bees and the sentiment also in archival ink, I then used watercolour pencils to colour in and some Stickles to finish the Bees wings.
Thanks for looking
Sandra xx
http://isthatthetime.blogspot.com/