Sunday, 20 September 2020
A bit of Home Decor by Brenda

Saturday, 19 September 2020
More Autumn inspirations (by Miranda)
Friday, 18 September 2020
Magic mushrooms (by Judith)
Hello everyone, I hope that you are all keeping well. I have a couple of vibrant projects to share with you today using stamps from The Shroom Clock stamp set featured on last month's TV shows from Hochanda.
My first project was created by using a background from my stash created with turquoise and green Brushos. I stamped the mushrooms onto some of the Seriously Gorgeous A6 Postcards using archival Ink, and cut them out. I adhered them to the background, and using a fineliner pen, I created a landscape for them to perch on. I added stamping using the small texture stamp from the plate which matches the mushrooms across the bottom of the background, and coloured the ground with pencils. I added white highlights on the mushrooms with a gel pen.
To finish my card, I stencilled in the sky area using the Chocolate Baroque Mask - Kaleidoscope of Butterflies and some turquoise Distress Ink. Finally, I added a sentiment.
To create my second project, I used another Brusho background, similar in colour to the first, to which I had added some stencilling with white ink to create a bokeh effect. I stamped the large Shroom Clock onto the background, and stamped this again onto a spare piece of card. I coloured the image using Koh-I-Noor watercolours, and cut the image out. I added some splatters of blue ink at the bottom of the background to create a feeling of grass, and added shading at the base of the mushrooms. I decoupaged the image onto the background, and added white highlights with a gel pen once more.
I will be back later in the month with more projects to share, take care, and stay safe,
Judith xx
Thursday, 17 September 2020
There's not much room inside (by Rachel)
Wednesday, 16 September 2020
Lacework (by Doreen)
A simple but classic style of card and very effective no matter which colour background or embossing powder you use, although I would definitely recommend a very fine powder if you have no detail embossing powders.
Very short product list for this one:
- Lace Fragments stamp set
- Versamark inkpad
- Detail embossing powder
- Black card for stamping and a piece each of black and white card for matt and layering of card
- Heat gun
In this beautiful set of lacy stamps there are several borders to choose from as well as corners and hero images, all are very fine and very detailed.
I feel there is not a lot to tell you in the making of this card as it is really sel explanatory for us who have crafted for some time, but for those who are just starting out on their wonderful crafting adventure this is a technique that never gets boring.
1.Stamp using Versamark, then pour over your embossing powder, tap off the excess powder and decant back into pot.
2. Turn on your heat gun and allow to get hot then direct at the embossing powder, when it starts to melt, chase it round the image as it will burn and dull the powder if left too long on one area.
3. Matt and layer onto a card and apply topper using foam tape for extra dimension.
Although I have not added a sentiment this time of course one can be added later to suit the occasion or recipient of your artwork.
Thank you for looking,
Love Doreen.
Tuesday, 15 September 2020
Tick Tock floral clock by Zoe
Thank you for visiting, i do hope you like my creations? I loved using these stamps, they are so versatile.
Monday, 14 September 2020
parsley time (by Veronica)
My first card was very simple, stamped and white embossed onto black card - the parsley was actually coloured with pearlescent paints, but they only show up on the butterfly in the scan image.
The sentiment was just stamped using a white pigment ink
The background to the second card is a distress ink one, with peeled paint , broken china and squeezed lemonade pads stamped onto a paint mat, spritzed with water and the drawing cartridge used to mop up the colours.
Butterfly coloured with watercolour pencils, and a white posca pen for the parsley flowers.
The last sample had distress oxide inks sponged onto a whiteboard heart and the top fo the parsley flowers stamped in white ink along the bottom, and repeated once in black ink. The part of the image with the butterfly was then stamped in black - butterfly coloured with alcohol markers and white pen for the flowers.
Saturday, 12 September 2020
Autumn is coming......(by Miranda)
Hope you did like my Autumn inspiration and maybe you are inspired to get these sheets out or maybe even buy them.......
Next time, more Autumn inspirations!
More Clocks and Shrooms
Hello
I am sharing some more of my samples from the August Hochanda show.
There were three sets of stamps on the show - Floral Clock, Parsley Clock and The Shroom Clock
My cards today are mainly from the Parsley Clock set.
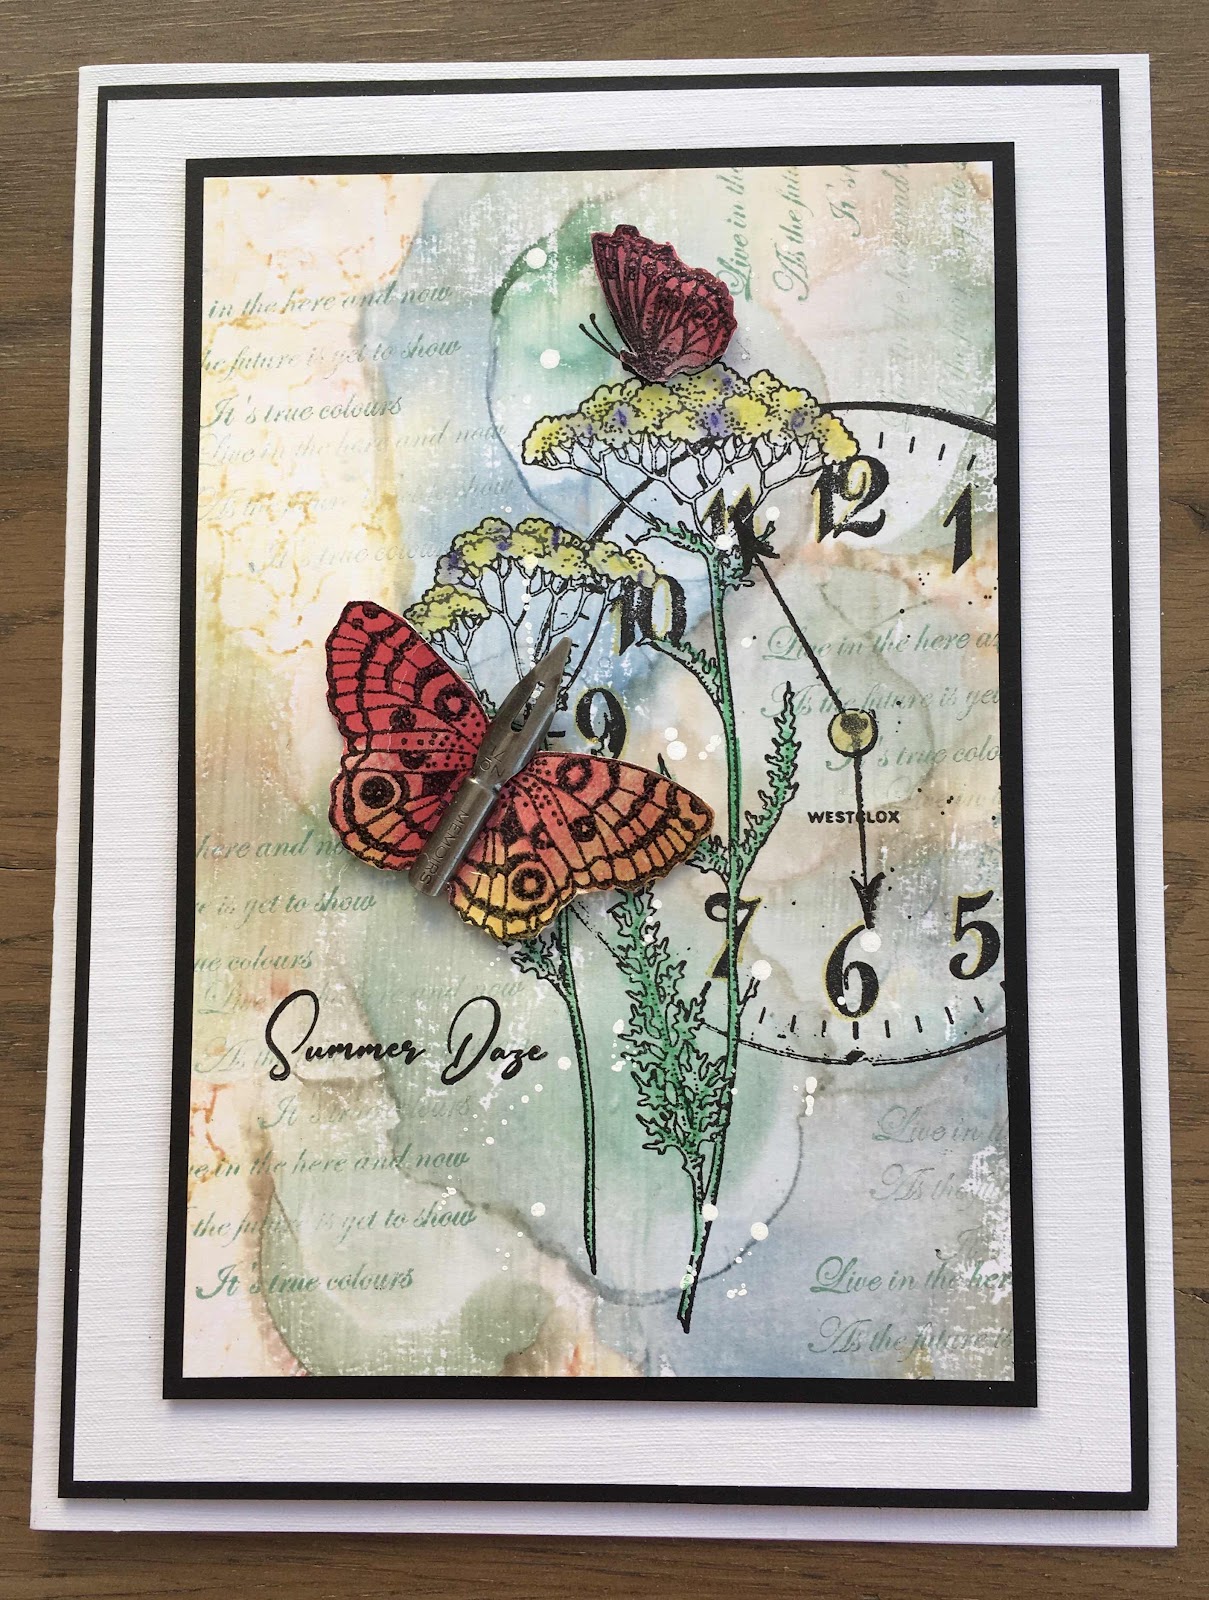
I used one of the Parsley images to stamp randomly on my card blank to create a background. I then created a Postcard which Lesley demonstrated a while back on a FaceBook live. I used the postcard stamp from Baroque Ephemera 2 and aged it with distress inks, I then stamped the Parsley with the small butterfly onto the postcard and coloured with watercolour pencils. I stamped the clock face and butterfly onto some card, coloured them and cut them out and then layered onto the postcard.
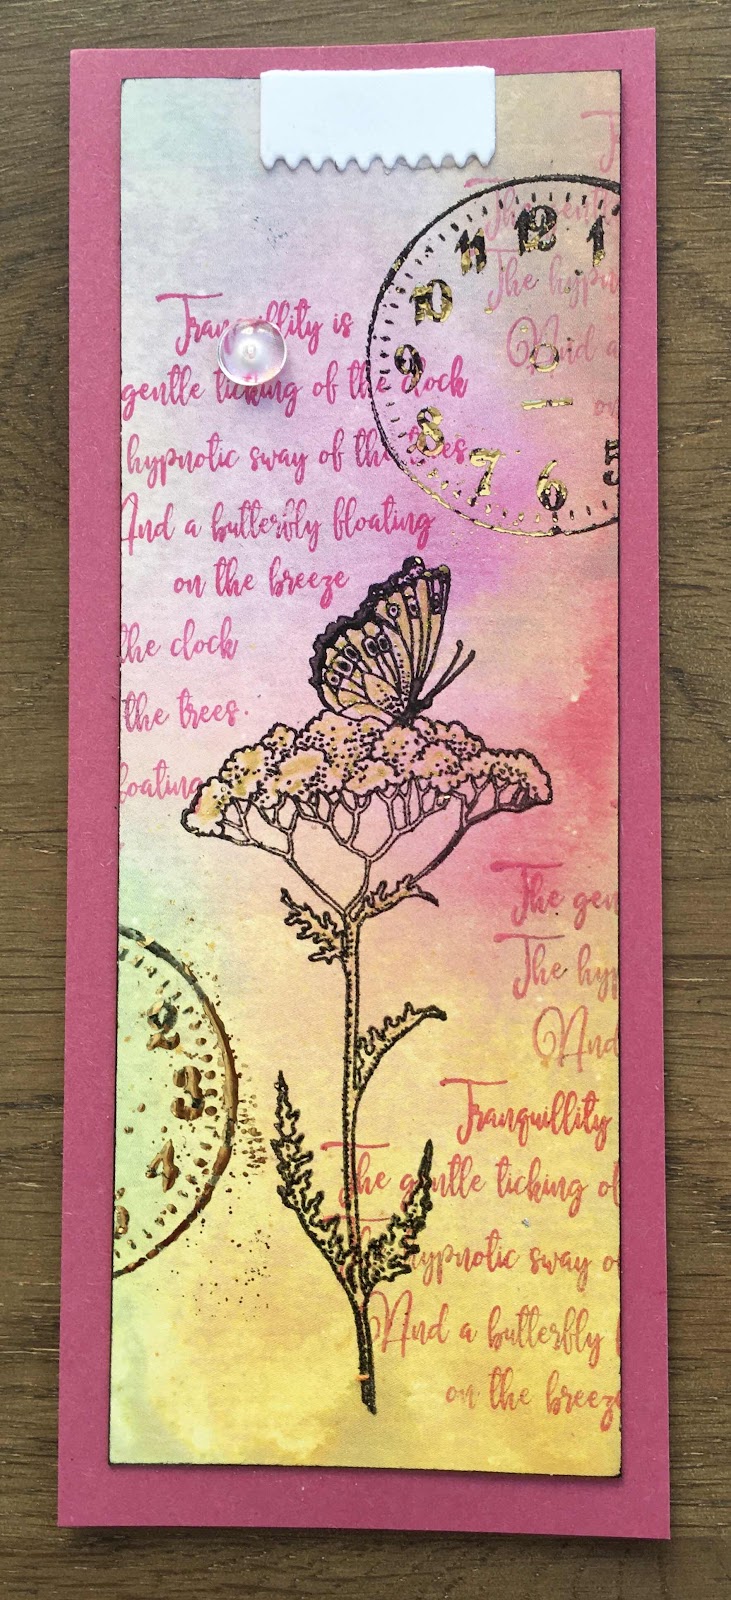
For this card I used the individual butterfly and used some embossing glaze to make them glossy. I put them onto one of Lesley's Seriously Gorgeous Postcards and added on of the lovely sentiments.
Thursday, 10 September 2020
Floral Fancy (by Rachel)
Hello there! Rachel here today with some inspiration from August's shows...I absolutely adored the new stamps - but this one in particular. Firstly I used it to paint a ceramic plate - I painted in glaze and then the plate was fired in the kiln.
Wednesday, 9 September 2020
Pretty Steampunk Christmas (by Doreen)
Products used in the making of this card:
Chocolate Baroque Steampunk Christmas A4 set of stamps
Chalk inkpads in pastel shades of pink and lilac
Wink of Stella clear brushpen or any other sparkle pen you have will be fine
Micro beads in lilac and clear drying PVA
Darker shade of lilac card for mounting
For the background randomly stamp 2nd and 3rd generation images in both the pink and lilac.
Ink and stamp the main image and sentiment.
Take the ink pad and on a mat lay down some ink, picking the ink up with your clear sparkle brush pen extend the flow of the base of the tree to ground it. Then add sparkle wherever you choose.
Dot PVA on the fronds of the snowflakes that make up the tree and add a bead to each.
Matt and layer onto your card.
Thank you for looking
Love Doreen.
Tuesday, 8 September 2020
Let the Butterflies Dance by Brenda
And please do make a note to tune in tomorrow as Lesley will be back on our screens with a One Day Special and I promise you won't want to miss out on the new stamps which are absolutely beautiful...................OK I'm a bit biased, but honestly they are.
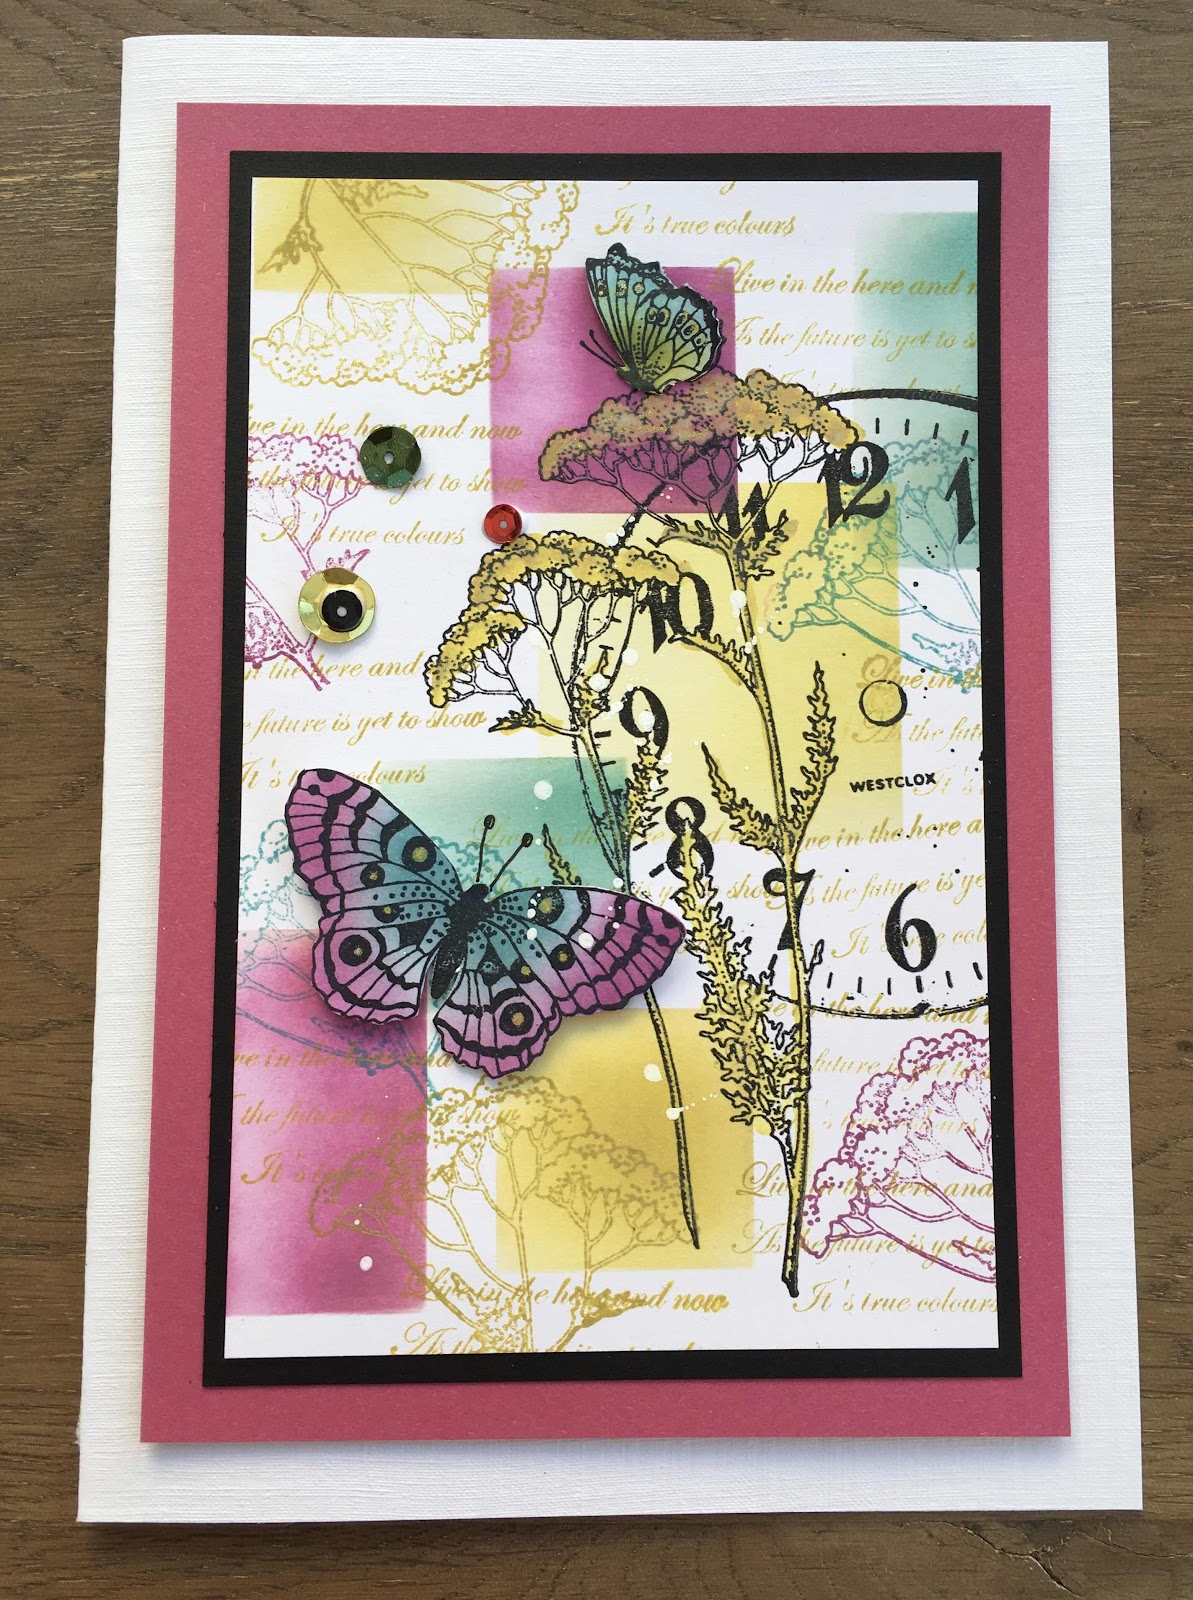
After building up a background with Distress Oxides and some of the worker stamps from Stroom Clock I stamped and cut out the floral and Butterfly elements from Floral Clock, coloured it in and placed over a die cut circle frame. Sentiments from both stamp sets, some white splatters and a couple of metal index clips.

Monday, 7 September 2020
Shooting Stars - by Magda (Scrumptious Succulents, Music Fanfare, Words to Dazzle & Sparkle)
A warm hello to everyone with my first post of September.
The 11th of August was the night of the shooting stars and I filled the sky of my project with them. Here below the recipe
1. Stamp the flowers of Scrumptious Succulents with Archival Ink jet black 2. Cover all the flowers with a Masking Fluid using a large silicone clay tool and scribble the fluid with a brush across the sky. 3. Colour with a dark blue wash of Distress Ink Pad the sky section and with an earth colour the ground. 4. Let well dry, remove the masking fluid scratching very gently with your finger. 5. Colour your flowers with Distress Ink Pad 6. Stamp the sentiment on a piece of white cardstock of the same plate Scrumptious Succulents with Archival Ink jet black and colour it with the same earth ground colour used previously
I hope you enjoyed my projects today, hugs
Magda
Saturday, 5 September 2020
shroom magic (by Veronica)
My first card has a brusho background, with the image simply stamped on top , clear embossed and the mushrooms coloured with alcohol markers.
The sentiment was stamped onto a spare piece of card inked with distress inks and edged with the same inks.
The second sample was simply stamped onto one of the lovely postcards also in the show, using archival black ink - a very quick card that almost felt like cheating!
The last sample was a fabric bag, stamped using versafine clair ink, with the small mushrooms stamped along the top and bottom. Again the large mushrooms were coloured with alcohol markers.
For those who wondered, I washed the first bag I tried (with a very wonky image) and the image didn't fade at all.
Friday, 4 September 2020
Clocks and Shrooms 1
Hello
I am showing some of the cards I made for the August shows on Hochanda. There were three sets of rubber stamps to choose from - Floral Clock, Parsley Clock and The Shroom Clock.
My cards today feature The Shroom Clock set, but they all work so well together.
First, I made a small box from a die set and put an embossed Tree Ring in the back. I then added the trio of Shrooms, which I heat embossed and I added some lichen from the garden to the base.
Thursday, 3 September 2020
Vintage Clocks and Butterflies (by Judith)
Hello everyone, I have a couple of projects to share with you today. I have used stamps that were featured on last month's TV shows on Hochanda, a beautiful mix of clocks and florals.
My first project was created by using a piece of drawing cartridge coloured with tea. I love this method of colouring a background, as it gives an instant vintage feel to a project. I stamped the main image from the Parsley Clock stamp set using brown ink, and added the splatter stamp randomly over the background as well. The splatter stamp is just brilliant for creating an aged look to the images. If you caught the shows, you will have heard Lesley say that all of the clock images are based on original metal clocks that she has bought, they are just fabulous.
I coloured the image with Koh-I-Noor Polycolour pencils, using the cream pencil to blend the other colours. By using a grey pencil for shading around the image, it helps to create a three dimensional effect, as if I had decoupaged the image. I added a sentiment, and matted the background onto brown card.
To create my second project, I made a masterboard, using a technique that Lesley showed us recently in one of the Butterfly Tree get togethers recently. I painted a piece of scrapbook paper with Tinting Medium, (you could use gesso or white paint), and added Distress Ink over the top with a roller. I added stamps and stencils to finish.
I coloured three butterflies from Parsley Clock and Floral Clock stamp sets to match the background, and added a sentiment.
I will be back later in the month with more projects to share with you, thanks for stopping by. Stay safe and take care,
Judith xx