Pin It button on image hover

Monday, 12 October 2020

Distress Blueprint Flowers (by Judith)

Hello everyone, I have more projects to share with you today using the beautiful blueprint floral stamps from last month's one day special on Hochanda.  My first two projects were both made using the Chrysanthemum Blueprint stamp set, and although I have used lots of the same stamps, I have used very different surfaces to stamp on.  

To create my first card, I coloured a piece of Drawing Cartridge with Distress Ink, and then stamped the images using Archival Ink. I took a whiteboard heart, and added some Distress Ink around the edges, before stamping the main image onto the heart. I coloured the image with Polycolour pencils. I added some green ribbon to finish.


To create my second project, I used a piece of Drawing Cartridge stained with tea for a vintage look. I stamped the images with brown ink, choosing lots of the smaller images from the stamp plate to create a collage feel. I then stamped the main image onto a piece of cotton fabric, and coloured it with pencils.


My next two projects were both created with the Allium Blueprint stamp set. I wanted to create a lovely vibrant background for the first card, and chose Distress Oxide Inks, which I applied to Drawing Cartridge. I stamped the image and coloured it with pencils. I chose to split the sentiment, and did this by covering the unwanted half with masking tape before inking the stamp each time. I used a spare piece of the background Drawing Cartridge, picking up some of the Distress Oxide Inks from my craft mat, but made it slightly paler for this purpose. I matted all of my card pieces with black card so that they stood out from one another.

My final card uses a softer colour palette of pale green and purple. I used second generation stamping on the background to allow the foreground image to be the focal point. I used purple Archival Ink to stamp the main image and sentiments, which made an unusual change. I edged all of the layers with the same purple ink.

Thanks for stopping by, I will be back later in the month with a couple more projects to share with you. 

Take care and stay safe,

Judith xx


Saturday, 10 October 2020

Sketchy Florals part 1 by Zoe


Good morning crafty Lovelies and welcome to my first post this month featuring these amazing Blueprint Sketch Florals.
I adored the first release a few months back but oh boy these are amazing.
Wasn’t Lesley fabulous as always? Her demos were aw inspiring.

I’ve gone a little “mixed media” with this post. I hope you like them.


Thank you so much for spending your time visiting. I have 3 posts this month, I do hope you’ll pop back.
Have a wonderful day xx Zoe xx

Friday, 9 October 2020

Chrysanthemum Stairway by Brenda


Morning Peeps, Brenda here to share a few more samples from Lesley's September Hochanda shows with the lovely new Blueprint stamps.

As is my usual route, inks and colours are the order of the day starting with Barn Door Distress Oxide brayered lightly onto the the background and then Chrysanthemum Blueprint stamped with Versafine black. I stamped the blooms a second time onto an offcut coloured with the same Oxide, cut out and paper pieced and the leaves coloured with Koh-i-Noor paint. Some texture paste stencilled to one side, a fee sequins, sentiment and some splats of white paint.


The background of this one has a thick brayered later of Actylic paint over which I used a stencil and gesso to add some interest. Blooms from Allium Blueprint and Echinacea  Blueprint stamped onto inked offcuts and cut out to place over strips of white card and a die cut oval. Sentiments from the same stamp sets and a couple of red 'splodges' using one of the worker stamps from Timeless.

Many thanks for you visit today.

Wednesday, 7 October 2020

Vintage Blueprints

 Hello

Today I am showing some of my cards from the One Day Special on Hochanda  from September.

These are the second set in the Blueprint series and they are fabulous with so many images, quotes and sentiments to choose from.

There are 4 in the set - Allium Blueprint, Chrysanthemum Blueprint, Lupin Blueprint and Echinacea Blueprint.

I made this set of cards from the main stamp image of each set.

First I took some old paper from my stash, some were gardening related and some were architecture.

I then covered each page with white gesso to give me a good base to stamp on. I added some Distress Inks to the background and spritzed with water in places.

I then stamped my main image in Archival Ink and coloured with water colour pencils. I added some background stamping using Make Your Mark stamp set. 

I finished by adding the flower names, a number tag and a sentiment. These were then mat and layered onto some coordinating papers.


I'm sure you agree that these are wonderfully detailed stamps and suitable for many different occasions.

Thanks for looking

Sandra x

Tuesday, 6 October 2020

Chrysanthemum or allium? (By Rachel)

 Hello there!

Rachel here with my first post of the month sharing samples from the September shows with the glorious blueprint florals. I have two to share with you today - both use the Chrysanthemum blueprint rubber stamp sheet but the second one also involved the Allium Blueprint stamp sheet.

In this first make I started the piece by painting all three panels in a mushroom colour then overstamped with the Chrysanthemum blue print stamps in dark brown ink. Next I stamped the florals and then painted them in using acrylic paints.


For my second piece I used one of the doublw sided frames from Lesley and Davids craft along in the summer and also some of Lesley's postcards from the August shows. I simply stamped the main image from both sets, coloured with translucent acrylic paint and also painted the frames.


I do hope you find some inspiration from these pieces.
Have a great day!
Hugs
Rachel x


Sunday, 4 October 2020

Autunm Idea - by Magda (Autumn Poppy, Autumn Edges, Amazing Mackintosh Words)

 Hello,

Autumn is a lovely season and we can see so many beautiful colors around us.                                             I thought to block some of them on my Journaling page of today. 

Layers of different materials as white Gesso, Distress Acrylic Paints,                                                   Distress Ink Pad, Stencil, are used for creating the background, on which                                                     the green leaves of Autumn Edges are dancing down to the ground                                                        where the red decoupage mushrooms of  Autumn Poppy is standing.                                                         The sentiment of Amazing Mackintosh Words is stamped in black and                                                         cut in 3 pieces for softening the look of the page. 


I hope my post inspired you for a nice project, hugs
Magda

Saturday, 3 October 2020

lupin lights (by Veronica)

Today I am sharing two samples using the lupin blueprint stamps which were shown on Hochanda last month

The first card has a brusho background, with the image stamped in black and clear embossed. Stamped and embossed again onto spare card, both sets of flowers coloured with watercolours  and those on the spare card cut out and glued at an angle over the first image.Matted onto dark brown card, then added to a card blank coloured the  with distress oxides and stamped with smaller images from the set in the same colours. 

The second card was stamped in versamark and white embossed onto white card, then coloured with yellow and grey brusho powders. The flowers were painted with brushos too, and the sentiment added using black ink. The card blank was coloured with distress oxides in grey and amber, and again stamped randomly with smaller stamps from the set.


Friday, 2 October 2020

Blog Comment Winner for September


Hello and welcome to the Chocolate Baroque Design Team Blog.


We truly appreciate the time you take to let us know your thoughts about our designs, so each and every comment is very important to us.


Each comment in September was assigned a number and we used Random Org to draw a winner.


Congratulations to Sally H you have won this month's £15.00 voucher to spend on Chocolate Baroque stamps.

To claim your prize, please email here to confirm your email address and Lesley will send your gift certificate.


Lesley will be giving another £15 gift voucher to another lucky winner drawn from October’s comments.


The more comments you leave, the better your chances of being the winner.


Thank you so much for all the kind comments you leave.


Good luck from all on the Design Team


Here is another chance to see the beautiful creation by Brenda


Thursday, 1 October 2020

In the Frame (by Judith)

Hello everyone, I have a couple of projects to share with you today showcasing some of the the amazing stamps that Lesley brought to Hochanda during the one day special last month.


My first card looks very simple, but took a little planning. I used a scrap piece of paper first to make sure that it worked, and that would always be my advice to you if you want to try an idea. I cut a piece of paper to the size of my finished card and stamped out the four corners to work out where they needed to go. To create the actual card, I stamped on to Drawing Cartridge, and then masked the four corners using Masking Tissue, before stamping the flowers within the square. I just made sure that I did not ink the ends of the stems, so that I did not have any pieces of stem sticking below the frame. I added some shading with Distress Ink, blue at the top and green at the bottom. I peeled away the Masking Tissue and coloured all of the images with pencils.


For my second project, I chose to use the same stamp set, Echinacea Blueprint, and stamped onto kraft card, using white embossing powder. I coloured the main image using my Koh-I-Noor watercolour palette. I added a touch of Distress Ink around the edge of both the focal image and the background before matting both pieces onto grey card.

I will be back later in the month with more projects to share, thanks for stopping by,


Judith xx



Wednesday, 30 September 2020

Stroom O'clock by Brenda


This one came together in the wee small hours when I was unable to sleep, the idea was there so I decided to get to it.....as you do! Again Oxides for he background and worker stamps stamped in the same colours. I stamped Stroom Clock onto the inked base and then twice more onto a pice coloured with the same inks and cut out just the strooms which I build up around the focal element. Some white highlighting, metal clock hands and index clips.......yes the obsession with them has reached me.......and finally sentiments from the same set.


I have used the Seriously Gorgeous Postcards here to show what a quick and easy card you can make with them. The aperture card is a pre-cut one and I used elements from Stroom Clock, Parsley Clock and Floral Clock to stamp onto the postcards using Stayzon, added some white highlighter and fixed into the apertures. Finally I used one of the popped out squares to stamp the sentiment to place in the middle.


A brayered background of Oxides, one of the worker stamps from Stroom Clock stamped down the centre and Floral Clock stamped with Versfine Black and then coloured with Distess Markers some little die cut circles and a Shrink Plastic Butterfly.

As always, many thanks for your kind visit.

Tuesday, 29 September 2020

Tick Tock Butterfly Clock by Zoe

Good morning Lovelies and welcome to my 3rd post of the month.
Here are the rest of my samples from last months Hochanda show featuring these gorgeous stamps.

I used 2 of the gorgeous postcards from the show which can either be postcards or toppers, I’ve left mine as postcards but they would look fab on a card. The first one is simple stamping, then stamping again onto plain white card and fussy cutting to decoupage, I used a gold pen to fill in the stems and leaves, a bit of background stamping to add some texture.

Of course I had to make an Envelope, David would be very upset with me if I didn’t do at least one lol, I used a chalk paint in 2 colours that I brayered on, simple stamping and a few dots here and there.

My second Postcard I stamped the main image using Versafine Claire Nocturne ink and heat embossed using clear EP, I used Archival for the background and a chrome marker pen to add highlights.


Thank you so much for spending the time to visit, I hope I’ve inspired you?
Have a wonderful day xx Zoe xx

Monday, 28 September 2020

Gorgeous Florals


 Hello

I am sharing some more of my samples from the Hochanda shows in August.

My first card is the beautiful Floral Clock stamp set. I stamped the main image in Versamark and embossed in gold. I then "painted" the flowers, butterfly and clock frame with  glitter glaze. One of the glazes has a green tone and the other has a blue tone, but it's a bit difficult to see on the screen! i then layered this onto some gold card and added a sentiment.


My last card uses the Parsley Clock set. I used the main image and some of the smaller stamps over a Distress Ink background. The images were embossed in green and I added some yellow flock to give texture to the flowers. I finished with some splatters from the Floral Clock set and a sentiment. I love that the hands are separate so that you make it any time you wish.


Thanks for looking
Sandra x


Sunday, 27 September 2020

Choose Your Own Colours (by Judith)

Hello everyone, I have a couple of projects to share with you today showcasing the beautiful stamps that were on last month's TV shows on Hochanda. Both projects feature the lovely Parsley Clock stamp set.

 My first project is a very clean and simple card, and I started out by die cutting a large circle from a piece of drawing cartridge. I stamped the images from the stamp set across the bottom of the circle, and coloured them with pencils. I added some shading to the background loosely with Distress Inks, not worry about getting to close to the images, as this gave a feeling of a cloudy sky, leaving patches of white.

I went around the edge of the circle with a pair of scissors to give a distressed finish before attaching it a piece of Textured Art Card and then to a white card blank.

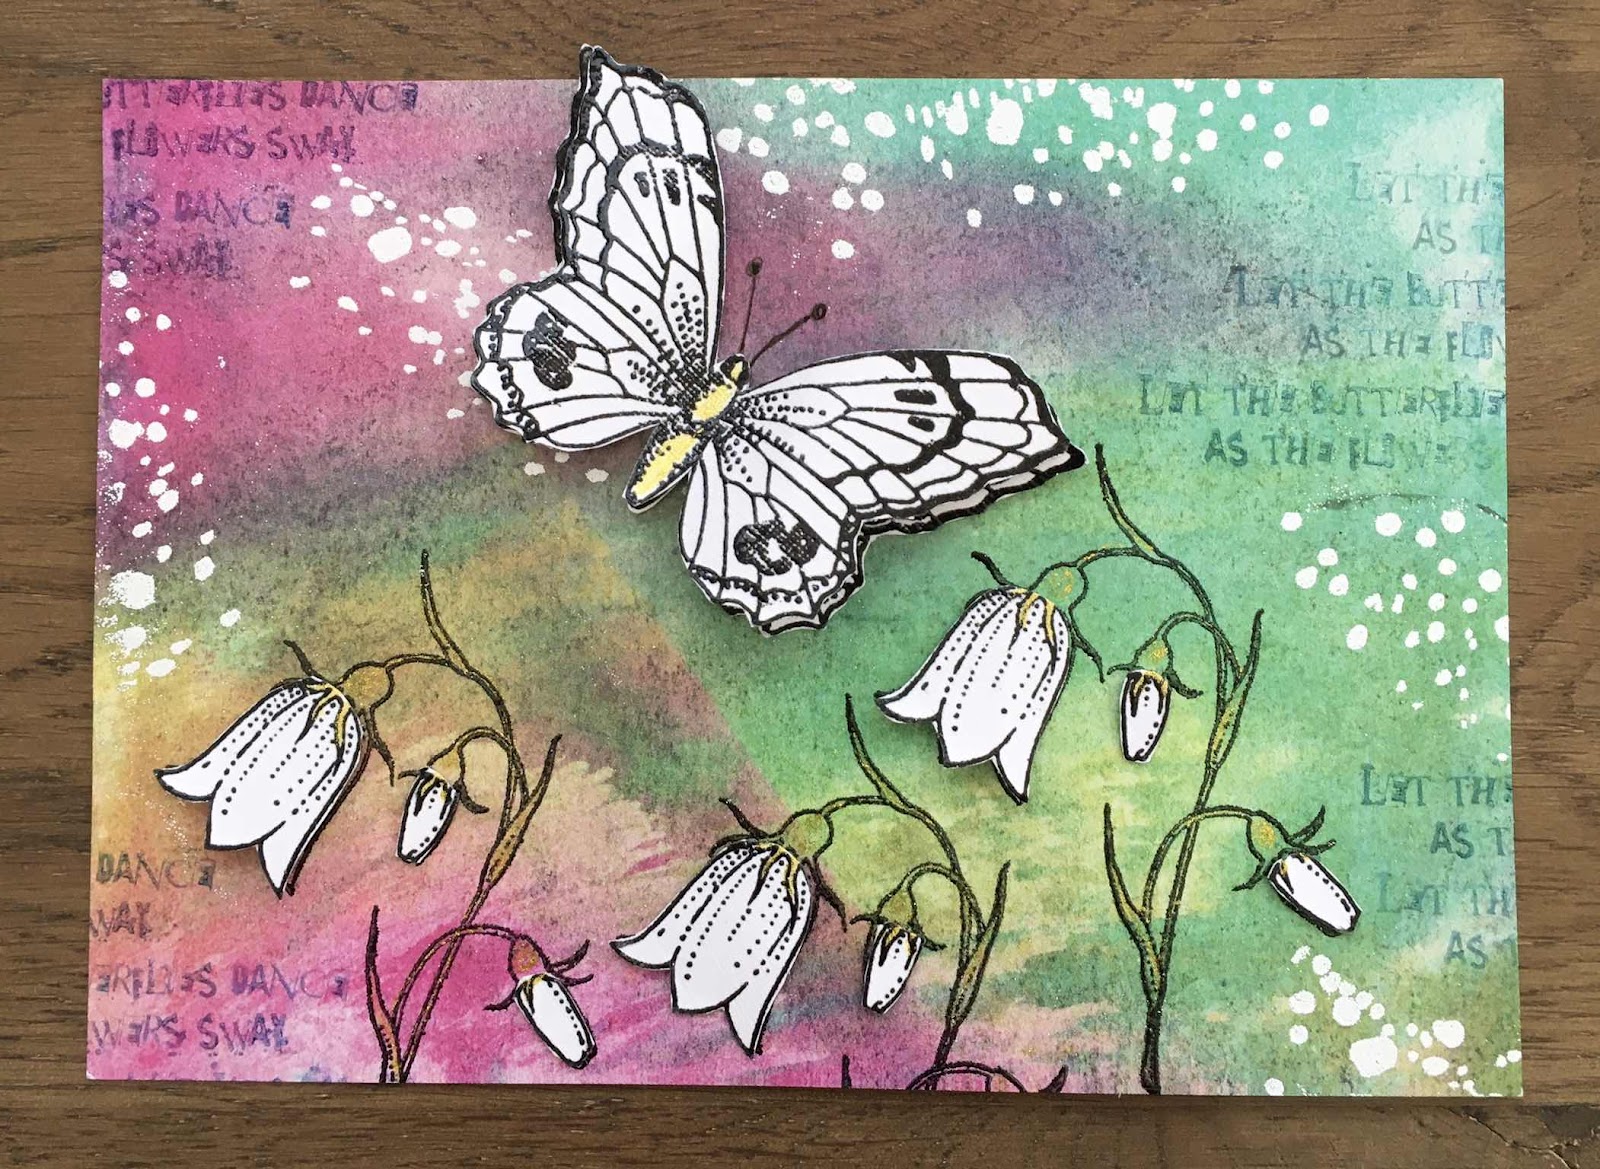
To create my second project, I painted a small canvas with acrylic paint in various pastel shades. I stamped the large Parsley Clock onto tissue paper, and coloured the image with pencils. I went around the image with a wet brush, and gently pulled away any excess tissue paper, leaving a ragged edge. I added matte medium to the reverse of the image, and adhered it to the canvas.I added more matte medium to the image to blend it into the canvas.

I added some background stamping using grey Archival ink, a sentiment from the same stamp set, and the very useful splatter from the Floral Clock stamp set.You could recreate something very similar to this in card form, but I really like making these canvases, they do not take very long at all. I have not coloured my parsley regulation white in either case, but I wanted to show that you can choose to colour your flowers however you like, there are no rules. Just go with the flow and enjoy yourself.

I hope that you have enjoyed what I have shared with you this month, and will try out some of my projects for yourself. Thanks for stopping by, take care and stay safe.


Judith xx


Saturday, 26 September 2020

Parsley, sage, rosemary and time? (By Rachel)

Hello there, Rachel here with my final showcase of the month - this time i have focussed on the Parsley Clock stamp set but the Florl clock has snook in again at the end! 

For this first card I stamped the image in black ink and set it with clear embossing powder. I only added colour to the plant and butterfly - not parsley coloured I know but I thought it could easily represent other flora. I painted the image using mica powders. The background of the card was created using distress oxides and blending the pastel shades together before adding some random stamping using the smaller stamp from the set.


This second was was directly onto one of Lesley's postcards and again I stamped in black versafine and heat set with clear embossing powder. I added colour to the 'parsley' using paint. The smaller image was then used all over the back of the card.


My final piece is one that I kept for myself - another pottery piece but this time a jug for flowers. I painted the images in glaze then this piece went into the kiln.


I used the floral clock on the other side. Although the jug cost me £25 and a few hours of work I hope you'll agree its worth it - I love it!


Enjoy your day!
Rachel x
 

Friday, 25 September 2020

flower power (by Veronica)

 In my final post for this month I have a selection from all the stamp sets.
My first card uses the floral clock set - the background was created using the make your mark set of stamps, a very useful set for adding interest to backgrounds. I used grey ink pad for an olde world feel, and coloured with watercolour pencils. The extra butterfly was stamped onto spare card, cololured, fussy cut out and added to a strip of acetate fastened between the image and the card blank.

 The single flower from the same set was stamped onto tissue paper in black, coloured with marker pens, torn out and stuck with modge podge onto the lid of  a box painted with acrylic paints.

The last two use the parsley clock set again, first onto a candle and then simply stamped onto one of Lesley's lovely postcards with the flowers highlighted with white pen. 


Wednesday, 23 September 2020

The Lovely Lily (by Doreen)


This different but very beautiful lily is not the type that many of us are used to seeing, but I think it is exquisite. it comes from the DL Lily set of stamps, although it does actually have a four leaf clover, ladybird and several other worker stamps in the set. The sentiment comes from the Bold Blooms set.

Products used in the making of this card are:

  • Chocolate Baroque Lily DL stamp set
  • Sentiment from the Chocolate Baroque Bold Blooms set
  • Versafine Clair Nocturne
  • Clear embossing powder
  • A torn out page from a discarded or old book that has an aged look but has probably seen better days.
  • Koh-I-Noor watercolour pencils
  • Satin finish mirri card for mounting on

1. Trim page from book but keep excess for stamping and mounting sentiment.

2. Stamp and emboss image.

3. Roughly colour the image in your favoured shades and blend using a little water on your brush.

4. To enhance the image go round using either a grey or light blue pencil and drag out the colour with a little water.

5. Stamp the sentiment using the Versafine Clair onto a piece of the scrap from the printed page and trim quite close to the stamped image. Edge the sides using your inkpad, then mount on another piece of the scrap from the page, and edge again using the inkpad.

6. This is a flatish card, no foam tape was used in the mounting of this onto the satin card or for mounting the sentiment, so perfect for the post. 


As an afterthought, if you like a card to have some sparkle, then instead of using water just use a clear sparkle brush pen to blend the colours. This will leave a subtle sparkle not as noticeable as glitter.


Thank you for looking

Love Doreen


Tuesday, 22 September 2020

Shades - (by Magda) - Autumn Edges, Sketchy Doodle Landscape, Amazing Mackintosh Words

 Hello Girls,

As the other colors, also Black and White have shades and I  played today with them using Distress Paint .  

You can clearly notice in the first picture the difference of the shades, while in the second picture the contrast is brought out through the hot embossed Sketchy Doodle Landscape stamp.                        Differently from the common use of VersaMark for embossing the flower, I humidified my finger with a baby wipe, dipped it in the embossing powder first, then gently I passed it on the page before heating.                                                                                                                                                         The result of the Dust around the flowers was surprising,  you can better see it zooming in the second picture.                                                                                                                                                                 I took the  sentiments from Amazing Mackintosh Words , where you can find a large choice of thoughts.


Small bookmark
I stamped the mushrooms of Autumn Edges on a craft tag using Versafine Vintage Sepia     and colored with brown, light and dark sepia, white and black Charcoal pencils 


Thank you for passing by,  see you in October and  take care
Magda