Saturday, 15 August 2020
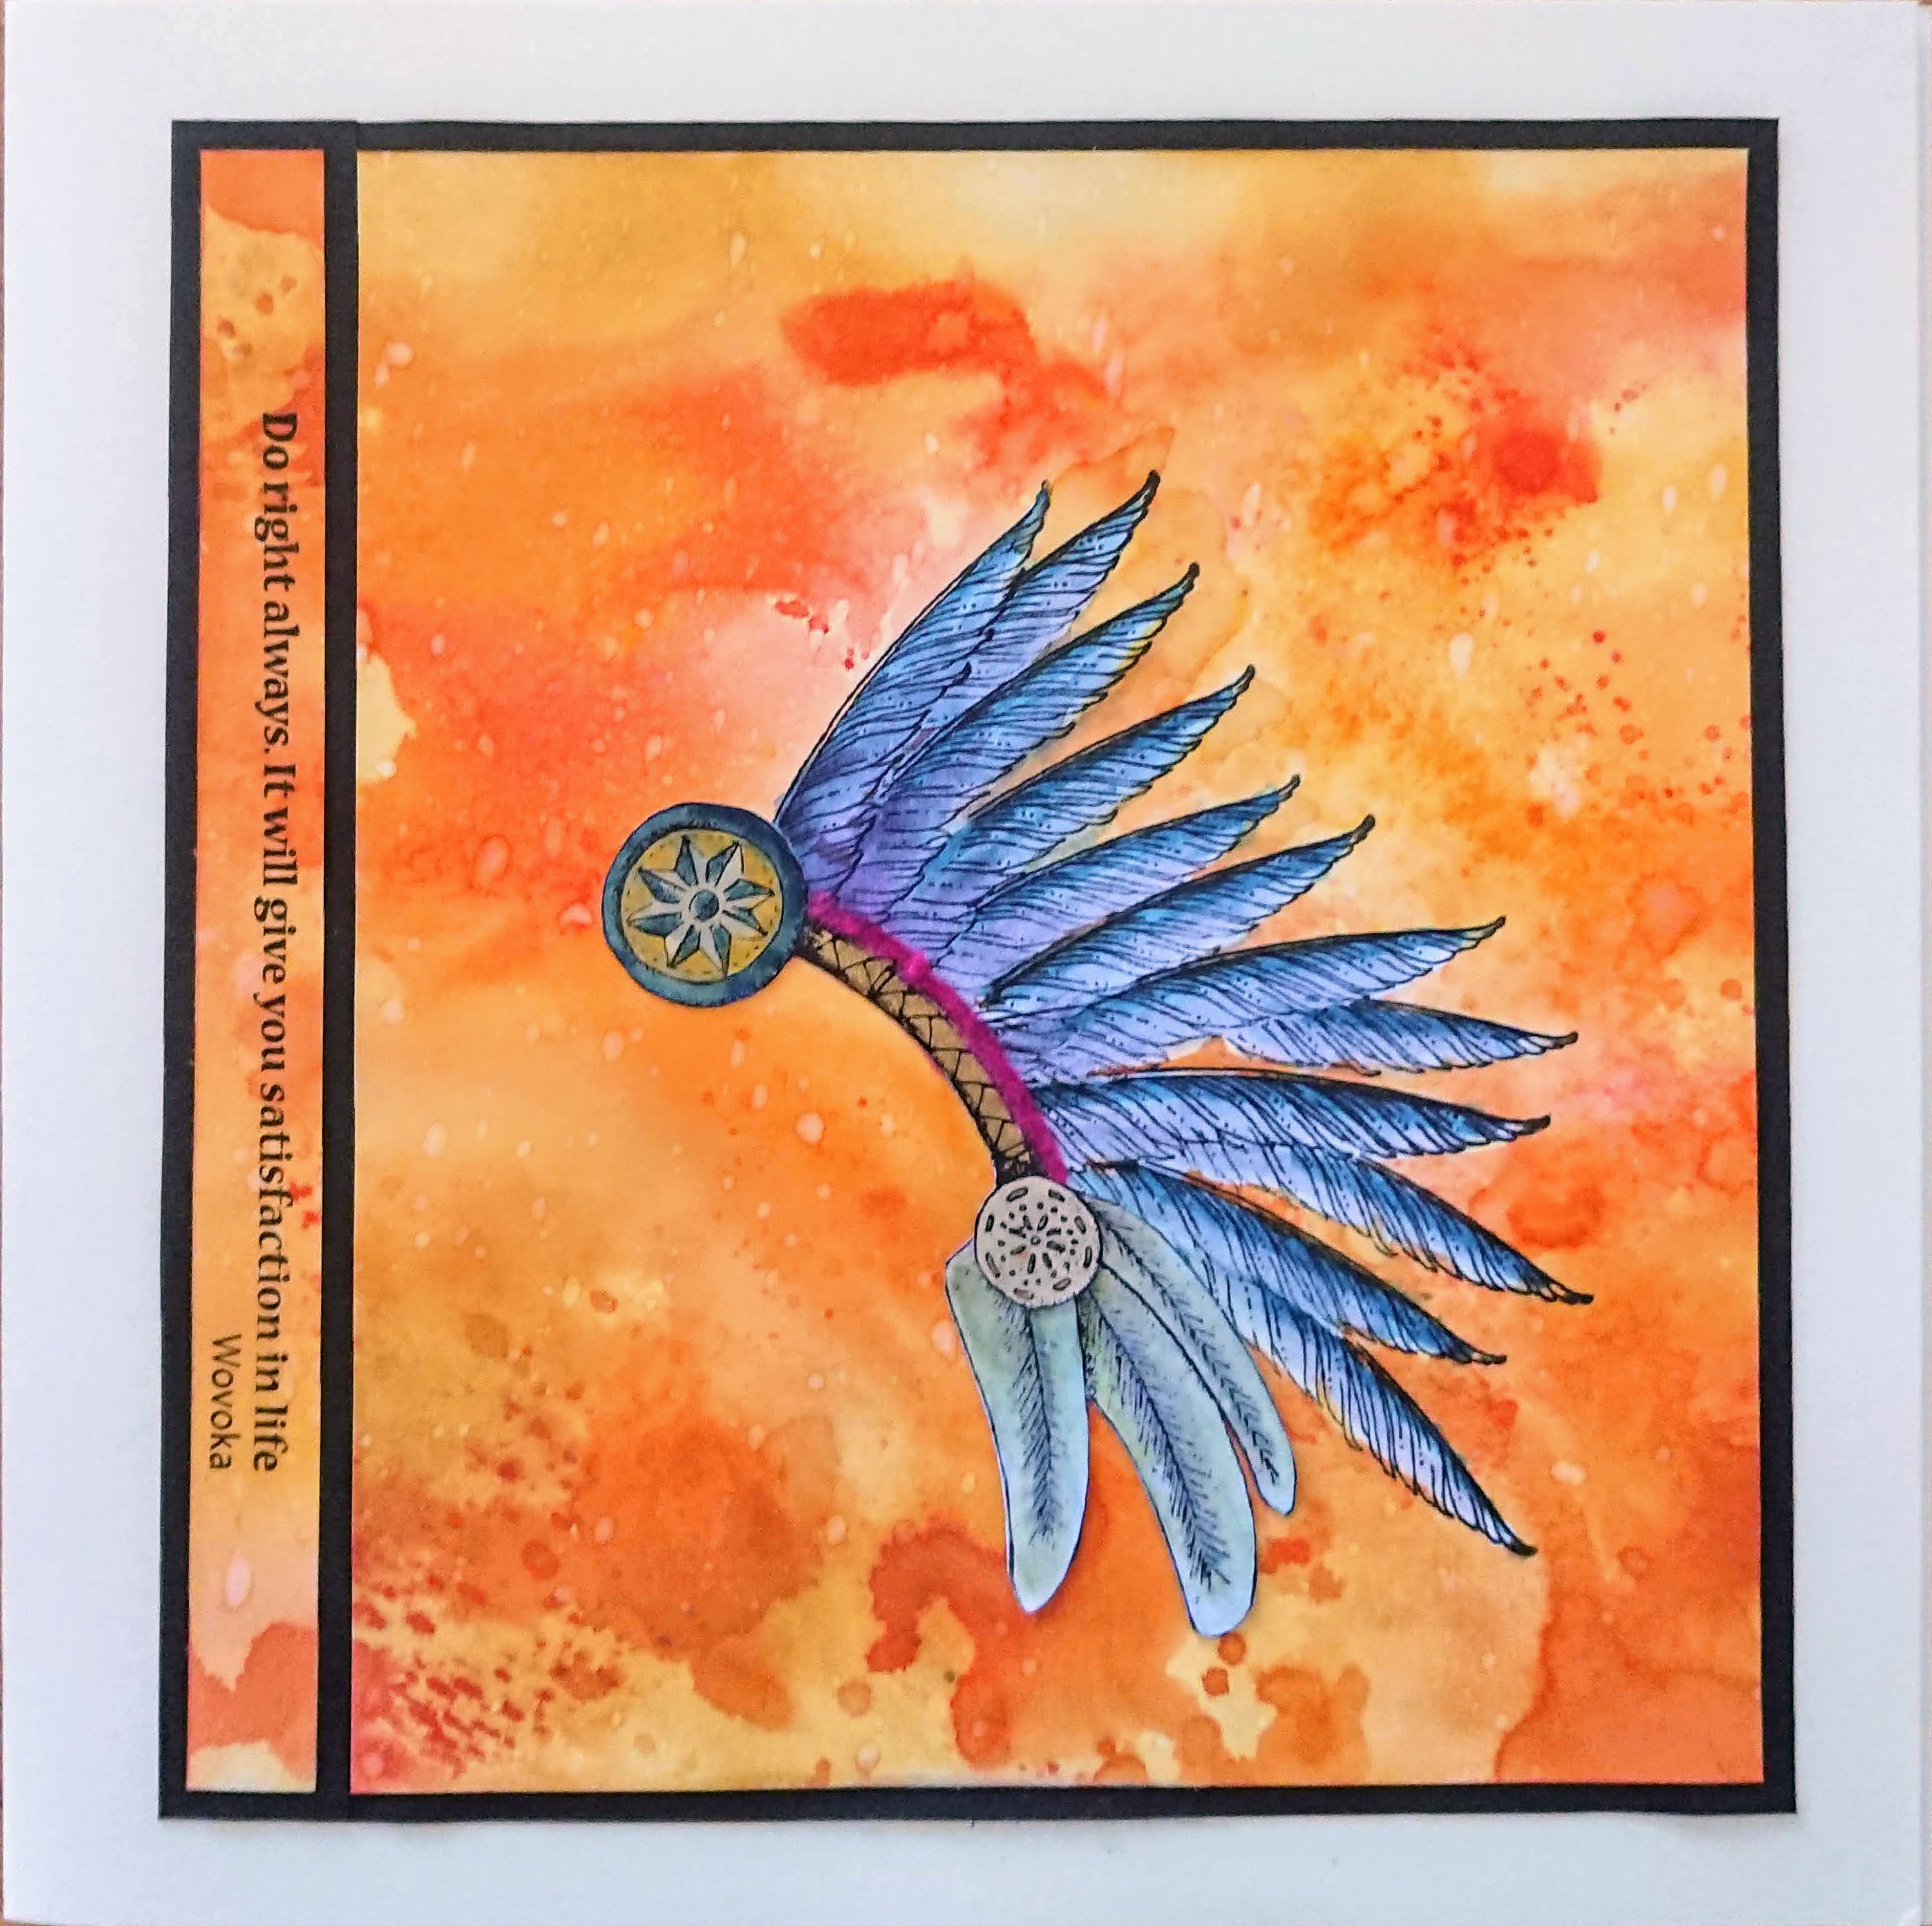
Do Right Always
Friday, 14 August 2020
Using the Little Stamps (by Judith)
Hello everyone, I have a couple of projects to share with you showcasing the fabulous stamps from last month's TV shows on Hochanda. These lovely stamps hand drawn by Kim Moody for Chocolate Baroque are so useful, and I wanted to show that they could be used for a range of different occasions.
My first card was created using a background that I found when rummaging through my stash. I had used Distress Inks in shades of blue and green, and thought that it looked very cheery. I made a smaller piece of background very quickly to match, and stamped the frame and skin from Hold On, adding a little motif that I decoupaged from the dreamcatcher from Catching Dreams. The cacti stamped on the main background can be found on Hold on and Do Right Always, they make a lovely overall background softly coloured with pencils, as I have done on this card. I kept to a set colour palette throught the card, and the pop of red against the blue and green adds a lovely warmth to the design.
Although there is quite a lot of colouring on this card, it was relatively quick to complete, and I would certainly make this design again, varying the sentiment to suit the occasion.
My second card was created using an offcut of drawing cartridge. We often have these, and do not always know how to use them up. I again created a Distress Ink background, and stamped a row of cacti, adding a few lines with a fineliner pen to finish off the landscape. I coloured the cacti and the grass with pencils, added a quick bit of shading with a stencil for a sunset, and stamped the lovely sentiment from Hold On. I mounted the piece onto a kraft background for a quick and simple card.
I will be back later in the month with a few more projects to share with you. Thanks for stopping by,
Judith xx
Thursday, 13 August 2020
Be Peaceful (By Rachel)
Wednesday, 12 August 2020
Lady's Slipper Orchid (by Jodie)
Hello everyone, today sees the first of three posts this month from our Guest Design Team member Jodie Heuser.
Jodie writes:
Good morning everyone,
I'm extremely excited to have been asked to be a Guest Design team member for this month.
Chocolate Baroque has so many new and exciting designs in stamps it's often hard to choose which ones to use.
Since we are in the middle of the dog days of summer here in Florida, I decided to go with a flower theme.
Supplies:
Stamps- Loving Sentiments Rubber Stamp sheet- A5, Ladys Slipper Orchid
Colour- Brusho Crystal Colour (Set of 24- Crimson, Violet, Lemon Yellow, Sea Gree, and Turquoise)
Ranger Archival Ink- Jet Black
paper- Watercolour paper, cardstock
Waterbrush- detailer tip
Water Spritzer Bottles- 2 pack
Double sided foam tape
Gold photo corner stickers
Cut the watercolour paper to 4" x 5 1/4" (10.16cm x 13.34cm) and stamp the image using Archival ink.
When you first begin using your Brusho colours, take a thumb tack, and pierce a hole in the top. I cannot stress enough that a little goes a long way.
Lightly spritz the paper with water. This will help the colours blend easier.
Begin by sprinkling which ever colour of Brusho you want to start with onto a non stick surface, then using your watercolour brush, mix a bit of water with the crystals and begin painting in the image.
Use less water if you want to have deeper colours, and you can mix the colours together to create a specific shade.
Let each colour dry before going on to the next colour, which will help lessen the chance of colours bleeding together.
Once the piece is dry, cut a piece of purple cardstock to 5 1/2" x 8 1/2" (13.97cm x 21.59cm) and fold in half.
Cut a piece of light purple cardstock to 4" x 5 1/4" (10.16cm x 13.34cm) and layer onto cardstock base. Next cut a strip of medium purple cardstock, 4" x 1 3/4" (10.16cm x 4.45cm) and place on the right hand side of mat.
Cut out your image and layer onto card using foam tape.
Stamp the saying onto white cardstock with Archival ink, and mat with gold cardstock.
Attach the saying to the front, then adhere the photo corner stickers.
Thank you so much for checking out my project, and please join me next week, when I will use inks to colour in the stamps.
Tuesday, 11 August 2020
More feathers and flowers(by Miranda)
Monday, 10 August 2020
Unlock Yourself (by Magda) - Fantasy Woodland, Essence of Nature, Seashell Collage
These three colors on a neutral of grey brownish shades background filled my page today.
Brown for an old key
Green for the new peace and
Red for the future
For stamping Fantasy Woodland Tree, the sentiment of Essence of Nature and coloring the backgrounds I used only Distress Ink Pad.
Magda
Saturday, 8 August 2020
pipe of peace (by Veronica)
I started with a piece of kraft card, about 5.5x7.5 inches, and stamped the totem, and the pipe twice using a brown dyebased inkpad. The dreamcatcher was stamped in black versafine clair and clear embossed, and then the sentiments in the black versafine .The dreamcatcher was coloured with watercolour paints.
Once everything was dry, I die cut the word from the image. The base black mat was cut to fit an A5 white card, then the kraft card layered on. I added foam pads to the cutout letters, then glued them in place slightly offset to give more of a 3D effect.
Thursday, 6 August 2020
Village Life and Peaceful
Wednesday, 5 August 2020
Journal Planning (by Judith)
Tuesday, 4 August 2020
Got an Axe to grind by Zoe
Thank you so much for visiting, I hope I’ve inspired you.
Sunday, 2 August 2020
July's Blog Comment Winner
Congratulations to PAT (Colourful Card Creations) you have won this month's £15.00 voucher to spend on Chocolate Baroque stamps.

Saturday, 1 August 2020
Stay Strong by Brenda

Friday, 31 July 2020
A time for reflection by Rachel
Wednesday, 29 July 2020
Feathers and Flowers (by Miranda)
Tuesday, 28 July 2020
Colored Squares (by Magda)
last month we had circles and today let us play with squares.
I used for the background of my Journaling Page cold and warm colors of Distress Paint, applying them pure or mixing them. When the paint was dry, I stamped with Archival Jet Black "Katya" and covered her nose and mouth with a little mask, using glue.
Sunday, 26 July 2020
Katya (by Veronica)
Saturday, 25 July 2020
Incredible Time and Inspiring Katya by Penny
I took a piece of blue paper and stamped the collage image in a pale DI randomly. I then stamped some of the lovely worker stamps randomly around the edges of a white base card, using the same colours as I used for the background panel. I attached the stamped blue paper to the card then added the focal panel when it was dry.