Tuesday, 26 January 2021
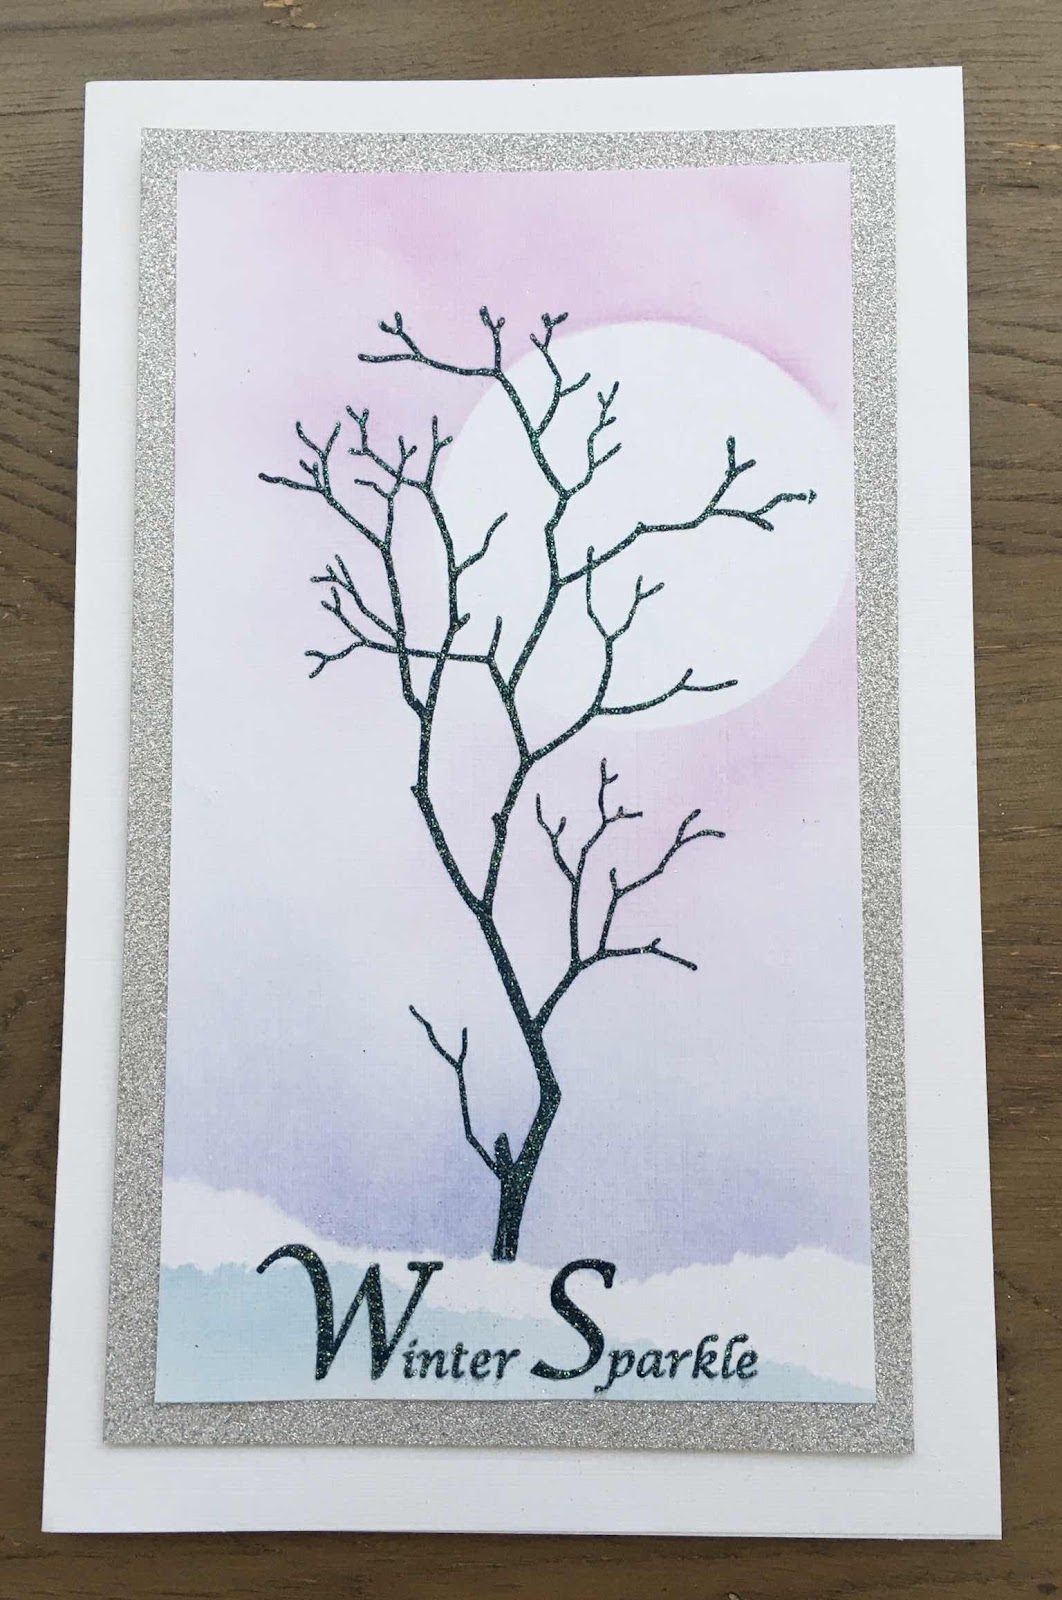
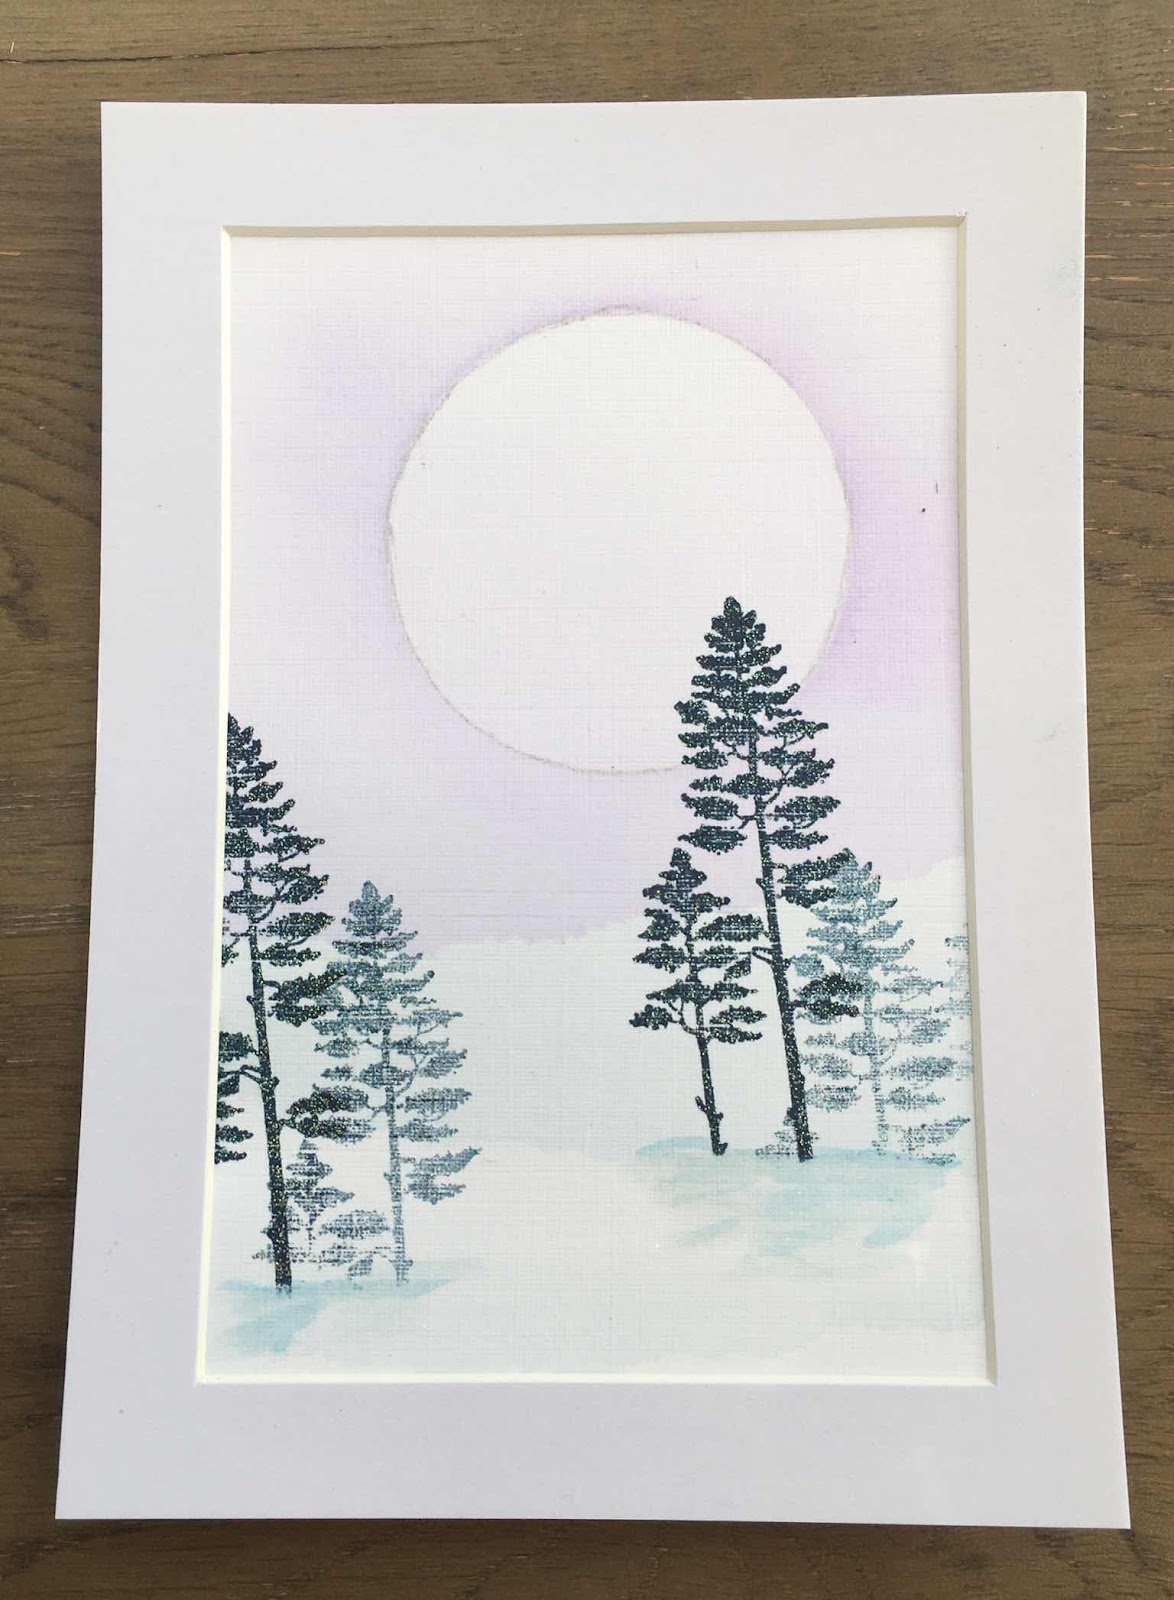
Misty treescape by Brenda
Monday, 25 January 2021
ATC collection - by Magda
Good morning,
sometimes it is really pleasant for me to do ATCs and Chocolate Baroque has a lot of small stamps that match perfectly for this purpose.
I used for theses 6 ATCs :
White Cardstock cut in ATC size, Distress Ink Pads, Archival black, stencils, white and silver embossing paste, white pen, stickles, and of course the beautiful stamps
Fantasy Castle, May Fairy, Wild Meadow and Words to Dazzle & Sparkle
Sunday, 24 January 2021
at the seaside
My first card is a stepper card, with the beach huts on the 'steps'.
The house and huts were coloured with watercolour pencils, and the huts were fussy cut out.
The second version is a 6" square card with the house stamped in black onto a medium grey card. Coloured with watercolour pencils again, and the harbour in the distance extended with a fine line pen.Friday, 22 January 2021
Looking for fabulous creatives to join our teams
Hello everyone, we are currently recruiting for Design and Guest Design Team members and are putting a call out for applications to join us. Our team is very friendly and we pride ourselves on being a great Company to represent. As you know, the quality of our stamps is excellent, and you will get the chance to work with these on a regular basis as part of your Design Team experience.
At the Movies
Thanks for looking
Sandra x
Thursday, 21 January 2021
Floral Collage (by Judith)
Hello everyone, I hope that you are all keeping well. I have a project to share with you today using some of the stamps that were featured on last month's TV shows on Hochanda.
I created a background using a stencil and a piece of drawing cartridge. I brushed three colours of Distress Ink through the stencil, a blue, lilac and green, to give a soft backdrop for the rest of the design. I added a stamp from the Baroque Ephemera 1 stamp set in each of the four corners, and then stamped the Movie Strip Collage image onto the background. I stamped and embossed the flower portion of the image three times onto a spare piece of drawing cartridge, and coloured the images with watercolour paints.
I cut the images out, and worked out the positioning of the flowers on the background. Before I stuck them onto the background, I added some extra splats using an image from Butterfly Mind, and a fern leaf from Wild Meadow.
I will be back later in the month with more projects to share with you. Thanks for stopping by, take care,
Judith xx
Wednesday, 20 January 2021
Concertina Journal (by Christine)
It's my turn again on the blog and this time I am sharing the first three pages in a watercolour paper concertina journal. The Chocolate Baroque items used are listed at the end.
On the opening page, I stamped a number of images and then coloured them with watercolour paints. I then used gold metallic paint to fill the negative space, a technique I really like.
Mackintosh Windows stamp set
Rose and Thistle stamp set
Rose Set stamp set
On the second page, I chose a few Distress Oxide inks and blended them together. I then stamped the images using toning metallic paints (I seem to be in to metallic paints at the moment!?!)
Woodland, Orchard, Glade & Spinney Design A Tree Multibuy
On the final page, I used Distress Oxide Sprays through a stencil and then stamped the images using Versafine Clair in black. I coloured the images using glitter paints and then added some of my own doodles with a black fine liner pen.
I am planning my final blog for January as I write this and it will involve a black tag and possibly some embossing powder- still to be decided.
Happy crafting!
Christine
Monday, 18 January 2021
Branching out - by Zoe
Thank you so much for spending your time visiting today.
Sunday, 17 January 2021
All in a row by Rachel
Hello there!
Rachel here today with some more makes from the Kim Moody stamps featured in one of December's shows. This time I am sharing the house stamps - this first one features Gran's house that I stamped multiple times and then highlighted a small area by colouring it.
Saturday, 16 January 2021
Take Flight - by Magda
Hello,
shall we take a good flight into the new year ? Well, I start wishing to everybody a Happy New Year with this journaling page.
The step by step will help you if you like to create a similar page
1. On a gessoed page, spinkle Distress Acrylic Paint Stormy Sky with a cotton buds for the sky
2. For the ground blend more green shades of Distress Acrylic Paint
3. Stamp with Archival jet black different hot air balloons of Steampunkery into the sky
4. Scribble with a wooden stick white Acrylic to emphasize the air and the moving clouds
5. Stamp in black the sentiment Take Flight of Steampunkery
6. Stencil the numbers 2021 and fill them with Distress Paint Abandoned Coral using a wooden stick
7. Blend dark green and brown of Distress Acrylic Paint on the foreground and stamp in black partially and randomly the lace of Steampunkery
I hope you will now have a go and post your creations, hugs
Magda
Friday, 15 January 2021
Floral Grunge by Brenda
Thursday, 14 January 2021
grand mansions.....
Wednesday, 13 January 2021
Bright and Cheerful Flower (by Christine)
Hello everyone, today sees the first of three posts this month by our Guest Design Team member Christine Patch. She has created a colourful card to inspire you.
Christine writes:
May I start off by wishing you a very Happy New Year - let's keep our fingers crossed that it will be a considerable improvement on the year just finished, even if it might take a bit of time!
I decided to kick off my turn on the Blog with a very bright and cheerful design to be added to my journal.
I chose one of the designer papers and added some additional stamping to give it more detail. I used a Versafine Clair in a toning purple to add some butterflies and hatching.
Having picked one of the lovely postcards for a mat, the lovely large flower stamp allowed me to choose strong bright colours as decoration. I decided on Memento Tuxedo Black ink as I wanted to use Alcohol Pens for the colouring. I stamped two of the butterflies on white card and one on the same postcard for a point of difference. Glossy Accents added dimension to the bodies.
I found a wooden button in my stash that was the perfect colour and added that as an embellishment to the flower centre. I used the same flower stamp to edge the postcard and then the designer paper to bring it all together. Finally, I added a sentiment that I think is so pertinent to us all: Live life to your own design.
Chocolate Baroque products used:
Designer Papers 8" x 8" - Chic Script
Seriously Gorgeous A6 Postcards
Flower stamp taken from Tangled Garden stamp set
Open Weave cling mounted stamp
Just Butterflies stamp set
Sentiment taken from Freesia Blueprint stamp set
Happy Crafting!
Christine
xx
Monday, 11 January 2021
Tall Stories
Thanks for looking
Sandra x
Sunday, 10 January 2021
Messing About in the Water (by Judith)
Hello everyone, I hope that you are all keeping well in these uncertain times. Our thoughts go out to any of you who are unwell at this time, and we wish you a full and speedy recovery.
I have a couple of projects to share with you today. These projects feature stamps that we showcased during the December Tv shows on Hochanda. Unfortunately, I was unable to make any new samples for the shows, and found some older samples that I had made to send to Lesley for the shows. I have since had a chance to make a couple of projects to share with you, but will also show you a few of my older cards as well this month.
My first project is a card which mixes stamps from both Chocolate Baroque and those designed by Kim Moody. They work together so well. I coloured some drawing cartridge with some tea and let it dry thoroughly. I then stamped the larger piece with some images from A Dip in the Sea and Baroque Ephemera 1. I stamped the large postcard from Baroque Ephemera 2 onto a spare piece of background, and also the beach huts over the top. I stamped the beach huts once again onto spare card. I coloured the beach huts with Distress Ink, and decoupaged them onto the postcard. I added a couple of tickets behind the postcard, and coloured all of the edges with Vintage Photo Distress Ink.
My second project is a journal page. I enjoy using my journal to work out ideas for potential cards, or simply to play around with stamps and colour. I used two of Kim's larger stamps from Harbour Master and Jolly Roger, and stamped them on the same page. I linked them together with a fineliner pen, and added a few dots and dashes to finish the scenery. I coloured the image with watercolour pencils.
Here are a couple of my older cards using Kim's stamps:
I will be back later in the month to share more projects with you. Thanks for stopping by, take care,
Judith xx
Saturday, 9 January 2021
Home from home by Zoe
Thank you so much for spending your time visiting today. I hope you like my samples.
Thursday, 7 January 2021
All at Sea by Rachel
Hello there! Rachel here today with some makes from the December shows - but I am finding myself all at sea!
This first make is a porcelain bowl that I painted using the images from Kim Moody's Jolly roger stamp set. I stamped and panted the image (in glaze) three times before firing in the kiln.