Hello there! Rachel here with some inspiration from the shows in October. This first one uses the stsmp called Canary Bird Rose. I think the stamp name influenced my colouring of the image done in watercolours. I thin fussycut the image and added it to a black and white background. I think this stamp will get a lot of use!
Monday, 9 November 2020
Fantastic florals (by Rachel)
Saturday, 7 November 2020
Santa Maria by Brenda
Friday, 6 November 2020
Remembrance Day - (by Magda) - Poppy Meadow, Floral Notes
Hello girls,
It has become a tradition for me to do a project for the 11th of November and I am on time to share it with you.
Of course there is a white gesso coat under the blended red and violet shades of Distress Ink Pad, around the yellow area. I covered all with gesso again, stamped with black Archival the poppy of "Poppy Meadow " rubber plate and one little poppy of "Floral Notes" directly on the page. The second little poppy is stamped on a tissue paper and glued with "Inkssentials Gue n Seal". I used red and green watercolours for coloring the flowers and intensify the background blending again Distress Ink Pad blending darker red on a stencil. I finished my page by printing with the printer the lettering.
Thank you for passing by, hugs
Magda
Wednesday, 4 November 2020
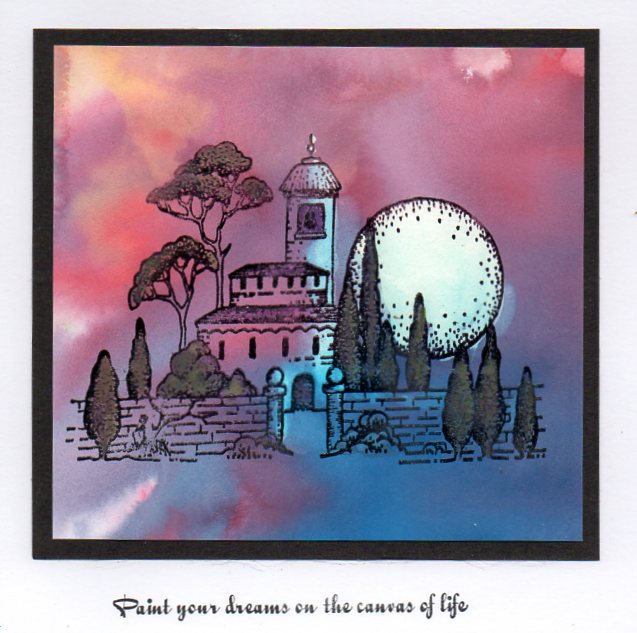
paint your dreams
Today I have two cards to share using my favourite brusho powders and stamps from echoes of Italy. I created a few background sheets using the brusho powders, and chose two that looked atmospheric to stamp the villas onto using black versafine ink and clear embossing powder
I thought the first one looked like a sunset, so coloured the trees using watercolour pencils and then bleached out the moon and highlights on the building using bleach. A black mat and the sentiment from the dream petals set to finish.The second background reminded me of fields of lavender, so i stamped the villa on what passes for a horizon - I didn't quite manage to line the stamp up with the white area for a path to the villa though....more bleach to whiten the buildings and edges rubbed on a black inkpad to finish
Tuesday, 3 November 2020
Gerbera and Friends
My second card uses the gorgeous Gerbera. This is a lovely big stamp, 4" in diameter and with great shading. I stamped with Memento ink and coloured with alcohol markers. The background is Brusho splashes and the splatter stamp that comes with the set. The Dragonfly is from the Life is Wonderful stamp set and I shall be sharing more from that next time.
Thanks for looking
Sandra x
Monday, 2 November 2020
Blog Comment Winner for October
Hello and welcome
to the Chocolate Baroque Design Team Blog.
We truly appreciate
the time you take to let us know your thoughts about our designs, so each and
every comment is very important to us.
Each comment in October
was assigned a number and we used Random Org to draw a winner.
Congratulations to Alice (scrAPpamondo) you have won this month's £15.00 voucher to spend on Chocolate Baroque
stamps.
To claim your
prize, please email here to confirm your
email address and Lesley will send your gift certificate.
Lesley will be
giving another £15 gift voucher to another lucky winner drawn from November’s comments.
The more comments
you leave, the better your chances of being the winner.
Thank you so much
for all the kind comments you leave.
Good luck from all
on the Design Team
Here is another chance to see the beautiful
creation by Judith
Sunday, 1 November 2020
New Talent at Chocolate Baroque (by Judith)
Hello everyone, I am sharing a few projects today featuring stamps that were showcased on last month's TV shows on Hochanda. The stamps were designed by Lesley's very talented Granddaughter Annabel, and another new designer to Chocolate Baroque, Dawn. These beautiful floral stamps are absolutely stunning, and we hope that you will enjoy our projects this month, and be inspired by what we have created with the stamps.
My first project was created with the lovely Dream Petals stamp. I coloured some Drawing Cartridge with Distress Inks, and stamped the image twice. I cut it out, and scunched it up, to give it a crinkled texture. I attached the image onto a Brusho background from my stash. I stamped the sentiment onto a scrap piece of card, masking the part of the sentiment that I did not want to use each time before I inked up the stamp. This enabled me to split the sentiment. I edged the sentiment strips with red Distress Ink to take away the whiteness of the card, and to tie them in with the main flower.
I added a hand drawn stem using a fine liner pen. I stamped the small dragonfly onto scrap card, coloured it with pencils, then decoupaged it onto the background.
My final card for today uses the same dandelion clock stamp over another Brusho background. I embossed the flower three times using white embossing powder, and then added more of the flowers using Versafine Claie Ink in a teal and purple colour, to give the effect of a field of dandelions. I used first and second generation stamping. This card would be useful for so many occasions, including a sympathy card.
I will be back later in the month with more projects to share with you. Thanks for stopping by. Take care, and stay safe.
Judith xx
Saturday, 31 October 2020
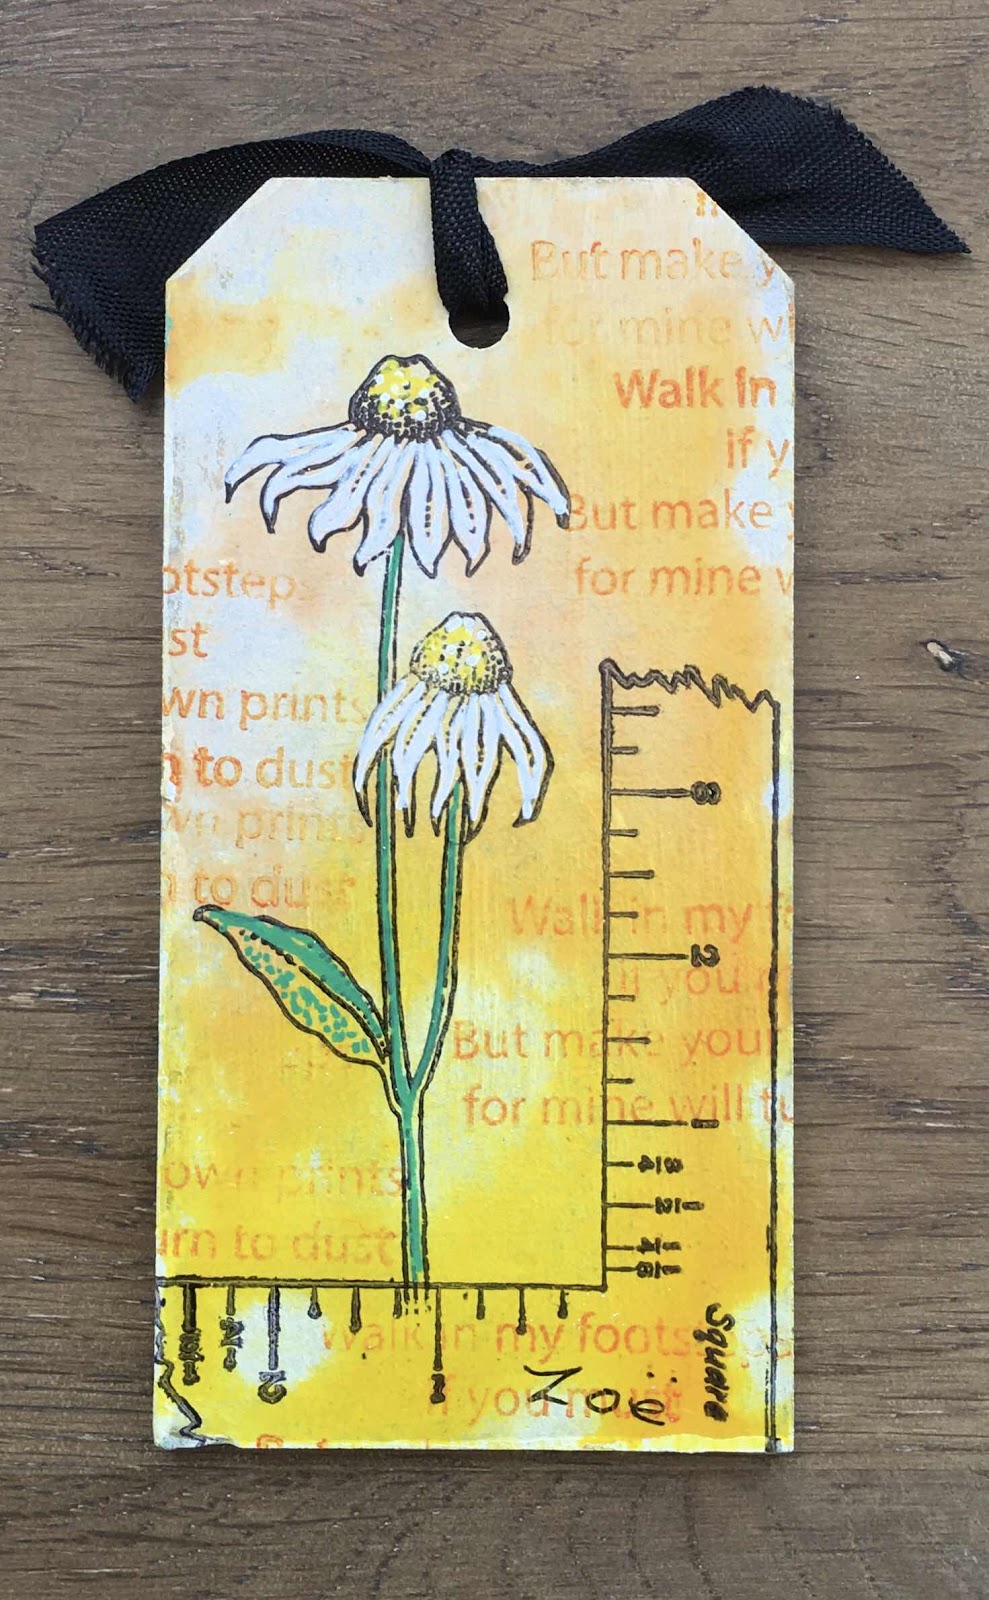
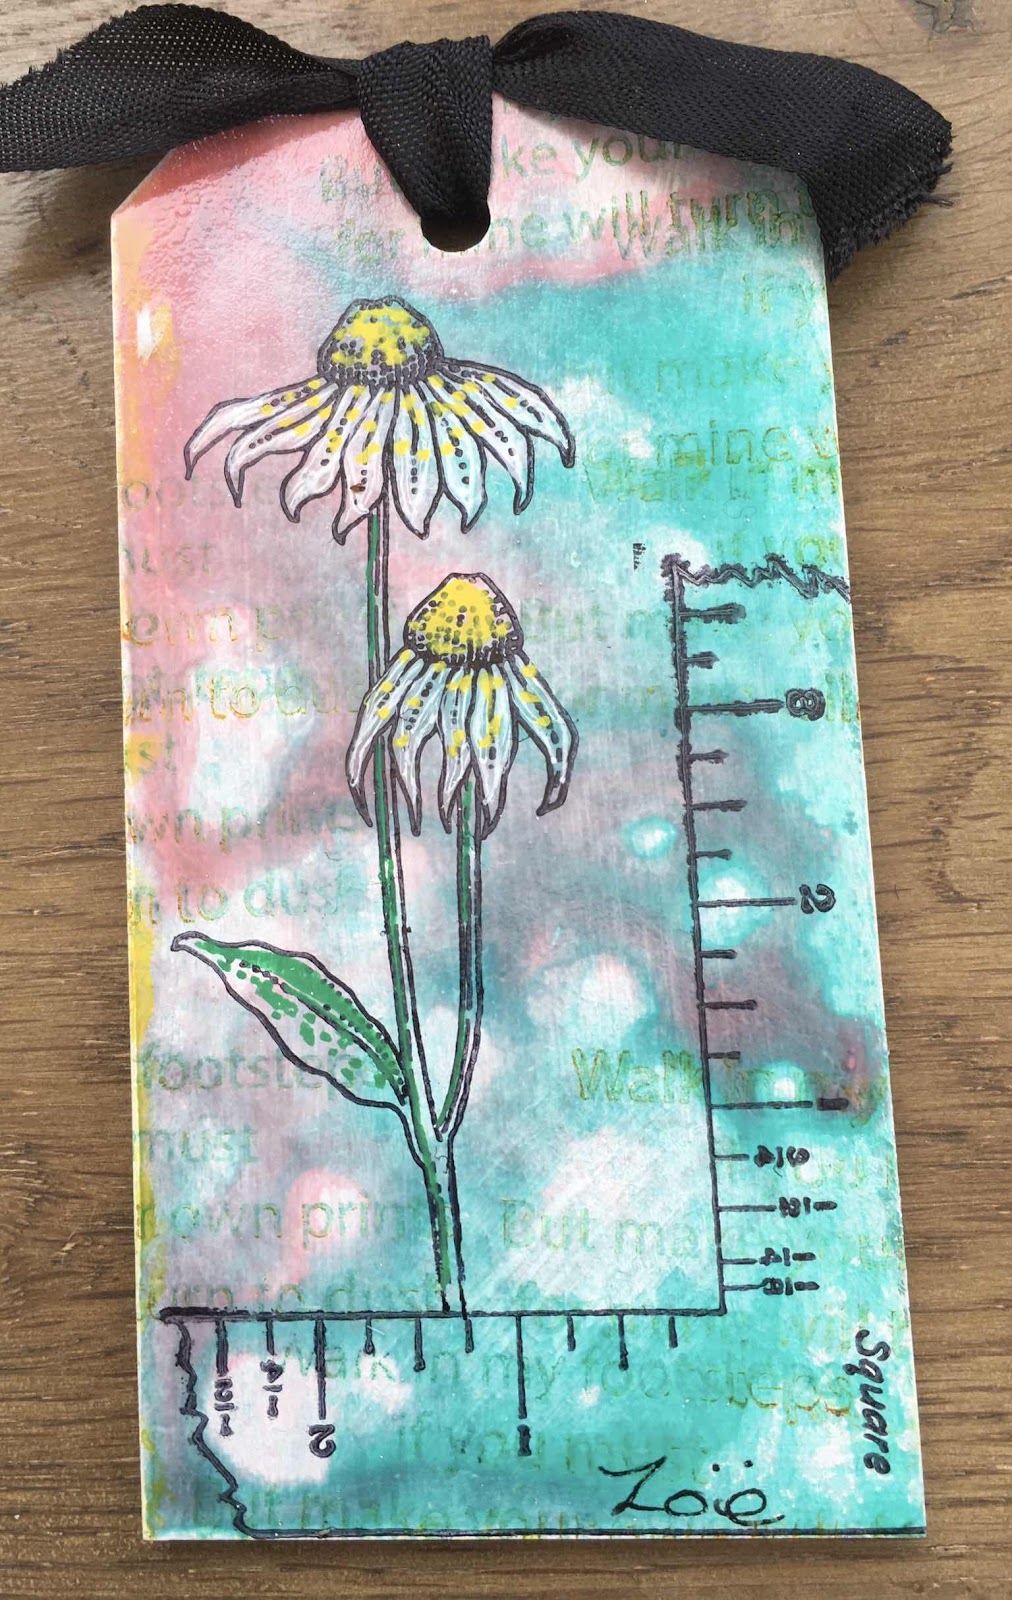
Sketchy Florals part 3 by Zoe
Thank you for visiting today, I hope you like my samples.
Friday, 30 October 2020
Vellum Echinacea's by Brenda
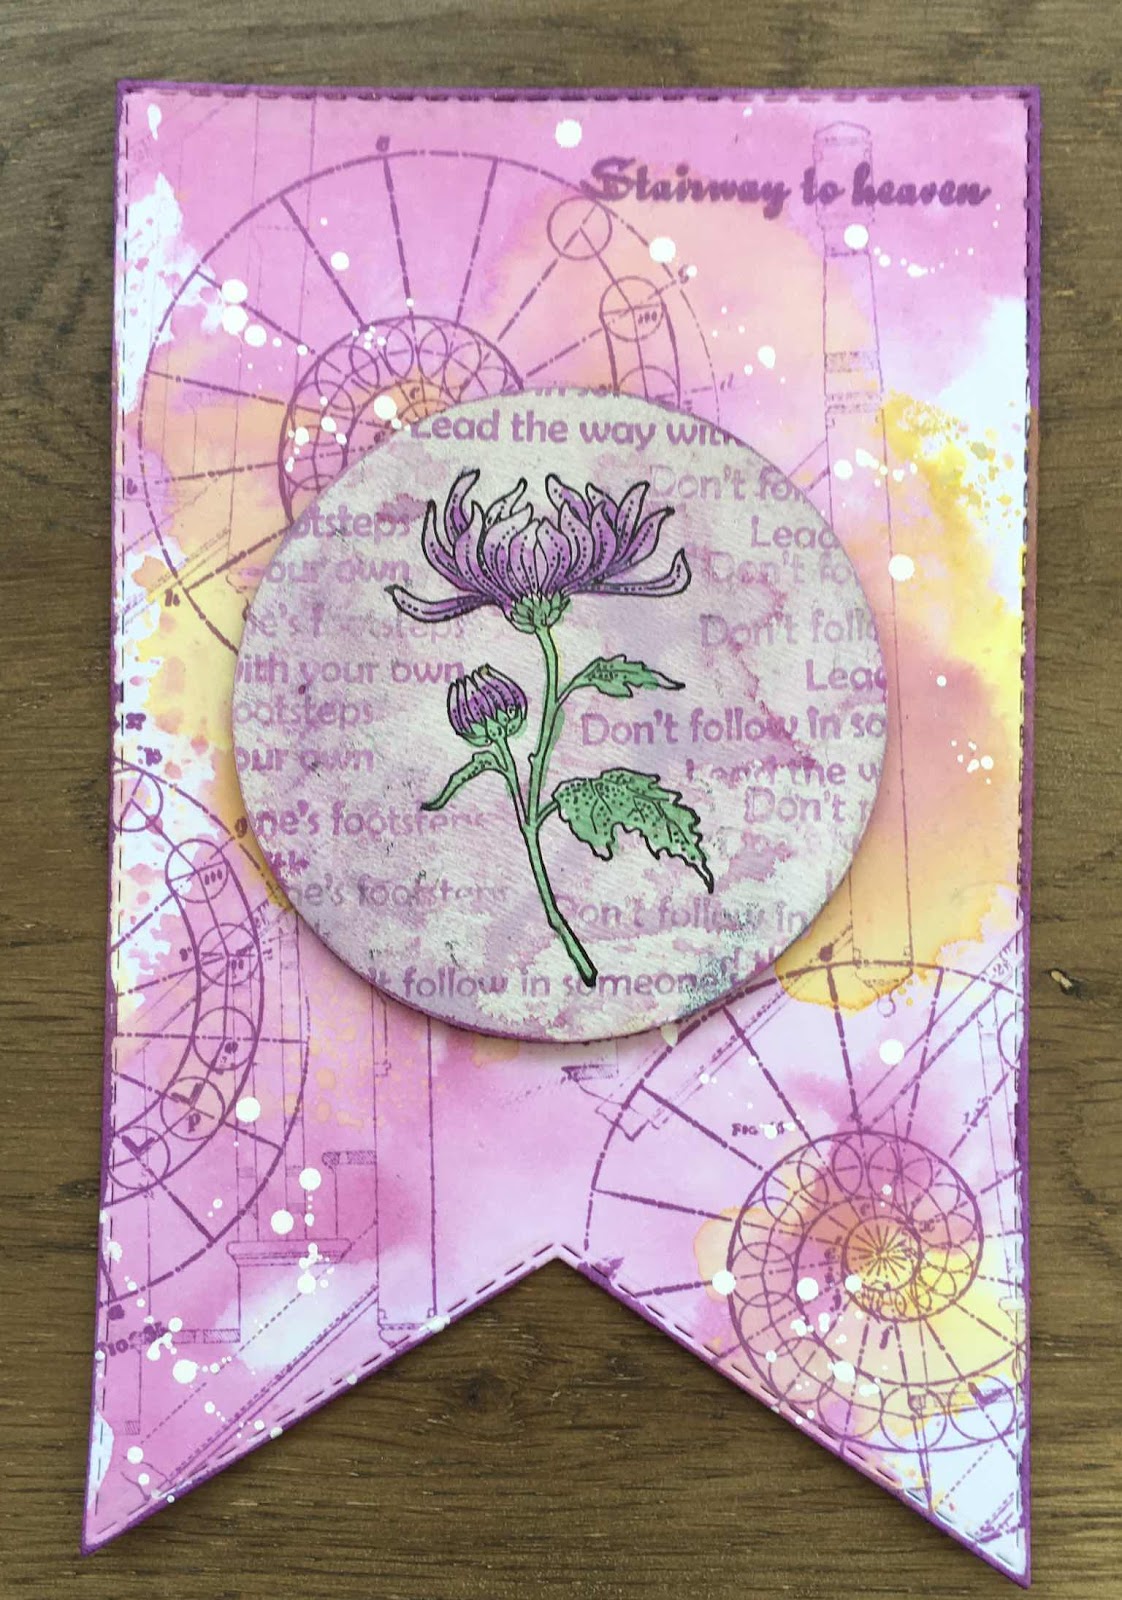
A chipboard tag covered with acrylic paint onto which I added some torn strips of printed tissue paper. Chrysanthemum Blueprint stamped with Versafine black, as is my usual the flower heads stamped again onto an inked offcut, cut out and paper pieced. The number stamped onto a piece of Aida and the remainder of the image coloured with Distress Markers.
Wednesday, 28 October 2020
Keeping it Simple (by Christine)
Hello everyone. This is my final turn on the blog for this year.
The cards in my first two blog posts took some time to create so this time, I decided on a simple but elegant example. I also wanted to use some of the lovely dies I have in my stash to enhance the stamping.
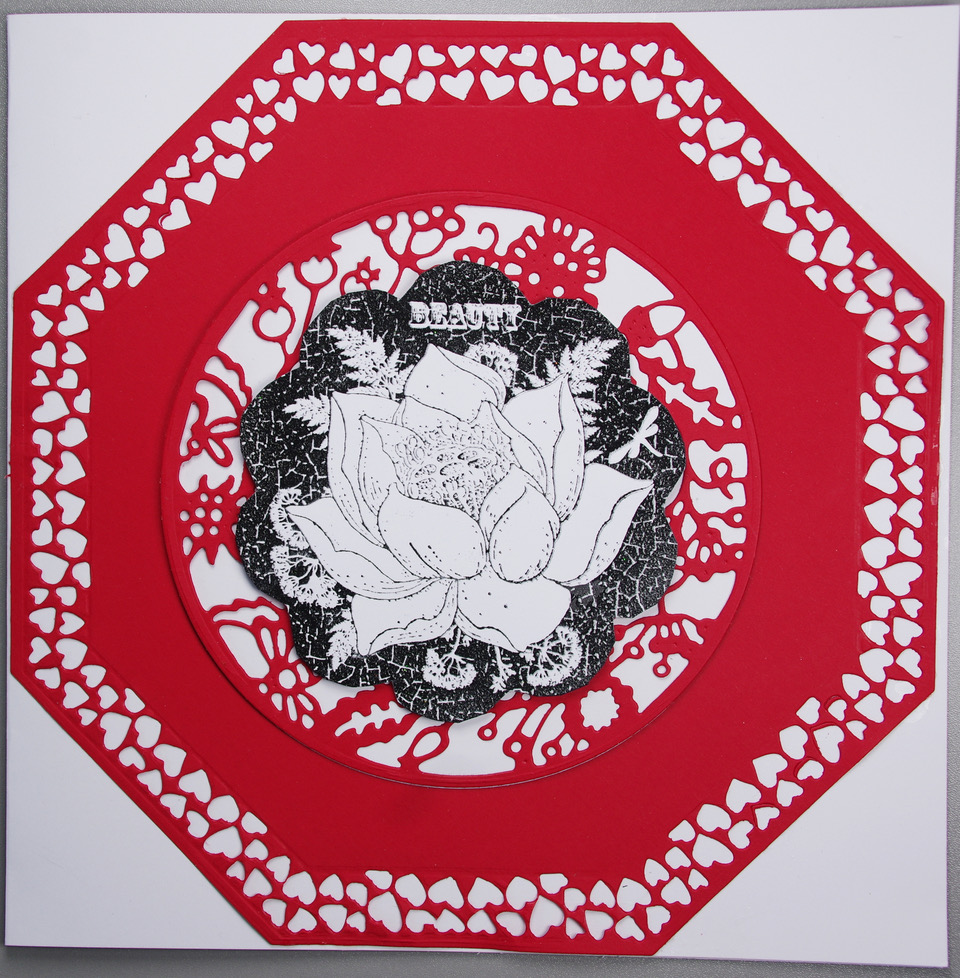
The stamps I am using are from the beautiful Shared Beauty set.
I used octagonal dies to create my first layer. I had just received some red cardstock and thought the colour perfect for what I wanted to achieve.
Two circular dies, one very decorative, created my next layer. I then stamped the image with Versafine Clair Nocturne and used clear embossing powder to give it shine and impact against the matt red card. I used adhesive foam to attach it to give the card depth. I decided against adding a sentiment, but it would be easy to add an appropriate one when the need arises.
Originally, I had stamped the image in red and then embossed it but the shade of red just didn't work with the red card, so I had a spare image to use. I also had a circular frame cut in white card from the original piece of work, so it was obvious to use the two together. On the theme of keeping it simple, I added some white pigment ink to black card using the circles stencil from the Chocolate Baroque Strip Stencil - Collection 1 set and then positioned the stamped image in the centre. I added one of the sentiments to the card as a finishing touch.
Quick, simple, but I think effective.
Take care, stay well and see you the next time.
Happy crafting!
Christine.
Tuesday, 27 October 2020
Pretty Notelets
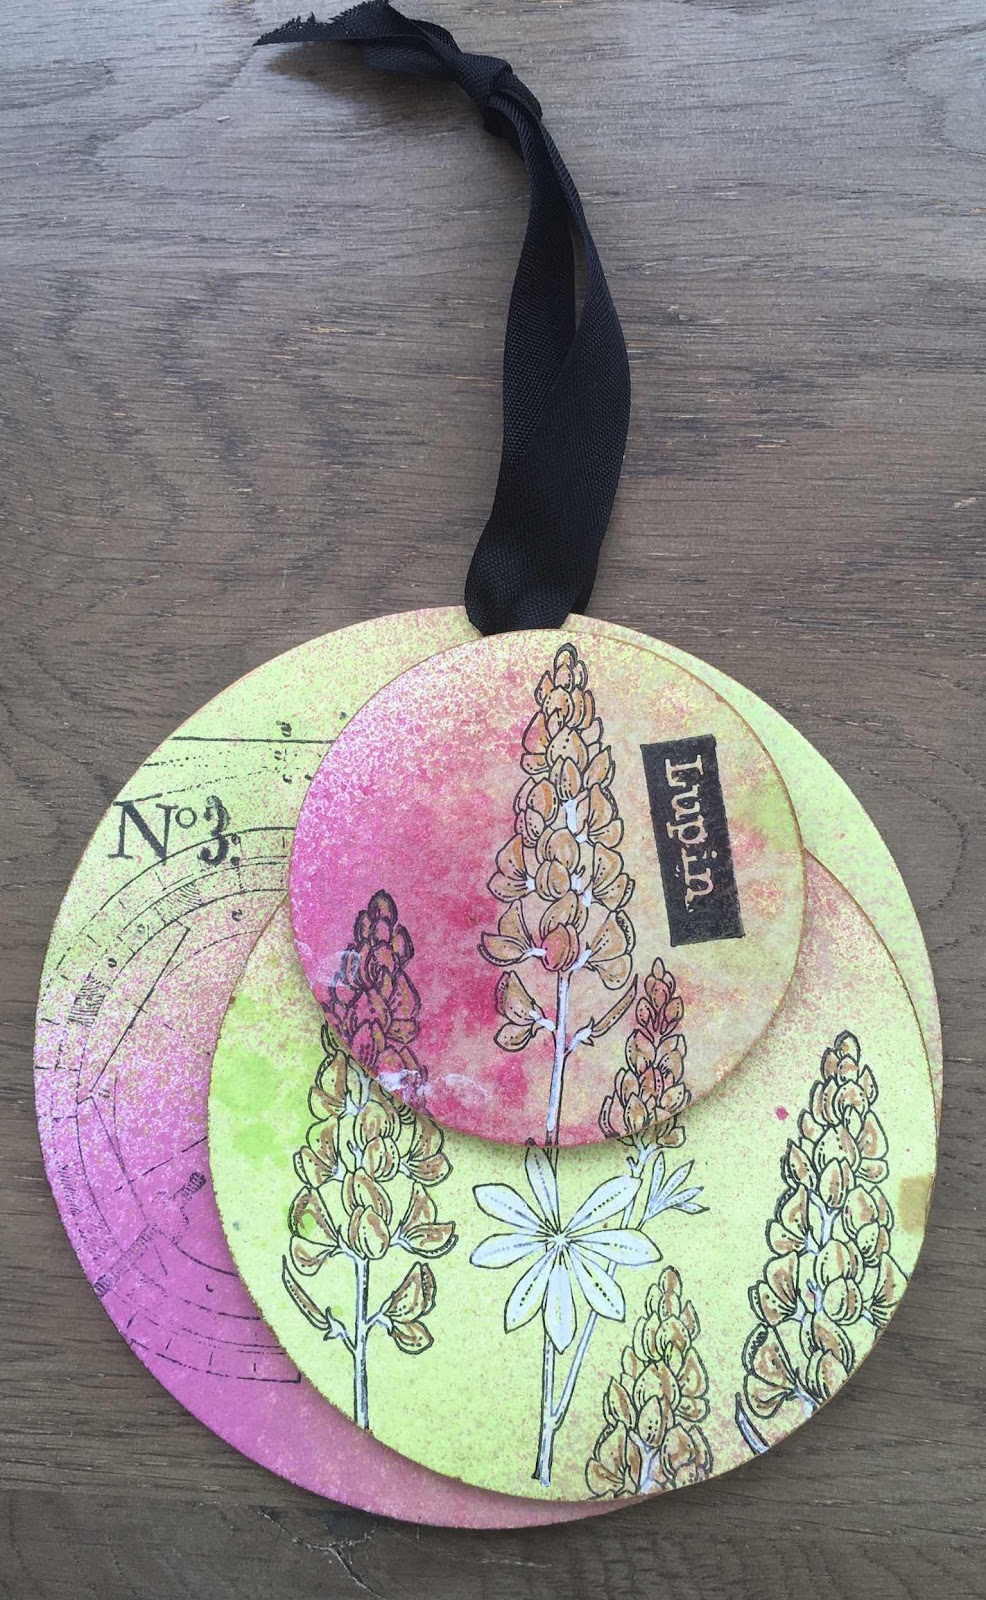
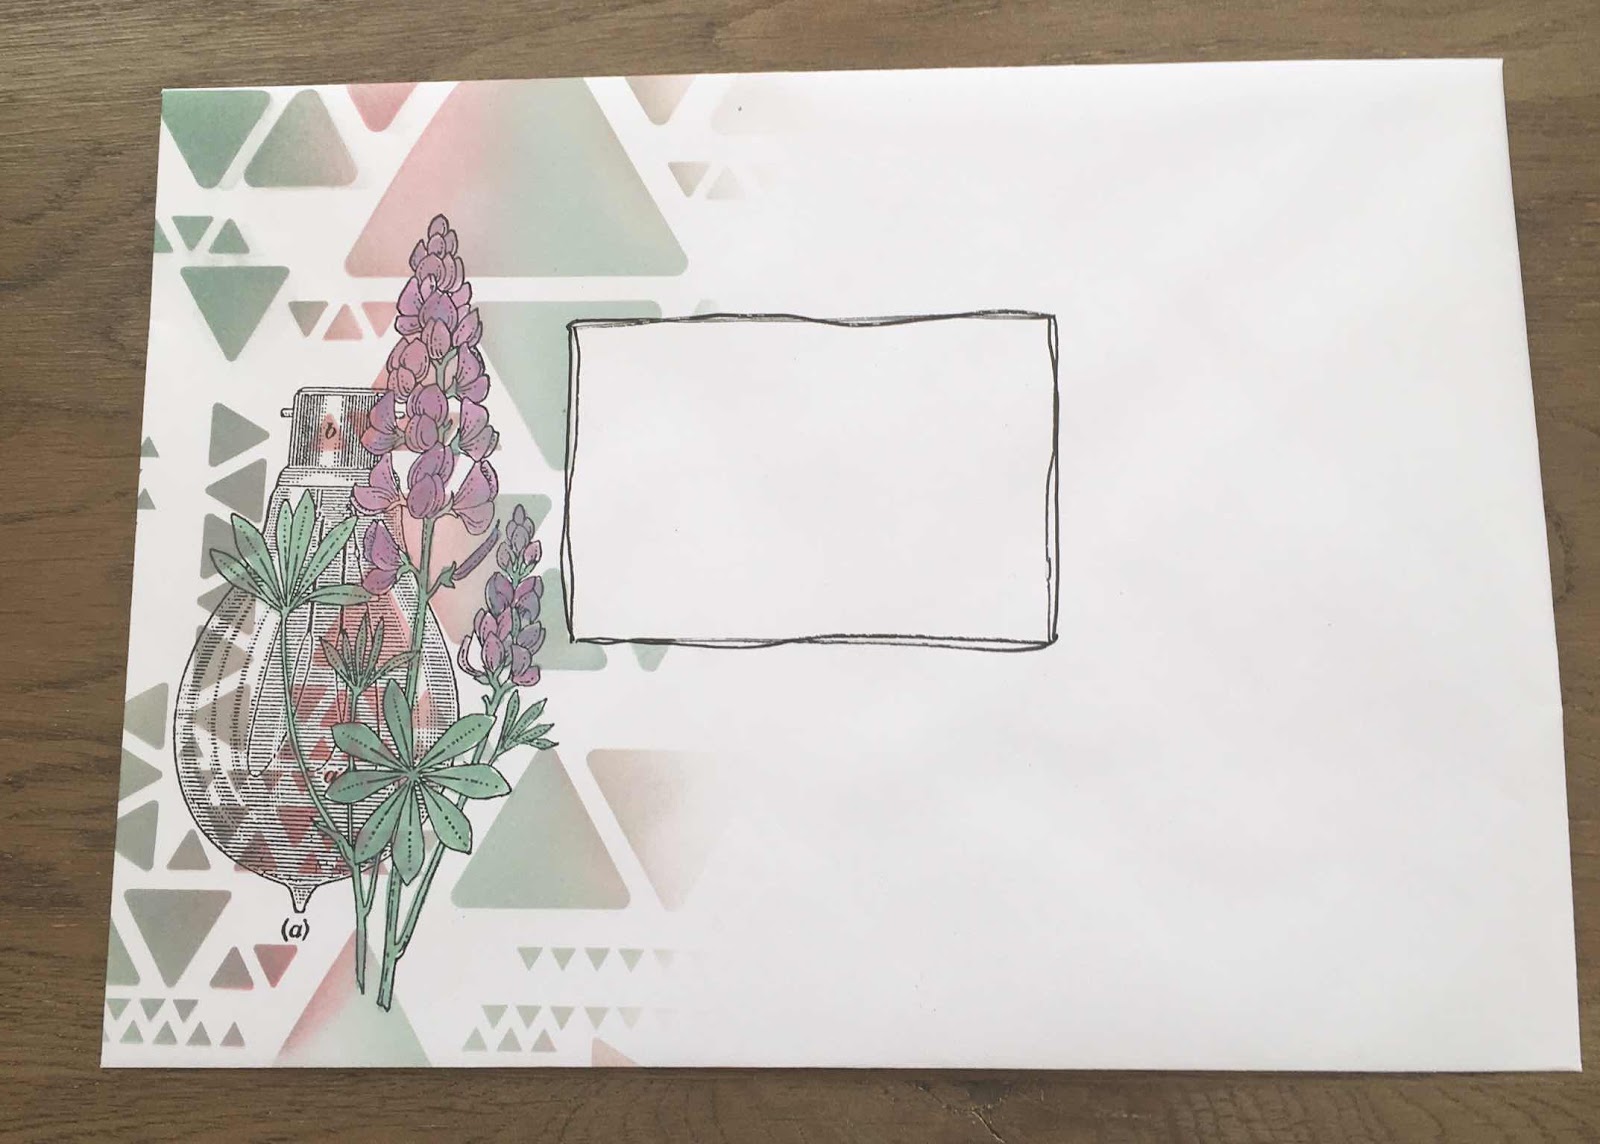
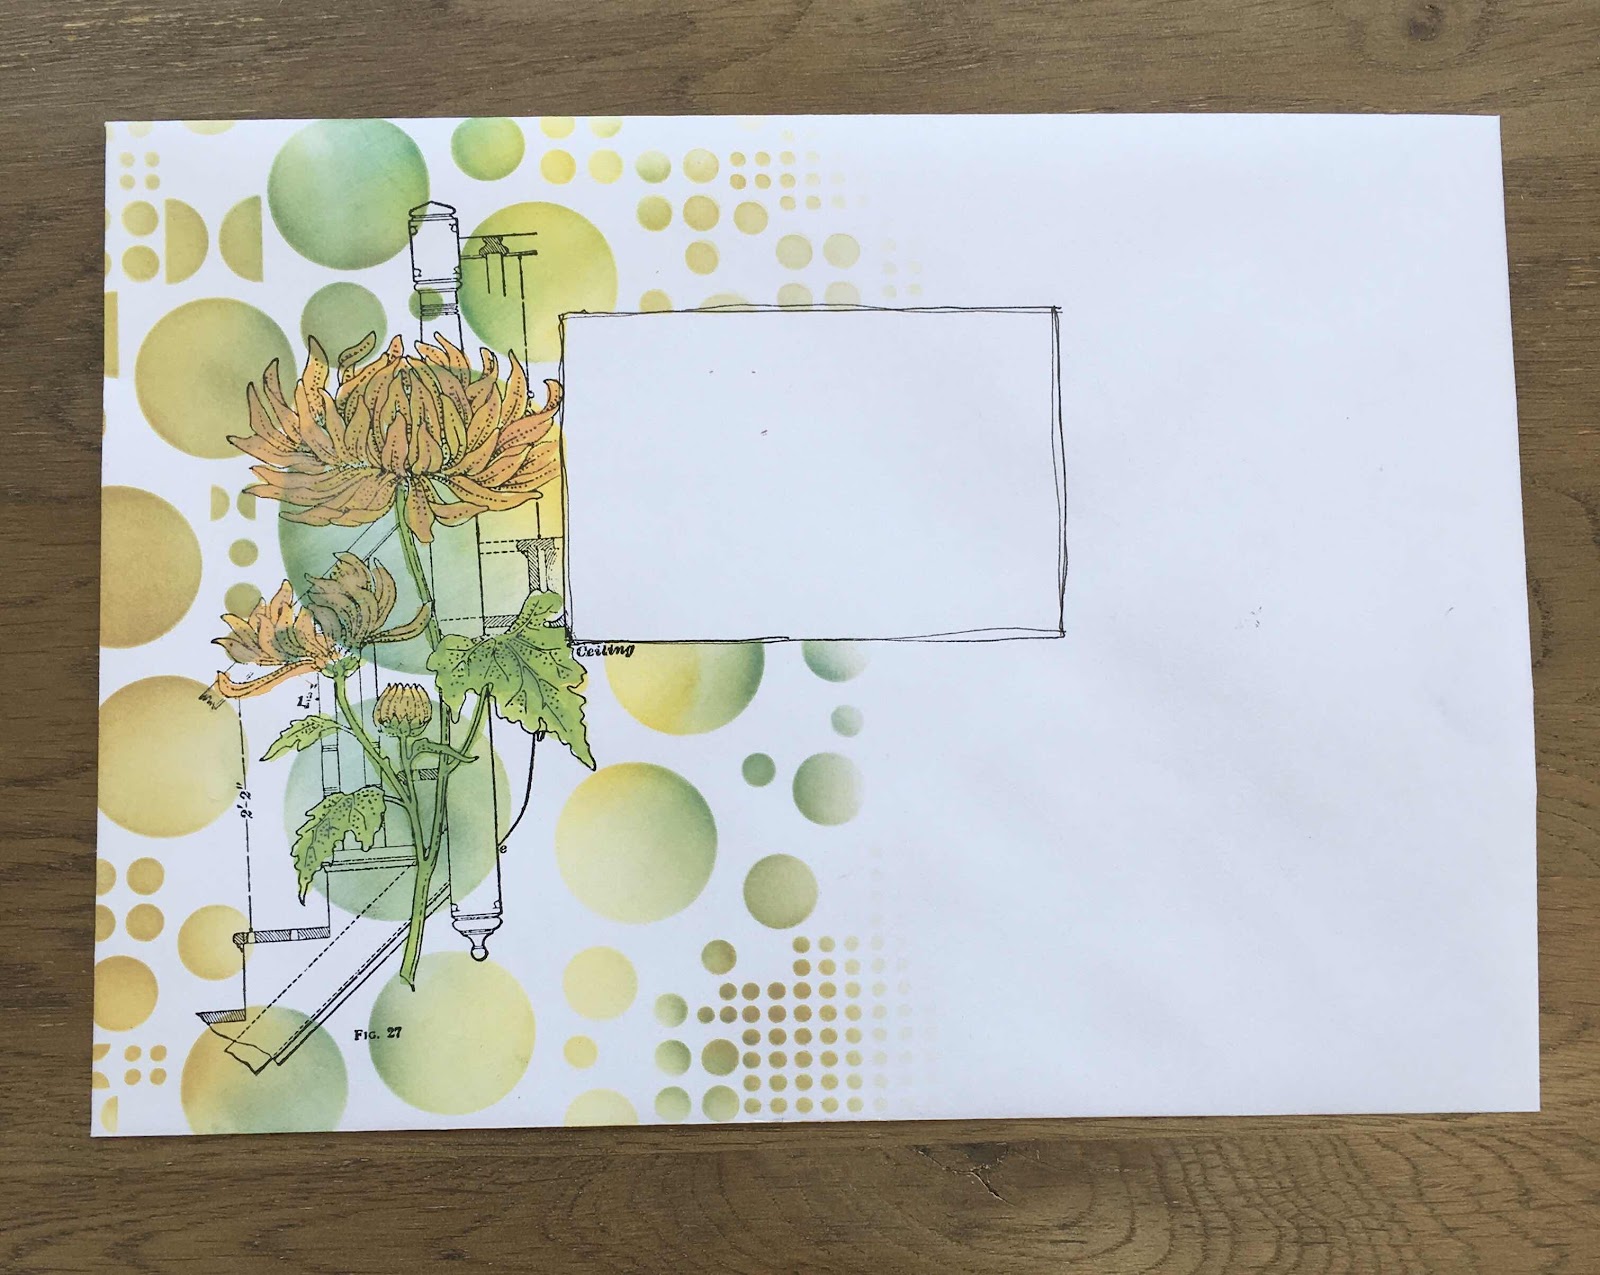
Hello, I'm sharing a few more of my samples from the September show on Hochanda using the second set of blueprints stamps - Lupin Blueprint, Chrysanthemum Blueprint, Echinacea Blueprint and Allium Blueprint.
I made a set of little set of notelets using the small individual stamps that are in each stamp set.
To make my notelets I first cut some circles from cardstock to fit on my cards and blended some Distress Inks onto the background. I then used the same colour with a stencil before stamping the flower and sentiment. I finished by doodling around the edges
Monday, 26 October 2020
all together in the floral dance (by Rachel)
Hello there! Rachel here. Did I get you singing? Hope so - then you'll be smiling as you look over some more samples I made for the September shows.
This first one is using the main image from the Echinacea Blueprint stamp set - stamped onto a gel press background and coloured with watercolour pencils. This panel has been mounted onto a card stamped using more industrial aspects of the stamp sets.
Sunday, 25 October 2020
allium
Today's share features the allium blueprint
The first card has a brushed distress ink rainbow background, with some light stamping in one corner . the main allium image was stamped on the right using black versafine ink, and then coloured with watercolour pencils. sentiment comes from the same setAs a coffe drinker I soon acquire a stash of empty cans, whcih i hate to throw in the bin - I recycled two into pencil/brush holders. I measured pieces of drawing cartidge to fit with a slight overlap, then coloured them using distress inks. Various images from all the new blueprint sets were stamped using versafine ink and the completed strips fastened onto the cans using redline tape.
Friday, 23 October 2020
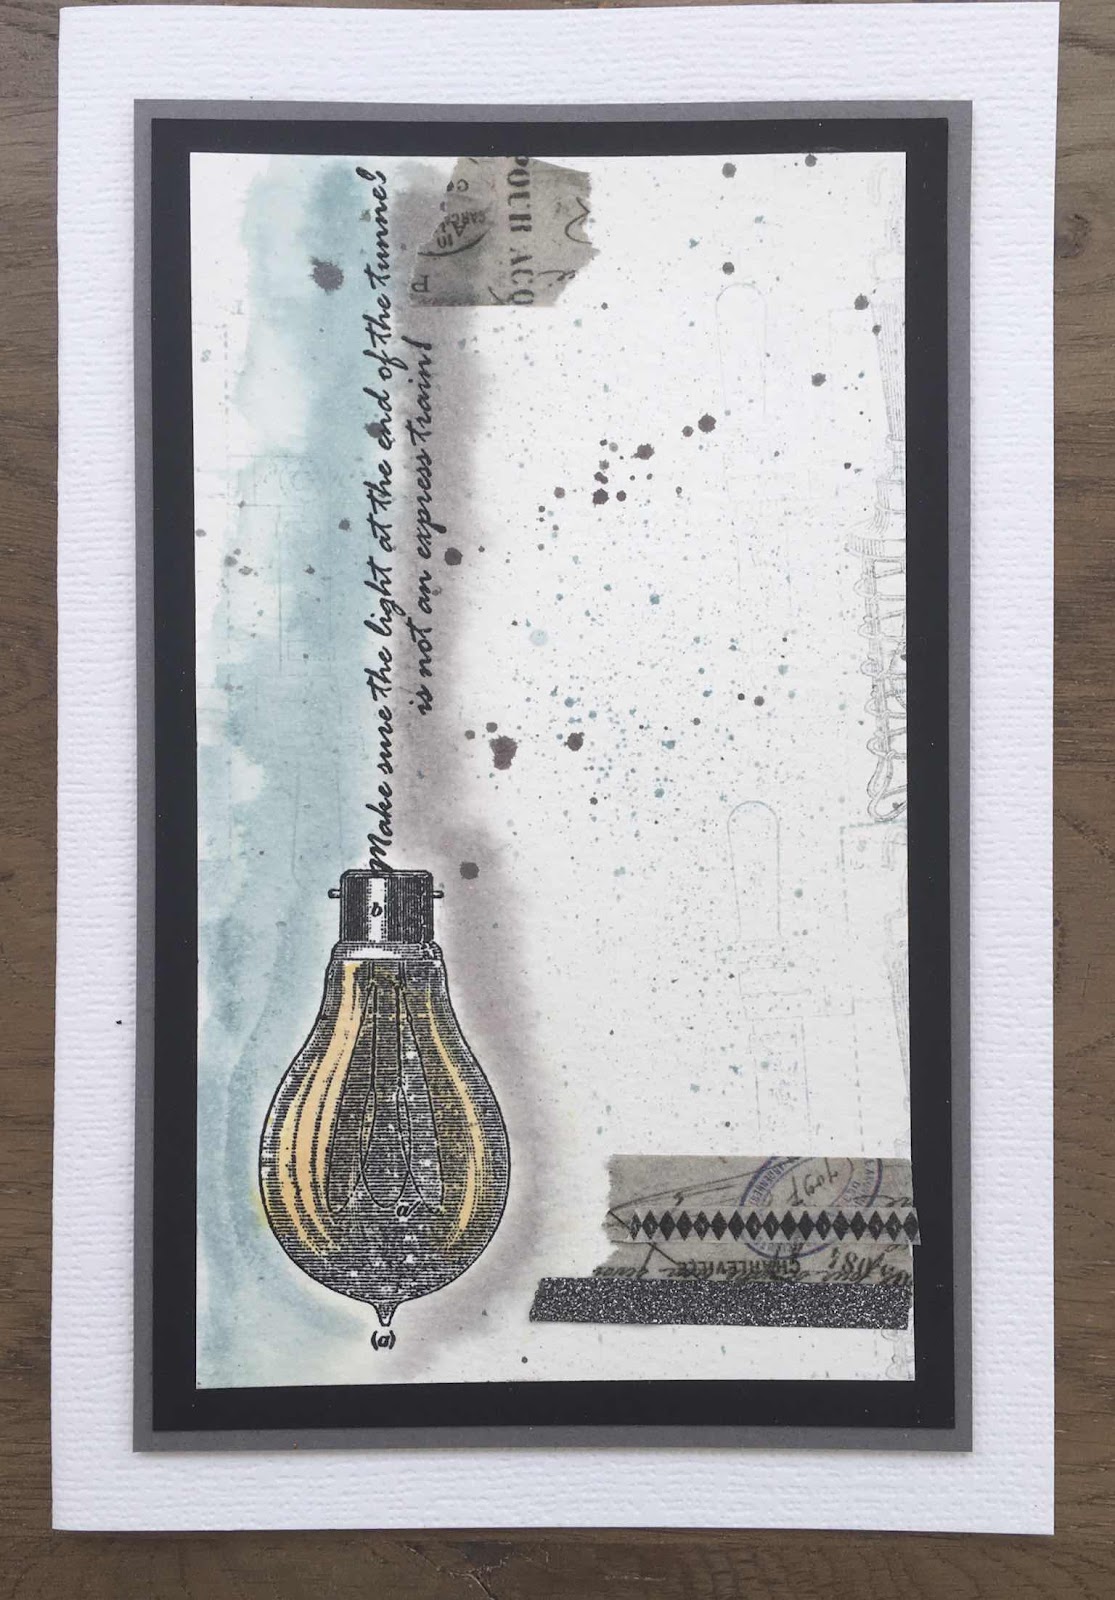
Having a Lightbulb Moment (by Judith)
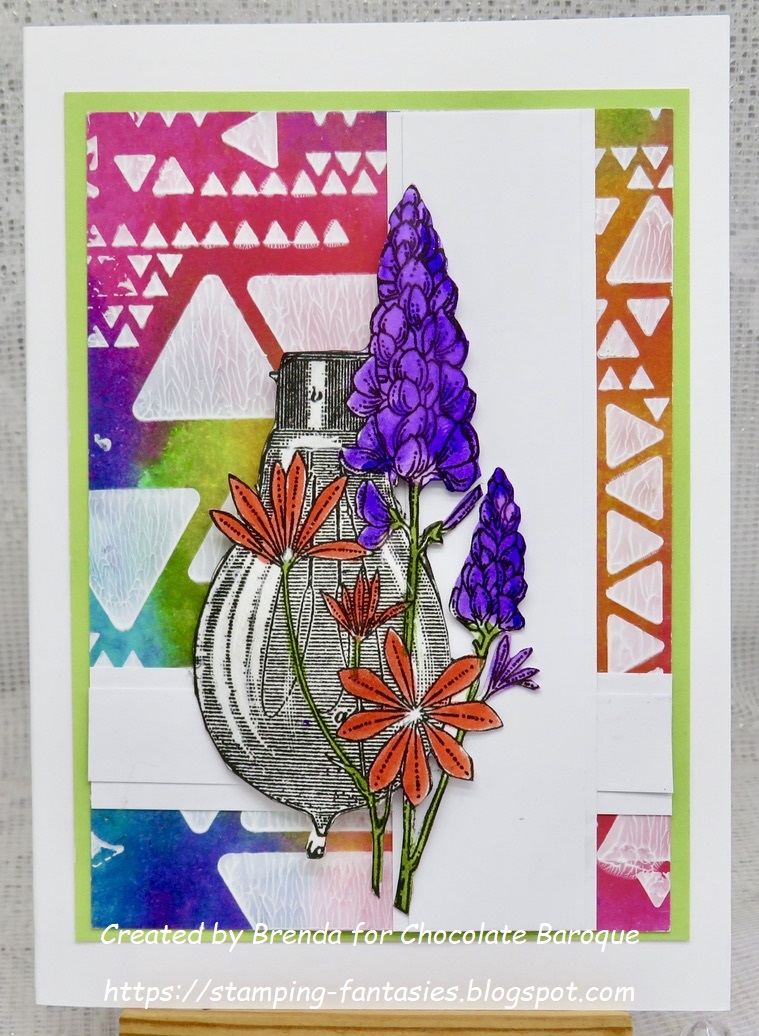
Hello everyone, for my final post this month, I am sharing two projects using the beautiful Lupin Blueprint stamp set. This fabulous stamp set is full of beautiful images, and some lovely sentiments. I really enjoyed working with this stamp set and will definitely be using it a lot!
For my first card, I created a background using a technique that Lesley shared with us on a Butterfly Tree get together. I painted a piece of scrapbook paper with white paint, then rolled Distress Ink over the top. I added stamping and stencilling with the same colours to create a collage effect. The whole effect looks very vintage, and makes a great background for the main image. I coloured the image with pencils, coordinating with the background colours. I also added some shading around the edge with Distress Ink.
To create my second card, I used a piece of scrap background from my stash box. This brightly coloured piece of card was crying out for some of the lightbulbs, and I stamped them across the yellow area in the middle of the page. I drew some lines at the top to hang the bulbs from, so that they were not floating in mid air. I created a matching background using the same colours of Distress Ink, and stamped the large lightbulb randomly over the top, using turquoise Archival Ink.
I hope that you have enjoyed our cards this month, thanks so much for stopping by. Take care, and stay safe.
Judith xx
Thursday, 22 October 2020
Sketchy Florals part 2 by Zoe
Thank you so much for spending the time to visit, I hope to see you later in the month, have a wonderful day xx Zoe xx
Wednesday, 21 October 2020
The Kiss (by Christine)
Hello everyone!
I'm back with my second blog post for October. The stamp set of choice is the stunning The Folk Art Garden set.
I used the largest stamp from the set in the centre of a 5" square card and then added some of the smaller stamps around the edge for extra detail.
I used a variety of transluscent and metallic paints to colour the images, taking care not to move around the images so that the paint could dry properly in each area.
I could have stopped there but I had in mind a fantastic painting - The Kiss- by Gustav Klimt, which is one of my all time favourite works of art. I am lucky enough to have seen the original; it's incredibly vibrant and rich, using oils and gold leaf. In my more modest piece, I simply covered the white space with gold metallic paint.
Like my last post, this card takes some time to create, but if you need a special one, this could be the approach. It would look equally good framed as wall art.
Happy crafting!
Christine
xx
Tuesday, 20 October 2020
Circle canvas by Brenda
Monday, 19 October 2020
Alliums and Lights
I stamped the lightbulbs from the Lupin Blueprint set with Versafine and I stamped an extra one onto a piece of card with Versafine which I then embossed with clear powder.
I coloured this one in, again with Distress Ink. I used a ball tool to shape the edges and added some foam pads to the back to give a bit of depth. I glued around the edge of the lightbulb and placed it on the card. I used the chain stamp from Small Graph Paper set to "hang" the lightbulbs.
Thanks for looking
Sandra x